
Download Assets
description
Learn how to master white balance correction in Photoshop, even with JPEGs! This tutorial will guide you through the process of achieving accurate and natural colors in your photos using the Camera Raw filter and the white balance eyedropper tool.
Go PRO:
Discover the world of color with our exclusive Coloring Learning Path. From color fundamentals to advanced techniques, you’ll learn to create stunning visuals with a perfect blend of color and style.
Artist Credit
- Becca Correia
- Zahra Talebizadeh
Images sourced from Pexels.
Share
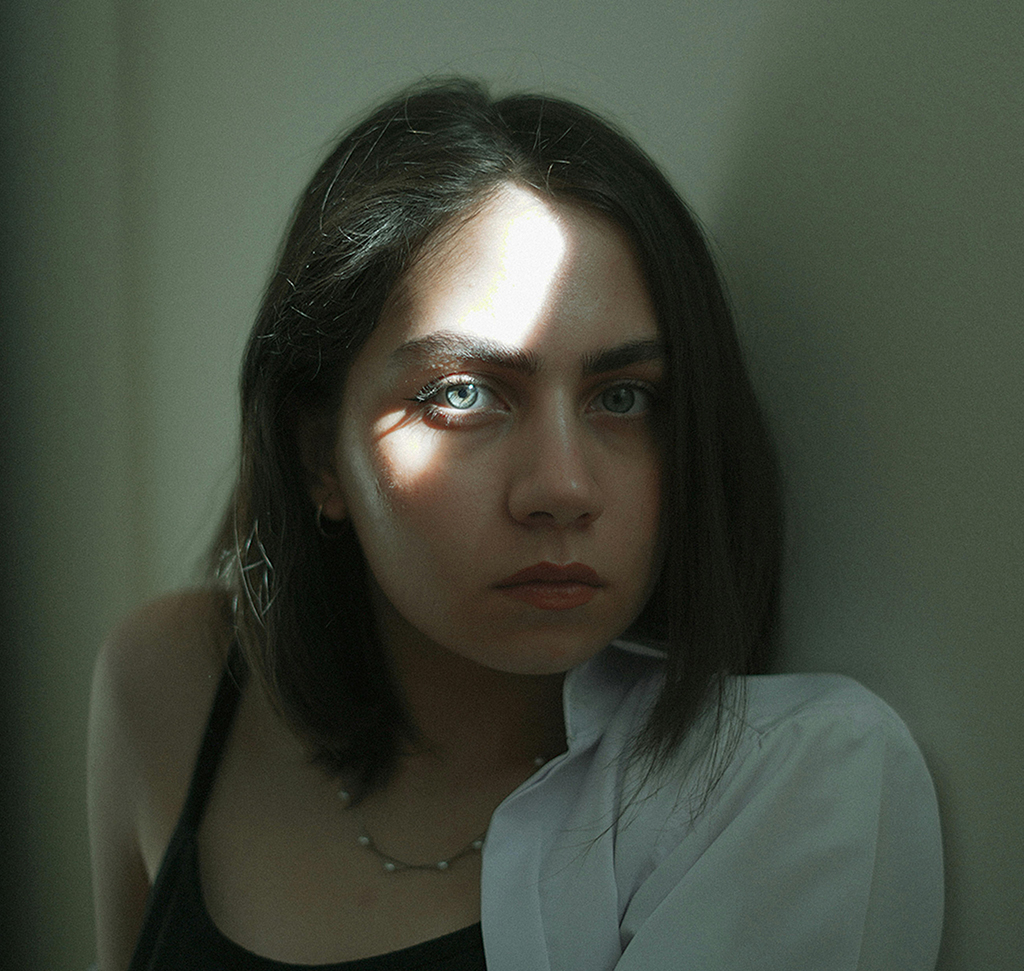
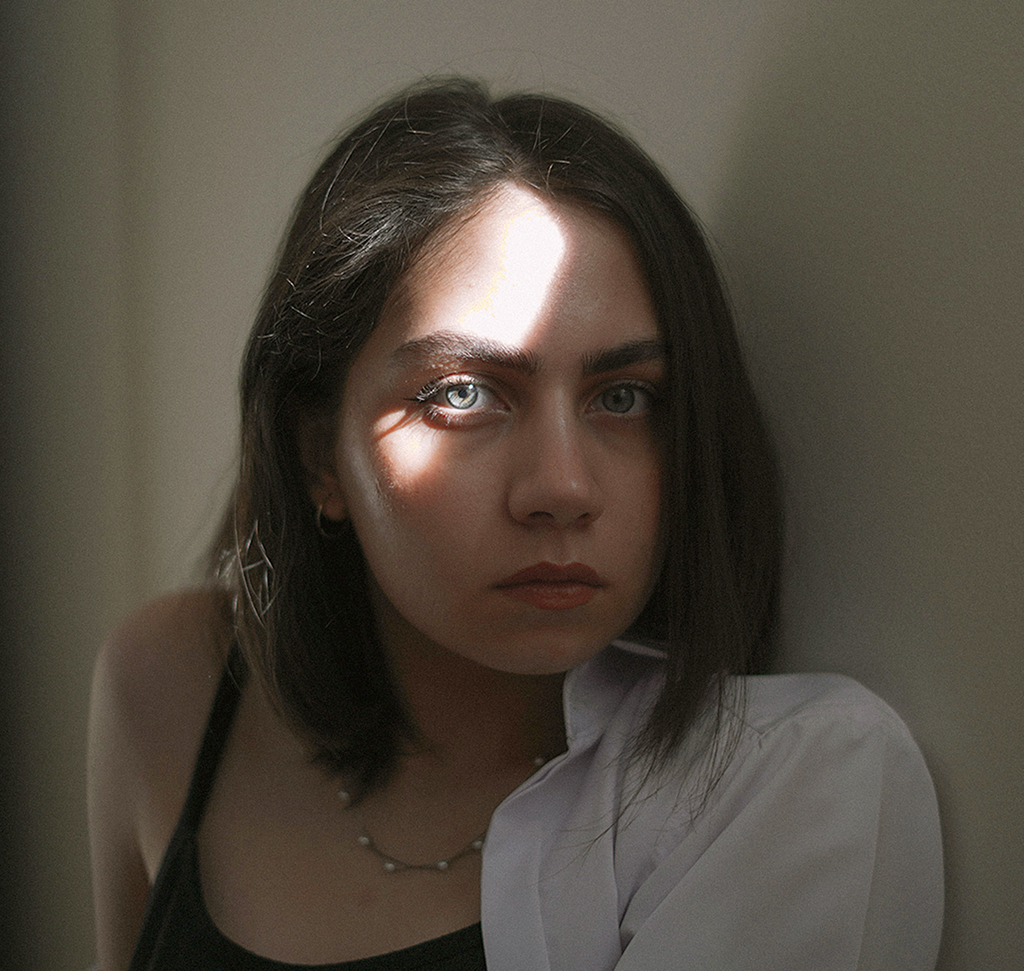
AFTER
BEFORE
Color Balance Simplified
Incorrect white balance can cast an unwanted color tint over your images, making them appear dull or unnatural. Fortunately, Photoshop offers powerful tools to correct these issues. In this tutorial we’ll walk you through the process of correcting white balance in your JPEG images in a few easy steps.
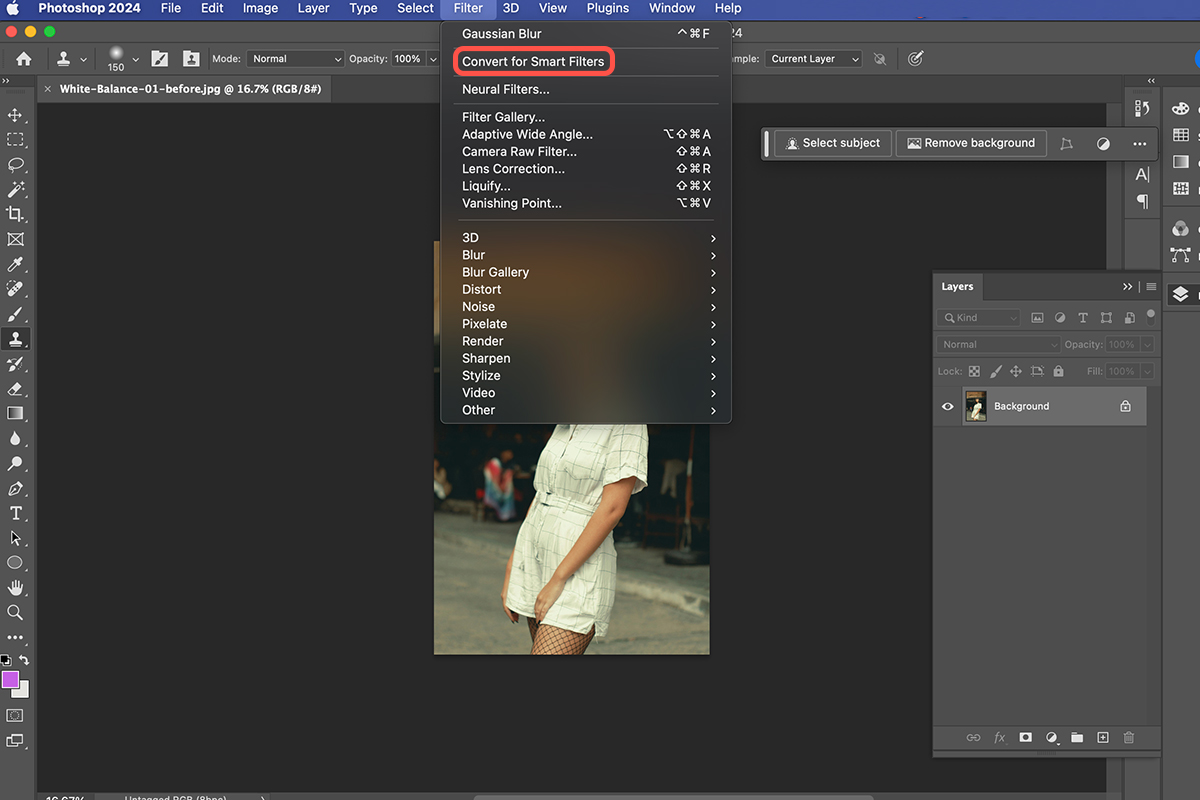
Convert to Smart Object
Before making any adjustments, it’s crucial to protect your original image. To do this, convert your image layer into a Smart Object. This allows you to make non-destructive changes that can be easily adjusted or removed later.
1. Go to the “Filter” menu and select “Convert to Smart Object.”
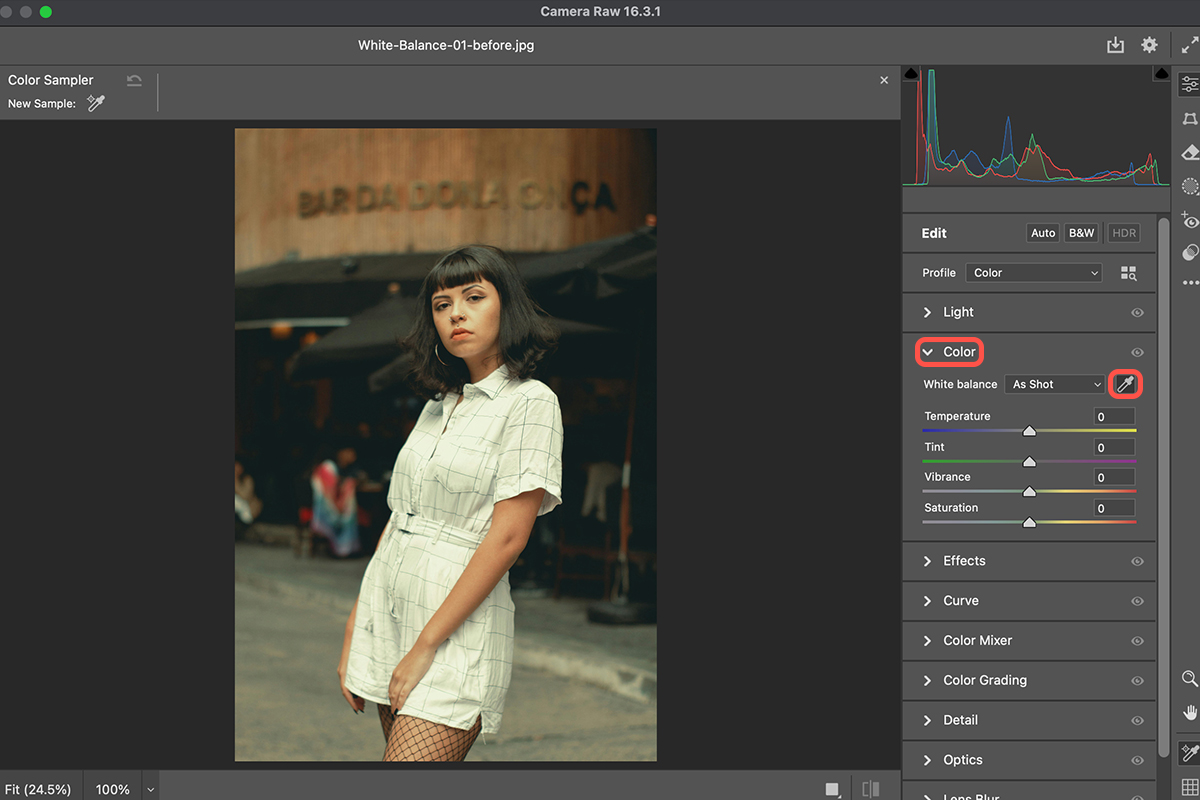
Access Camera Raw
To access a wide range of image adjustment tools, including white balance, we’ll use the Camera Raw.
2. Go to the “Filter” menu again and select “Camera Raw Filter.”
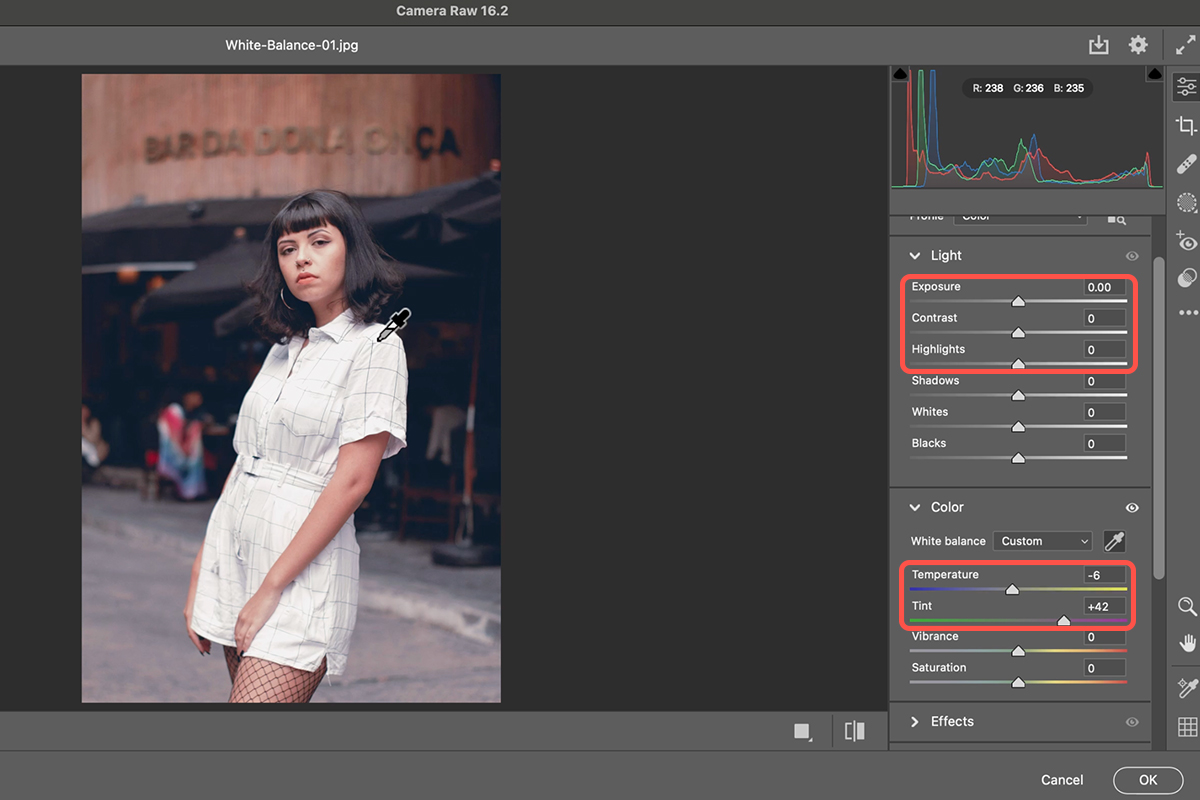
3. In the Camera Raw filter, locate the “White Balance” section.
4. Click on the eyedropper tool.
5. Carefully select a neutral gray or middle-toned area in your image. Avoid areas with strong colors or shadows.
Fine-Tune Your Adjustments
Once you’ve corrected the white balance, you can further refine the image using other Camera Raw tools.
6. Adjust the “Temperature” and “Tint” sliders for more precise color control.
7. Experiment with other sliders like “Exposure,” “Contrast,” “Highlights,” and “Shadows” to enhance overall image quality.
Once you’ve achieved your desired look, click the “OK” button to apply the Camera Raw filter adjustments to your image. Your image is now corrected for white balance. Save your image in your preferred format to finalize the changes.


