Download Sample Images
description
Everyone works a little bit differently in Photoshop. And while we each might have our own preferences for tools and techniques, there’s one tool that can help all of us edit faster and more efficiently: keyboard shortcuts.
Learn how to create your own custom keyboard shortcuts for the tools you use the most in Photoshop.
Share
WORK FASTER WITH CUSTOM SHORTCUTS
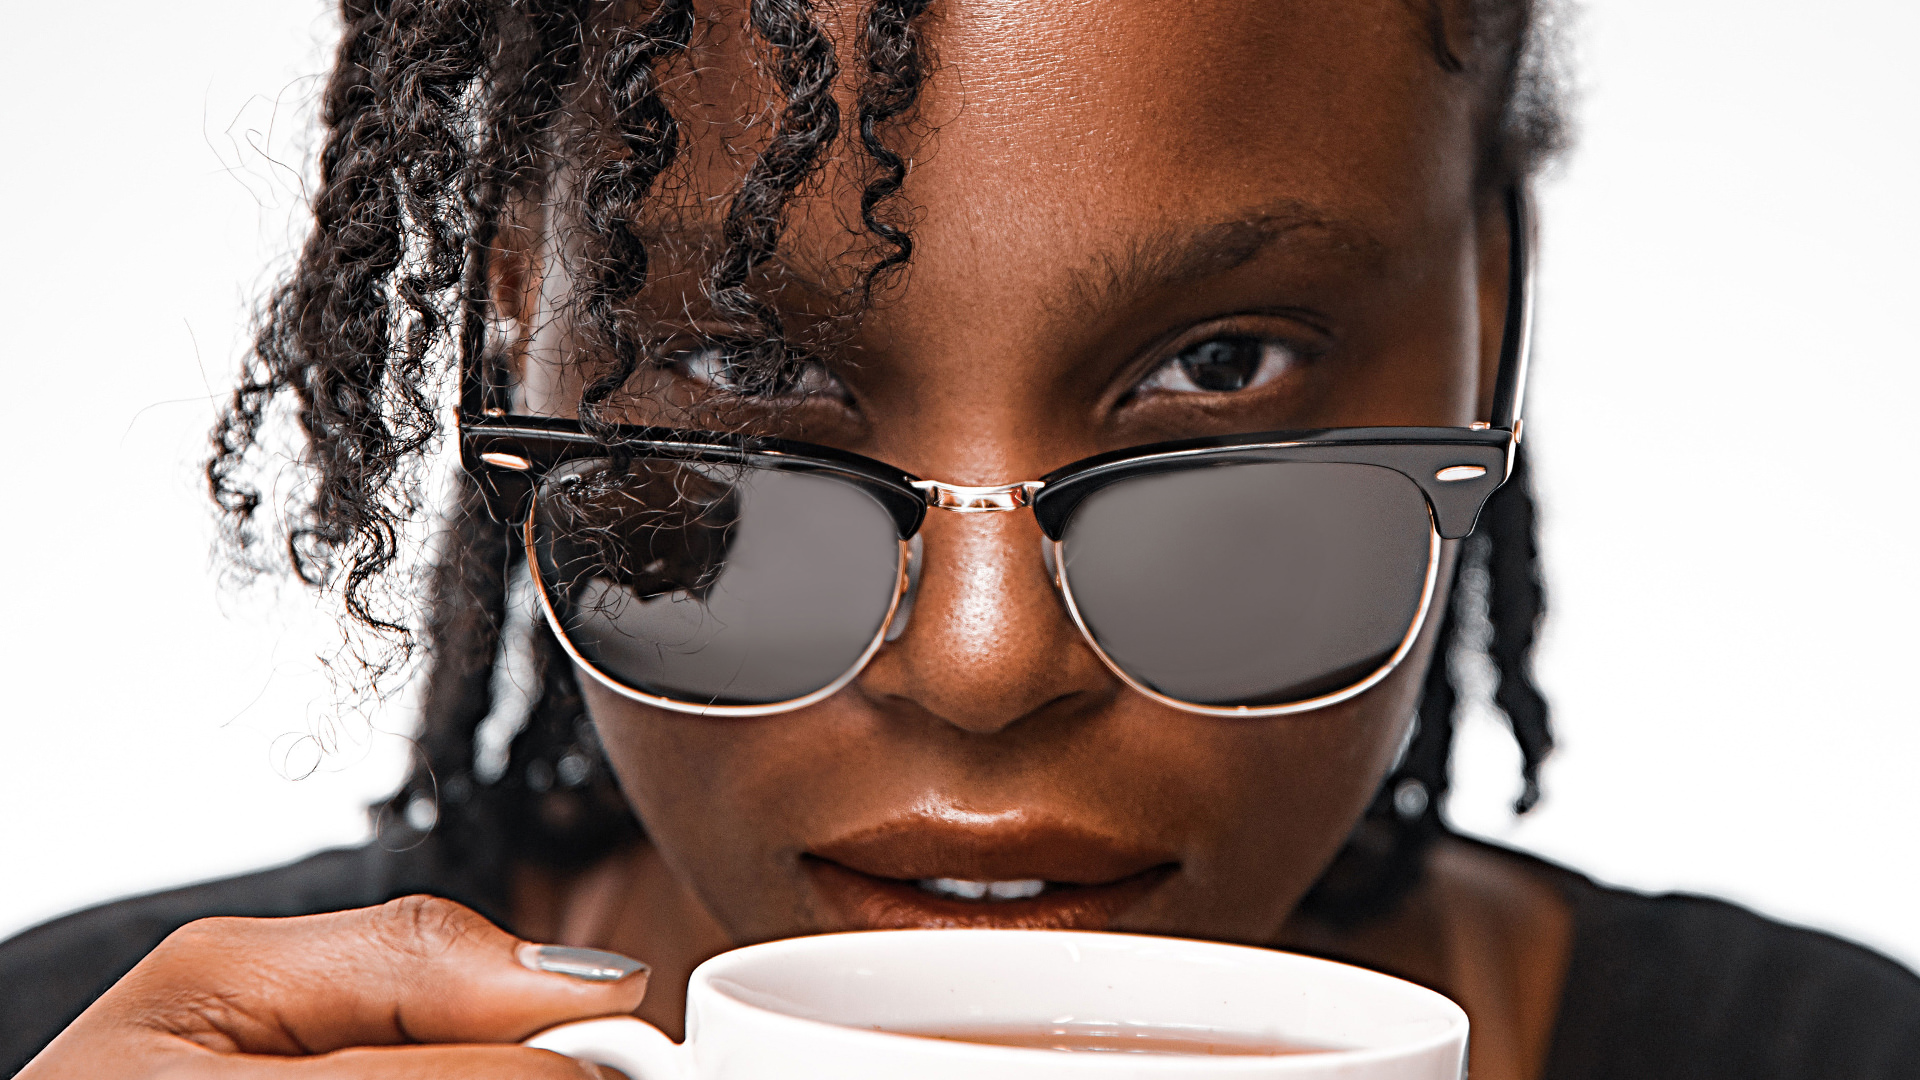
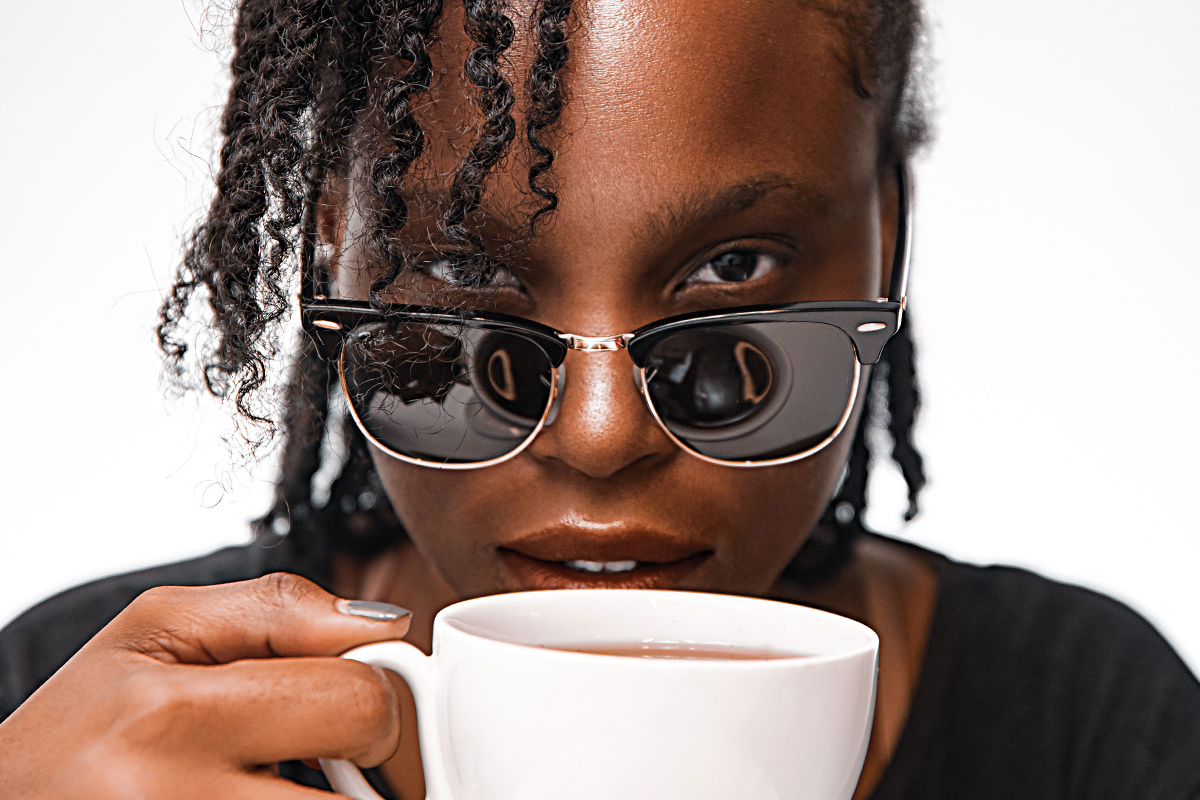
BEFORE
Customize Your Workflow
The Long and Short of Keyboard Shortcuts
Whether you’re brand new to Photoshop or a longtime user, keyboard shortcuts are the single-most useful tool to help smooth out your editing workflow.
Keyboard shortcuts make editing a much more fluid process, helping make the software feel more like an extension of your creativity rather than a tool you’re trying to push to do what you want.
Photoshop has hundreds of built-in shortcuts for all of its core tools and features. We recommend taking the time to learn as many of these as possible. Each keyboard shortcut you learn can each shave precious seconds off an edit that would otherwise be spent hunting for a tool with the mouse.
Custom Keyboard Shortcuts
The stock keyboard shortcuts in Photoshop are the best place to start learning. But as you progress and start using more advanced tools and features, you’ll quickly discover that many of them don’t have assigned shortcuts.
So if you have a feature you love and use regularly that doesn’t have a keyboard shortcut, make your own!
Let’s take a look at how to make a custom keyboard shortcut in Photoshop.
Think in Keyboard Shortcuts
If you’re learning keyboard shortcuts, it can help to start breaking down tasks by all of the keyboard shortcuts you might need to complete it.
In our example, we want to remove the objects reflected in the subjects glasses. We know we can do this pretty easily with the Brush Tool. To work non-destructively, we’ll need to create a New Layer. Using the Brush Tool, we’ll need to Sample colors from the photo to paint with. For flexibility, we’ll need to be able to change the size of the brush as well as the intensity of how much paint is applied (Flow). And to clean up our paint job, we’ll want to create a Layer Mask and then paint with black and white on our Brush Layer.
Now let’s look at this process as a series of keyboard shortcuts:
- Create a New Layer: CTRL/CMD + ALT/OPTN + SHIFT + N
- Select the Brush Tool: B
- Sample a Color: Hold ALT/OPTN and click on a color
- Change Brush Size: [ or ] (smaller and larger, respectively)
- Change Brush Flow: SHIFT + 0-9
- Create a Layer Mask: No default shortcut
- Set to Default Colors (Black and White): D
- Switch Foreground and Background Colors: X
Great! Looks like we have a keyboard shortcut for almost every step. The only step missing a shortcut is the point where we need to add a Layer Mask. Let’s quickly go through this edit, and when we get to a point where we need a shortcut, we’ll create it!
Editing with Keyboard Shortcuts
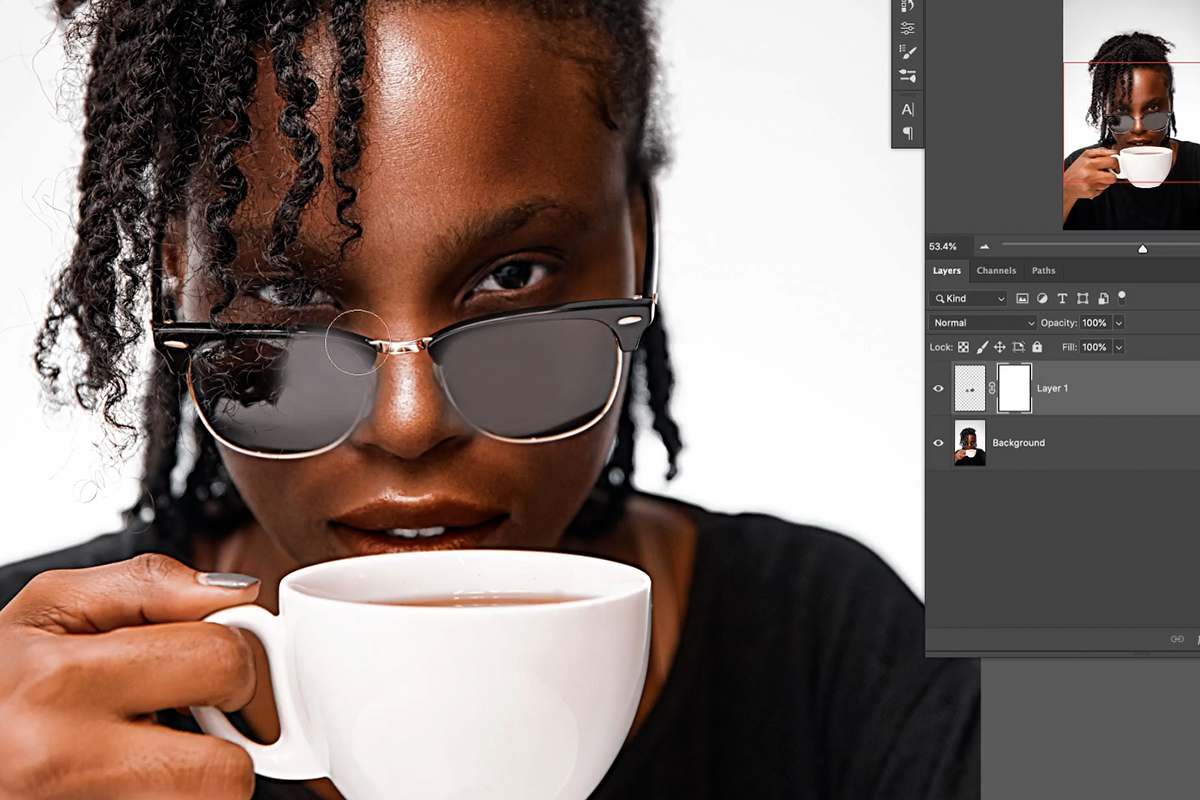
As we said, the goal of this edit is to remove the objects reflected in the subject’s glasses. This is a relatively simple fix with the Brush Tool.
Before beginning, create a new Layer by hitting CTRL/CMD + ALT/OPTN + SHIFT + N. Anything we paint with the Brush Tool should go on this Layer, and not on the original image Layer.
Select the Brush Tool by hitting B. Adjust the size of the Brush by hitting [ or ] and set the Brush to a low Flow by hitting SHIFT + 0-9.
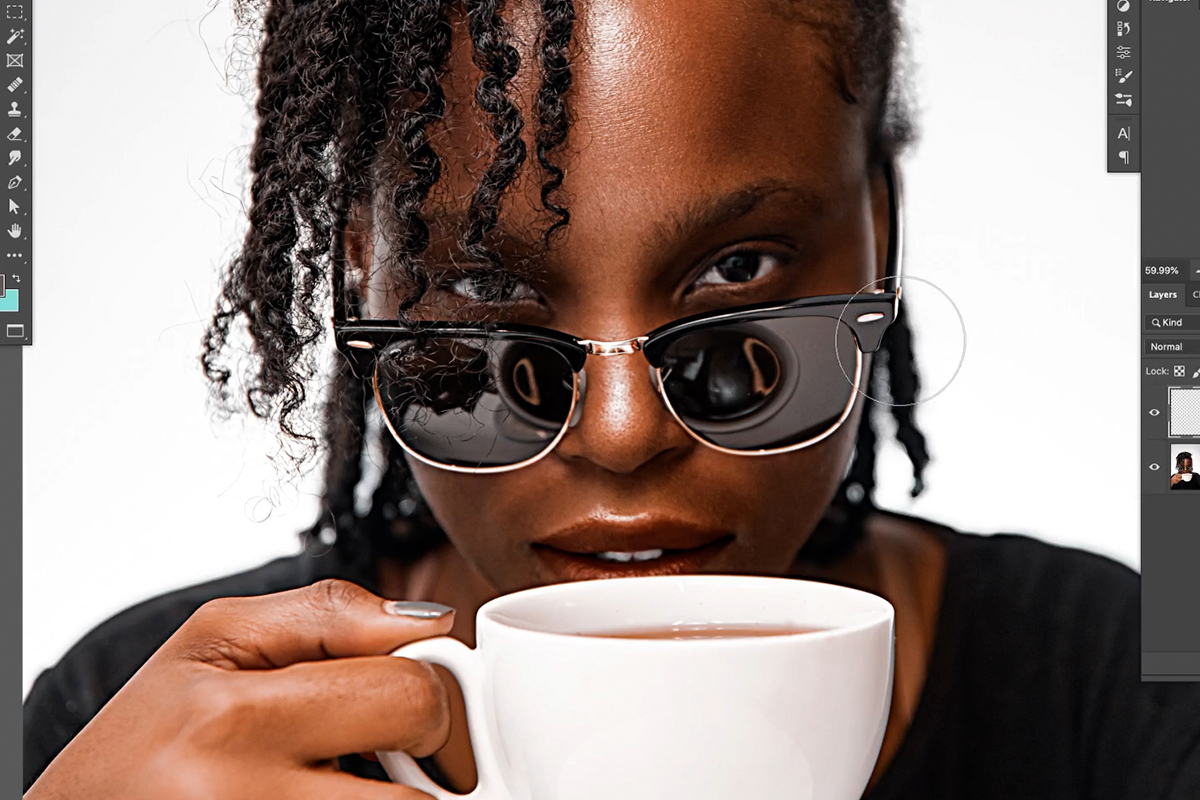
When you’re ready to start painting, make sure that you have the new Layer selected and hold ALT/OPTN to Sample a color from the wall reflected in the glasses.
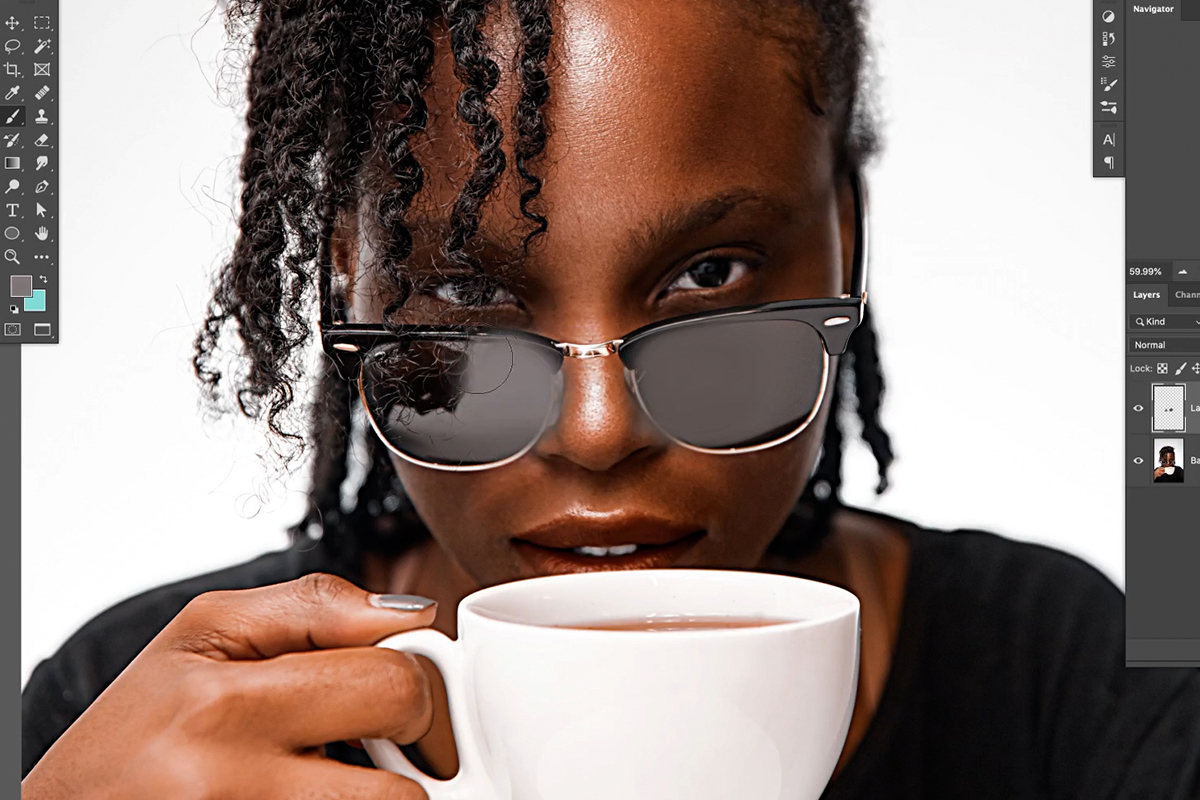
Use the Brush to paint inside of the glasses, Sampling new colors along the way to keep the highlights and shadows consistent with the reflection. Don’t worry about accidentally painting over the edges of the glasses frames or over the subject’s hair–we’ll use a Layer Mask to go back and fix our work later.
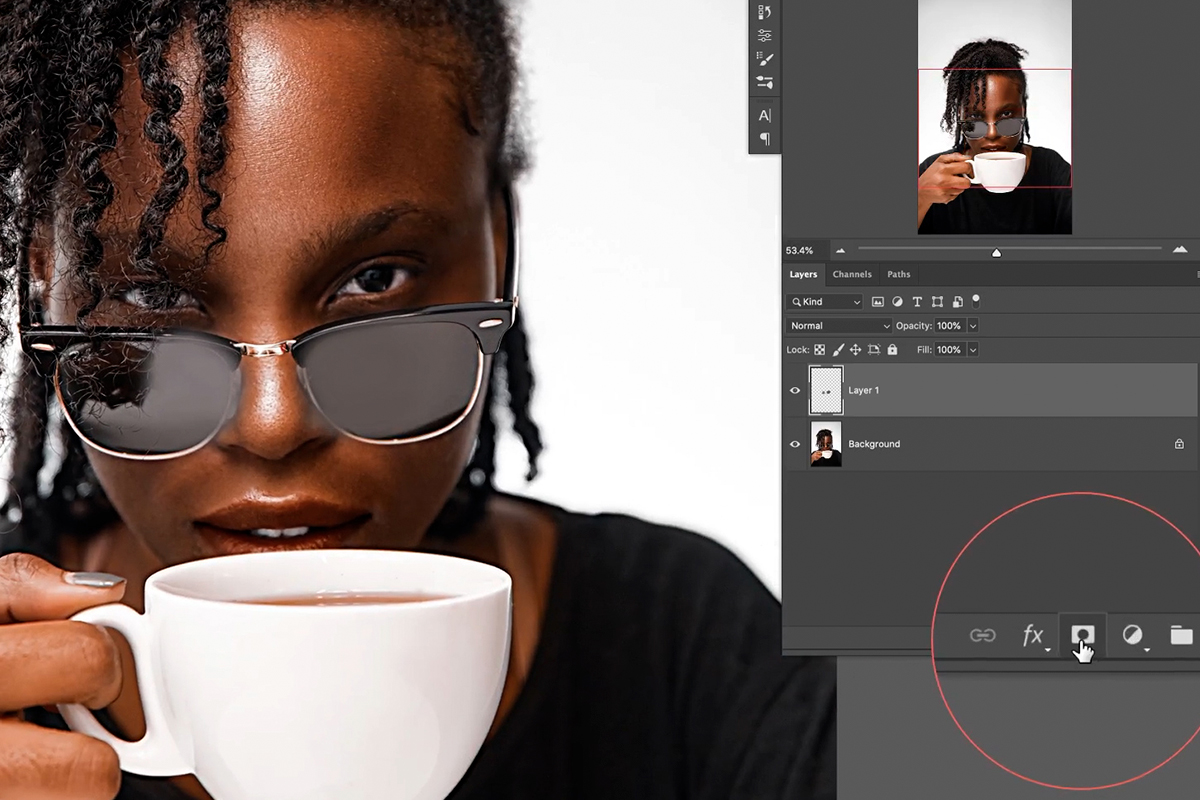
Once you’re done painting, it’s time to refine your work using a Layer Mask. Now, there’s an icon to create a Layer Mask at the bottom of the Layers Panel. You’re welcome to use this, but our goal here is to try and stick with keyboard shortcuts to stay as efficient as possible.
Unfortunately, Photoshop does not have a default shortcut to create a Layer Mask on a Layer. But we can make one!
Create a Custom Keyboard Shortcut
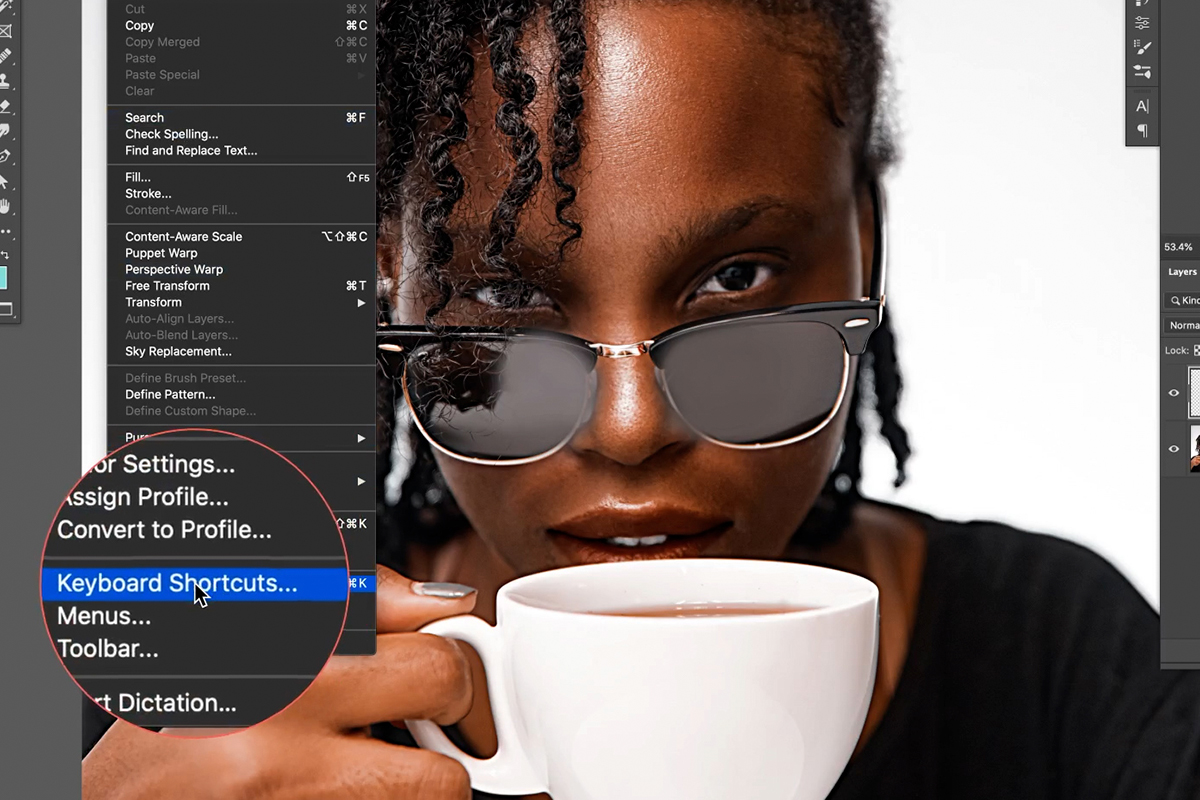
Navigate to the Edit Menu and find the option for Keyboard Shortcuts near the bottom of the list.
The Keyboard Shortcuts and Menus dialog will open, revealing an extensive list of every tool and menu in Photoshop. Features are listed in the left column and their respective keyboard shortcut, if there is one assigned, will be listed in the right column.
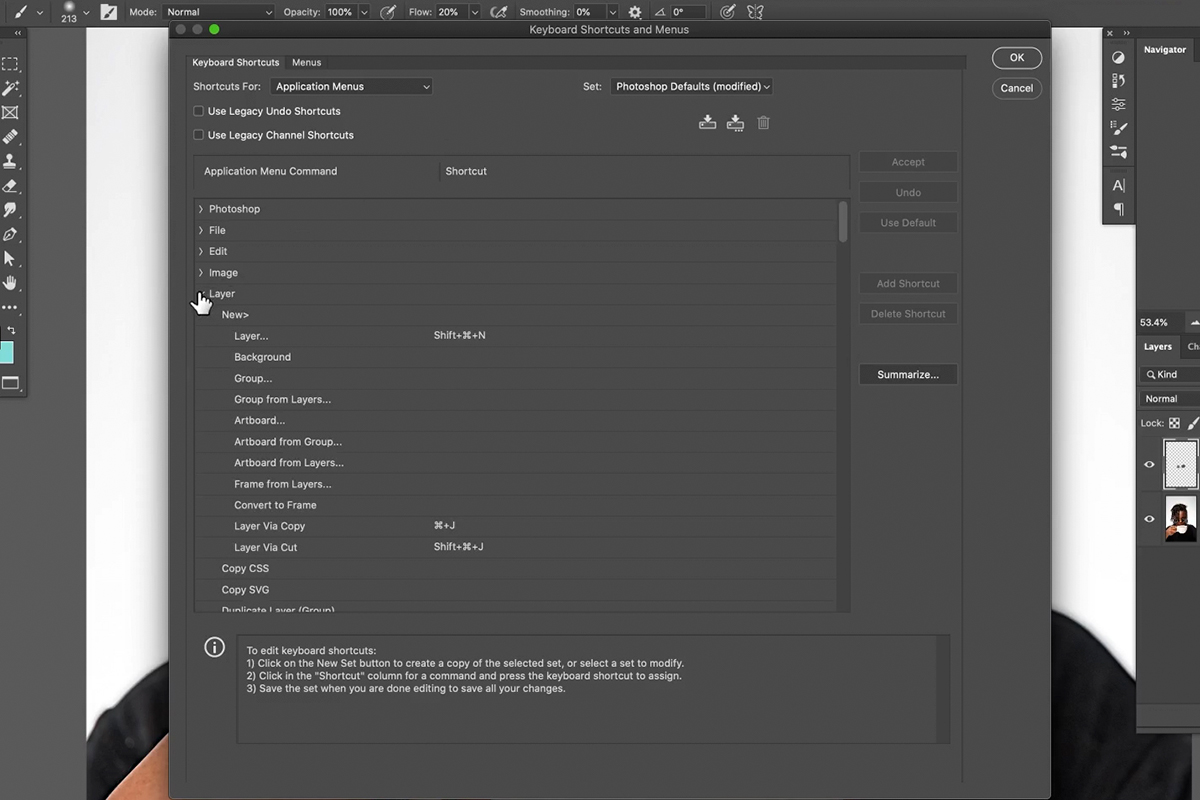
All of the tools and features are sorted by type. Since we’re looking for Layer Mask options, open up the Layer Mask list.
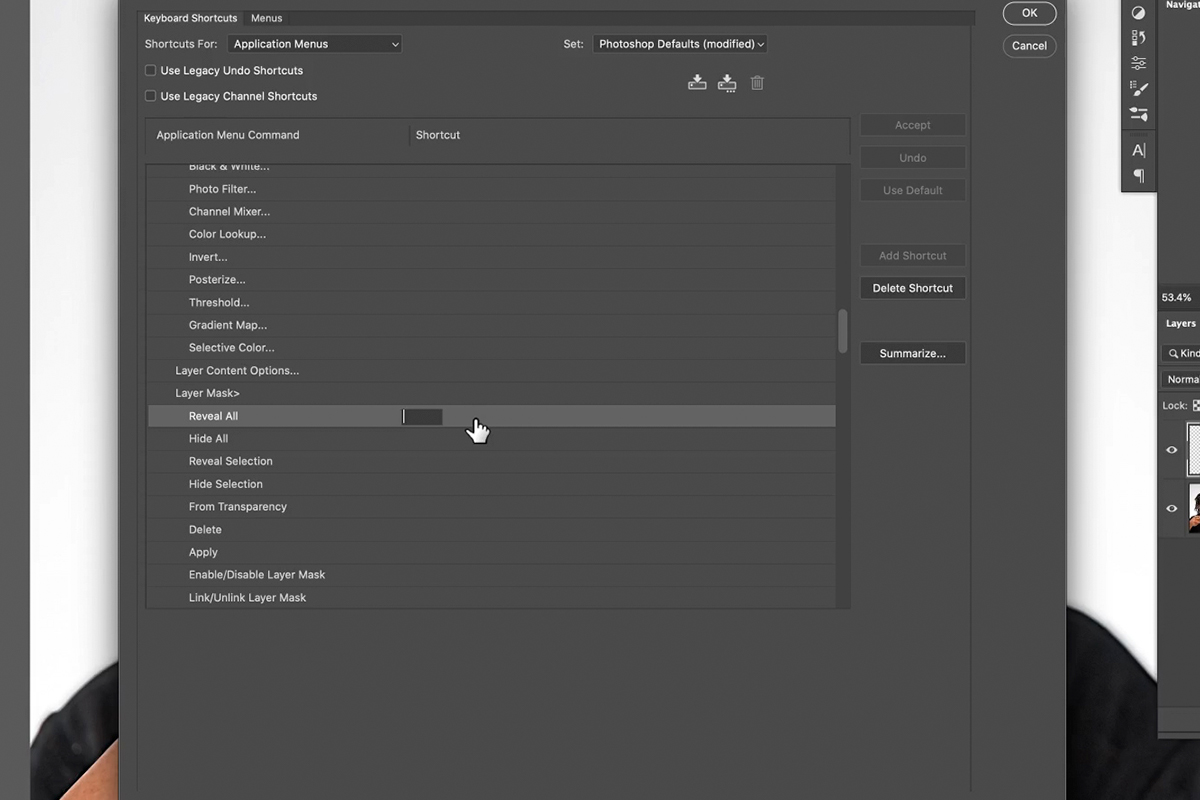
The first option is Reveal All, which means that a new Layer Mask will be created that’s filled with white, maintaining the visibility of the Layer that the Mask is added to.
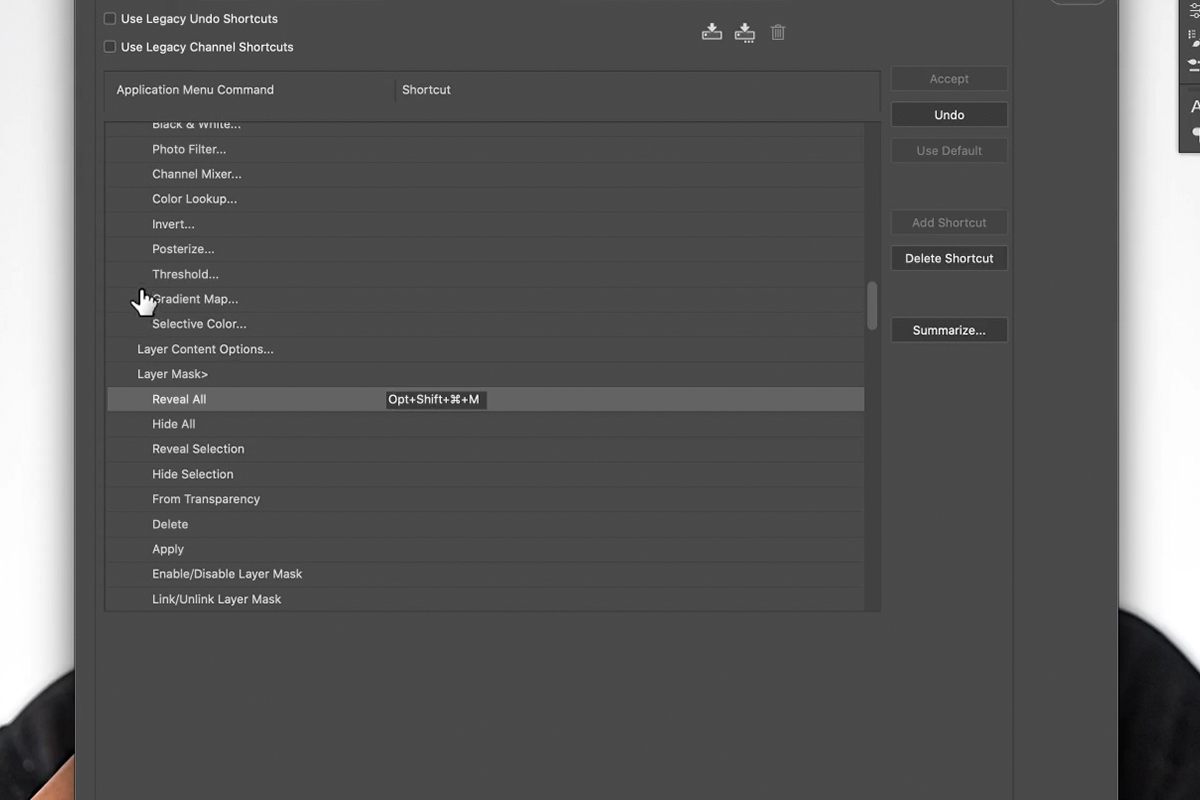
There isn’t an assigned keyboard shortcut, so let’s add one. Click on the Reveal All line in the Shortcut column. A text box will appear, waiting for a keyboard input. You can set the shortcut to whatever you want, just make sure that it doesn’t overlap with an existing shortcut that you use.
For Layer Masks, we use the shortcut CTRL/CMD + ALT/OPTN + SHIFT + M (for Mask). Hit the key combination you want, and Photoshop will assign those inputs as the selected keyboard shortcut.
Finishing the Edit
We’ve got our new shortcut prepped so let’s finish our edit! Select the Layer we used to paint over the reflections, and then use the new Layer Mask shortcut to add a white Layer Mask.
In order to use the Layer Mask to hide or reveal parts of the Layer, we need to paint with either black or white on the Layer Mask (Remember, on Layer Masks, white reveals and black conceals.)
To switch back to the default colors of black and white, hit the D key. This sets the foreground color to white and the background color to black. Since we want to hide the areas we accidentally painted over the glasses and the subject’s hair, we’ll want to paint with black. Hit X to swap the foreground and background colors.
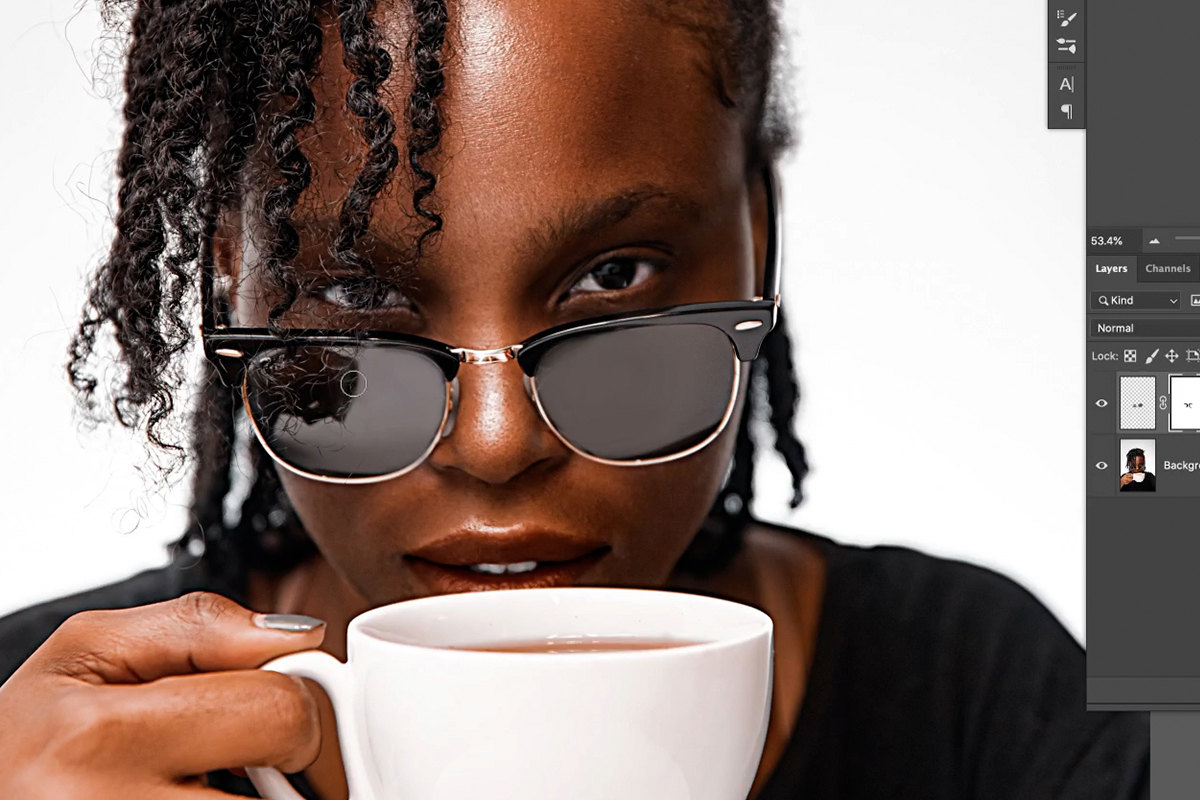
Now simply paint with black on the Layer Mask to hide any areas where you painted ‘outside the lines’.
This is just a small example, but it illustrates just how much work keyboard shortcuts can do to finish just one small part of a larger edit.
Commit to learning a new keyboard shortcut every week (or creating your own when they don’t exist!), and you’ll be working faster than ever before in Photoshop!