Download Sample Images
Click the link below to download the sample images and follow along with this tutorial.
DownloadTutorial Description
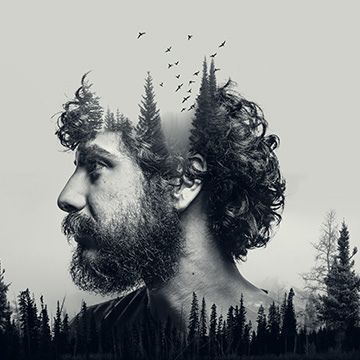
Since the early days of film, double exposure images have been a staple in creating dreamy and surreal images. In this tutorial, we not only show you how to create your own double exposure effect, but we also demonstrate how to pull it off using video in Photoshop.
Follow Along!
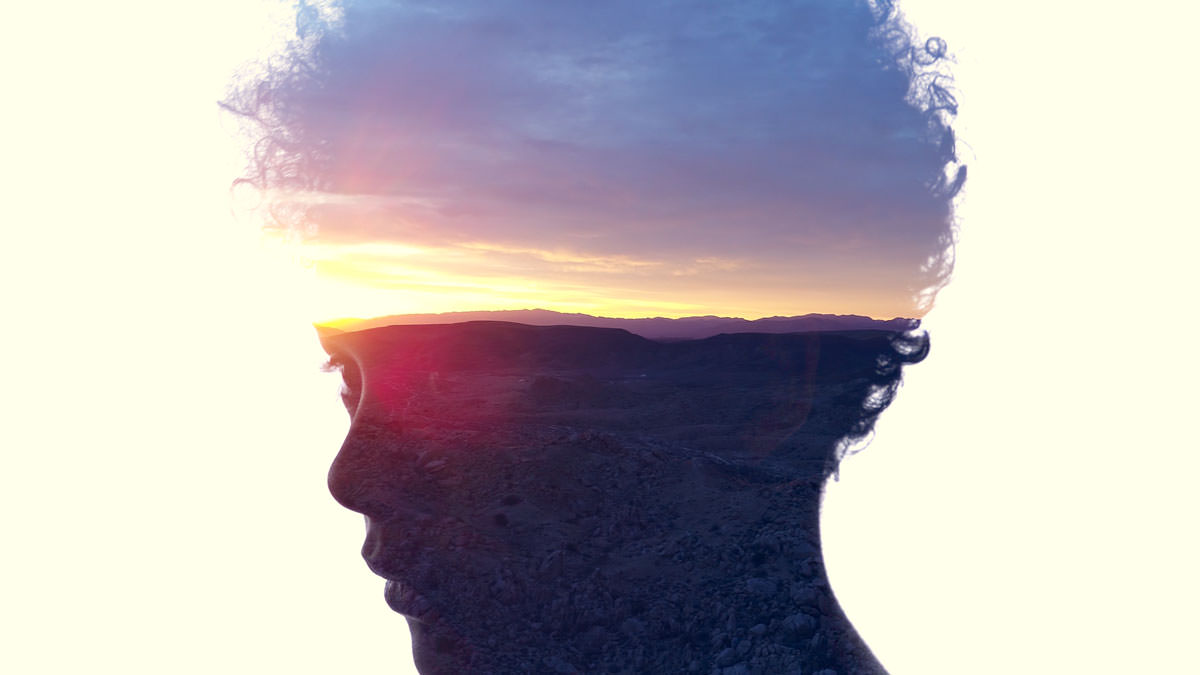
For this tutorial, we’ll be using two videos: one of Angela in silhouette against a plain white background, and one of a desert sunrise that we captured via drone during the recording of Photography 101. Feel free to download our sample videos to practice or use your own! For this particular technique, you’ll want one video of a dark subject against a light background and the second video can be of anything you want.
The Video Timeline
Dropping the videos from your file explorer into Photoshop will add them as Layers and convert them to Smart Objects. The firs thing you’ll want to do is open up the Video Timeline. Go to Window and then down to Timeline. The Timeline window will open and give you the option to create a video timeline or a frame animation. Choose video timeline.
The timeline will open and you’ll be ready to create the double exposure effect.
Double Exposure
Blending Modes in Photoshop make creating double exposure effects incredibly fast and easy. Make sure the layer with the silhouette of your subject is on the top of layer stack. Your other video should be directly underneath. Change the Blending Mode on the subject layer to Screen. This will make the darker areas mostly transparent and keep the lighter areas mostly opaque.
That will get us most of the way there. The background is still slightly visible in the white areas of the video. We can fix that using a Levels Smart Filter. Simply select the Layer with your subject and hit CTRL or CMD + L. Since the layer is already a smart object, Photoshop will apply a Levels Smart Filter. Levels will allow us to adjust the light and dark areas of an image.
Select the slider on the right which controls the white point of the image. Drag it to the left until the background becomes completely white and opaque. Then, take the slider on the left which controls the black point of the image and drag that slightly to the right. This will add a bit more contrast into the background image.
The Finishing Touch
We’ve got the look that we want, now we just need to trim our clips to the sections that we want to use in our final video. Scrub through each clip until you find the point where you want the video to begin. then simply drag the beginning and ending of each clip to match the starting and ending points that you want.
The cake has been baked, now let’s add the icing. A little bit of coloring can go a long way in establishing tone and style. Since Photoshop treats video as it were like any other layer, we can use a Levels Adjustment Layer to do the job. For our version, we selected the Blue Channel in the Levels properties dialog. Adding a little bit of yellow into the highlights and blues into the shadows gave us a look that we were happy with. Feel free to experiment! Color and tone is entirely subjective, so feel free to push it as far as you like.
On a Render Bender
Photoshop allows you to render video as well. Go to File, Export, and select Render Video. Adjust the settings to your taste – we went with H.264 at high quality and a resolution of 1920 x 1080.