
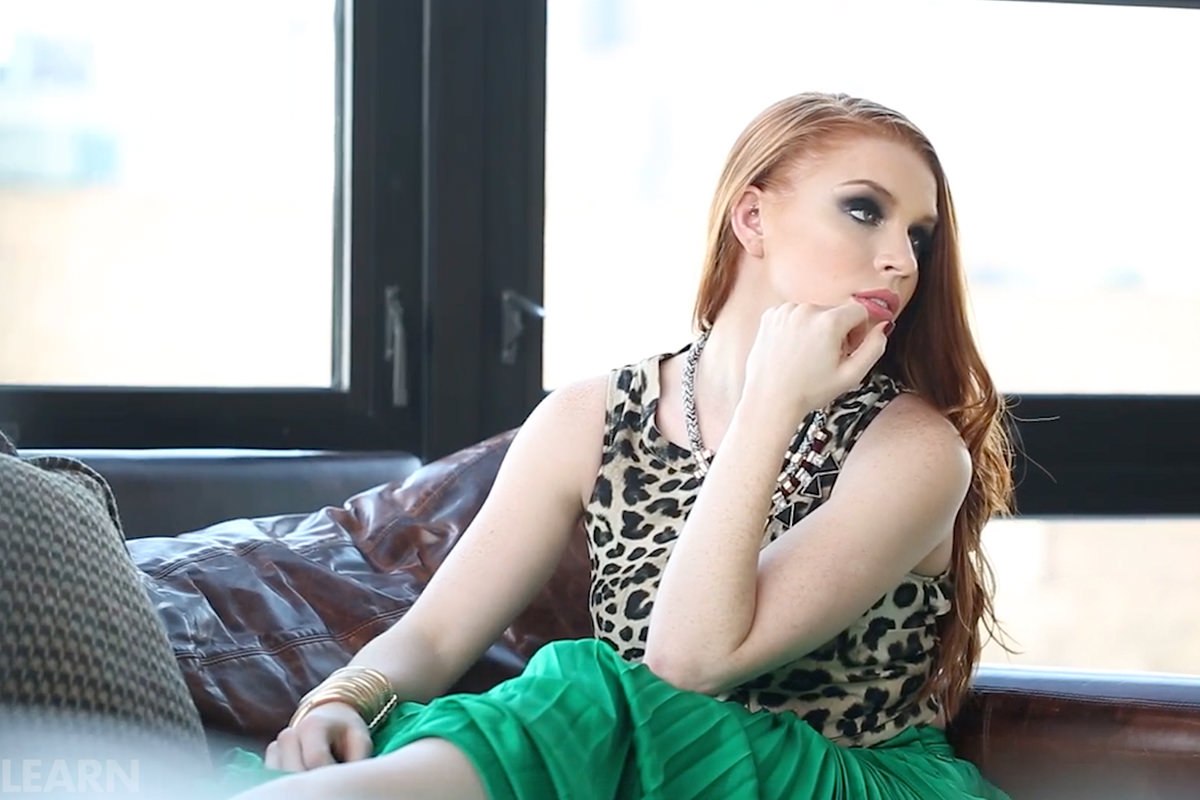

Download Assets
This tutorial includes 8 sample videos and 1 sample PSD. Downloads are free with a PHLEARN account.
- Download the sample files from every free tutorial on PHLEARN
- New free tutorials published every week
- One free account: sign up once, then download anything
description
Photoshop can do a surprising amount of real video editing, using the exact same interface and adjustment layers already familiar from editing still photos. This tutorial, the first in a four-part series on video in Photoshop, covers two ways to import footage, how the Timeline and Layers panel work together, cutting, trimming and reordering clips, and using keyframes to animate a fade over a color fill layer.
Enjoying This Free Tutorial?
We publish a new free tutorial every week, each one with sample images and PSDs you can download and follow along with. Sign up and they land straight in your inbox, along with early word on sales, events and subscriber-only offers.

Photoshop can do a surprising amount of real video editing, using the exact same interface and adjustment layers already familiar from editing still photos. This tutorial, the first in a four-part series on video in Photoshop, covers two ways to import footage, how the Timeline and Layers panel work together, cutting and reordering clips, and using keyframes to animate a fade with a color fill layer.
Why Edit Video in Photoshop Instead of a Dedicated Video Editor
Dedicated programs like Adobe Premiere, After Effects, and Final Cut Pro are built specifically for video, but Photoshop offers a real alternative for anyone already comfortable with its photo-editing tools.
-
Recognize When a Dedicated Video Editor Isn’t Practical
Consider using Photoshop for video when a dedicated video editor isn’t available, or when its interface feels unfamiliar.
-
Use Familiar Photoshop Tools on Video
Apply already-familiar tools like Curves and Levels adjustment layers to video footage the same way they’d be applied to a still photo, for tasks like color grading, titles, and transitions.
Why Photoshop Video Editing Appeals to Photo Editors
Learning an entirely new video editing program’s interface takes real time, especially for someone who already knows Photoshop well. Editing video inside Photoshop instead means reusing tools like adjustment layers that are already second nature, getting to a polished final result without needing to learn a completely different piece of software first.
Importing Video With Load Files Into Stack
Load Files Into Stack, the same command used for combining still images, brings a whole folder of video clips into one document at once.
-
Open Load Files Into Stack
Go to File > Scripts > Load Files Into Stack.
-
Browse to and Select the Video Clips
Choose Use Files, click Browse, and shift-click all the video clips to bring into the project. The original sample clips used throughout this series are in the Download Assets card on this page.
-
Load the Clips as Stacked Layers
Click Open and then OK to bring every selected clip in as its own layer, stacked one on top of another in the same document.
Building a Linear Video Group From the Loaded Clips
Converting stacked layers into a single video group is what turns them from clips sitting on top of each other into a continuous, linear sequence.
-
Show the Timeline Panel
Go to Window > Timeline to display the Timeline panel, the main area for editing video in Photoshop.
-
Select All the Loaded Clip Layers
Shift-click every clip layer in the Layers panel to select them all together.
-
Create a New Video Group From the Clips
Click the film strip icon with a down arrow and choose New Video Group From Clips, which arranges the clips one after another as a continuous sequence instead of stacked on top of each other.
Importing and Adding Media One Clip at a Time
Opening a single video first and adding more clips as the project develops suits a workflow where every clip isn’t picked out in advance.
-
Open a Single Video File
Press Cmd/Ctrl+O and open one video clip to start a project with a single-clip video group.
-
Add More Clips With Add Media
Click the film strip icon and choose Add Media, then select additional video or photo files to add them into the same timeline as needed.
Understanding How the Timeline and Layers Panel Relate
Every clip’s position in the video group’s layer stack directly determines its order of playback in the timeline, and dragging a layer up or down changes that order immediately.
-
Use the Zoom Controls to Navigate the Timeline
Use the timeline’s zoom controls to zoom in for detail or out for an overview while scrubbing through footage.
-
Reorder Clips by Dragging Layers
Click and drag a clip’s layer above or below another layer in the Layers panel to change its position in the playback order.
-
Reorder Clips Directly in the Timeline
Alternatively, click and drag a clip directly within the Timeline panel to reposition it.
Why Layer Order Determines Playback Order
In a still-image document, layer order only affects which layer visually covers another, but a video group’s layers instead represent sequence through time. The layer at the bottom of a video group plays first, and each layer above it plays afterward in order, which is why reordering the layers is the direct way to reorder what plays when.
Trimming and Cutting Clips in the Timeline
Scrubbing to a specific point and clicking the scissors icon splits a clip there, and dragging a clip’s edge trims or extends how much of the original footage remains visible.
-
Scrub to Find the Desired Moment
Play or scrub through a clip to locate the specific moment that should be kept in the final video.
-
Cut the Footage at That Point
Click the scissors icon in the timeline to split the footage at the current playhead position.
-
Delete Unwanted Footage
Select any split-off section of footage that isn’t needed and press Delete to remove it entirely.
-
Drag a Clip’s Edge to Trim or Extend It
Click and drag either end of a clip in the timeline to shorten or lengthen how much footage is included, watching the live preview while adjusting.
Why Cuts in Photoshop’s Timeline Aren’t Permanent
A clip trimmed down to a short highlight might later need more of its original footage restored, and re-shooting isn’t an option after the fact. Because trimming a clip’s edge in the timeline doesn’t permanently discard the trimmed footage, dragging that same edge back out later restores it, keeping every cut fully reversible.
Using Keyframes to Animate Opacity
Keyframes capture a layer’s exact settings, like opacity, at a specific point in time, and Photoshop automatically animates smoothly between whatever keyframes are set.
-
Expand the Video Layer’s Properties
Expand a video group layer to reveal its Position, Opacity, and Style properties.
-
Add a Keyframe at 0% Opacity
At the point where the clip should start invisible, click the stopwatch icon next to Opacity to add a keyframe, then set the opacity to 0%.
-
Add a Second Keyframe at 100% Opacity
Move the playhead forward to where the clip should be fully visible and click the diamond next to Opacity to add a second keyframe. It starts at 0%, copied from the first one, so select it and raise the opacity to 100%.
-
Preview the Fade
Press play to confirm the clip fades smoothly from invisible to fully visible between the two keyframes.
Combining a Color Fill Layer With a Keyframed Fade
Placing a solid color adjustment layer beneath a keyframed, fading video clip reveals that color first, giving the fade-in a clean, deliberate background to emerge from.
-
Add a Solid Color Adjustment Layer
Create a new solid color adjustment layer the same way it would be created on a still photo, choosing a color such as white.
-
Position the Color Layer Below the Video Group
Drag the color fill layer beneath the video group so it shows through wherever the video is still fading in.
-
Adjust the Keyframe Timing to Fine-Tune the Fade
Move the opacity keyframes closer together for a quick fade or farther apart for a long, slow one, and trim the clip’s start to remove any extra time before the fade begins.
Why a Color Fill Layer Pairs Well With a Keyframed Fade
A clip that simply fades in from black offers only one possible look, regardless of the project’s actual style. Pairing the fade with a solid color adjustment layer underneath, in whatever color fits the project, gives the same keyframed opacity technique a customizable background to reveal, which also sets up the title sequence work covered later in this series.
Why This Approach Works
Grouping clips into a single video group, rather than leaving them as separate stacked layers, is what turns Photoshop’s Layers panel into a genuine linear timeline. Understanding that layer order directly controls playback order is the key that makes reordering, cutting, and rearranging clips intuitive rather than confusing. Using keyframes to animate opacity over a color fill layer demonstrates how Photoshop’s existing adjustment layer tools extend naturally into time-based video work, the same foundation the rest of this series on color grading, titles, and export builds on. Want to keep going with this series? Check out how to color grade video in Photoshop next.
Final Thoughts
This introduction covers the basics, two ways to import footage, how the timeline and layers interact, cutting and trimming, and keyframed opacity, everything needed to start editing video comfortably in Photoshop. The rest of this four-part series builds directly on these fundamentals, moving into color grading, titles and transitions, and finally exporting a finished video for the web.
Quick Reference: Keys, Menus and Settings
- Load clipsFile > Scripts > Load Files Into Stack > Use Files > Browse
- Show the timelineWindow > Timeline
- Play clips in orderShift-click the clip layers, film strip icon > New Video Group From Clips
- Open and addCmd/Ctrl + O to open one clip, then film strip icon > Add Media
- Play and cutSpace plays; the scissors icon splits at the playhead; Delete removes the piece
- Fade inStopwatch next to Opacity at 0%, then a second keyframe at 100%
- Background colorSolid Color fill layer (white) below the video group
Free Downloads
Follow Along on the Same Clips
Get the 8 sample video clips used in all four parts of this series and the sample PSD to import, cut and fade along. Free with a PHLEARN account.
Video Editing in Photoshop: Common Questions
Why edit video in Photoshop instead of Premiere?
Premiere, After Effects and Final Cut Pro are built for video, but you may not own them or know them. In Photoshop you edit video with the same tools you already use on photos, like Curves and Levels adjustment layers.
How do I bring video clips into Photoshop?
Two ways. Go to File > Scripts > Load Files Into Stack when you have all your clips picked out, or open one clip with Cmd/Ctrl + O and add the rest later.
Why are my clips stacked on top of each other instead of playing in order?
Load Files Into Stack puts every clip on its own layer at the same time. Shift-click the clip layers, click the film strip icon in the Timeline and choose New Video Group From Clips to line them up one after another.
Where is the video timeline?
Go to Window > Timeline. It is where you scrub through footage, arrange clips and make cuts.
Can I add more clips later?
Yes. Click the film strip icon and choose Add Media, then pick the clips. Photos work too.
Which clip plays first?
The bottom layer in the video group plays first, then each layer above it. Drag layers in the Layers panel, or drag clips in the Timeline, to change the order.
How do I cut out part of a clip?
Move the playhead to where you want the cut and click the scissors icon to split the clip. Select the piece you don’t need and press Delete.
Are cuts in Photoshop permanent?
No. Drag either end of a clip to trim it, and drag it back out later to bring the footage back.
How do I make a clip fade in?
Open the clip’s layer in the Timeline and click the stopwatch next to Opacity to add a keyframe at 0%. Move ahead, add a second keyframe and set it to 100%. A white Solid Color fill layer below the video group gives it a clean color to fade in from.
Are the sample files free?
Yes, with a free PHLEARN account. You get 8 sample videos and 1 sample PSD: the clips from the PHLEARN Method shoot that all four parts of this series edit, plus a sample PSD.
From the Magazine View all
Stories, interviews and guides for photographers, new every week.
 BusinessHow to Compete With AI: Give Your Clients MoreEveryone has the same tools now, and your clients know it. The way to compete is to give them more.
 EditingLightCraft vs Lightroom: Is the Free Clone Any Good?The free clone on the same RAW files: what matches, what breaks and who should switch.
 EditingHow to Tell If a Photo Is AI, and Prove Yours Is RealThe tells that still work in 2026, why detectors disagree, and how to prove your own photos.
Master Photoshop, Lightroom and Photography
Join PHLEARN PRO for $12.99 a month, or $99.99 a year (save 36%). Cancel anytime, with a 100% money-back guarantee.





