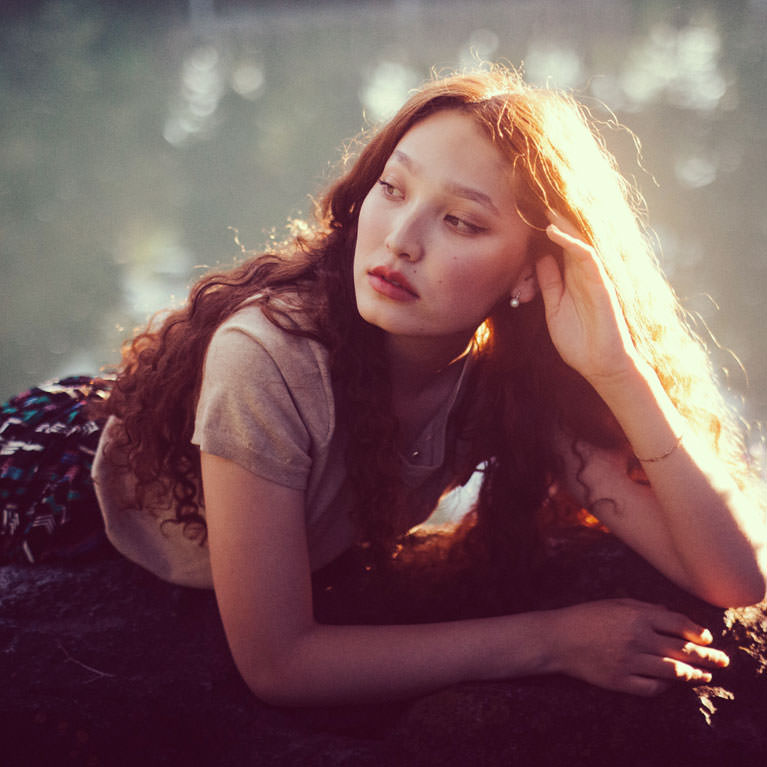


BEFORE COLOR TONE
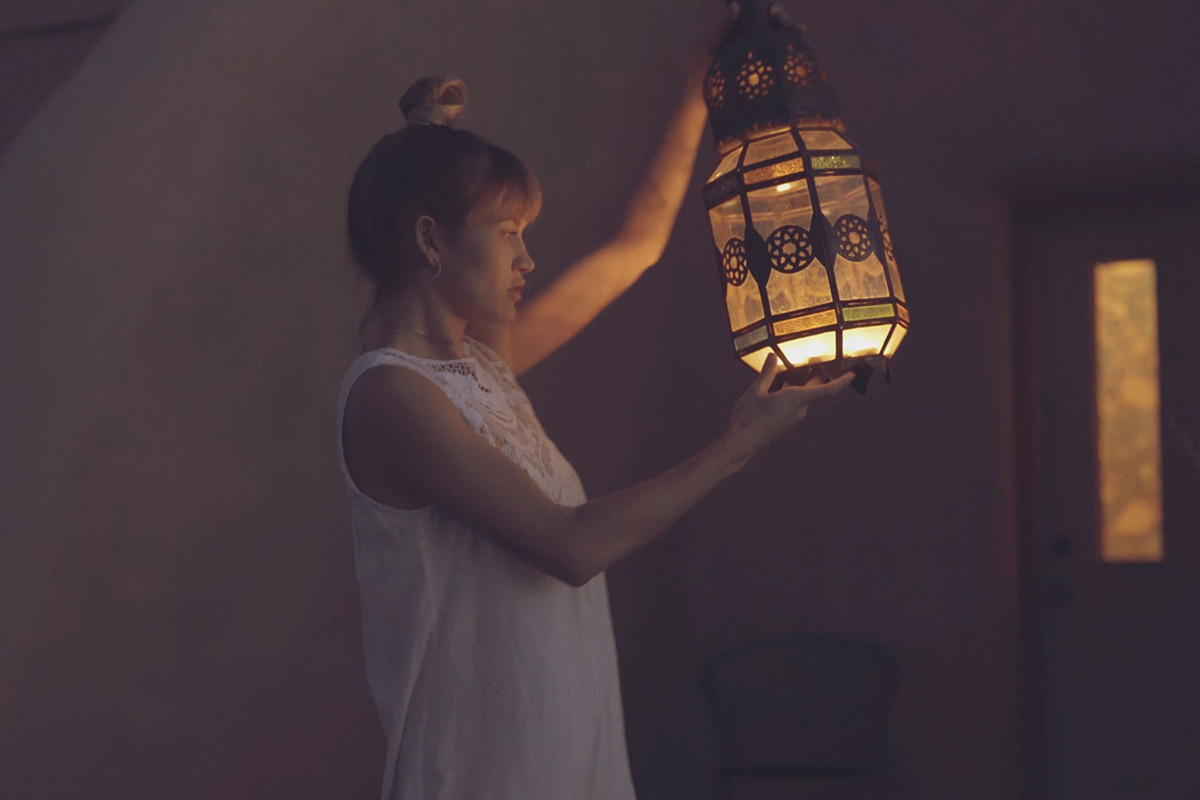
AFTER COLOR TONE
Download Sample Images
Click the link below to download the sample images and follow along with this tutorial.
DownloadWho knew you could create beautiful color grades for video in Photoshop?
Apply all of your favorite photo color toning techniques to videos in Photoshop. In a few simple steps, we add wonderful color to video footage.
Color Toning Video
Adding color to video is as easy as color toning your photos. In this tutorial, we show you how to use adjustment layers over a video timeline to make color grading a breeze.
Start by importing your footage into Photoshop as you would with photos. It will automatically show up in a Video Group in your Layers tab, and populate a Timeline window. The Timeline lets you scrub through each frame of video, which is strung out over time.

Quick Tip: If you do not see your timeline window, go to Window > Timeline.
This Timeline is the biggest difference between editing color for photo and video. Once you have imported your video and the timeline is visible, it is time to color grade.
How to Use a Curves Adjustment Layer on Video
Make a Curves adjustment layer by going down to the Adjustment layer icon and choosing Curves. It will show up as usual in the Layers tab and now in the Timeline too, right above your video. We dragged the center of the Curve upward to make our image just a little bit brighter.
To keep the brightness from overexposing our highlights, double click on the Adjustment layer. In the Blend-If dialog, hold ALT (Windows) or OPTION (iOS) and drag from left to right to make the Curves layer invisible where the underlying layer is lighter. This will lighten only the underexposed shadows for a great base color grade.
If you need to change when the adjustment layer turns on or off during the video, just drag the edge of the layer in the timeline to the right or left. You can see and manipulate exactly when the color grading shows up so it matches any action in your video.
Adding Color Tones
Although you can apply almost any coloring technique you use for photos to your video, in this tutorial we will cover two ways to color grade your videos.
The first technique we use is applying a solid color Adjustment layer to the desired chunk of footage. In this case we use an orange to warm the scene up. Change the layer blend mode to Soft Light and see how you like your color choice. You can always adjust the color of your fill layer until you find the perfect color tones.
The second technique we use is applying another Curves adjustment layer to target and adjust our Reds, Blues, and Greens individually. This allows us to narrow in on specific tones reducing or intensifying them.
You can add color specifically to your shadows by creating another solid fill layer, choosing the desired color, and selecting Lighten in the layer blend modes. The Lighten blend mode makes anything lighter than your chosen color remain the same, and anything darker will take your solid fill color. Adjust your fill color to choose which color appears in the shadows.
Remember, you can modify the opacity on each adjustment layer to change the intensity of its color tone.
Add Smooth Transitions to Color Adjustments
By applying transitions to our Curves adjustment layers, we can make our color adjustments fade in or out. This is extremely useful when you have a scene you want to gradually become lighter or darker.