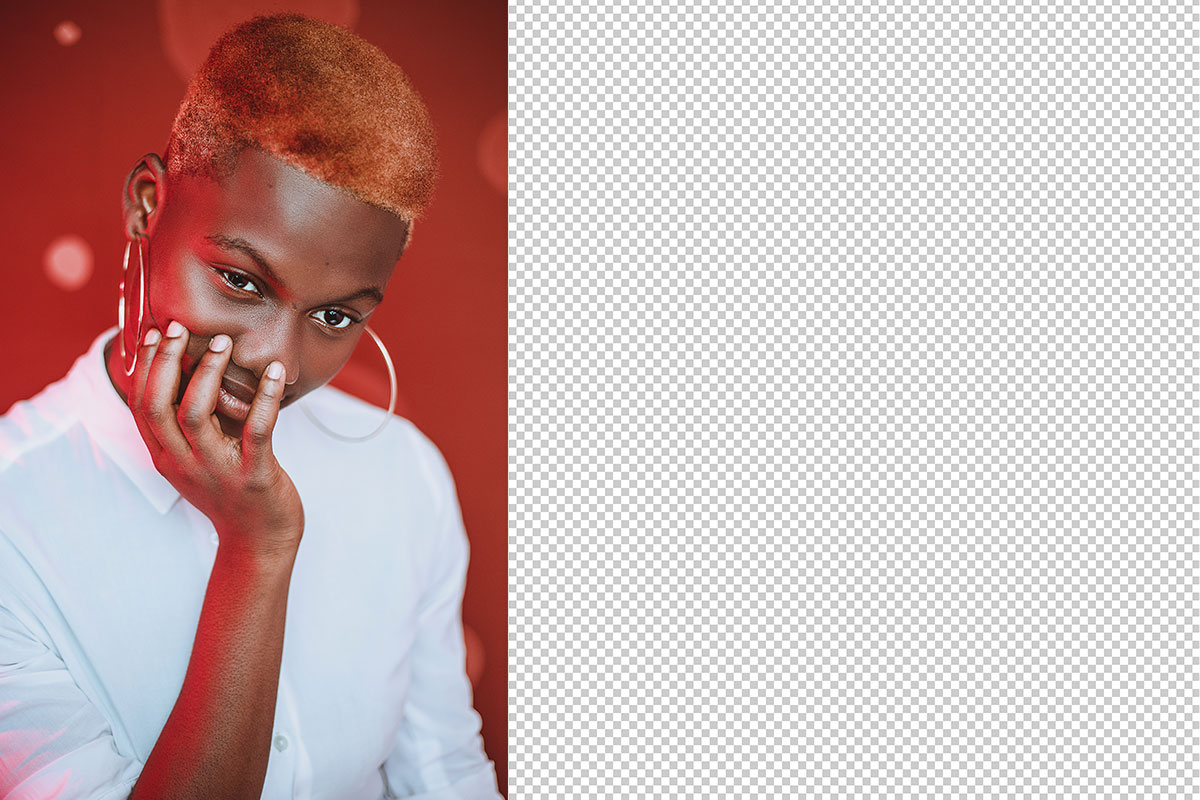
BEFORE
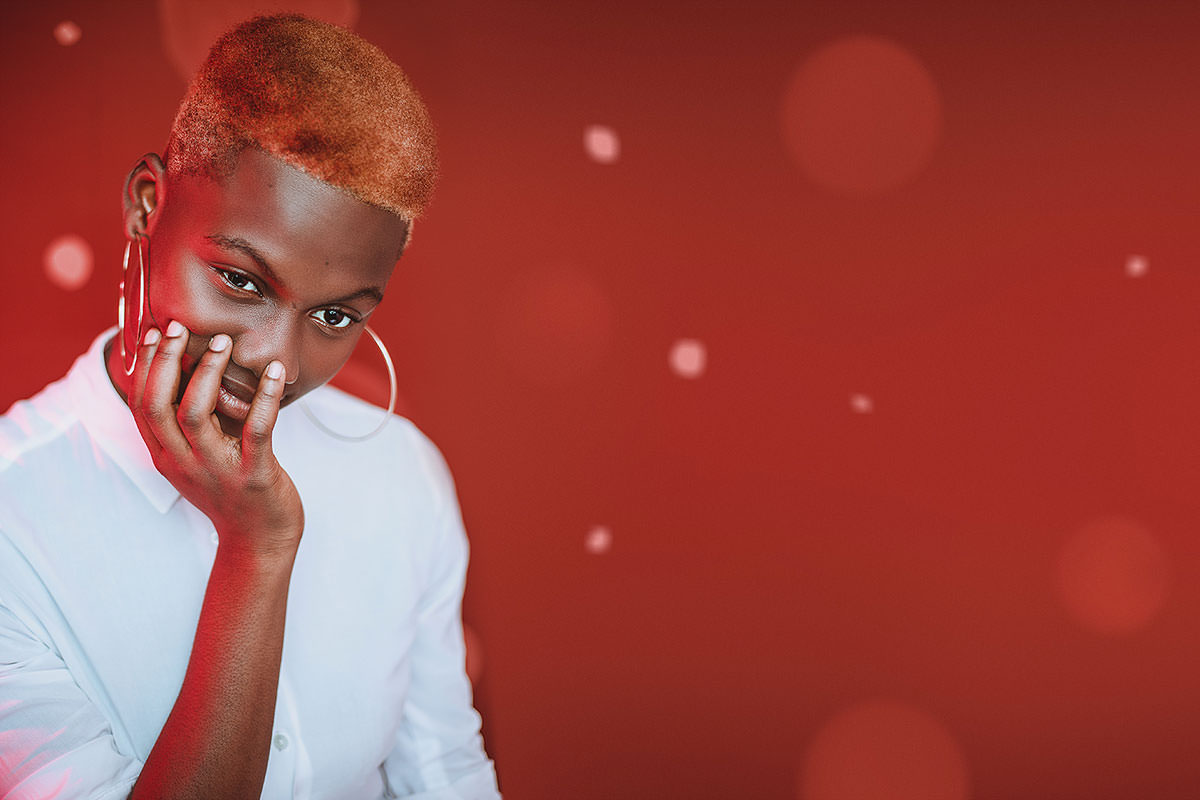
AFTER BACKGROUND EXTENSION
Download Sample Image
Click the link below to download the sample image and follow along with this tutorial.
DownloadTutorial Description
In the age of websites and advertisements, images need to have enough space to add text, graphics, and logos. That’s where knowing how to extend backgrounds in Photoshop is a valuable skill. So follow along and learn how to extend any background, recreating the colors, light, and texture of the original!
Ready to learn more? Try How to Change & Remove Backgrounds in Photoshop! Master professional techniques that will help you remove distractions, change background colors, or completely remove a background from an image!
Extending Backgrounds
Not all backgrounds are going to lend themselves to quick and easy extension. If your subject is standing in front of a busy city street, extending that background is going to take a lot of time and might not even be possible if you have a deadline. But if your subject is in front of a seamless or any simple background, Photoshop makes it easy to make realistic background extensions of any size.
In our example the subject is in front of a simple red background, but there is some variation in lightness due to the lighting in the scene. The background is darker towards the top and bottom of the frame and lighter towards the center. There are also some soft bokeh elements in the background that we’ll need to recreate as well.
It Starts with the Brush Tool
Before we begin the extention, we need to decide what size we want the final image to be. Using the Crop Tool, you can adjust the size of the canvas to meet your needs. We wanted to create a style that would work for a website banner and has space for text next to the subject.
Once your canvas is set, we can start the extension with the reliable Brush Tool. Create a new Layer and Sample the red from somewhere near the center of the frame. Then, using a flow of 100%, paint until all of the newly added transparent area has been filled. This will give us a good foundation to build upon.
Now we need to recreate the darker areas towards the top and bottom of the frame. Using the Brush Tool, this time set to a Flow of about 20% (or 2%-5% if you’re using a mouse), sample a color from the dark red area near the top of the frame. Use this darker color to paint along the top edge, building a natural gradient and replicating the shadows from the original image. Repeat this process near the bottom of the frame as well. And feel free to sample as many different colors of red from the original photo that you need to create a soft, natural gradient.
If you painted over any areas of the original photo, simply paint with black (still with a low Flow) on the Layer Mask of your Brush Tool Layer. This will let you hide any excess red and also help you to blend the original image in with the newly pained background.
Recreating Bokeh
With our red background ready to go, it’s time to recreate those soft circles from the original image.
For the smaller spots, we used the Lasso Tool to draw our own spots of similar size and varying shapes. Draw as many as you like. You should end up with several roughly drawn circular selections. When ready, Fill those selections with white.
Now we just need to add some blur. First, select the Layer with your white spots and convert it to a Smart Object. This will allow you to go back and adjust the blur after you apply it. With your new Smart Object selected, go to Filter, Blu Gallery, and select Box Blur. We prefer Box Blur as it tends to create a more photographic effect than the standard Gaussian Blur. Adjust the setting until you get something that resembles the small white spots in the original photo.
We’ll take a different approach to the larger spots. Since they are much more circular, we can create the selections using the Elliptical Marquee Tool instead of the Lasso Tool. And since the original large spots have a little more color variation, rather than using Fill to make them white, we’ll use the Brush Tool with a low Flow to paint white into each. This will create a natural gradient and help us match the original.
Once those are painted, follow the same process of converting to a Smart Object and adding a Box Blur to mimic the effect in our photograph.
Noise
We’re almost there! If you zoom in close to both the original image and our newly-painted background, you’ll probably notice something is missing from our extension. No matter how nice the camera, there’s always going to be a little bit of noise in every image you take. So if we paint in new elements, it’s important to add noise that matches that of the original photo.
Once the noise is added, you should be left with a new, photorealistic background that’s ready for the web!