
Download Sample Image & PSD
Click the link below to download the sample images and follow along with this tutorial.
DownloadTutorial Description
Photoshop offers a wide variety of tools to make cutouts and selections. And with so many options, it can be overwhelming to find the right tool for the job. Some selection tools are extremely accurate, like the Pen Tool, but they have a steeper learning curve and they take longer as the selection process is all done by hand.
And then there’s tools like Select and Mask, which are designed to make life a little easier.
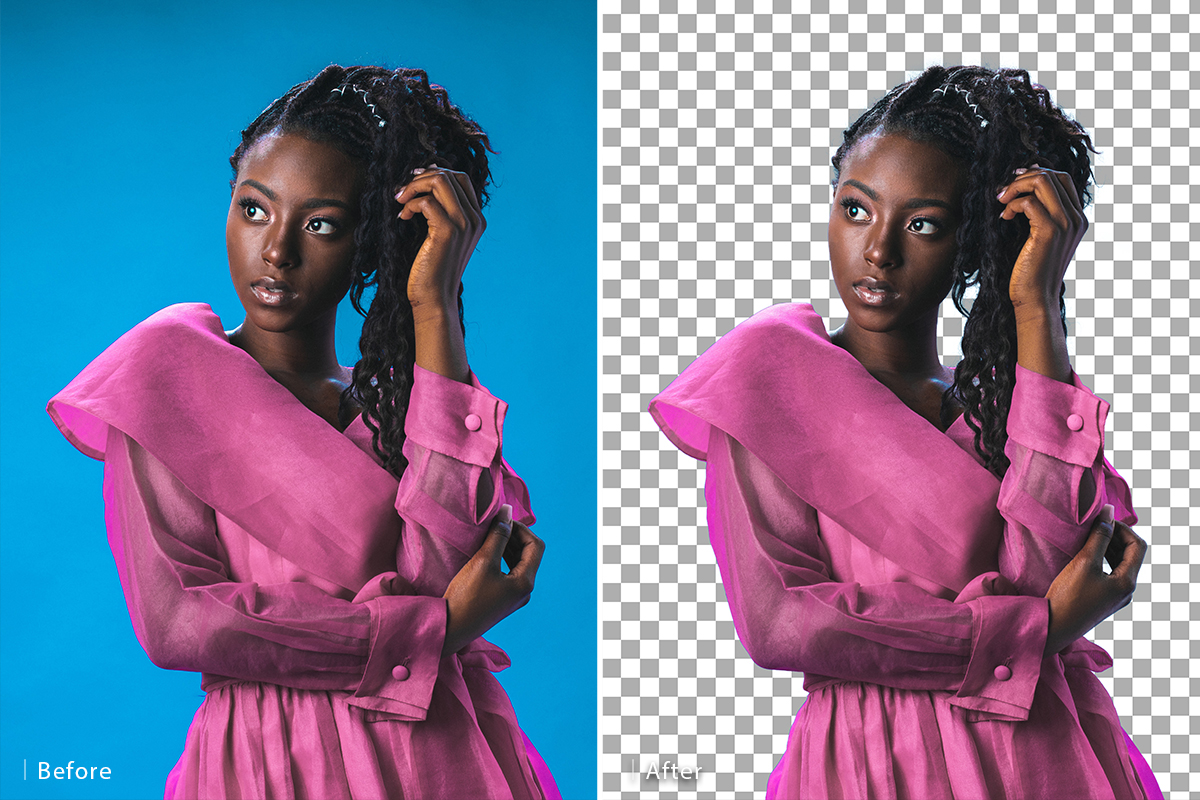
Learn how to use Select and Mask to cutout a person in Photoshop! This is the perfect tool for when you’re working with a relatively simple background and when you need to save some time.
If you want to take your skills even further, try How to Change and Remove Backgrounds in Photoshop!
The Select and Mask Dialog
While not perfect for every situation, the Select and Mask dialog should be your go-to when you’re working with a solid-colored or simple background.
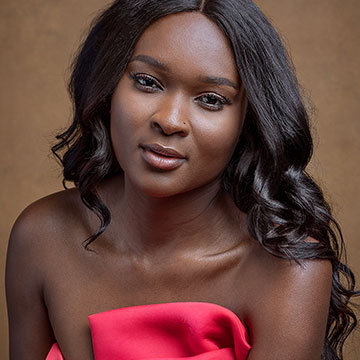
In our example, we have a subject that was photographed in front of a plain blue background. This is a common situation, as studio photography often utilizes sweeps or seamless for a clean backdrop.
So what do we do if we want to change the background? As we mentioned, there are many ways to tackle this problem. But what if we don’t have the time to make a perfect selection of the subject with the Pen Tool and Channels? And depending on the where and how the photo will be viewed, an ultra-precise selection may not be necessary.
This is where Select and Mask shines. You can find it under the Select menu. Click on the Select and Mask option and the dialog will open.
The first tool we want to use is the Quick Selection Tool which you can find at the top of the toolbar on the left. Simply paint over an area and Photoshop will begin automatically selecting similar areas. So if you wanted to select a blue background, like the one in our example, use the Quick Selection Tool to paint over the blue and Photoshop will do its best to find and select the rest of the background.
This will give us a great foundation, but we’re not done yet! You might notice that selection is pretty rough in some places, especially around soft details like the hair. We recommend handling areas like this separately. Once you’ve made your initial selection, load it into a Layer Mask by making sure the Output To drop-down is set to Layer Mask and clicking Okay. This will apply your selection to the Layer Mask of the image, making some parts invisible and keeping some visible. But in our case, we removed the subject and kept the background. To fix this, simply invert the Layer Mask.
With your subject cut out, try placing them on top of a new Solid Color Fill Layer. Adjust the color of the new background to one that will help you see and refine the rough edges of the selection.
Refine Edge
Now let’s clean up those rough edges. When you’re ready to tackle the more detailed edges, open up the Select and Mask dialog again. The tool directly below the Quick Selection Tool is the Refine Edge Tool. You can use this brush to paint around the edges of your selection and Photoshop will intelligently remove any bits that don’t match.
In our example, we have some blue in and around our subject’s hair that wasn’t removed when we made our initial cutout. Now, using the Refine Edge Tool, we can paint over and around those areas to have Photoshop remove any remaining spots of the original background.
And that’s it! It’s important to remember that selections and masks can be changed over time, so if you don’t get it perfect on the first pass, you can continue to refine it using Select and Mask as well as other tools.