Download Assets
description
Discover the power of AI and traditional techniques to perfect your images. This tutorial explores the strengths and weaknesses of Generative Fill, Clone Stamp, and Spot Healing Brush, helping you choose the right tool for every task.
Go PRO:
Interested in learning more about Photoshop? Explore our exclusive Photoshop Learning Path. From the fundamentals to advanced techniques, this comprehensive guide will help you make the most of this powerful software and bring your creative vision to life.
Image Source
- Harry Borrett
Images sourced from Unsplash.
Share
AFTER
BEFORE
Select The Right Tool
In today’s digital age, image editing has become an essential skill for both professionals and enthusiasts. Adobe Photoshop offers a powerful suite of tools to manipulate and enhance images. Among these, the Clone Stamp Tool, Healing Brush Tool, and Generative Fill are particularly useful for removing unwanted objects, retouching imperfections, and even creating entirely new content. This guide will explore the strengths and weaknesses of each tool.
Using the Clone Stamp Tool
The Clone Stamp Tool is ideal for precise, pixel-perfect cloning of specific areas within an image. It’s perfect for tasks like removing small blemishes, cloning textures, or replicating patterns.
1. Launch Adobe Photoshop and open the image you want to edit.
2. Create a new layer. This will prevent any damage to the original image. You can do this by clicking on the “Create a New Layer” icon at the bottom of the Layers panel or by pressing Ctrl+Shift+N (Windows) or Cmd+Shift+N (Mac).
3. Select the clone stamp tool (keyboard shortcut “S”).
4. Ensure the “Sample” mode is set to “Current & Below” to sample pixels from both the current layer and layers below.
5. Hold Alt (Windows) or Option (Mac) and click on the source area you want to copy.
6. Click and drag over the area you want to repair, using the sampled pixels to cover the unwanted portion.
Using the Spot Healing Brush Tool
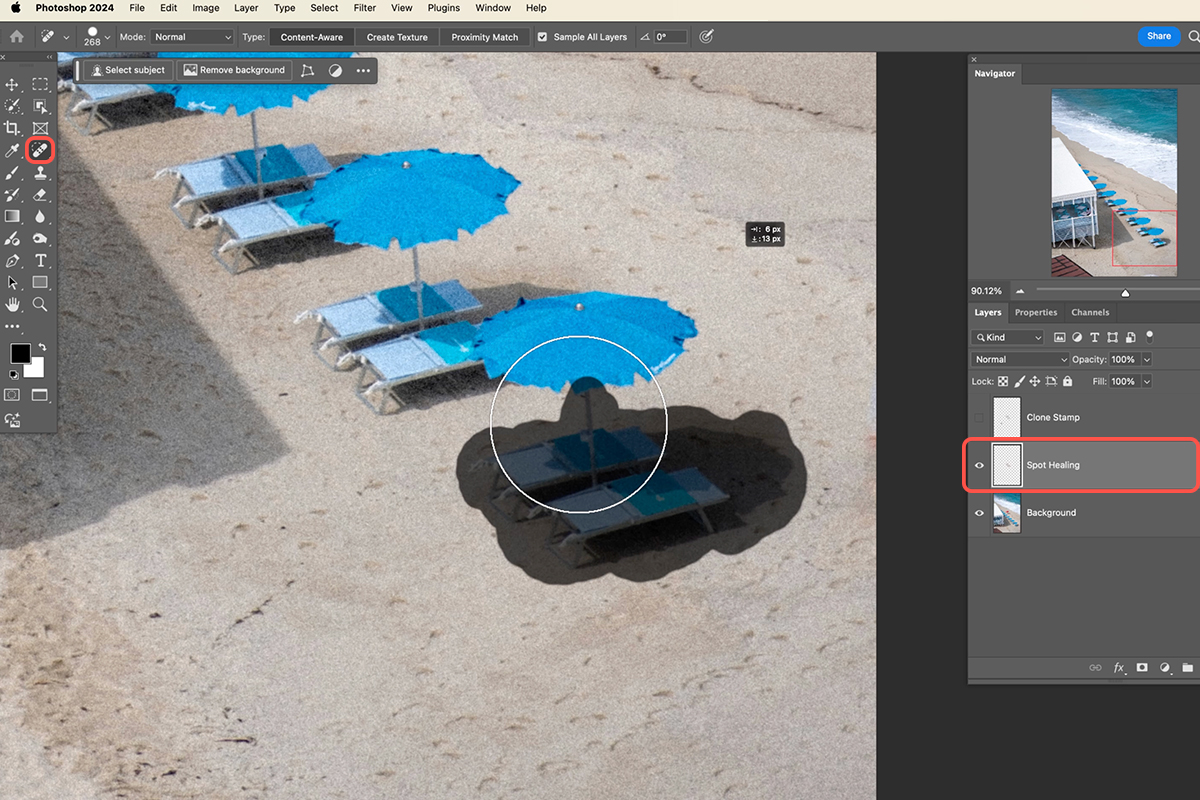
The Spot Healing Brush Tool is a little bit more advanced than the Clone Stamp Tool. It’s excellent for blending textures and removing small imperfections while maintaining a natural look. It’s particularly useful for tasks like removing blemishes, scratches, or unwanted objects.
1. To use this tool press J on your keyboard or select it from the toolbar.
2. Adjust the brush size and hardness to match the area you want to repair.
3. Simply paint over the area you want to fix. The Healing Brush tool will automatically sample pixels from the surrounding area to blend the repair seamlessly.
Using Generative Fill
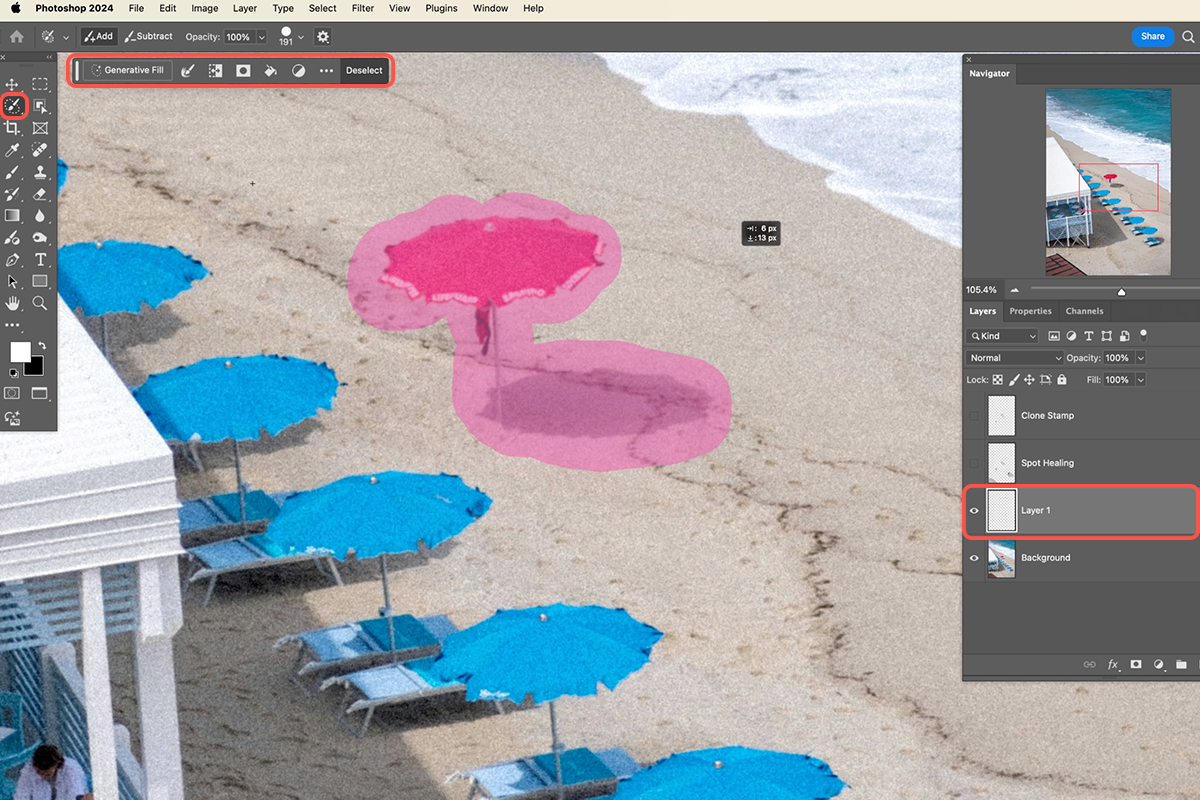
Generative Fill is a powerful AI-powered tool that can dramatically simplify complex editing tasks. It’s best suited for large-scale removals, object replacement, or creating entirely new image content.
1. Use the Selection Brush tool to select the area you want to remove or replace.
2. If the Generative Fill taskbar doesn’t appear automatically, you can access it by going to Edit > Generative Fill in the menu bar.
3. Select the desired fill type, such as “Fill” or “Replace.”
4. Click the “Generate” button to let the AI process your request and fill the selected area.
Combining Tools
Combining these tools can significantly enhance your image editing capabilities. For example, you might use Generative Fill to remove a large object, then refine the edges and details with the Clone Stamp Tool. The Healing Brush Tool can be used to blend the repaired area seamlessly with the surrounding image.Experiment with different combinations of these tools to discover your own creative workflows and achieve stunning results.


