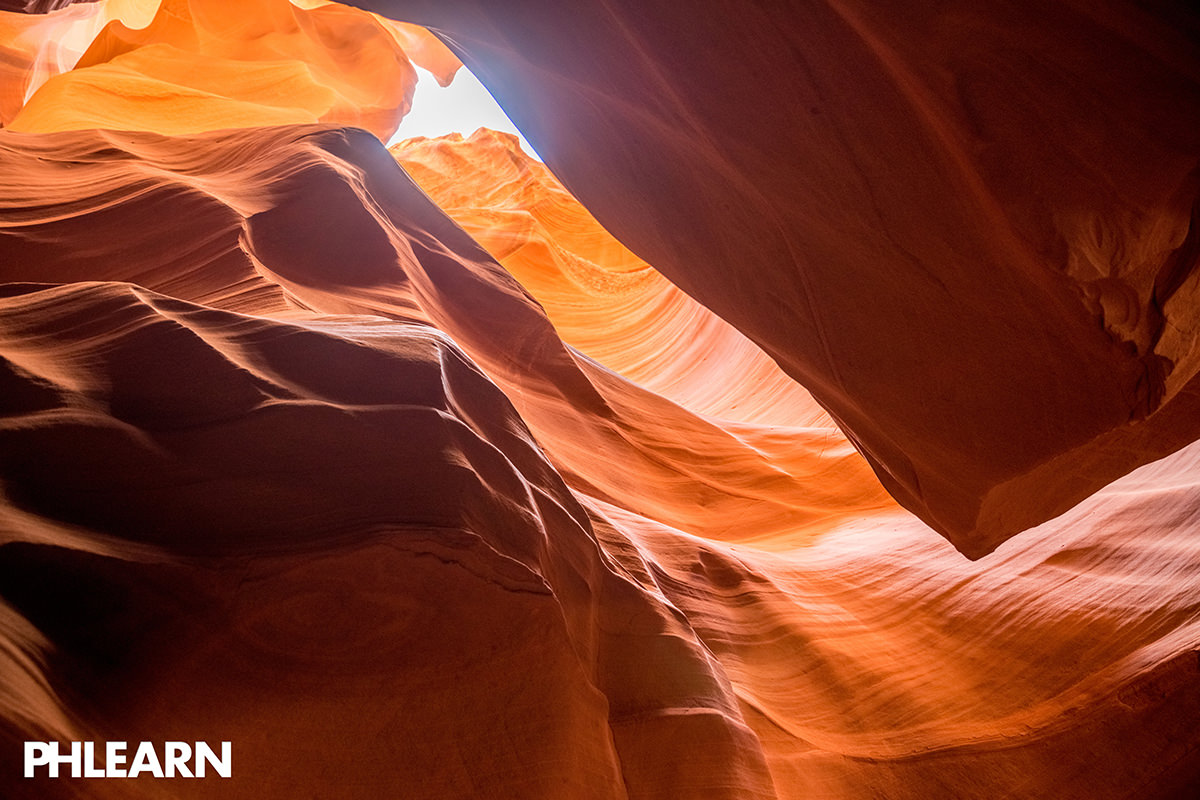

description
A camera’s sensor can only capture so much range between the darkest shadows and the brightest highlights in a scene, which is exactly the limitation HDR imaging works around. This tutorial covers what dynamic range actually means, shooting a bracketed set of exposures on a tripod, merging them with Lightroom’s Photo Merge HDR feature, and finishing the merged DNG raw file with a normal Lightroom edit.
Enjoying This Free Tutorial?
We publish a new free tutorial every week, each one with sample images and PSDs you can download and follow along with. Sign up and they land straight in your inbox, along with early word on sales, events and subscriber-only offers.

A camera’s sensor can only capture so much range between the darkest shadows and the brightest highlights in a scene, which is exactly the limitation HDR, or high dynamic range, imaging works around. This tutorial covers what HDR actually means, shooting a bracketed set of exposures on a tripod, merging them together with Lightroom’s Photo Merge HDR feature, and finishing the merged raw file with a normal Lightroom edit.
Understanding What HDR and Dynamic Range Actually Mean
Dynamic range describes how much information a camera can capture between the darkest shadows and the brightest highlights, and real-world scenes routinely contain more range than any single exposure can hold.
-
Recognize the Limitation of a Single Exposure
Notice that a single photo of a scene with both bright and dark areas, such as a bright sky over a dark landscape, often loses detail in one area or the other.
-
Understand How HDR Combines Multiple Exposures
Recognize that HDR combines a darker exposure and a lighter exposure of the same scene into one final image that represents more total dynamic range than either original photo.
Shooting Bracketed Exposures on a Tripod
Keeping the camera perfectly still on a tripod while shooting an underexposed, a properly exposed, and an overexposed frame is what makes the three images easy to align and combine later.
-
Mount the Camera on a Tripod
Use a tripod to keep the camera in the exact same position for every frame in the bracketed sequence.
-
Capture an Underexposed, Properly Exposed, and Overexposed Frame
Take at least three exposures of the same scene, one underexposed, one properly exposed, and one overexposed, to cover the full range of light in the scene.
Why an HDR Merge Needs a Tripod
Any small shift in camera position between the bracketed exposures makes it harder for Lightroom’s alignment to line the images up perfectly, especially around fine detail. Shooting from a locked-down tripod keeps every frame in the exact same position, so the only difference between exposures is the amount of light captured, which is exactly what an HDR merge needs to combine them cleanly.
Updating to a Lightroom Version With HDR Merge
Photo Merge’s HDR feature arrived in Lightroom CC 2015, so confirming the app is updated is a necessary first step before it becomes available.
-
Confirm the Lightroom Version
Make sure Lightroom CC 2015 or newer is installed, since the HDR merge feature isn’t available in older versions.
-
Update Through Creative Cloud if Needed
Open the Adobe Creative Cloud application, find Lightroom in the list, and click Update if a newer version is available.
Importing and Reviewing the Bracketed Exposures
Dragging the bracketed files straight from the Finder into Lightroom, then scrolling through them, confirms the exposures actually cover the full range needed before merging.
-
Drag the Bracketed Files Into Lightroom
Click and drag the folder of bracketed images from the Finder directly into Lightroom, choosing Add rather than Copy to leave the files in their current location.
-
Scroll Through the Exposures to Confirm the Range
Click through each image in the bracketed set to confirm the darker frames hold detail in the highlights and the lighter frames hold detail in the shadows.
Merging Exposures With Photo Merge HDR
Selecting the bracketed images and choosing Photo Merge’s HDR option brings up a preview window with auto-alignment and auto-tone options that do most of the heavy lifting automatically.
-
Select the Bracketed Images
Return to the grid view and shift-click all the images that belong to the bracketed set.
-
Open Photo Merge and Choose HDR
Right-click the selected images, go to Photo Merge, and choose HDR to bring up the HDR Merge Preview.
-
Turn On Auto Align and Auto Tone
In the preview window, confirm Auto Align is on to correct for any slight movement between frames, and turn on Auto Tone to blend the highlight and shadow information automatically.
Handling Ghosting From Moving Subjects
The Deghost setting corrects for the doubled or blurred look that shows up when something in the frame, like a person, moved between the bracketed exposures.
-
Check the Scene for Movement
Consider whether anything in the scene, such as people or moving water, shifted position between the bracketed exposures.
-
Set the Deghost Amount Accordingly
Choose a Deghost amount of Low, Medium, or High if movement is present, or leave it set to None for a completely static scene.
-
Click Merge to Process the HDR
Click Merge to combine the bracketed exposures into a single HDR file.
Why Lightroom’s HDR Output Beats Photoshop’s
Merging an HDR sequence in some other tools outputs a flattened file with limited room for further adjustment. Lightroom’s Photo Merge HDR instead outputs a genuine DNG raw file, appending “HDR” to the original file name, which means the merged image can be developed afterward with the same full editing range as any other raw photo.
Setting the Black and White Points Automatically
A freshly merged HDR file tends to look flat until its black and white points are set, which a simple Shift-double-click shortcut handles automatically.
-
Open the Merged HDR File in Develop
Double-click the new HDR file, which appears alongside the original bracketed images, to open it in the Develop module.
-
Auto-Set the Black Point
Hold Shift and double-click the word “Blacks” to automatically set the black point.
-
Auto-Set the White Point
Hold Shift and double-click the word “Whites” to automatically set the white point.
Why an HDR Image Looks Flat Before Setting Black and White Points
Combining multiple exposures into one HDR file spreads the tonal information out, but leaves the black and white points sitting well short of where they should be, giving the image a washed-out, hazy appearance. Shift-double-clicking the Blacks and Whites sliders automatically finds a strong starting point for both, restoring the contrast the merge process temporarily flattened out.
Finishing the Edit With Clarity and Vibrance
Once the black and white points are set, the merged HDR file edits just like any other raw photo, with extended exposure range available for further fine-tuning.
-
Note the Expanded Exposure Range
Notice that the Exposure slider on an HDR file extends further than usual, up to plus or minus 10 stops instead of the normal five, reflecting the combined dynamic range of multiple source images.
-
Increase Clarity
Raise the Clarity slider to add definition and texture throughout the image.
-
Increase Vibrance
Raise the Vibrance slider to bring out more color across the scene.
Why This Approach Works
Shooting on a tripod with a clearly bracketed underexposed, normal, and overexposed set of frames gives Lightroom’s Photo Merge exactly the range of information it needs to reconstruct a scene’s true dynamic range. Letting Auto Align and Auto Tone handle the initial alignment and blending, rather than trying to combine the exposures manually, gets to a strong starting point almost instantly. Setting the black and white points immediately after merging is the specific step that turns a flat-looking combined file into an image with real contrast and punch.
Final Thoughts
What used to require exporting bracketed exposures out to a separate HDR program now happens entirely inside Lightroom, ending with a raw file that keeps all the same editing flexibility as any other photo in the catalog. The same bracket-and-merge approach works for any scene with more dynamic range than a single exposure can capture, from a bright sky over dark terrain to a dim interior with a bright window.
Quick Reference: Keys, Menus and Settings
- ImportDrag the folders from the Finder into Lightroom, choose Add (not Copy), then Import
- Pick the bracketsGrid view, Shift-click every exposure in the set
- Merge to HDRRight-click > Photo Merge > HDR
- Merge settingsAuto Align and Auto Tone on; Deghost Amount None, or Low, Medium or High if something moved
- Auto black and white pointsShift + double-click the word Blacks, then Whites
- HDR exposure rangeExposure runs -10 to +10 on the HDR DNG, instead of -5 to +5
- FinishClarity and Vibrance up a little
HDR in Lightroom: Common Questions
What does HDR actually mean?
High dynamic range. A camera can only record so much between the darkest and brightest parts of a scene, so HDR combines darker and lighter exposures into one image that holds more of that range.
Do I need a tripod for HDR?
Yes. The tripod keeps the camera in the exact same place for every exposure, which makes the frames easy to align and combine.
How many exposures should I shoot?
At least one underexposed, one properly exposed and one overexposed frame. The Antelope Canyon set in the video has four, shot at different shutter speeds.
Which version of Lightroom has HDR merge?
The video uses Lightroom CC 2015, the release that added Photo Merge. Update it from the Adobe Creative Cloud app if you don’t see the option.
Should Auto Align and Auto Tone be on?
Aaron recommends both. Auto Align lines the frames up if anything moved, and Auto Tone pulls in the light and dark detail. You can keep editing after the merge.
What does Deghost do?
It fixes ghosting, where something that moved between frames, like tourists, shows up more than once. Choose Low, Medium or High when there is movement, and leave it on None for a still scene.
Why does my merged HDR look flat?
The black and white points aren’t set yet. Hold Shift and double-click the word Blacks, then the word Whites, in the Basic panel to set them automatically.
Why does the Exposure slider go to plus or minus 10?
The HDR DNG holds the range of all the merged frames, so Exposure runs from -10 to +10 instead of the usual -5 to +5.
Can I finish the HDR in Photoshop?
Yes. Merge the photos in Lightroom first, then edit the result in Lightroom or take it into Photoshop to work on it there.
Master Photoshop, Lightroom and Photography
Join PHLEARN PRO for $12.99 a month or $99.99 a year. Cancel anytime, with a 100% money-back guarantee.





