


description
Panoramas used to require Photoshop or specialized stitching software, but a Photo Merge feature built directly into Lightroom now handles the whole process using full-resolution files straight from a digital SLR. This tutorial covers updating to a Lightroom version with panorama support, capturing and importing the source photos, merging them with Photo Merge and Auto Crop, and editing the finished DNG exactly like any other raw file.
Enjoying This Free Tutorial?
We publish a new free tutorial every week, each one with sample images and PSDs you can download and follow along with. Sign up and they land straight in your inbox, along with early word on sales, events and subscriber-only offers.
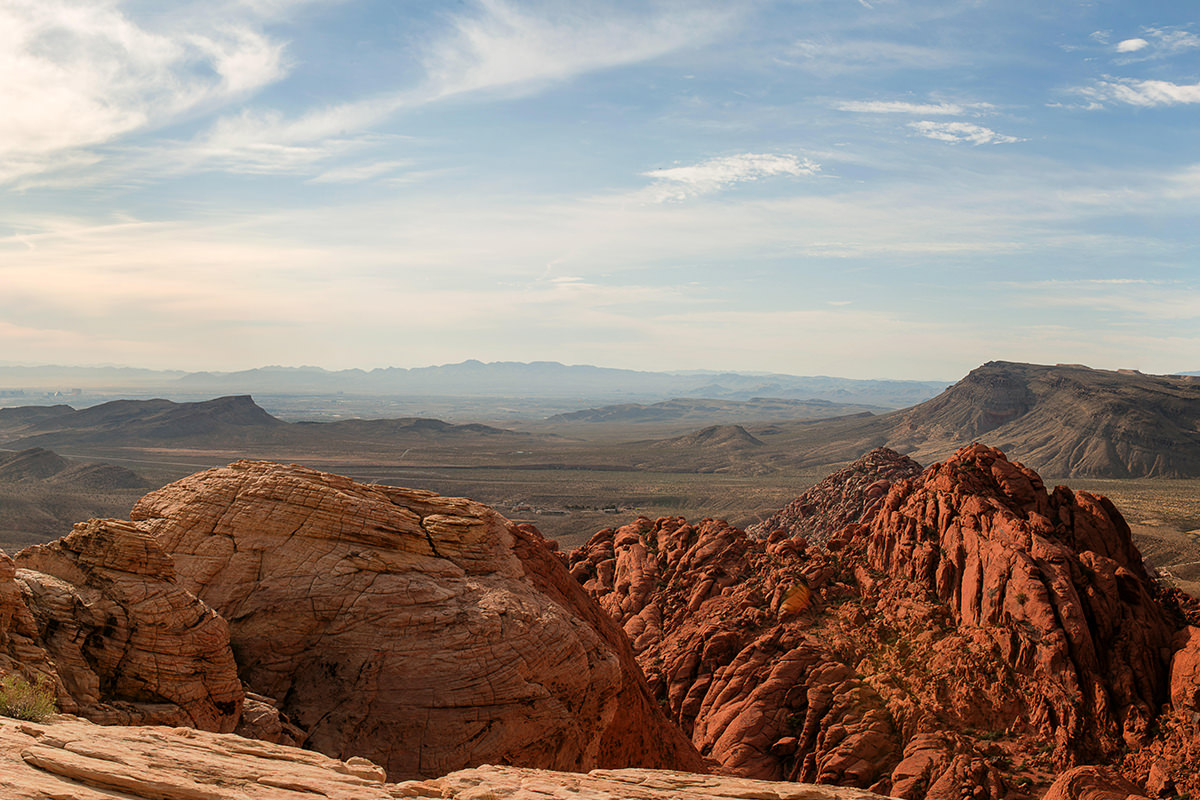
Panoramas used to require Photoshop or specialized stitching software, but a Photo Merge feature added directly into Lightroom now handles the whole process using files straight from a digital SLR. This tutorial covers updating to a Lightroom version with panorama support, capturing and importing the source photos, merging them with Photo Merge, and editing the finished panorama exactly like any other raw file.
Updating to a Lightroom Version With Panorama Merge
Photo Merge’s panorama feature arrived in Lightroom CC 2015, so confirming the app is fully updated is the first step before it will show up as an option.
-
Confirm the Required Lightroom Version
Make sure Lightroom CC 2015 or newer is installed, since the panorama feature isn’t available in older versions.
-
Update Through Creative Cloud if Needed
Open the Adobe Creative Cloud application, find Lightroom CC 2015 in the list, and click Update if a newer version is available.
Capturing Photos to Stitch Into a Panorama
A panorama is built from a series of overlapping photos captured while sweeping the camera across a scene, and that sweep can move in either direction depending on what the final image needs to cover.
-
Sweep the Camera Across the Scene
Take a series of overlapping photos while rotating the camera, moving from one side of the horizon to the other for a wide landscape.
-
Capture Vertically When the Scene Calls for It
For a scene with more information from top to bottom, such as a night sky full of stars, capture the sweep vertically instead of left to right.
Why a Vertical Panorama Works the Same as a Horizontal One
Most people picture a panorama as a wide left-to-right sweep across a horizon, but the same overlapping-photo technique works just as well moving from top to bottom. Whichever direction actually holds the most important detail in a scene, whether that’s a wide horizon or a tall stretch of sky, is the direction worth sweeping the camera across.
Importing the Source Photos Into Lightroom
Dragging a folder of images straight from the Finder into Lightroom’s import window skips having to browse for files inside Lightroom itself.
-
Drag the Source Folder Into Lightroom
Click and drag a folder of images, such as a set of raw NEF files, directly from the Finder into the Lightroom window.
-
Confirm and Complete the Import
Click Import to add the photos into the Lightroom catalog.
Selecting Photos and Starting Photo Merge
Shift-clicking the relevant images and choosing Photo Merge’s Panorama option is what actually kicks off the stitching process, and a few extra images in the selection generally aren’t a problem.
-
Select the Images to Include
Shift-click all the photos that belong to the panorama sequence, without worrying too much about including a few extra frames.
-
Open Photo Merge and Choose Panorama
Right-click the selected images, go to Photo Merge, and choose Panorama, or use the keyboard shortcut Cmd/Ctrl+M.
Choosing a Projection and Using Auto Crop
The Panorama Merge Preview offers a choice of projection styles and an automatic crop option that trims away the uneven white edges left by stitching.
-
Let Lightroom Auto-Select the Projection
In the Panorama Merge Preview, choose Auto to let Lightroom pick an appropriate projection, such as spherical, based on the source photos.
-
Turn On Auto Crop
Click the Auto Crop option to automatically trim away the uneven white areas around the edges left over from stitching.
Merging the Panorama Into a Raw DNG File
Clicking Merge processes the panorama in the background, and the result is saved as an actual raw file placed right alongside the original source images.
-
Click Merge to Process the Panorama
Click the Merge button to start processing, which happens in the background so Lightroom can keep being used for other work in the meantime.
-
Locate the Output File Next to the Source Images
Find the finished panorama saved as a new DNG raw file in the same folder as the original source photos.
Why Lightroom’s Panorama Beats a Phone’s Built-In Panorama Mode
A phone’s built-in panorama mode is convenient, but it’s limited to whatever resolution and dynamic range that phone’s camera sensor can capture. Stitching a panorama in Lightroom instead uses full-resolution files straight from a digital SLR, combining the wide field of view of a panorama with the image quality and editing latitude of a professional camera.
Why Outputting a Raw DNG File Matters
A panorama exported as a flattened JPEG would lose most of the editing flexibility available in the original source photos. Because Lightroom’s Photo Merge outputs the panorama as a raw DNG file instead, it can be edited afterward with the exact same range of adjustments as any other 16-bit raw image straight out of the camera.
Editing the Finished Panorama Like Any Other Raw File
Because the merged panorama is a genuine raw file, every adjustment available to a normal raw photo, from Clarity to Vibrance to black and white levels, applies to it the same way.
-
Select the Output Panorama
Click on the newly created panorama file in the Lightroom catalog to select it for editing.
-
Adjust Clarity and Vibrance
Increase Clarity to add definition to fine detail, such as stars in a night sky, and raise Vibrance to add more color.
-
Fine-Tune Black and White Levels
Adjust the Blacks and Whites sliders to fine-tune the overall contrast of the panorama.
Why This Approach Works
Capturing panorama source photos on a digital SLR rather than a phone is what gives the finished panorama access to a full-resolution sensor and raw file quality from the very start. Using Lightroom’s Auto Crop, rather than manually trimming the uneven edges left by stitching, gets to a clean final frame with a single click. Outputting the merged result as a raw DNG file, instead of a flattened JPEG, is what preserves full editing capability, so the panorama can be adjusted with the same tools used on any other raw photo.
Final Thoughts
What used to require Photoshop or dedicated stitching software now happens directly inside Lightroom, without ever leaving the catalog those source photos already live in. The same import, Photo Merge, and edit workflow covered here works for a wide horizontal landscape sweep, a tall vertical night sky, or any other scene that calls for a field of view wider than a single frame can capture.
Quick Reference: Keys, Menus and Settings
- Update LightroomAdobe Creative Cloud app > Lightroom CC 2015 > Update
- ImportDrag the folder from the Finder into Lightroom, then click Import
- Pick the framesShift-click every photo in the sequence
- Merge a panoramaRight-click > Photo Merge > Panorama, or Cmd/Ctrl + M
- Merge settingsProjection: Auto (Spherical in the video), Auto Crop on, then Merge
- Edit the DNGClarity and Vibrance up, Blacks down a little, Whites up a little
Panoramas in Lightroom: Common Questions
Which version of Lightroom can merge a panorama?
The video uses Lightroom CC 2015, the release that added Photo Merge. If yours is older, open the Adobe Creative Cloud app and click Update next to Lightroom.
Does a panorama have to be horizontal?
No. The Milky Way frames in the video were shot from the bottom of the sky to the top. Sweep in whichever direction holds the information you need.
What if I select a few extra photos?
It isn’t a big deal. Lightroom does a good job of working out which frames are extras and only uses the ones it needs.
Where is the panorama command?
Shift-click the frames, right-click and choose Photo Merge > Panorama, or press Cmd/Ctrl + M.
Which projection should I pick?
Click Auto and let Lightroom choose. In the video it picked Spherical. Cylindrical and the other options give a slightly different look.
How do I get rid of the white edges around the panorama?
Check Auto Crop in the Panorama Merge Preview. It finds the white areas left by stitching and crops into the final photo.
Where does Lightroom put the finished panorama?
In the same folder as the source photos, as a DNG raw file with -Pano added to the name. It also shows up in your catalog next to the originals.
How long does the merge take?
It depends on your computer. Aaron’s 36-megapixel Nikon D800 frames took about a minute on a new MacBook Pro, and the merge runs in the background so you can keep working.
Can I edit the panorama like a normal raw file?
Yes. It is a raw DNG, so every Develop slider works. The video raises Clarity and Vibrance, lowers Blacks a little and raises Whites a little.
From the Magazine View all
Stories, interviews and guides for photographers, new every week.
 EditingLightCraft vs Lightroom: I Edited the Same RAW Files in BothThe free clone on the same RAW files: what matches, what breaks and who should switch.
 InspirationRare Historical Photos: 13 of the Rarest Pictures Ever TakenFrom the earliest surviving picture of a person to the last passenger pigeon: who took each one and why it survives.
 EditingArtCraft: Photoshop Cloned by AI in Two Weeks. Is It Legal?ArtCraft cloned Photoshop and Lightroom with AI and gave them away. Any good? Legal? Safe?
Master Photoshop, Lightroom and Photography
Join PHLEARN PRO for $12.99 a month, or $99.99 a year (save 36%). Cancel anytime, with a 100% money-back guarantee.





