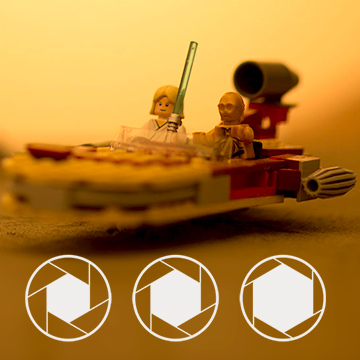

ISO 100
ISO 12800
Download Sample Images
Click the link below to download the sample images and follow along with this tutorial.
DownloadTutorial Description
Photography is both an art and a science. When you can combine your instincts and creativity with a solid technical understanding of the craft, you will find yourself taking great images more often. And while creativity is a difficult thing to teach, anyone can learn the fundamentals of how a camera works. As you master these fundamentals, you should find yourself more well-equipped to discover how exactly you want to express your ideas.
Legos are very similar. So what better way to teach the principles of the photography than by using Legos to recreate our favorite scenes from Star Wars?
Allow me to answer that. There is not a better way.
We continue our adventure with an explanation of ISO.
Exposure
Before we talk about ISO, we need to understand a little bit about exposure. Exposure is simply the amount of light that hits your camera’s film or sensor to record an image. You can control the amount of light in a couple of different ways and adjusting your ISO is one such method.
Light enters your camera and is recorded as an electrical signal by your camera sensor. The sensor can then boost the signal to make an image brighter, much like you would in post processing. But boosting the signal comes at a cost. Think of a camera as a microphone – when a microphone records a very quiet sound, like a whisper, it can raise the volume or gain of the recording to make it louder. However as the whisper gets louder, ambient noise, and electrical noise from the system itself, gets louder as well. Similarly with a camera, boosting the signal can reveal ambient light noise and the sensor’s electrical noise. The higher the ISO, the worse the noise, dynamic range, and color rendition, the photo will have.
Why use ISO?
Aperture and shutter speed are both aspects of exposure that have creative effects on your images. Aperture affects the depth of field, and shutter speed allows or reduces motion blur. Sometimes, there is not enough light in your environment to keep your aperture and shutter speed at the settings that you want for a specific effect, without underexposing your image. That’s where ISO comes in! If you find your image too dark, but want to keep, for instance, a wide depth of field and freeze motion with your settings, ISO can compensate and get you the exposure you want.
ISO in Action
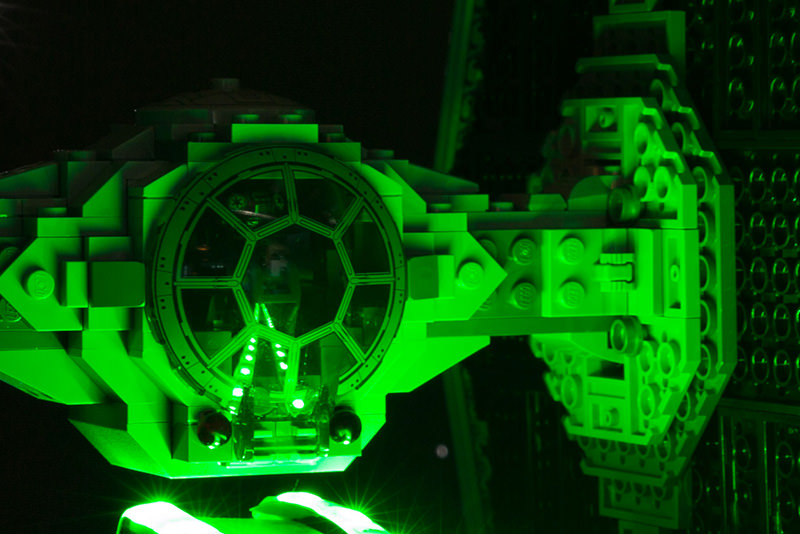
Join us as we go on set to show you how to get a proper exposure with ISO when you want your aperture and shutter speed at a certain setting. We go step-by-step through our thought process when shooting this mini LEGO Star Wars TIE Fighter on a dark, outer space set.
Keep an eye out for our free tutorial, where we show you how to combine the exposures we captured into an epic TIE Fighter composite photo!
In a Nutshell
Overall, you want to try to get a correct exposure using your aperture and your shutter speed first. Only adjust your ISO if you can’t change those settings without losing the creative look you want for your photo. Lower ISOs from 100 to 800 are usable, where ISOs 1600 and higher lead to large amounts of noise or grain, lower the dynamic range of your photo, and capture colors inaccurately.
Now go forth, and use your ISO knowledge to capture clean, in-focus photos!