Download Sample Image & PSD Template
description
Follow along and learn how to create a beautiful matte effect in Photoshop using our quick-and-easy PSD template! Give any photo a faded look with silky-smooth contrast and a soft, subtle glow—and in just a few clicks!
Share
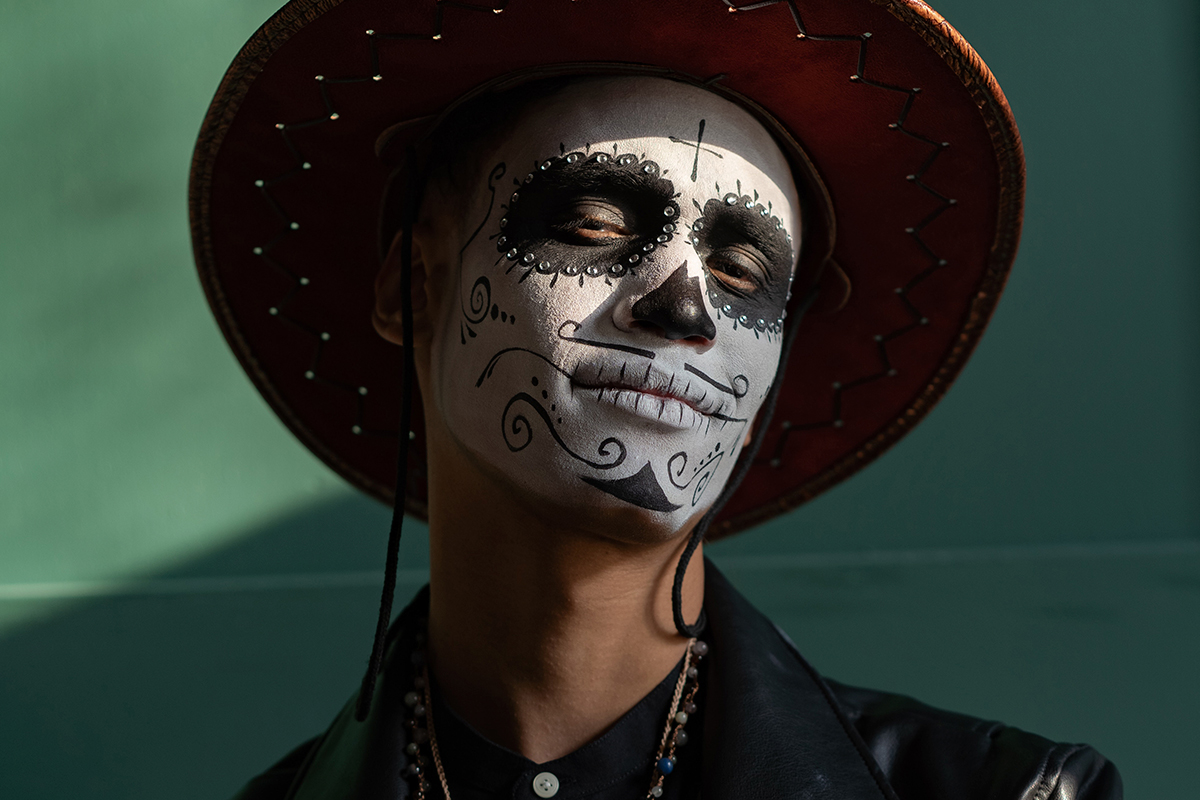
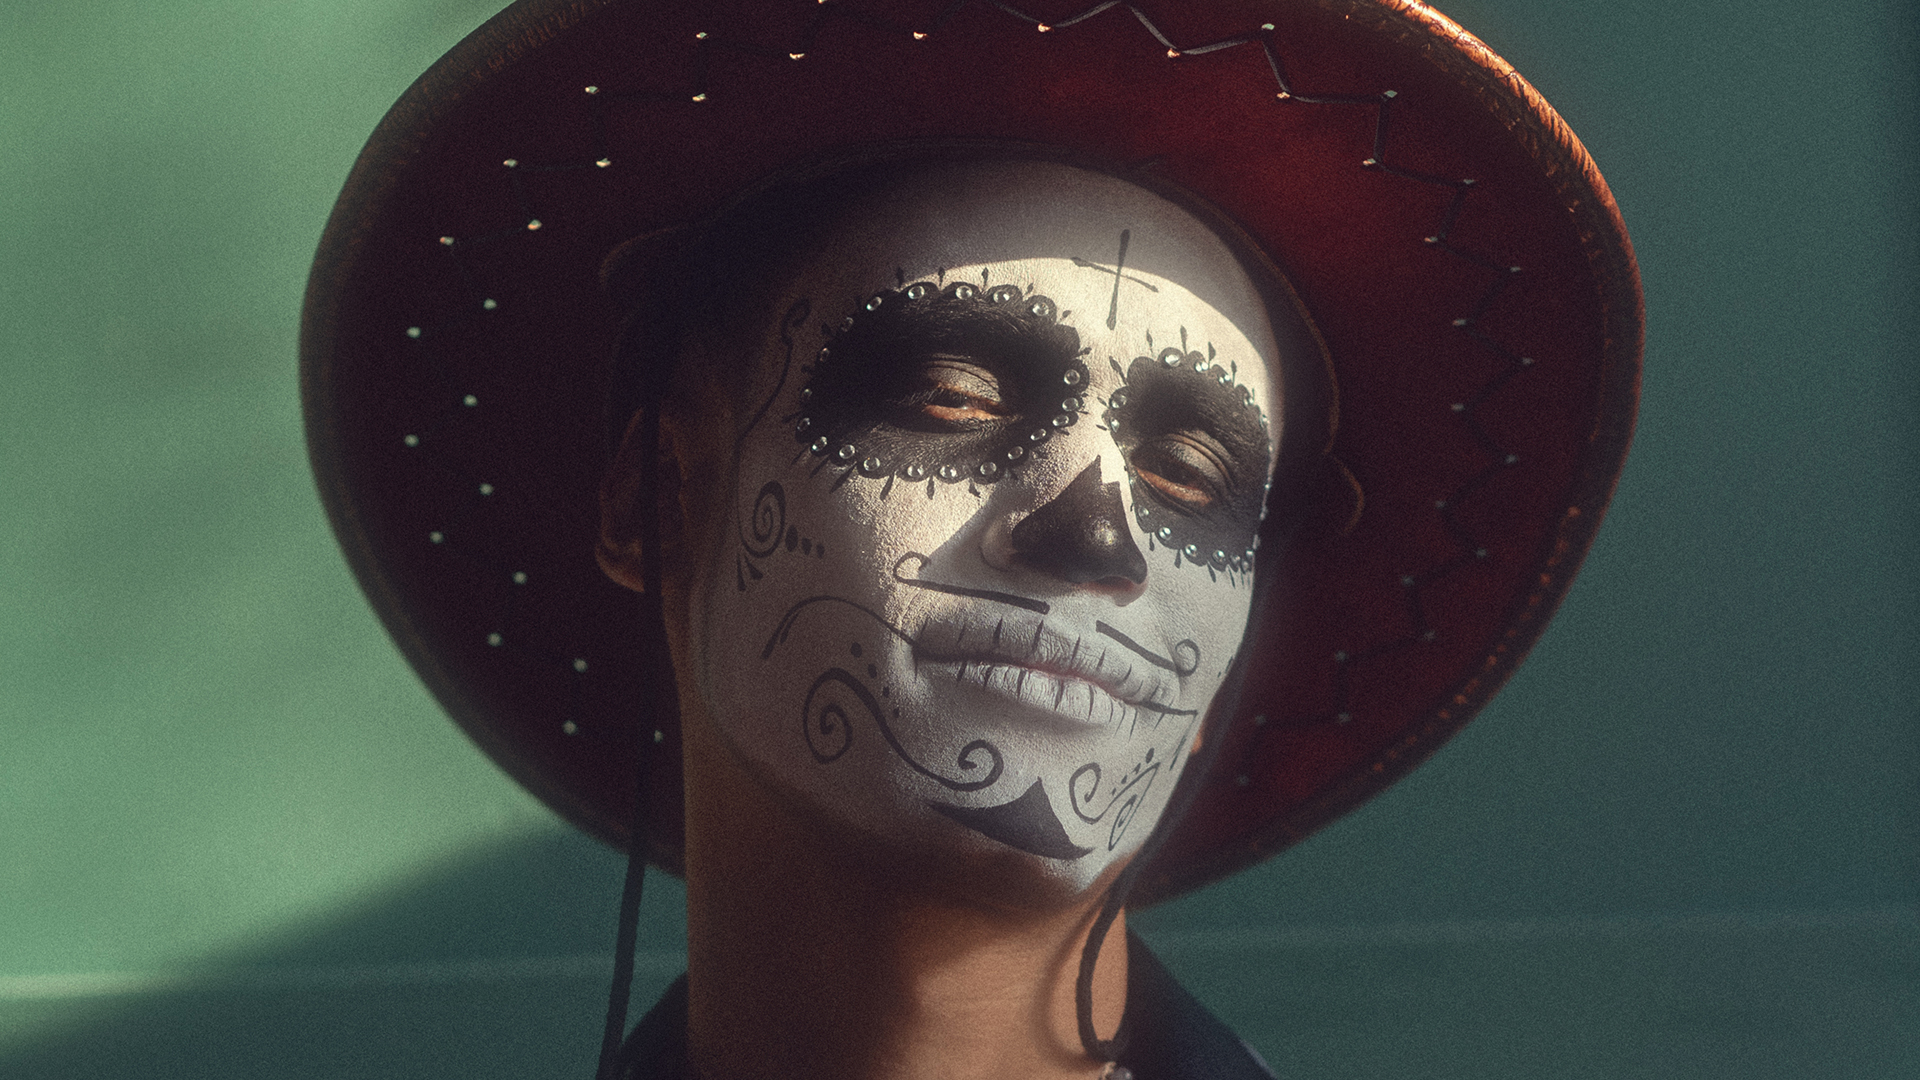
ADD A SOFT MATTE FINISH TO ANY PHOTOGRAPH
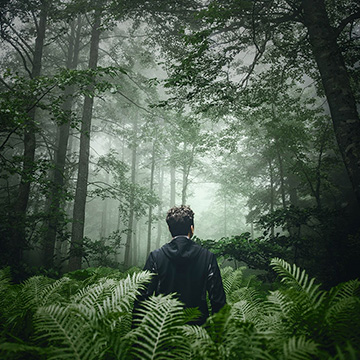
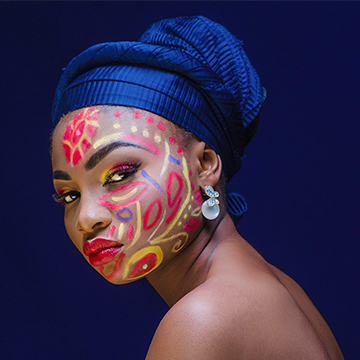
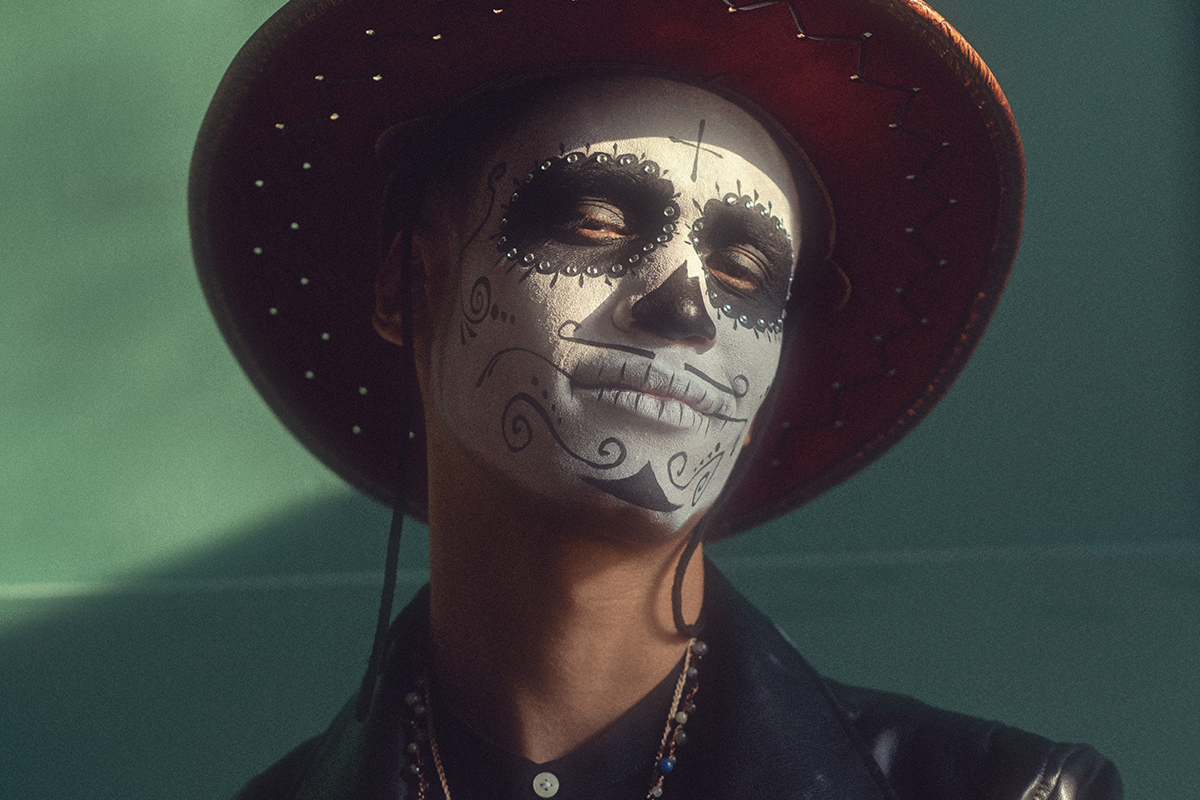
BEFORE
Easy Matte Effect in Photoshop
Matte Photo Finish Template
Sometimes you just want to try a certain effect on an image without having to invest a bunch of time.
And that’s why we’re trying something new! If you want to give an image that classic faded, matte look, now you can. And best of all, it only takes a few clicks with our free Matte Effect PSD Template.
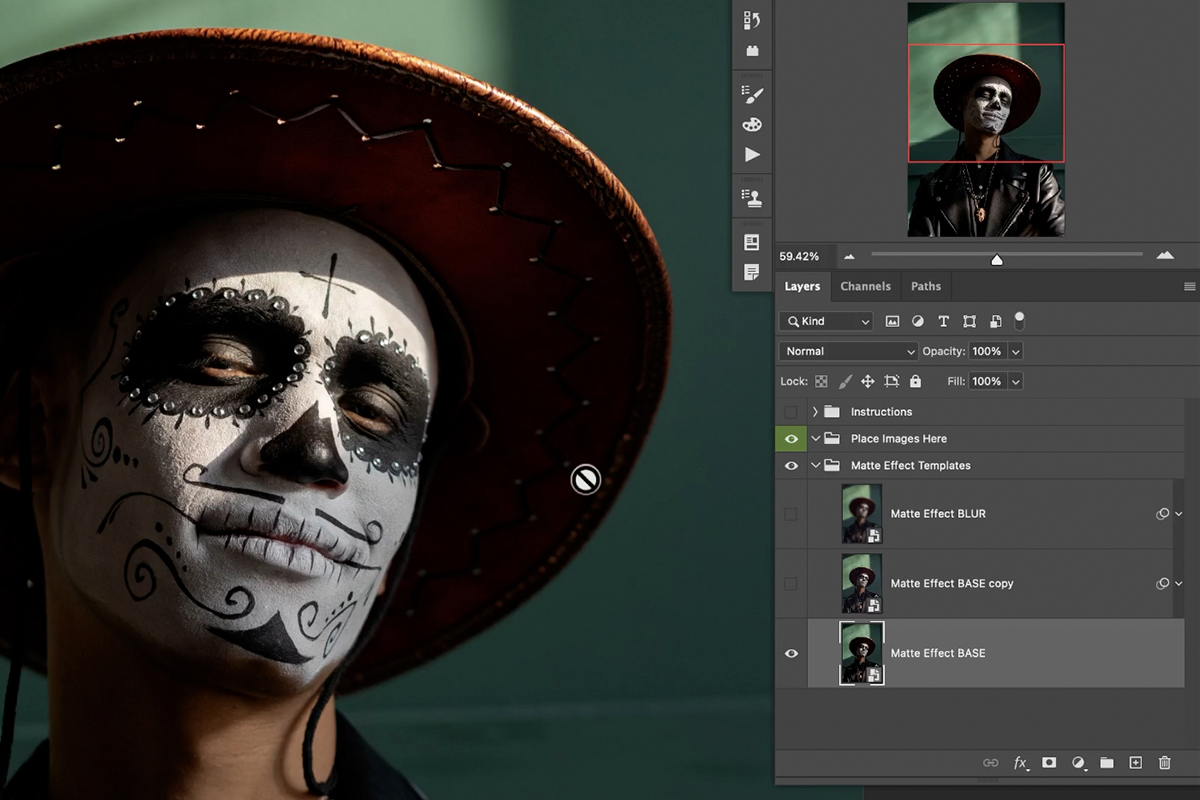
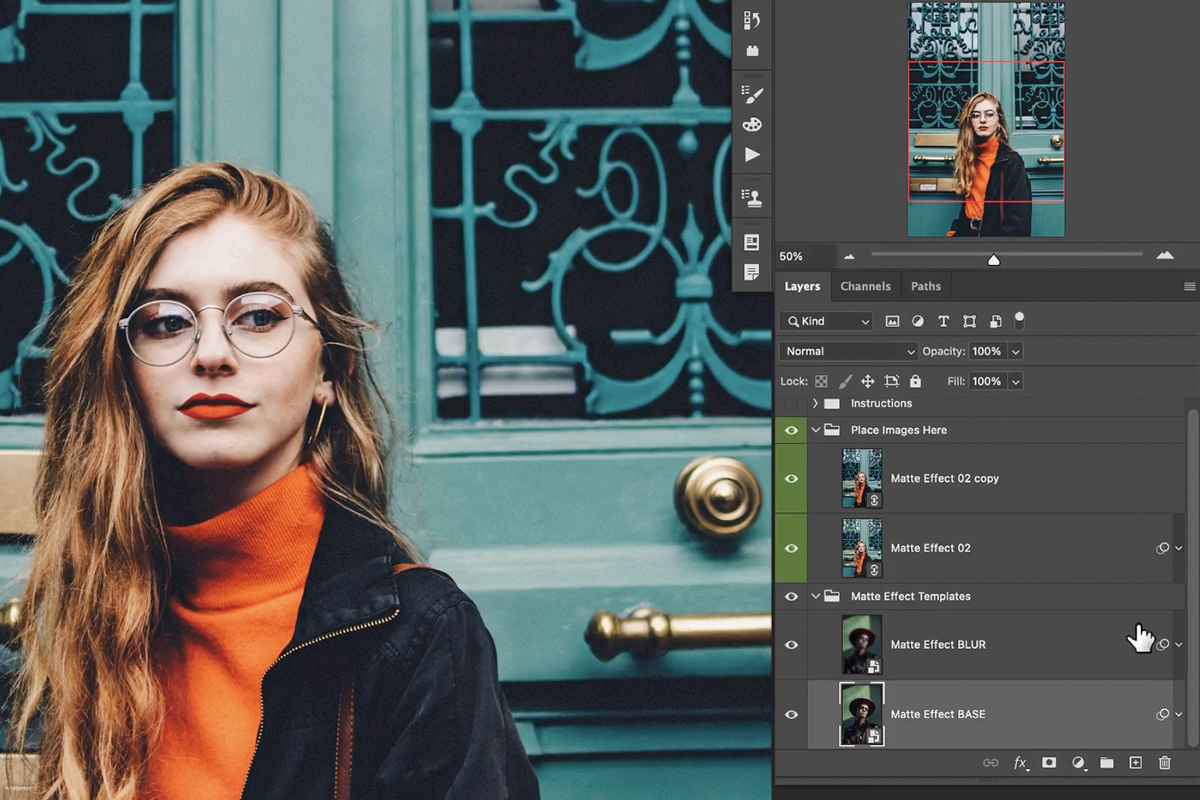
Download the template using the button above. Open it up, and you’ll see this. The project contains a few different folders.
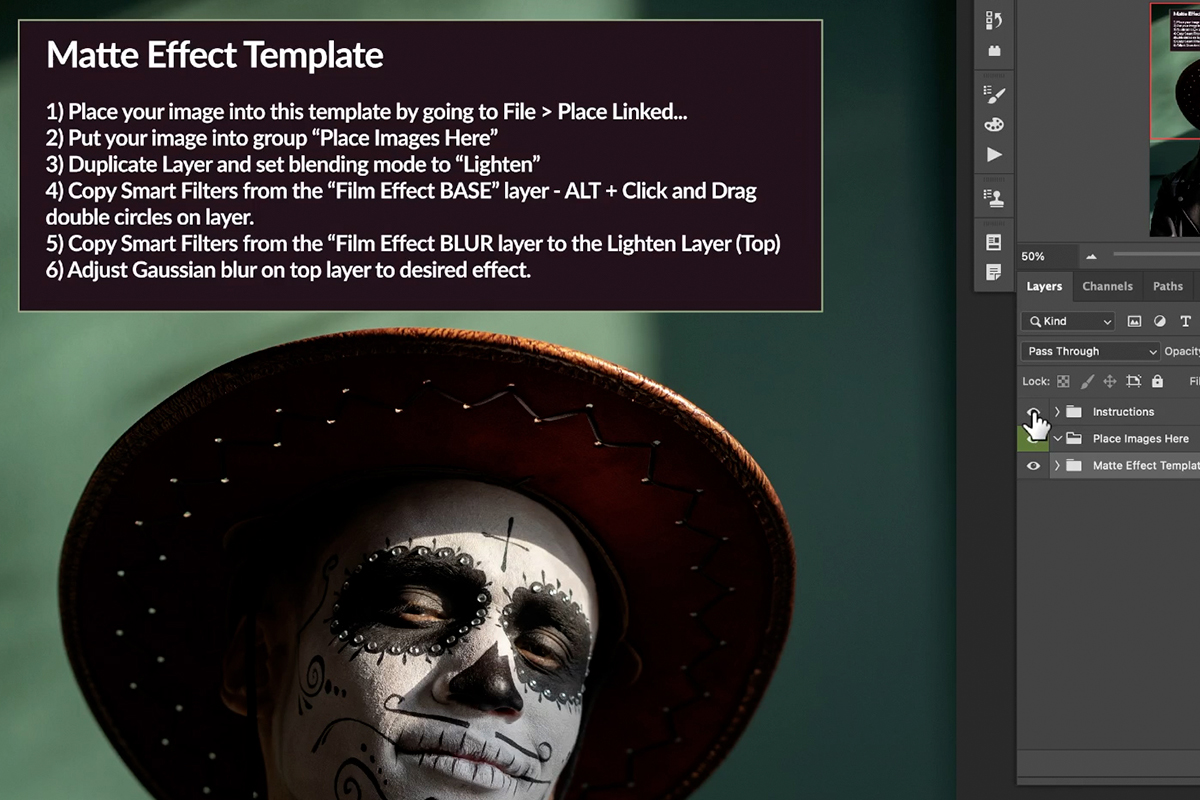
The first is labeled Instructions and it contains, yep, instructions. These will walk you through the process of using the template.
The second folder is where you will place your own images after you bring them into the project. And the last folder contains all the necessary parts of the effect, each applied to a sample image.
Importing Your Photos
Now that the template is open, you’re ready to bring in one of your own images.
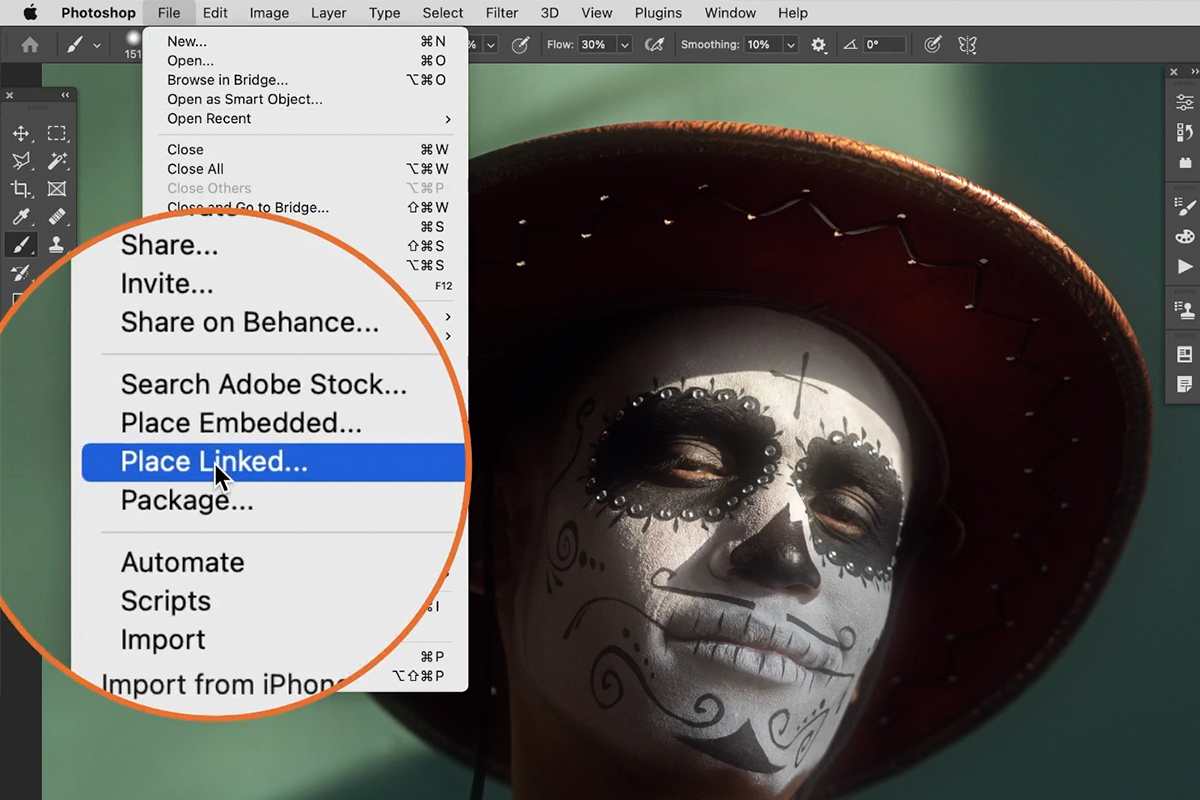
Open the File menu and select Place Linked.

Choose the image you want to apply a matte effect to, and click Place.
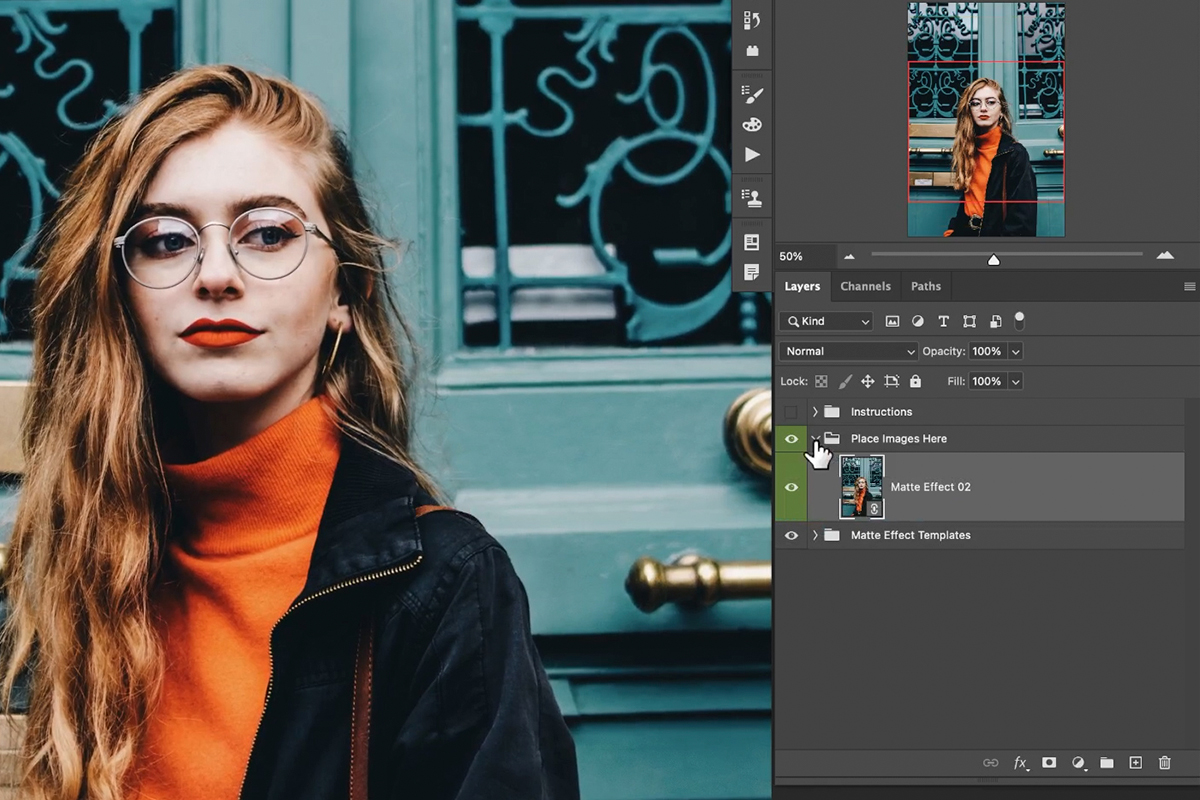
Once the image is open in Photoshop, move it into the folder labelled Place Images Here.
Now let’s add the effect!
Copying the Matte Effect
In order to apply the matte effect from our example image to the new image, we only need to do a little bit of copying.
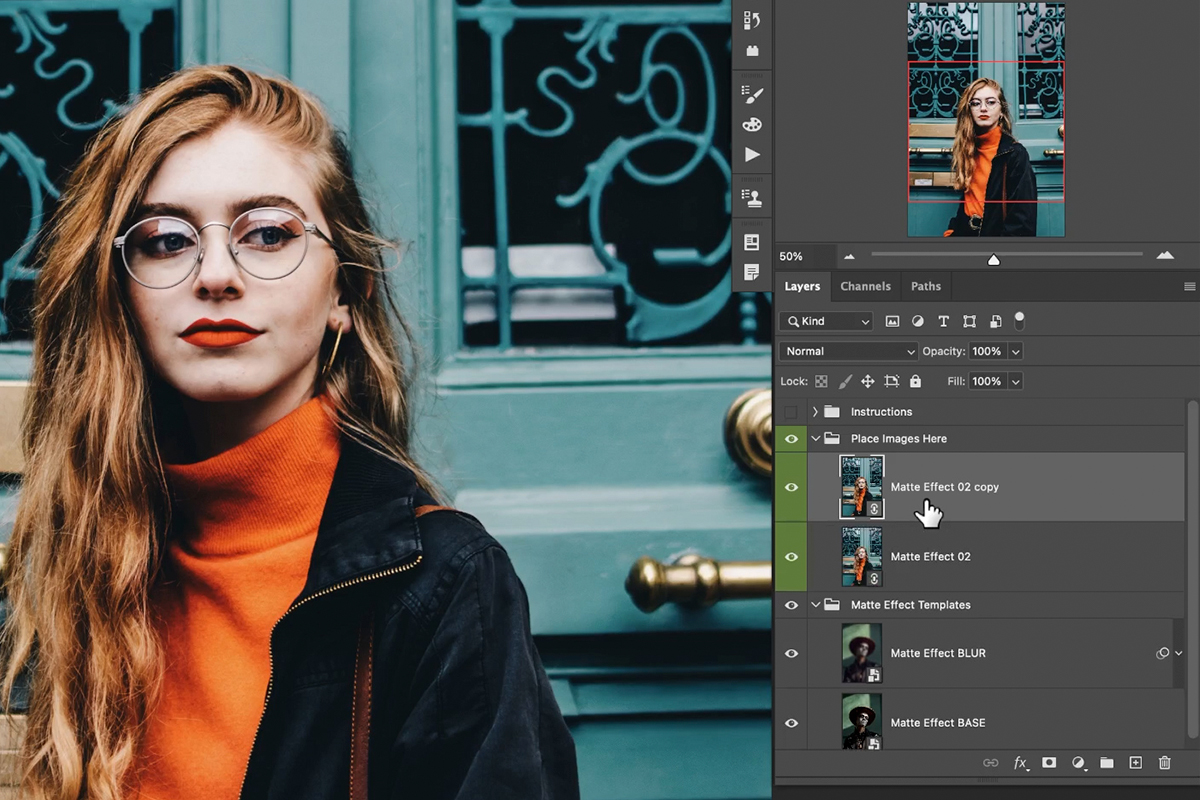
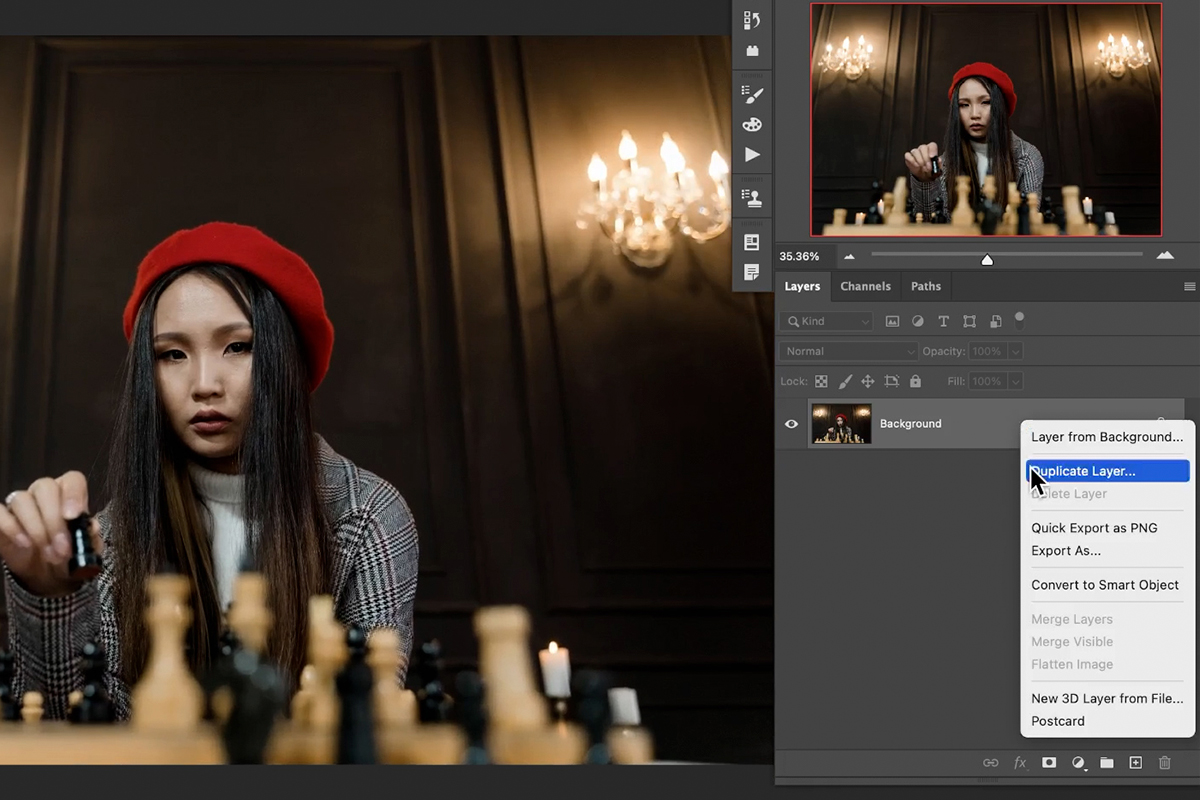
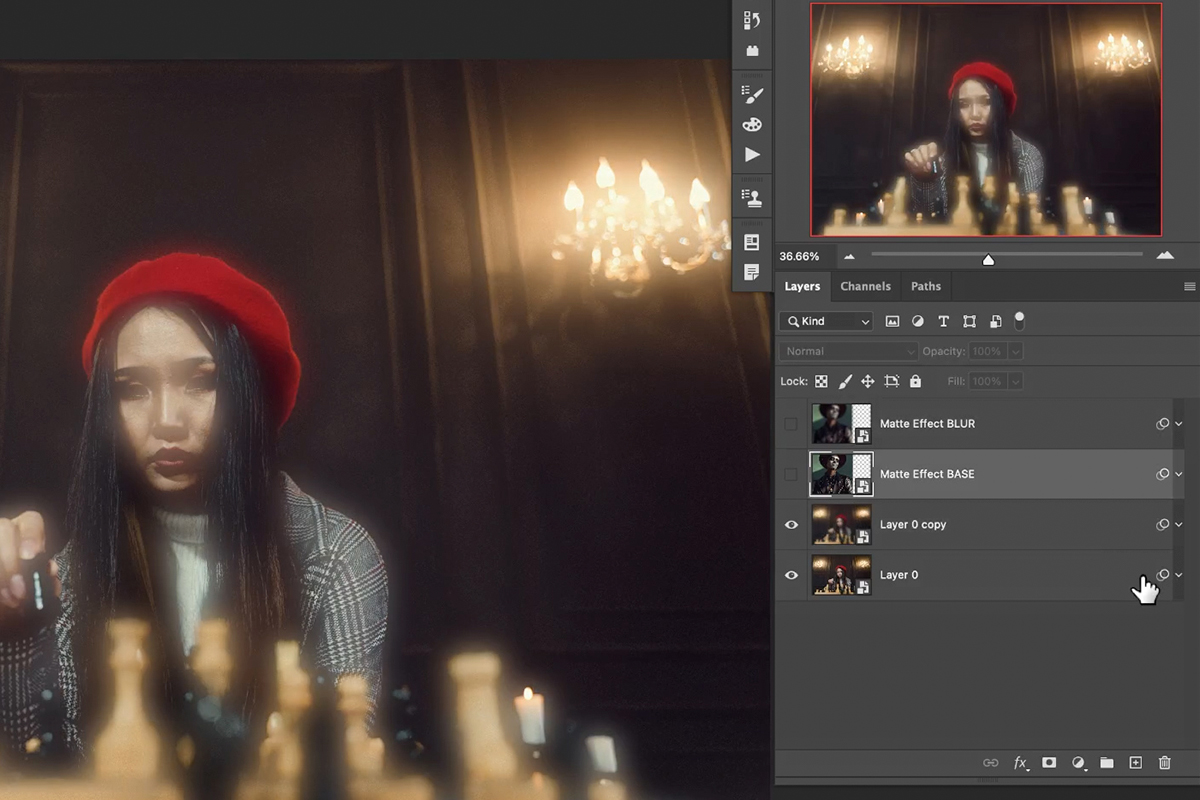
First, we need to copy the new image. Click on it and hit CTRL or CMD + J to create a duplicate.
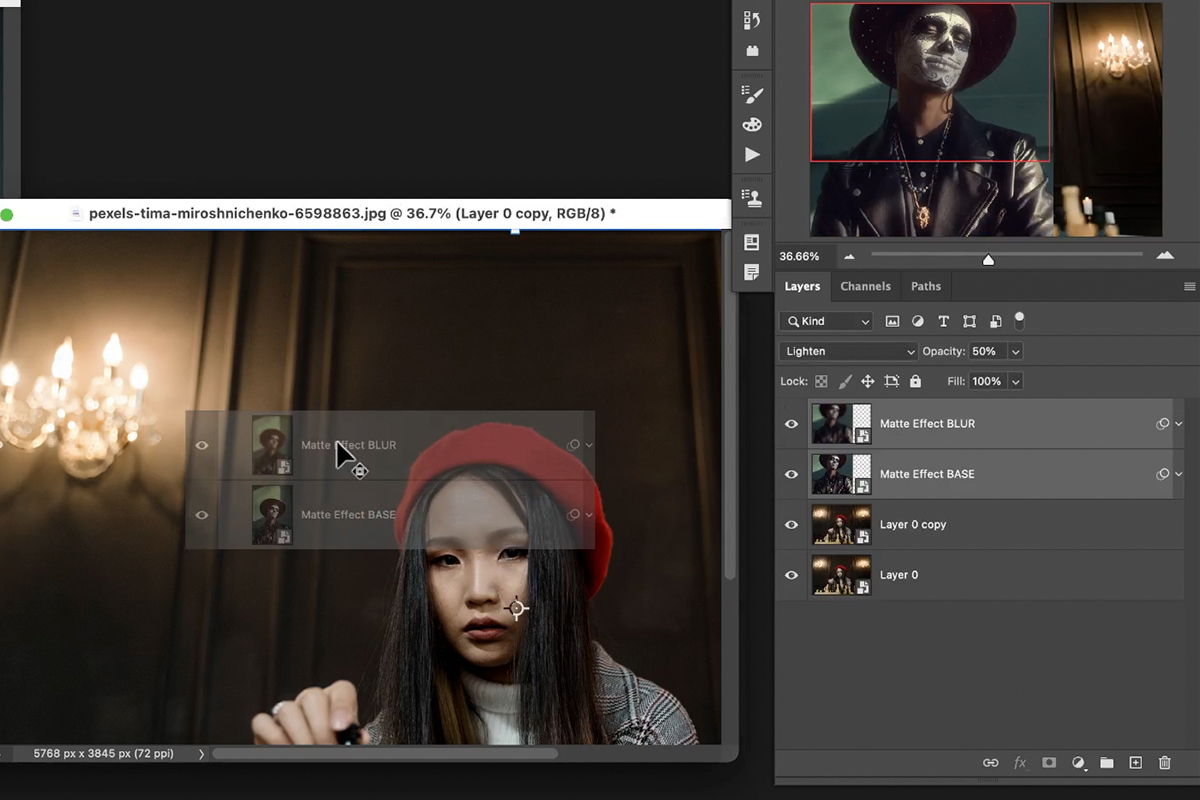
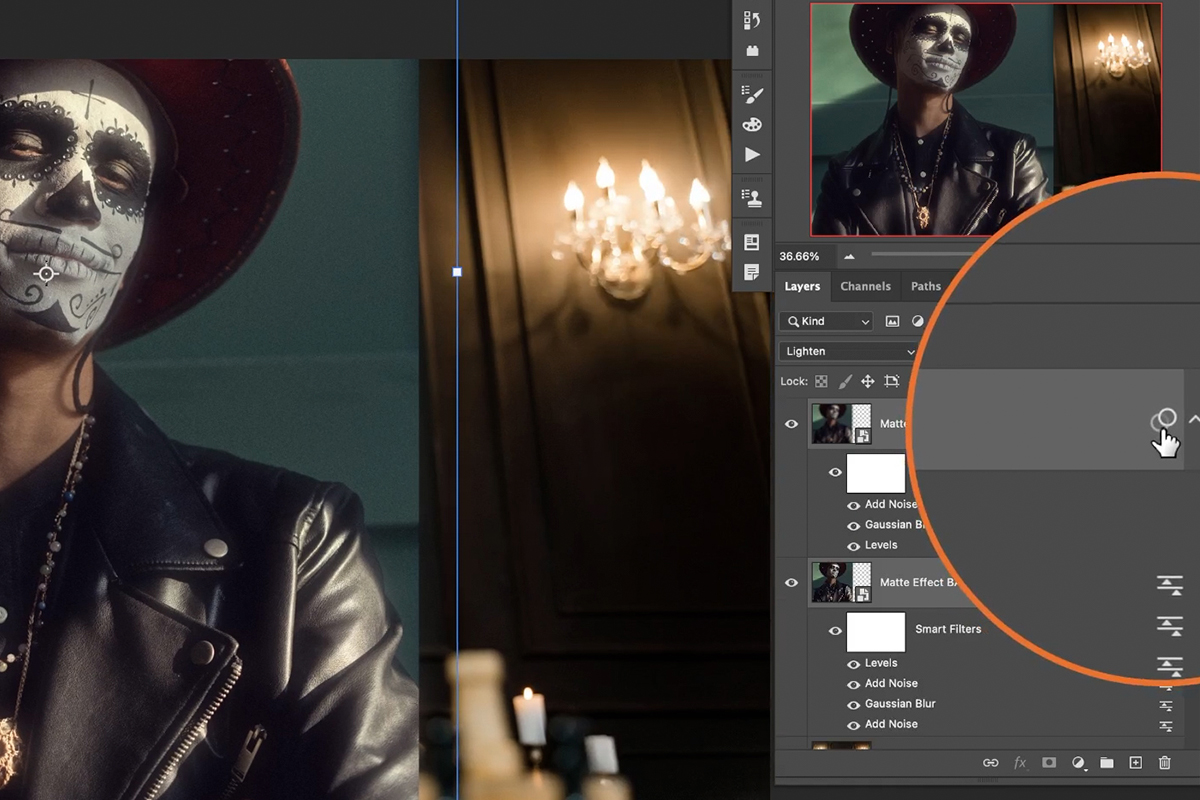
Keep in mind that we’re just replicating the structure and effects of the included example image! The example image includes two different layers: the bottom layer labelled Base and the top labelled Blur. Notice that the top layer is also set to the Lighten Blending Mode.
Set the top, duplicate image that you imported to the Lighten Blending Mode as well.
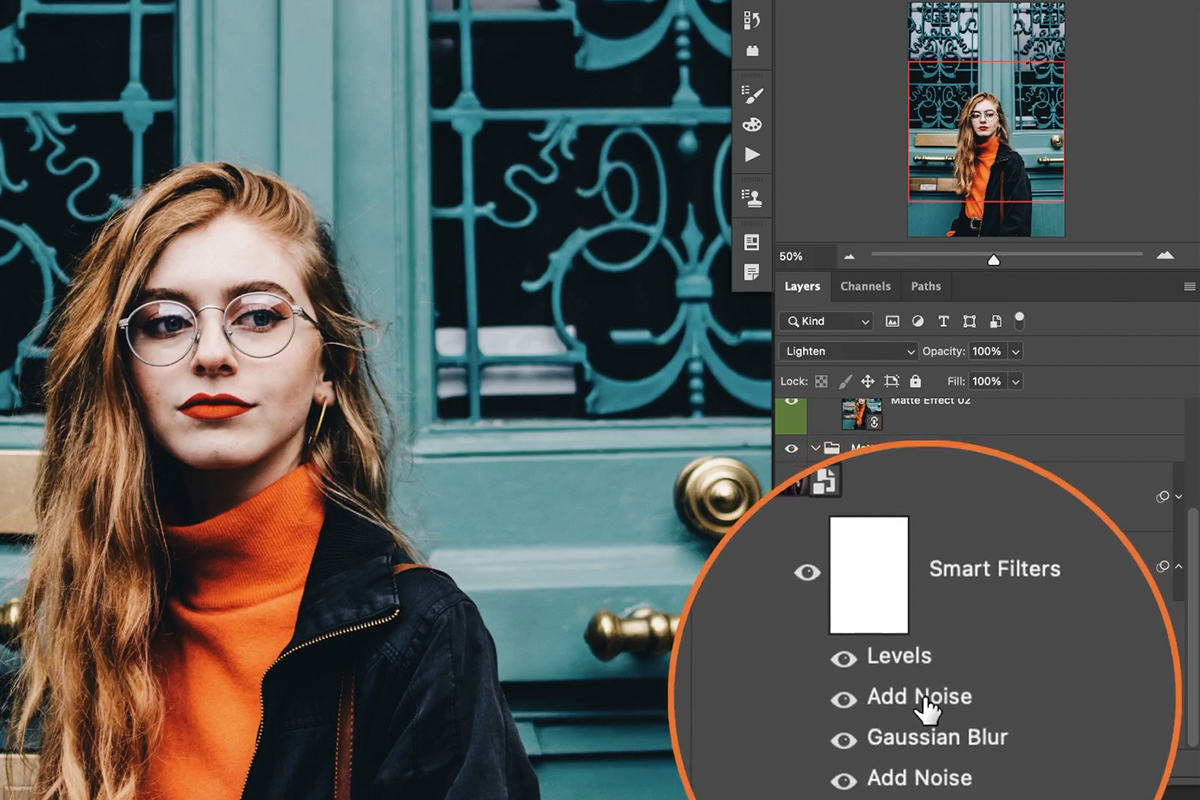
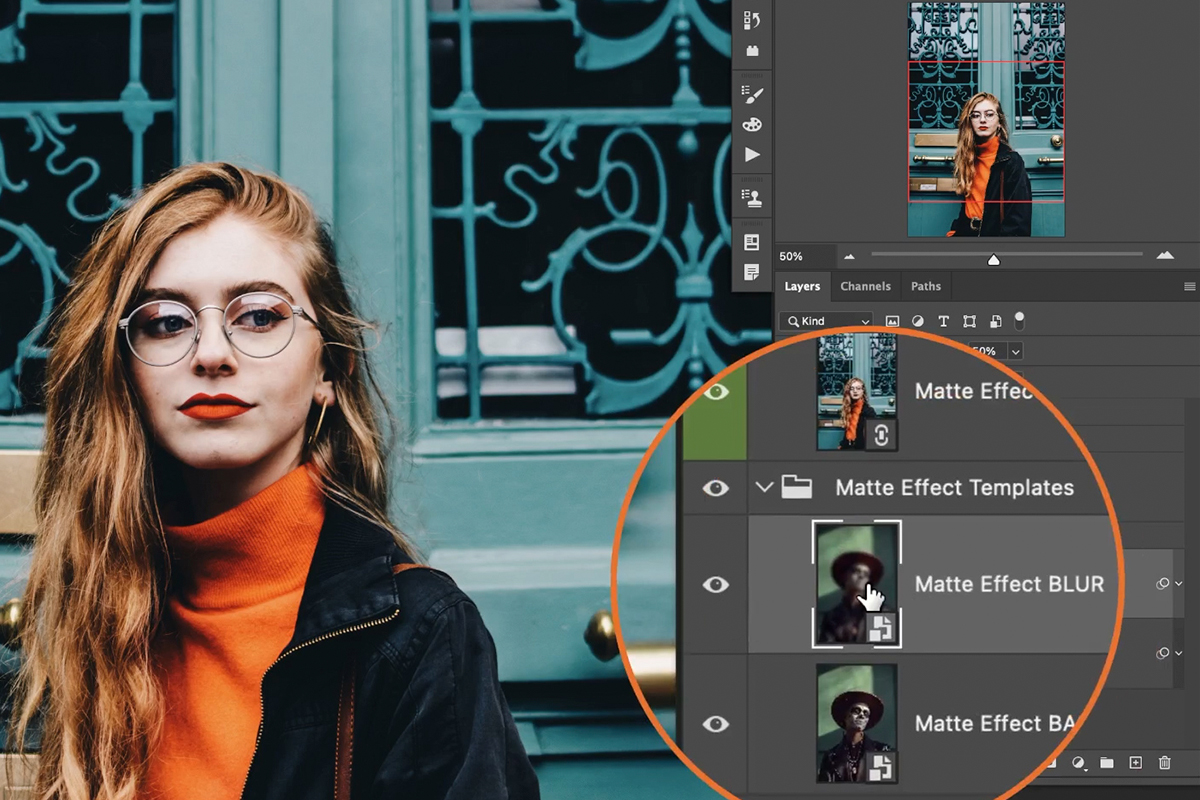
Looking at the included sample image and effect, notice the circle icons on the right side of each layer. Expanding those out, you’ll see a list of applied Smart Filters.
These Smart Filters are what create the matte effect. All we need to do is copy the Smart Filters from the base layer to the bottom layer of our new image, and from the Blur layer to the top layer of our new image.

To copy the Smart Filters, hold ALT or OPTN and click and drag the circle icons up to the layer you want to copy them to.
Remember: the effects on the BASE layer should be applied to the bottom copy of your image, and the effects on the BLUR layer should be applied to the top copy.
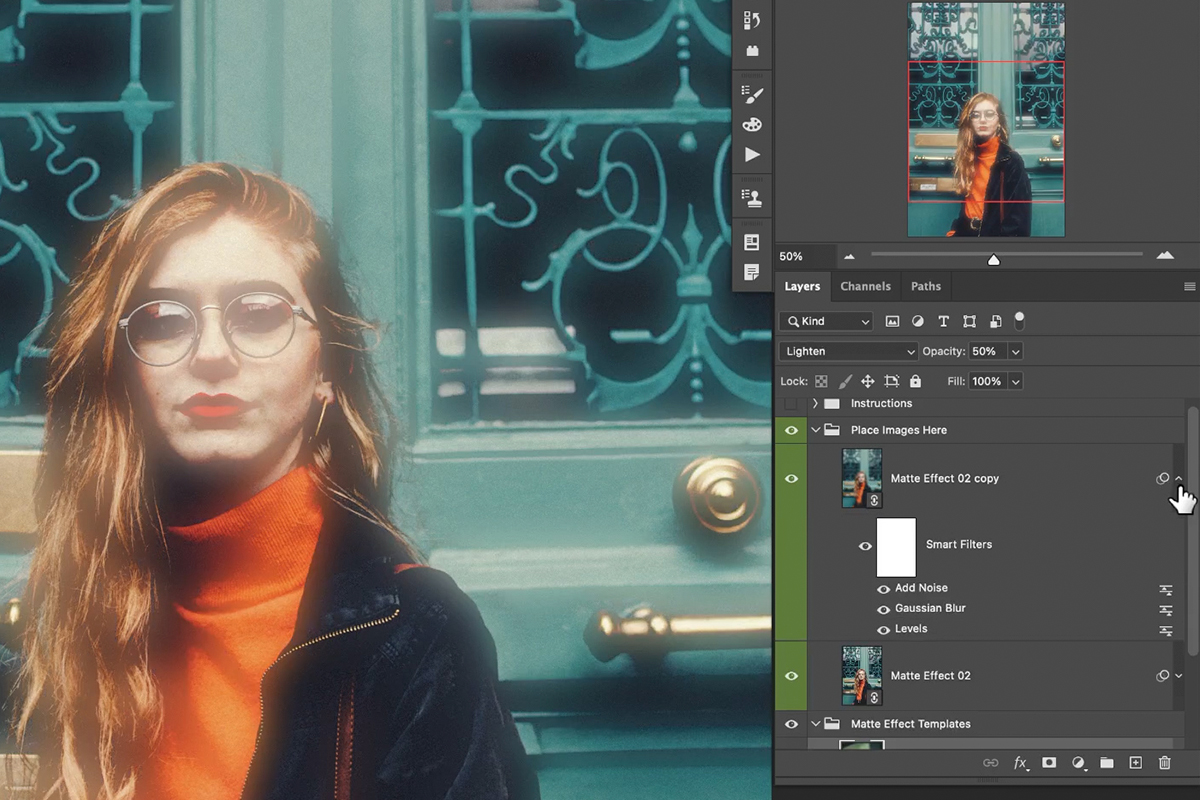
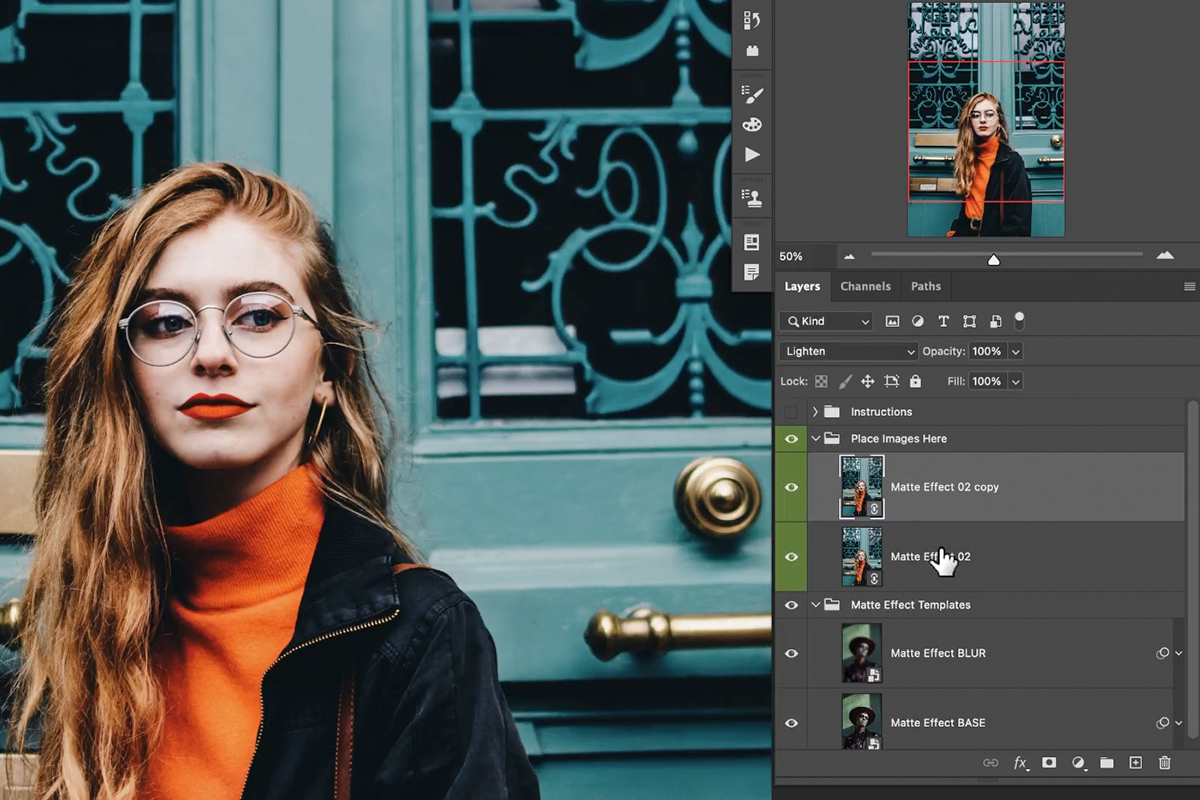
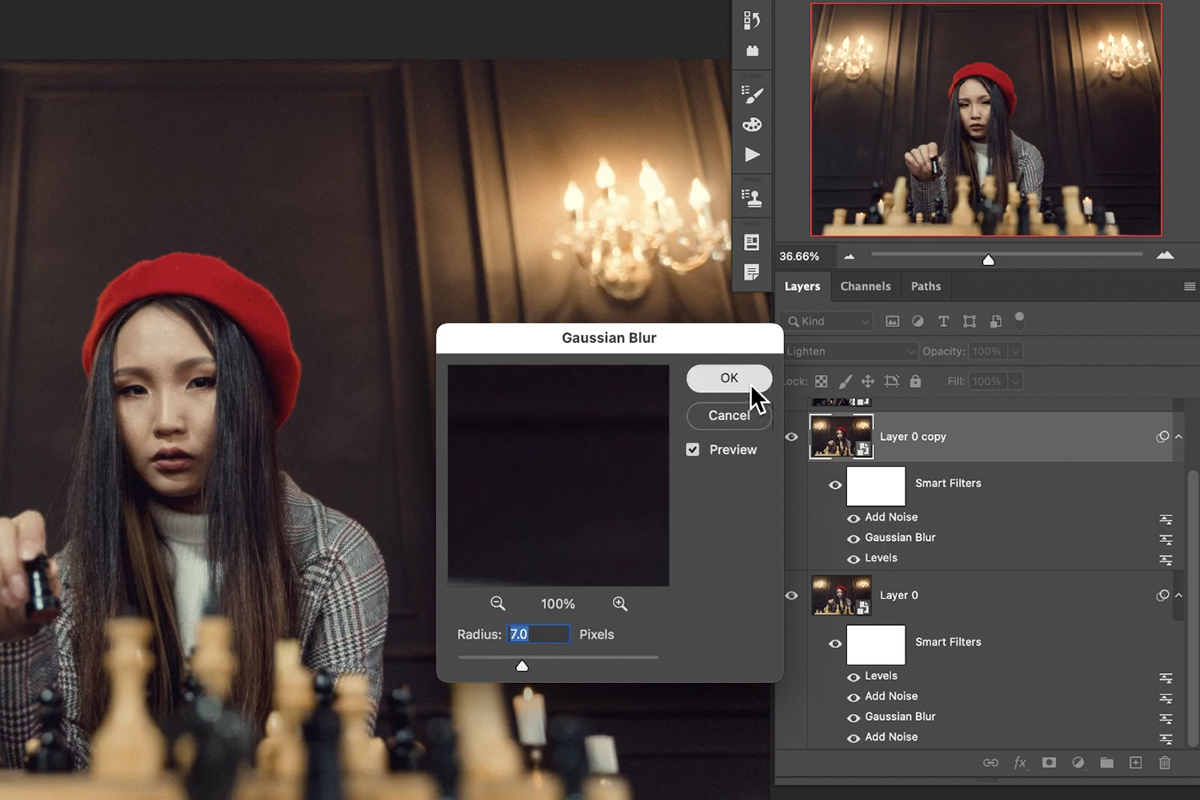
Once the effects are copied over, you may notice that it doesn’t look very good. Every image is different, and the included effects may need to be adjusted to work with the image you imported.
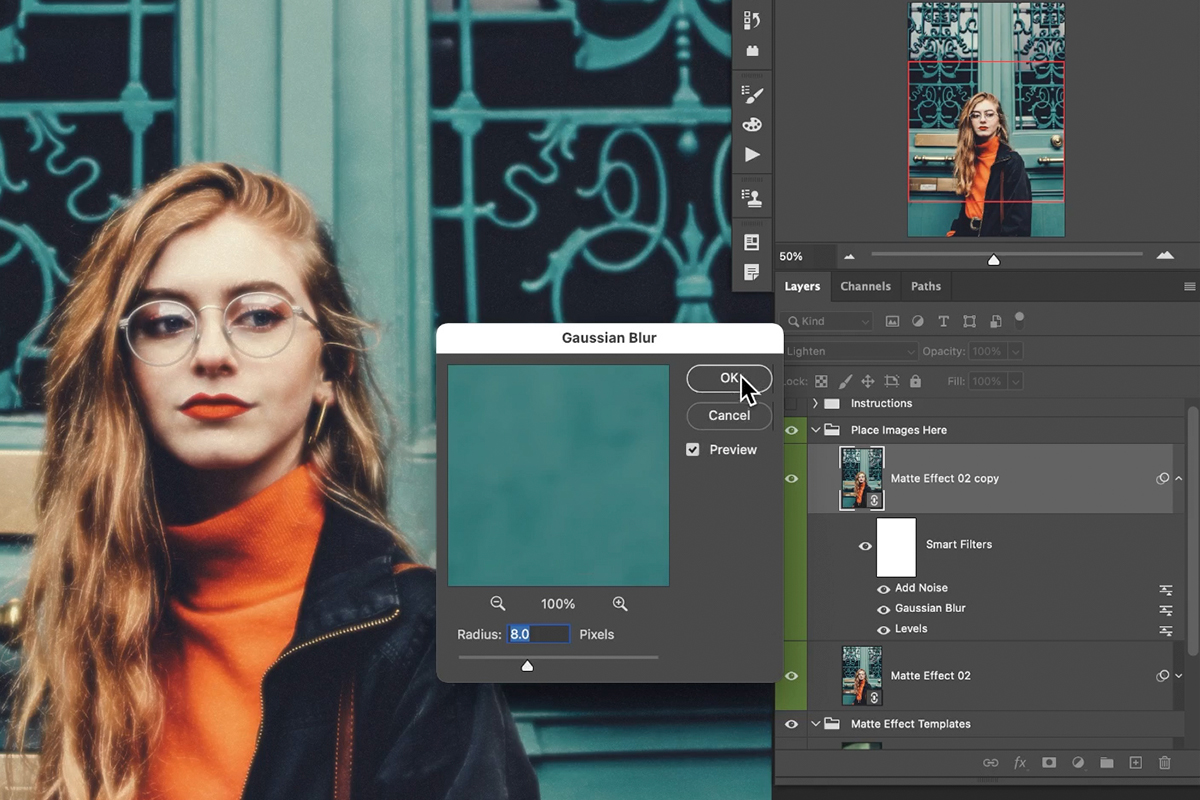
Simply double-click on any of the Smart Filters and adjust the settings to your taste.
Copy the Effect to Another Photoshop Project
Well, that was easy! But what about if you have an image that’s a different size or aspect ratio? You may not want to have to constrain a photo to the size of the included sample just to get the matte effect.
Fortunately, you can copy the sample image and effect over to any other Photoshop project!

This time we’ll start by opening the image we want to add a matte effect to.
Like before, make a copy of the main image.
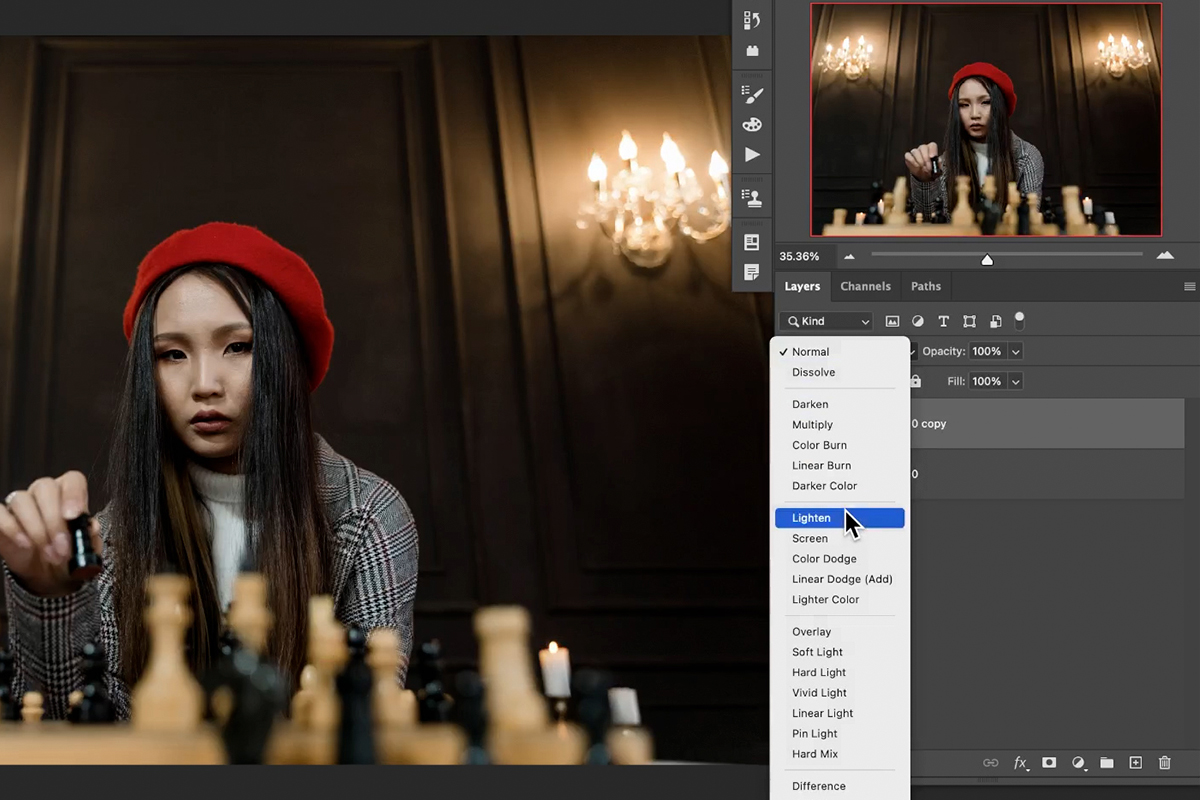
And set the Blending Mode of the top copy to Lighten.
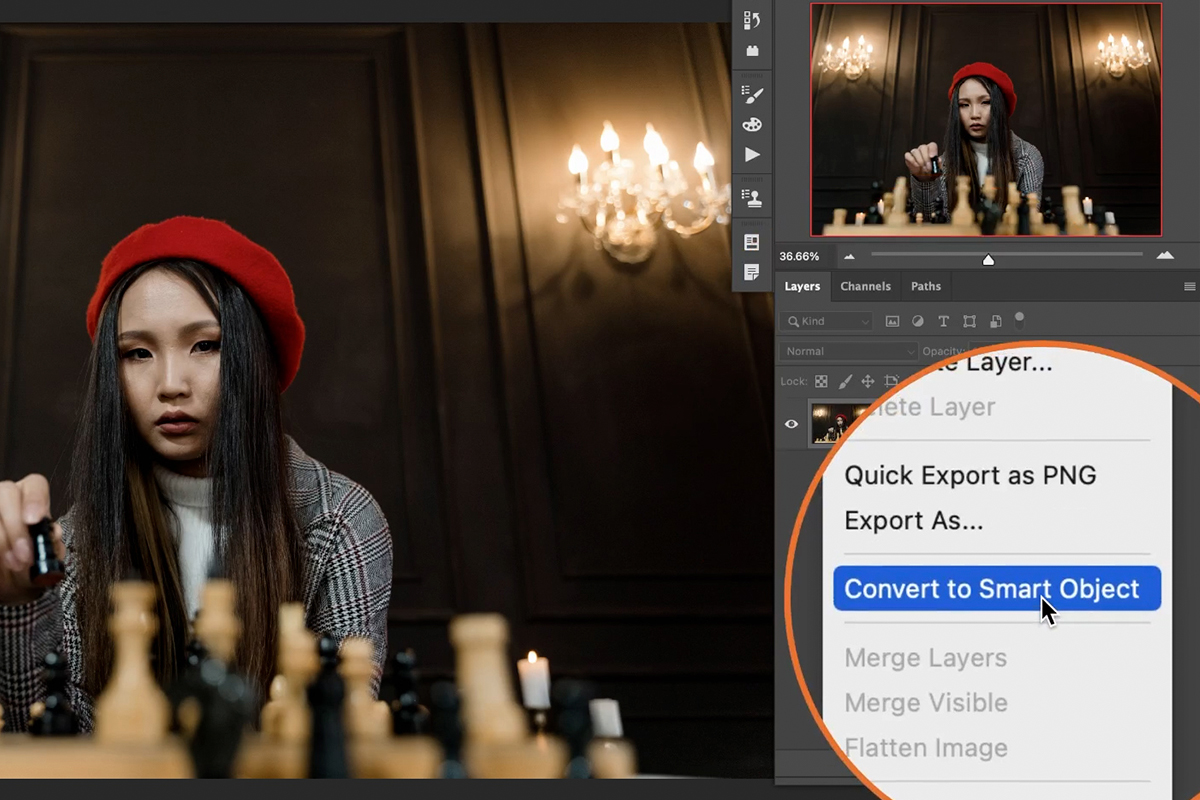
Convert both into Smart Objects by right-clicking on each and selecting Convert to Smart Object (We didn’t do this before because the Place Linked option for importing automatically places images as Smart Objects.)
Open up the Matte Effect Template PSD, select the two example layers and click-and-drag them over to the project with your image.
Then, like we did before, hold ALT or OPTN and click-and-drag the effects to copy them to the appropriate layer.
Hide or delete the example images and effects, and then adjust the settings of the effect on your own images until it looks great!
This template is yours to keep forever, and it can be used in a wide variety of ways! Have fun and experiment with it to create your own custom effects and templates.