Download Sample Images
description
Gear is great, but it’s pretty common for light stands, lights, bags, and cables to sneak into the frame as we’re shooting. Learn how to use tools like the Spot Healing Brush, the Healing Brush, and the Clone Stamp Tool to make short work of removing distractions from your images.
Share

Quickly Remove Photo Gear & Distractions
How to Remove Distractions in Photoshop
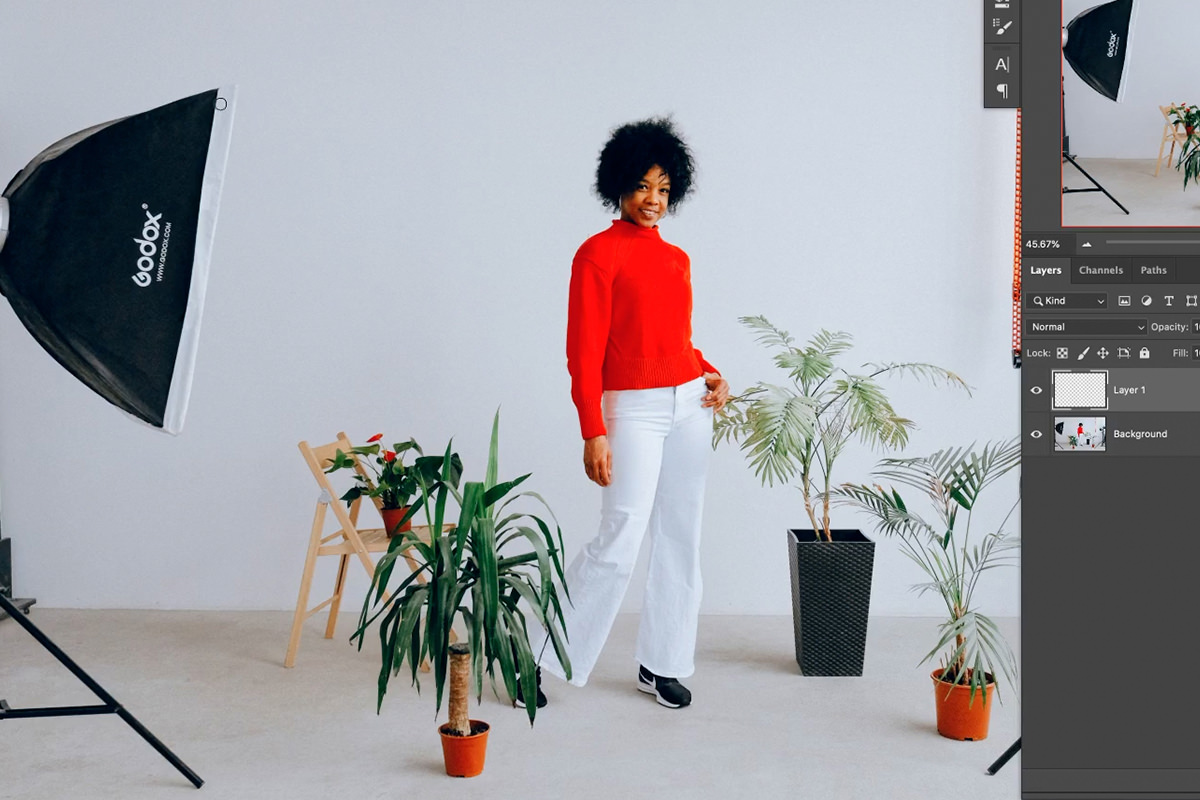
When we talk about removing distractions from photos in Photoshop, we’re really talking about covering them up. Our process involves creating new, blank Layers, and then using object removal tools to paint over distractions to hide them from view.
Photoshop has a variety of tools that take information from elsewhere in a photo and use it to cover up anything we paint over. For example, let’s say you have a landscape photo that you love, but there’s a plane in the sky that’s too distracting. You just need a way to cover up the plane, pulling information from the sky and clouds around it.
Working Non-Destructively
As with any work we do in Photoshop, it’s important to work non-destructively so that we can get back to our unedited, original image at any time. This is especially important with object removal, as the process can often require multiple tools and attempts to get it looking good.
The great thing about the tools we’ll be using is that they all can be used on New Layers. That means you can create a new Layer above the image, paint on that Layer while pulling information from the image below, and then disable or remove that Layer if you ever want to get back to the original photo.
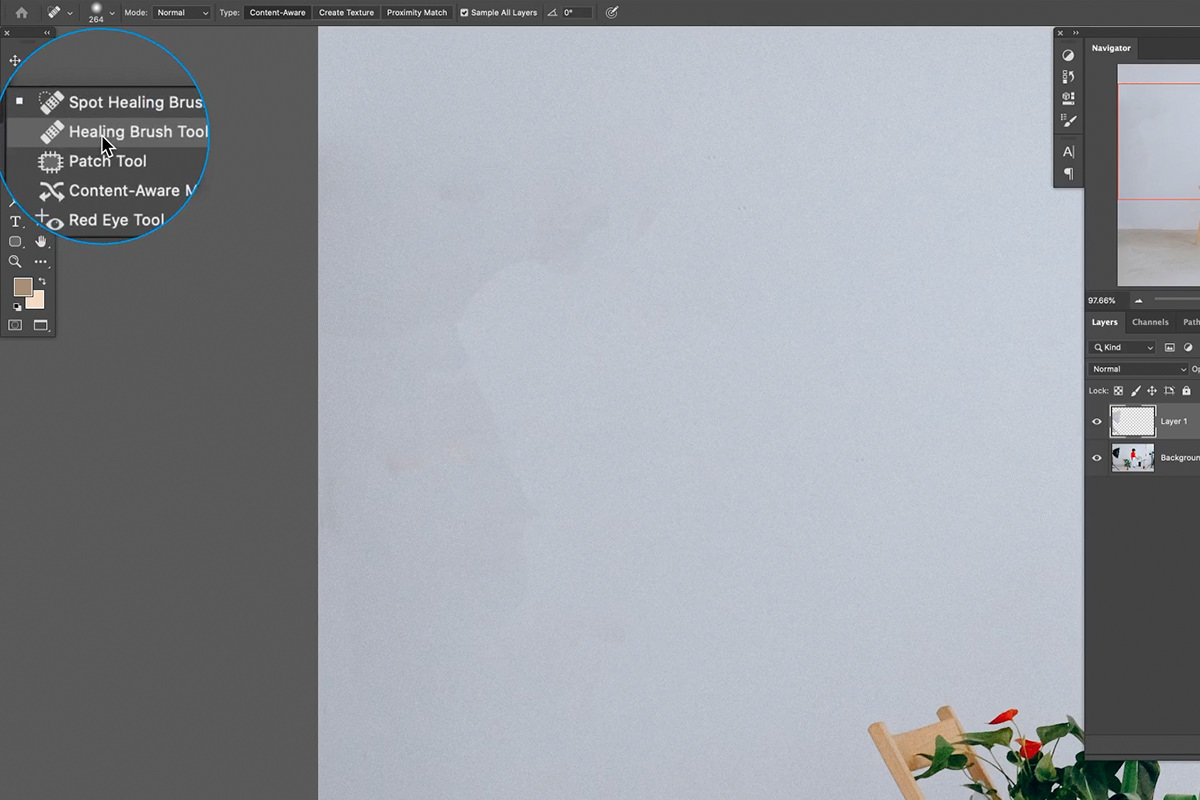
The Spot Healing Brush Tool
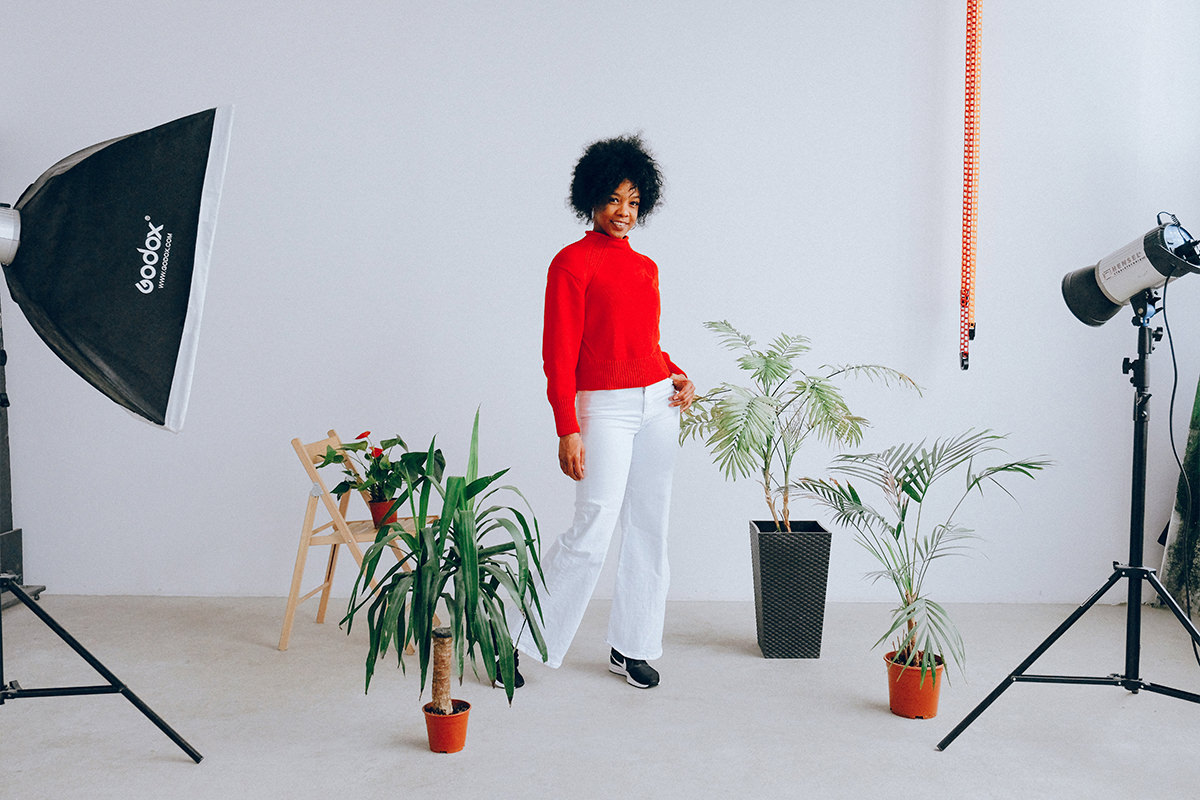
The Spot Healing Brush should be your go-to when you start any object removal. It’s an automated tool that usually make quick work of distractions that are on a relatively simple background. The image we’re using is a good example of a background you might see or use during a studio shoot. A solid-colored backdrop with a few props spread around the scene. This is a great situation to use the Spot Healing Brush to start things off.
The Spot Healing Brush is an automated tool that makes object removal very easy under the right circumstances. However, before using it, make sure that a couple of options are turned on so that you get the results you want and so you can work on a new blank Layer.
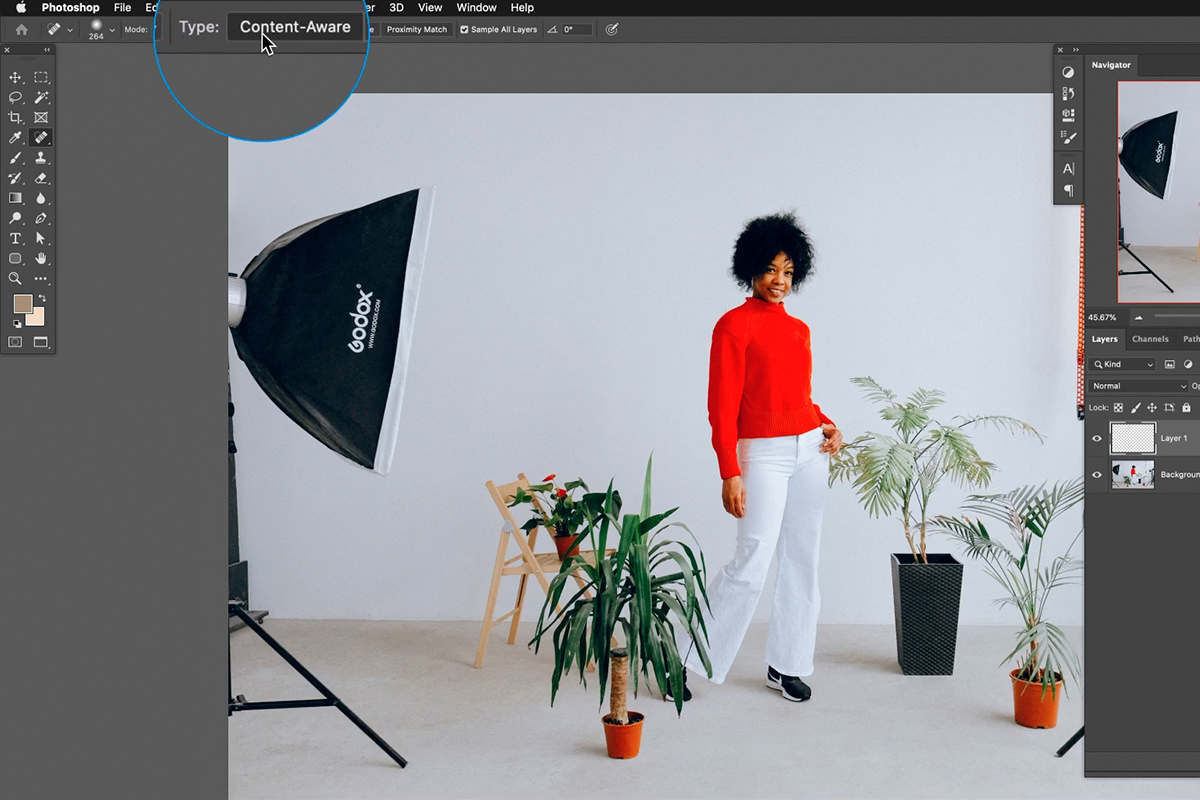
The first is Content-Aware. This option instructs Photoshop to automatically pull in color and texture from similar surfaces in the image. It will use these colors and textures to fill in areas as you paint over them.
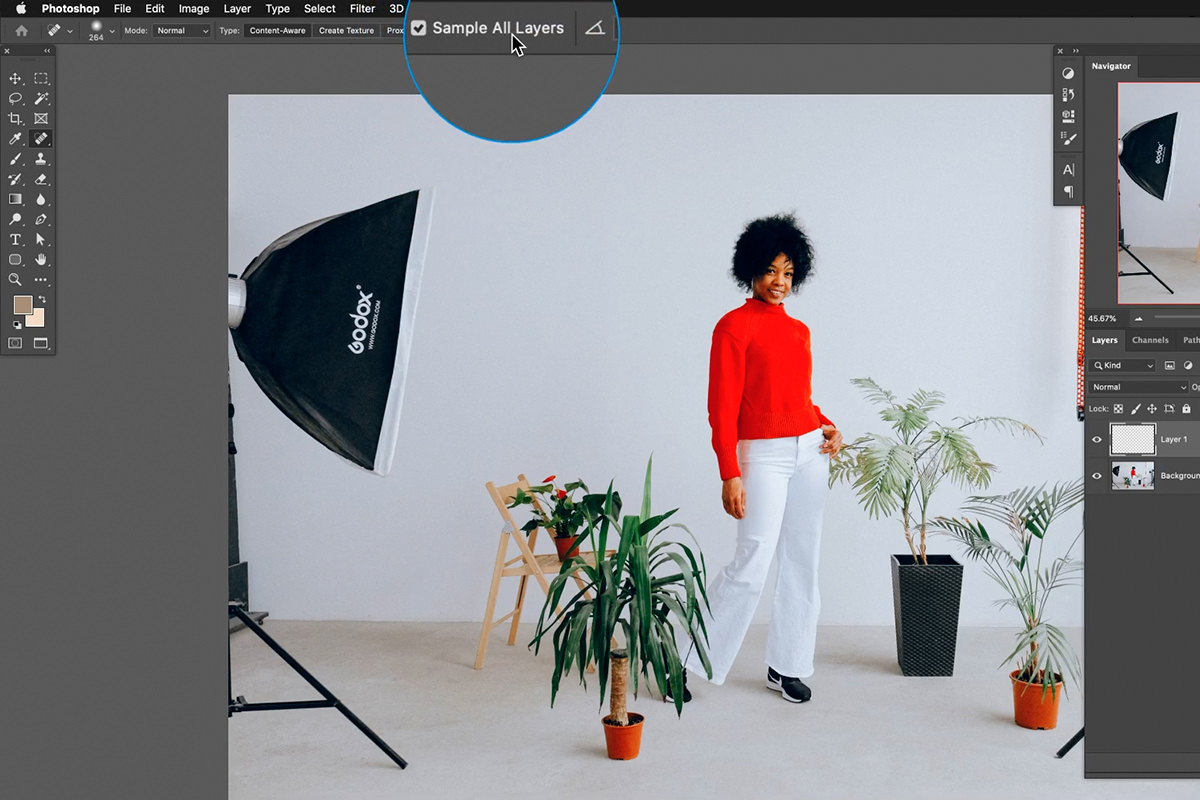
The second option is Sample All Layers. This tells Photoshop to pull information from all of the Layers in a project. This makes it so you can paint with the Spot Healing Brush on a new, blank Layer while pulling the information from the image below. This is what lets us work non-destructively!
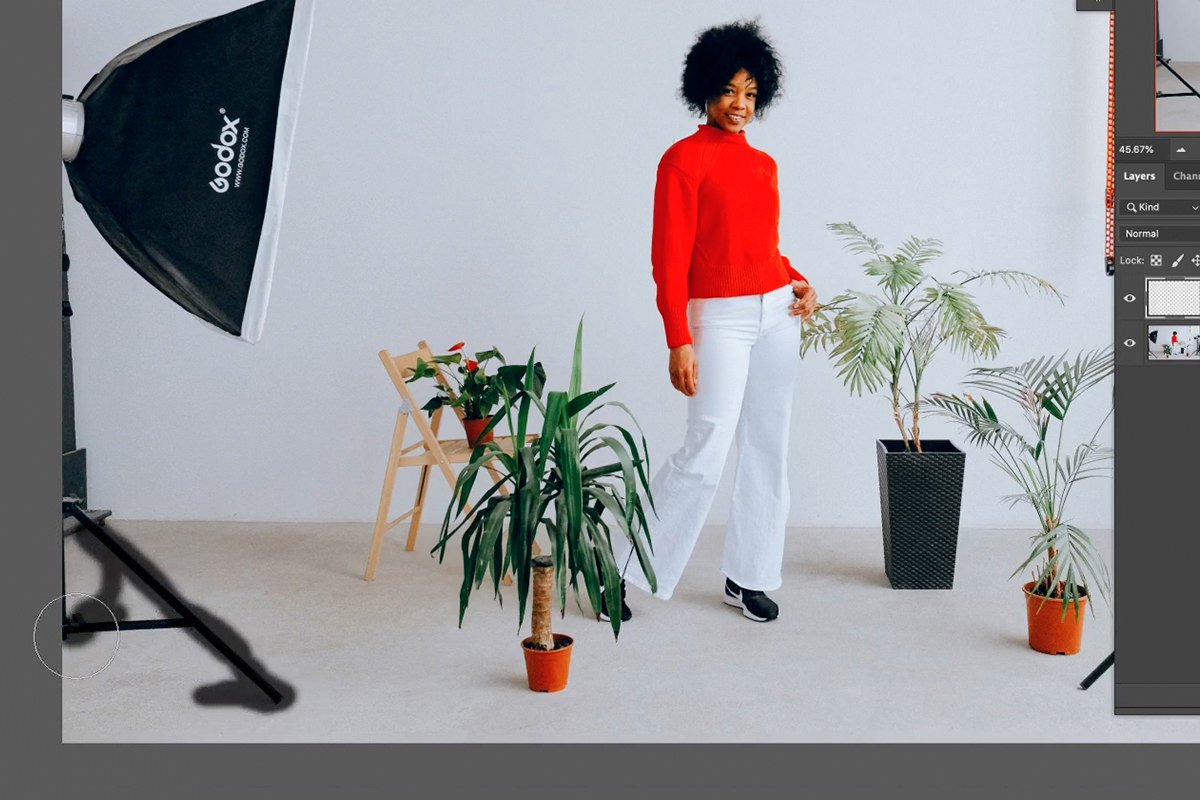
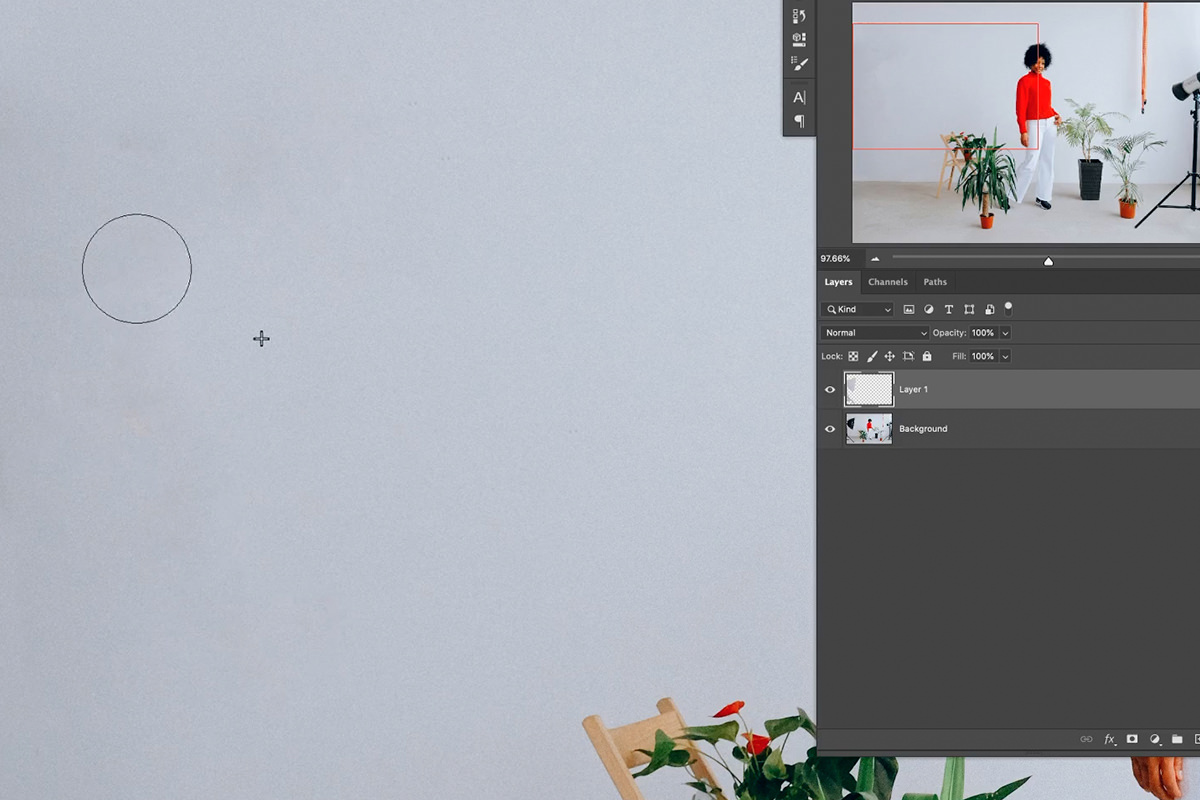
Once those options are set, create a new Layer above the image and begin painting over the object you want to remove. We recommend painting in small areas first. Working with larger sections will often lead to strange and unrealistic results. As you paint, Photoshop will work its magic and pull all the information in that it needs to create a realistic fill.
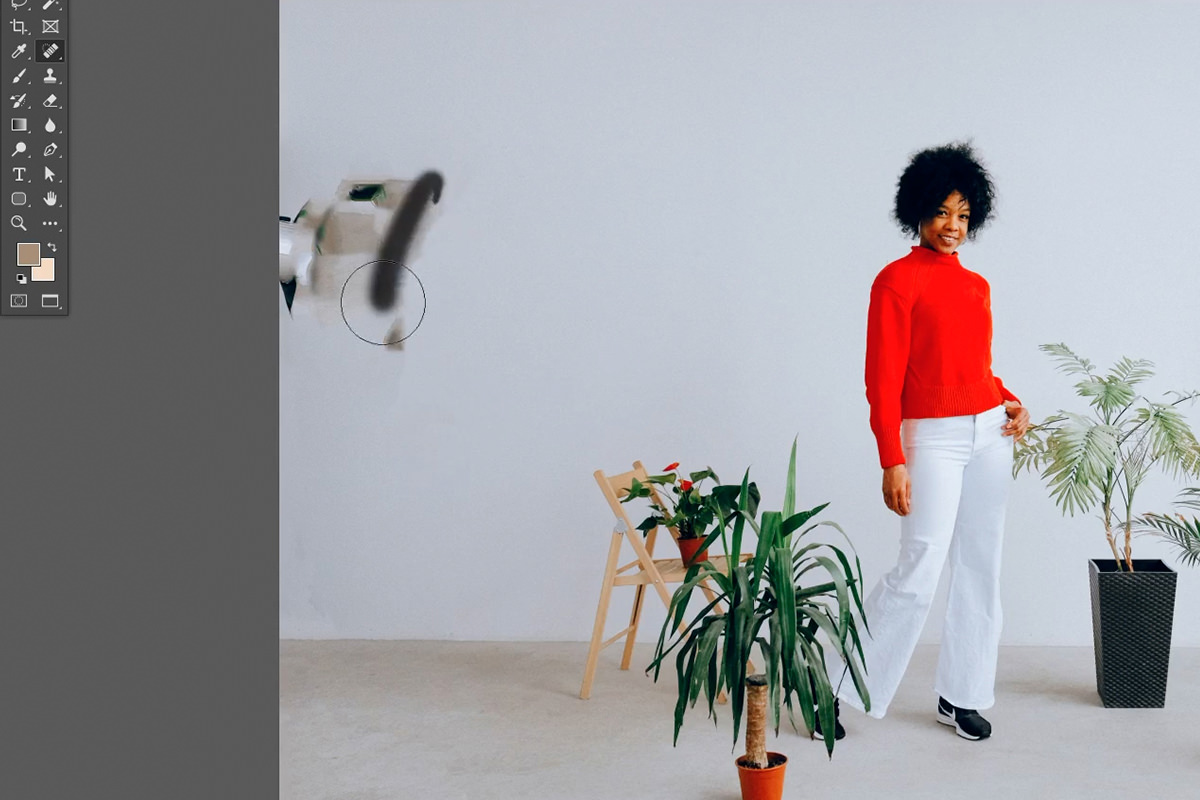
Keep in mind that, while the Spot Healing Brush is fast and powerful, it won’t always get the job done right the first time. It might take several passes over the same area to get a large object covered up. And even then, it might leave behind some noticeable evidence of Photoshopping.
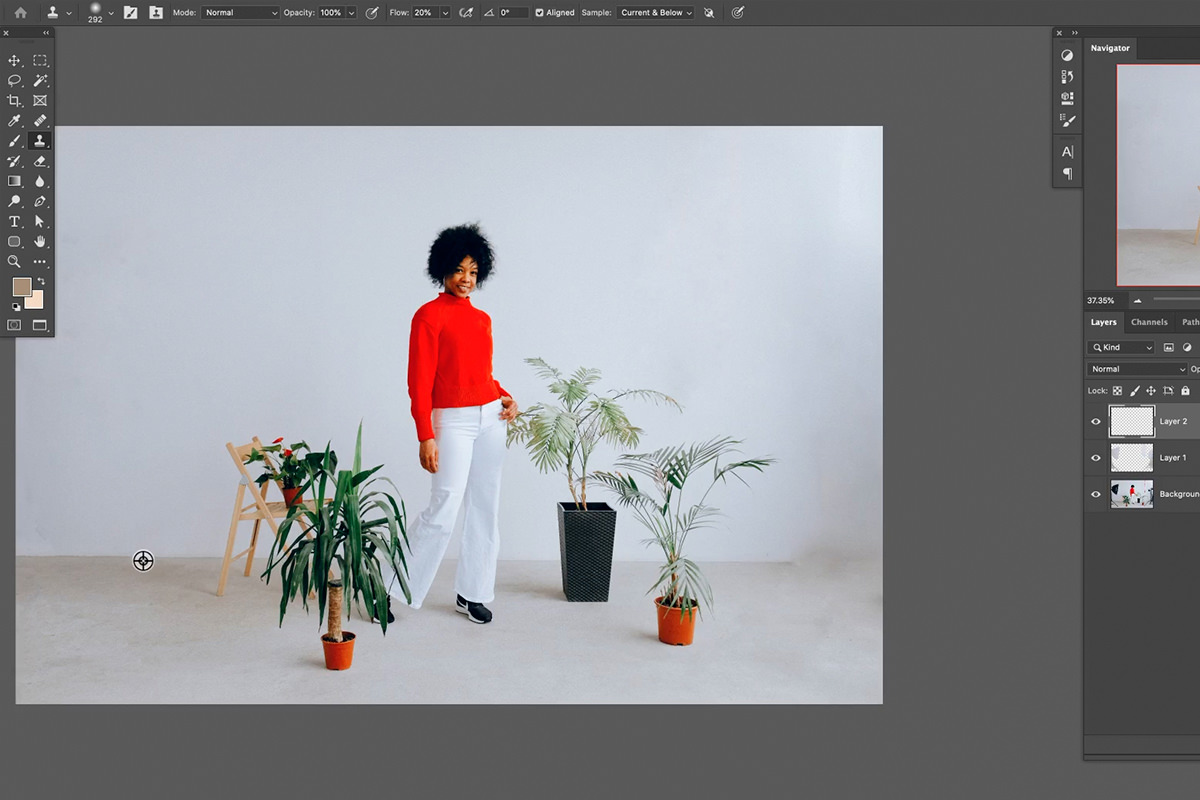
After removing a large softbox, Photoshop had some trouble filling in that space with even texture and lighting. There is a noticeable blotchiness that makes it obvious that something was removed. This is not uncommon, especially when removing larger objects. When the Spot Healing Brush doesn’t cut it, it’s time to turn to a slightly more manual tool to even things out. Enter the Healing Brush!
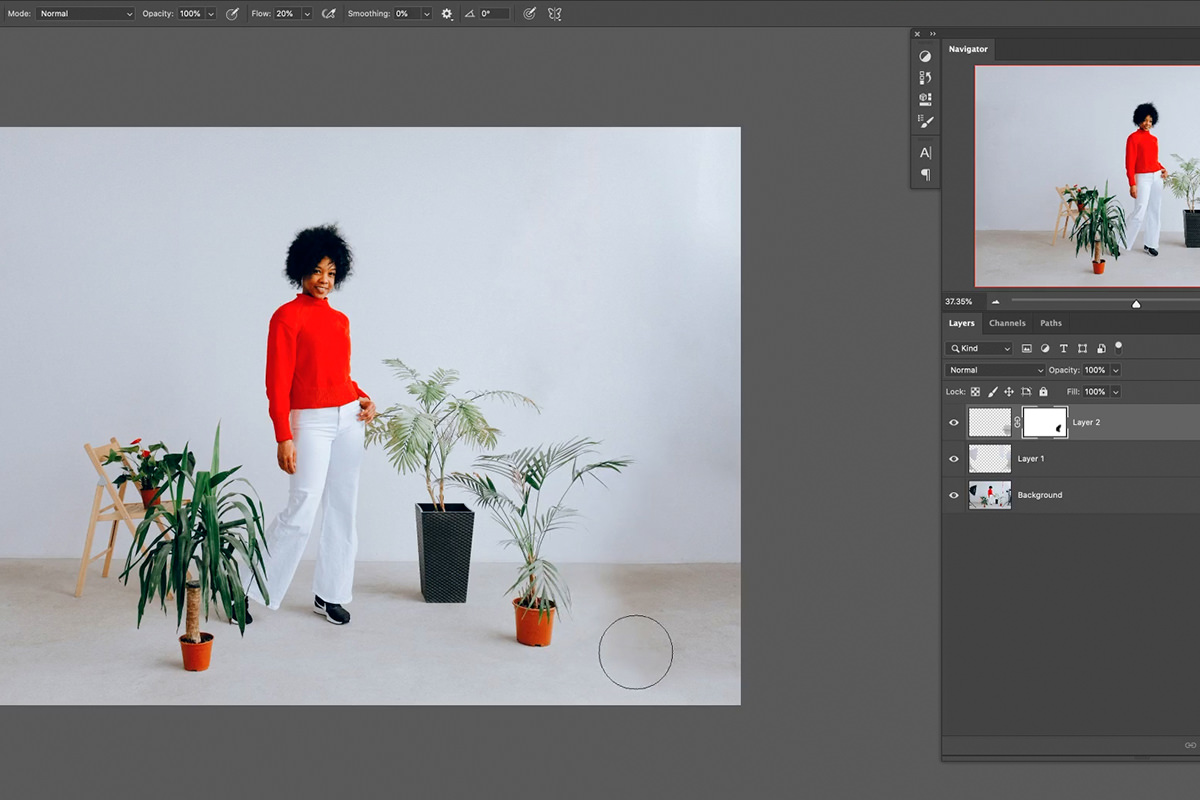
The Healing Brush
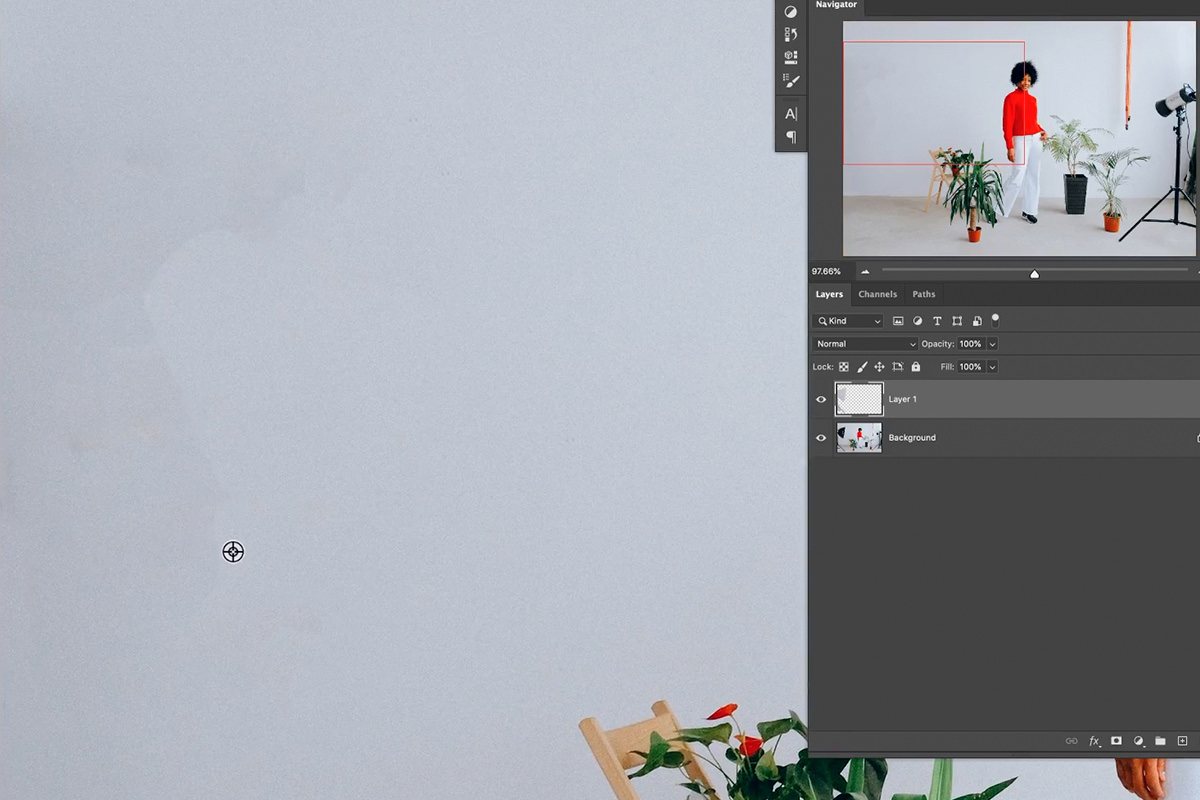
The Healing Brush is similar to the Spot Healing Brush, but it allows you to choose an area to sample. When you sample an area, Photoshop will pull the texture from that spot and try to blend it with the color of the area where you paint.
This gives you more control over blending different areas of slightly different lighting and texture together.
Just like with the Spot Healing Brush, make sure that you’re working on a new Layer so that you can get back to the original photo or undo your changes at any time!
The Clone Stamp Tool
The Healing Brush and Spot Healing Brush work great over top of simple backgrounds. But what if you have to work around hard edge or continuous details? In our example image, we need to remove a light that is sitting in front of a line where the wall meets the floor. We need to preserve that line, otherwise the removal will look extremely unrealistic. This is where the Clone Stamp Tool shines.
The Clone Stamp Tool allows you to sample an area and then paint an exact copy of that area wherever you want. So if we want to make sure that line along the edge of the floor continues, we can sample it from another area of the photo, paint it on to a new Layer, and then place the copy where we need it to go.

Once the new section of floor has been placed and everything has been lined up, you can use a Layer Mask to blend the new section in with the original surroundings. But you’ll notice still that the lighting doesn’t quite match up.
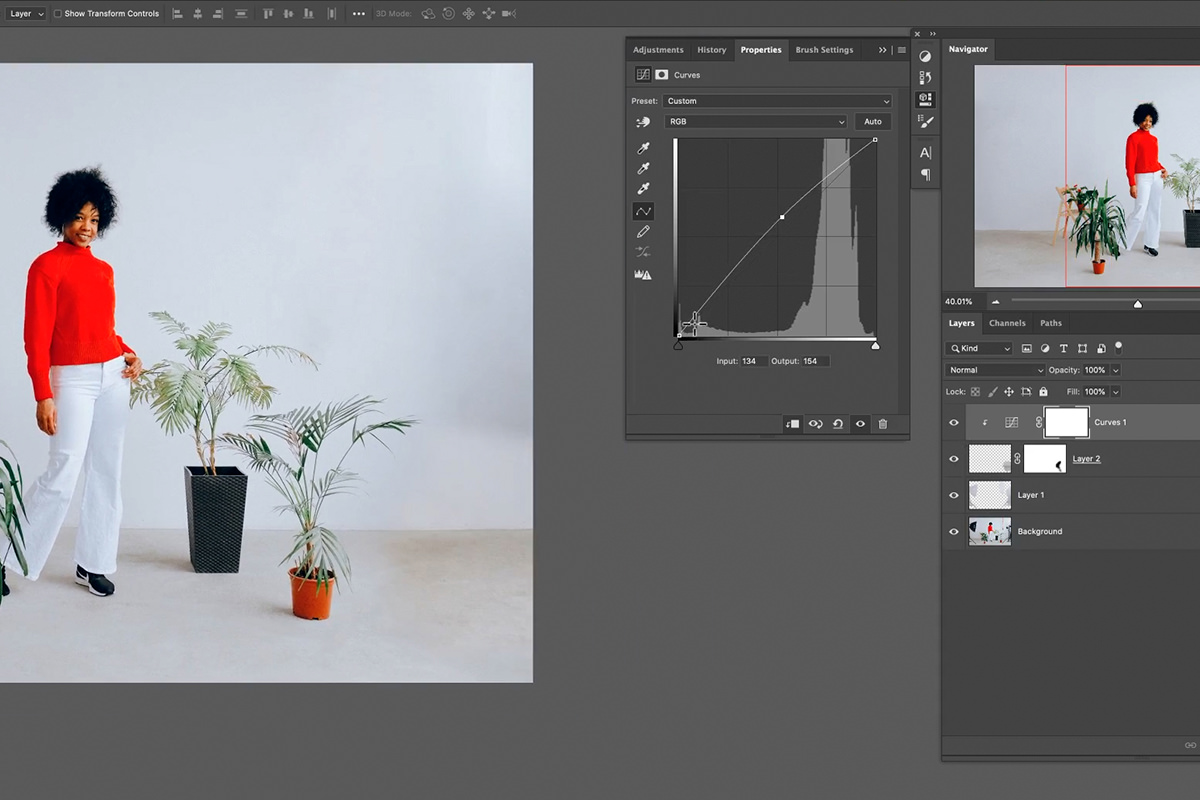
Simply use a Curves Adjustment Layer to adjust the light levels to match the new surrounding area!
With some minor adjustments and blending, the new section of floor should fit in seamlessly. We’ve removed the light, the light stand, and managed to maintain continuity across all of the major elements that make up the background.