Download Sample Images
description
Learn how to add your own text and logos to any sign in Photoshop! Perfect for creating mockups for your brand or products.
The sample graphic used in this tutorial was purchased from Adobe Stock. If you’d like to follow along with the same graphic, it can be found here.
The sample download includes an alternate logo that you can follow along with, or you can create your own!
Share
ADD LOGOS & GRAPHICS TO ANY SIGN
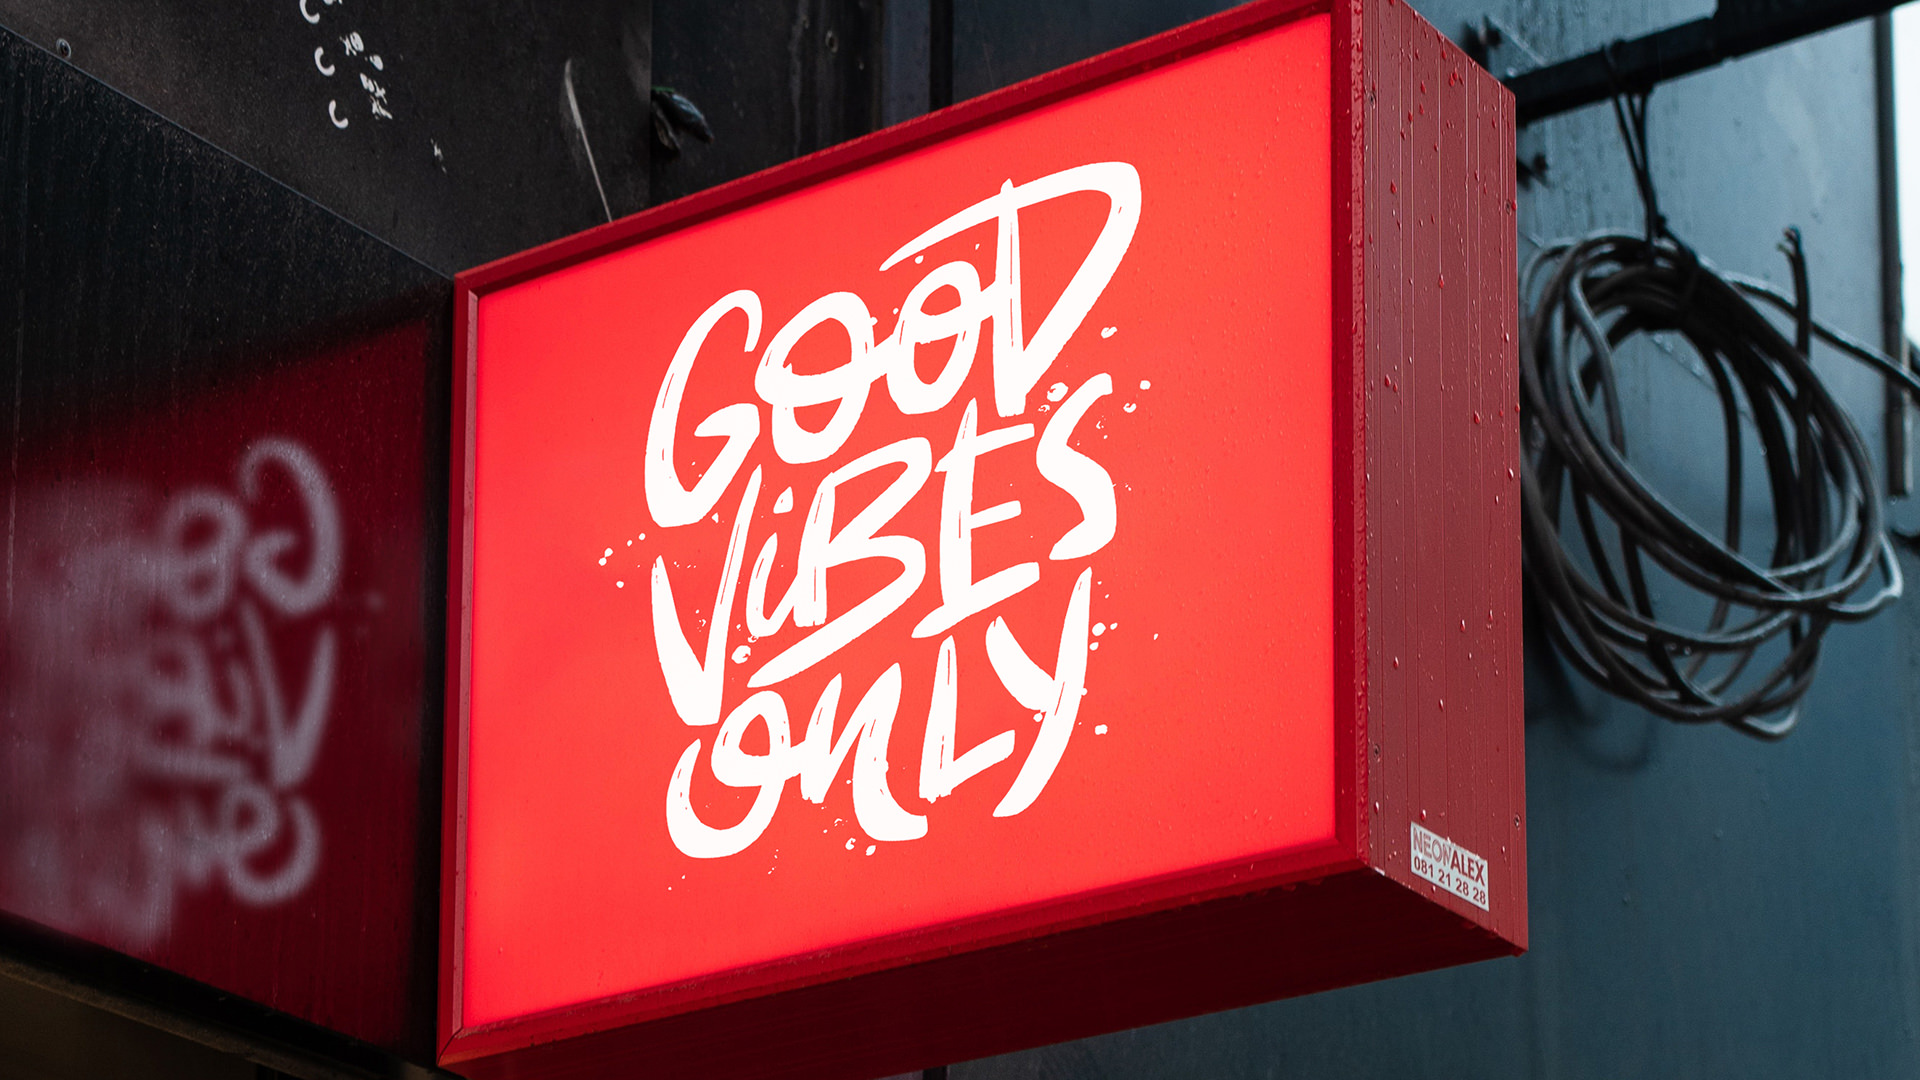
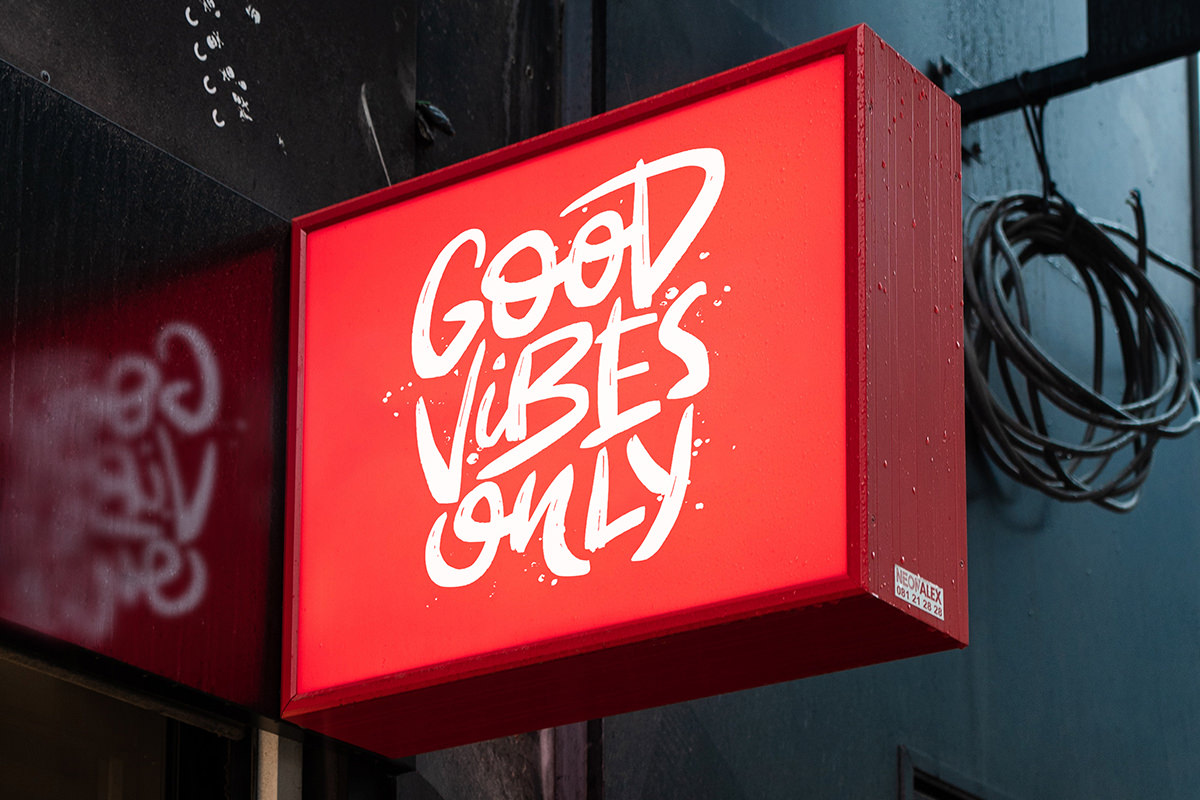
BEFORE
Add Text & Logos to Any Sign
Replacing a Sign in Photoshop
When creating a new brand or a product, mockups can help everyone get a feel for how the designs and branding work in real world environments.
In this tutorial, we’re going to focus specifically on adding our own text and logos to signage in a photograph. Whether you want to create a look for a new storefront, or you want to see what your brand looks like on a billboard, these techniques can help.
To create this effect, you’ll need at least two elements: an image of a sign or billboard in a real world environment, and some text, a logo, or an icon (preferably a PNG image with a transparent background) to place into that environment.
We’ve provided an image of a sign for you to follow along with. The graphic we chose can be found on Adobe Stock, or you’re welcome to create or use your own.
Removing the Original Graphics
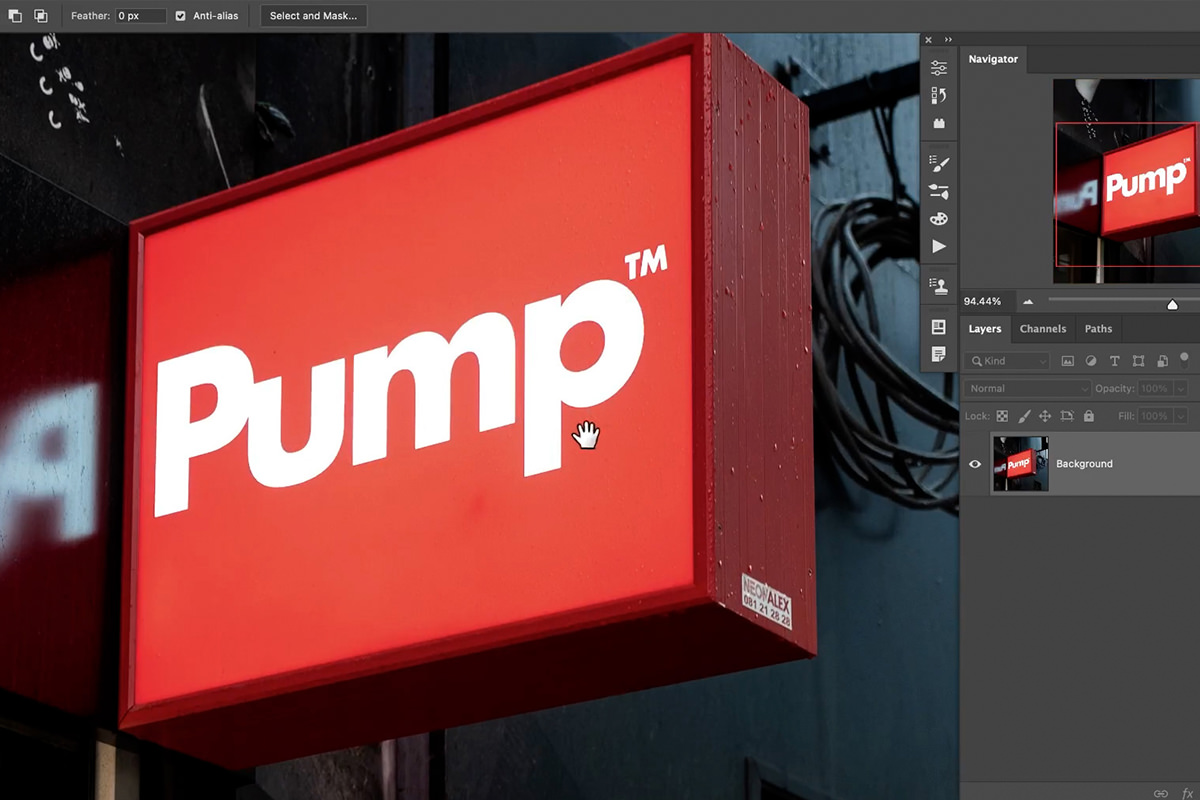
Before you start adding your own text or logo, chances are that you’ll first need to remove any existing text or images on the sign. Fortunately, this is usually a quick and easy process.
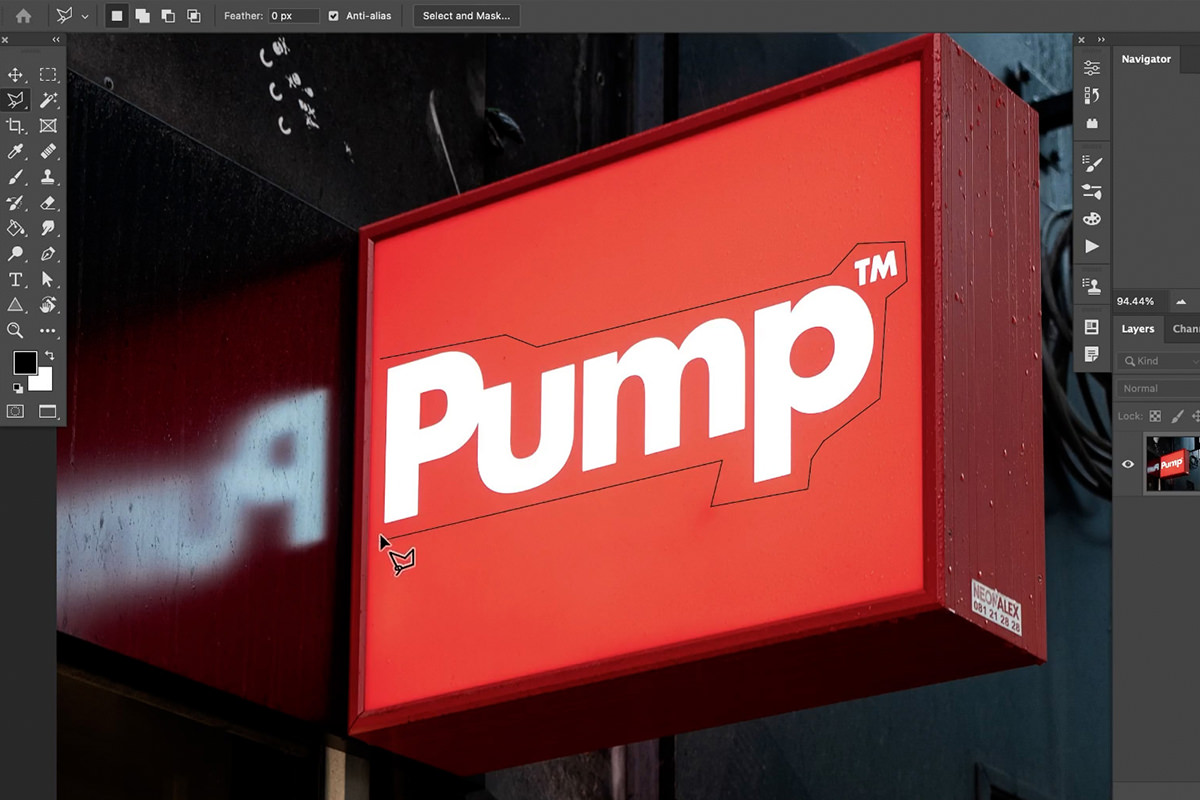
For our example, we chose to use Polygonal Lasso Tool to create a rough selection around the text. You don’t need to be too precise here, especially if you’re using an image where the sign is mostly a solid color.
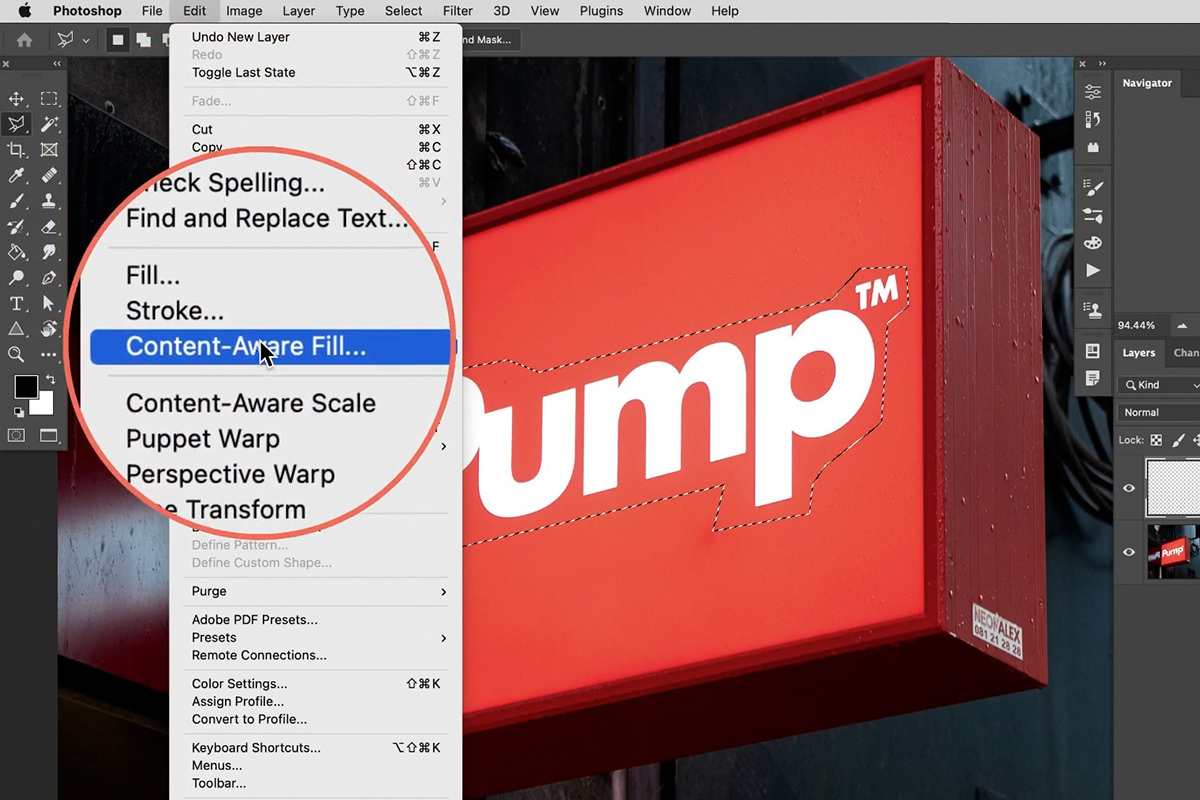
Once you’ve made a selection around the text, create a new Layer, then go to the Edit menu and select Content-Aware Fill.
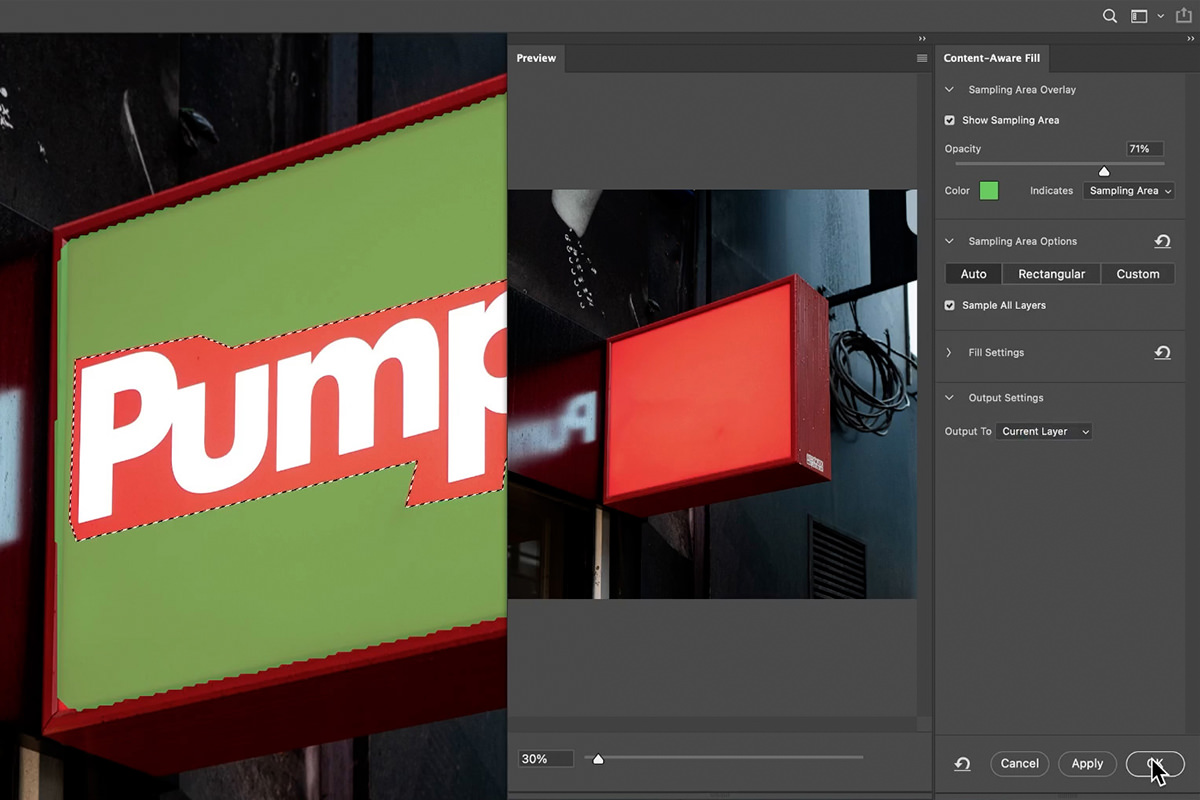
The Content-Aware Fill dialog provides a number of options to refine the effect. Adjust the settings until the original text is gone and has been replaced by a mostly-even solid color.
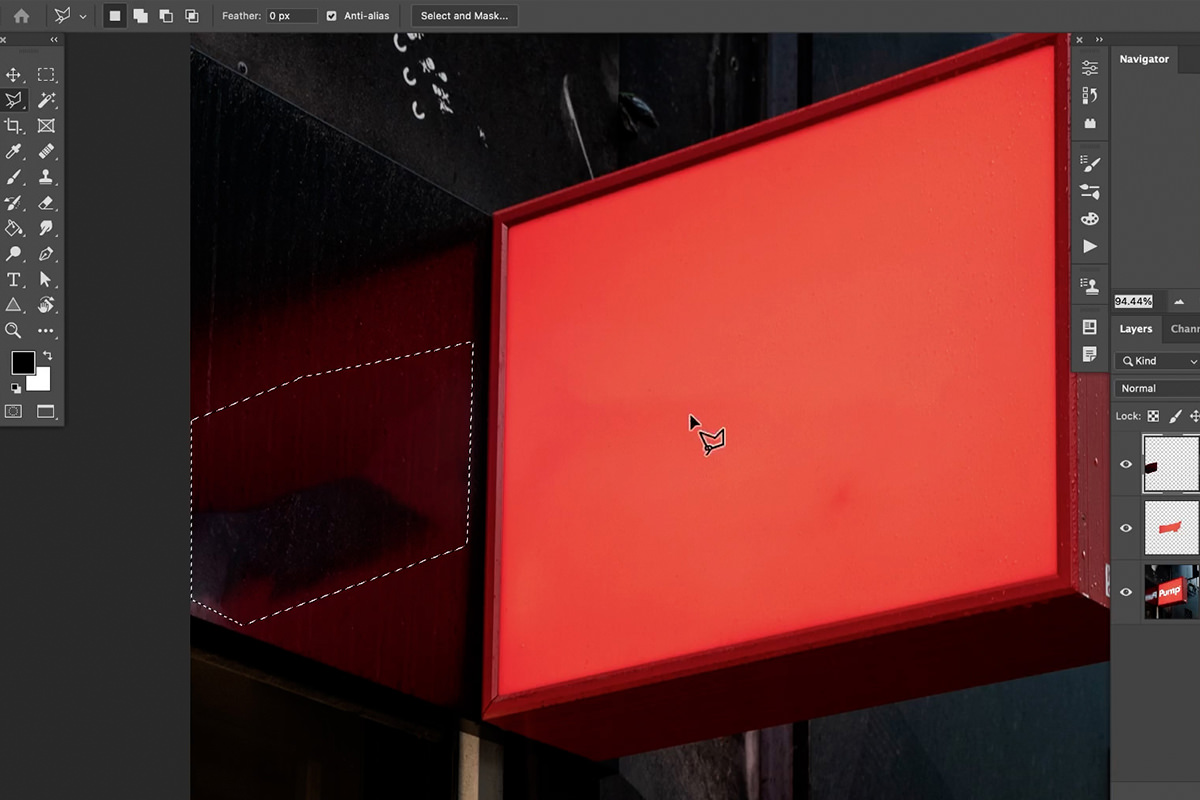
In this particular image, elements from the sign also appear in a reflection on a surface next to the sign. Repeat the same process you used to remove the text.
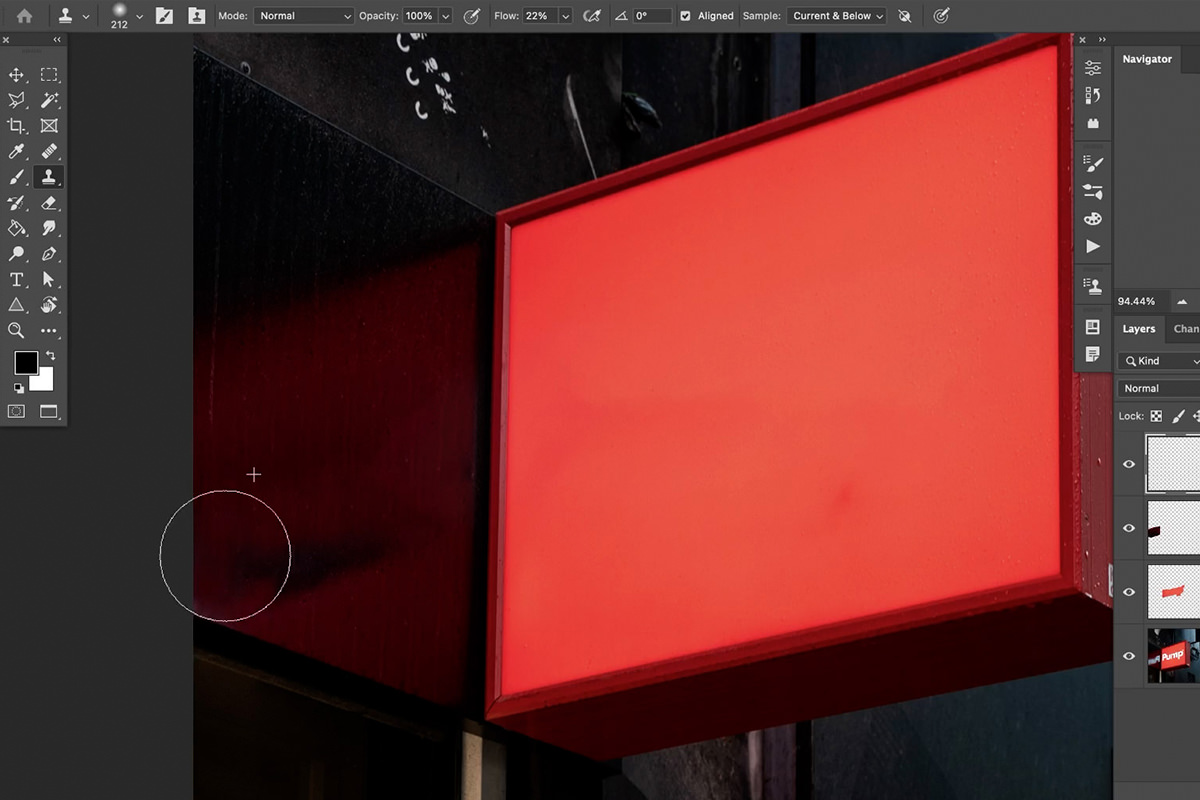
Then, if the you need to do any additional cleanup, you can use the Clone Stamp Tool to cover up any rough areas or missing patches. (Remember to always work on a new Layer whenever you add additional edits or cleanup.)
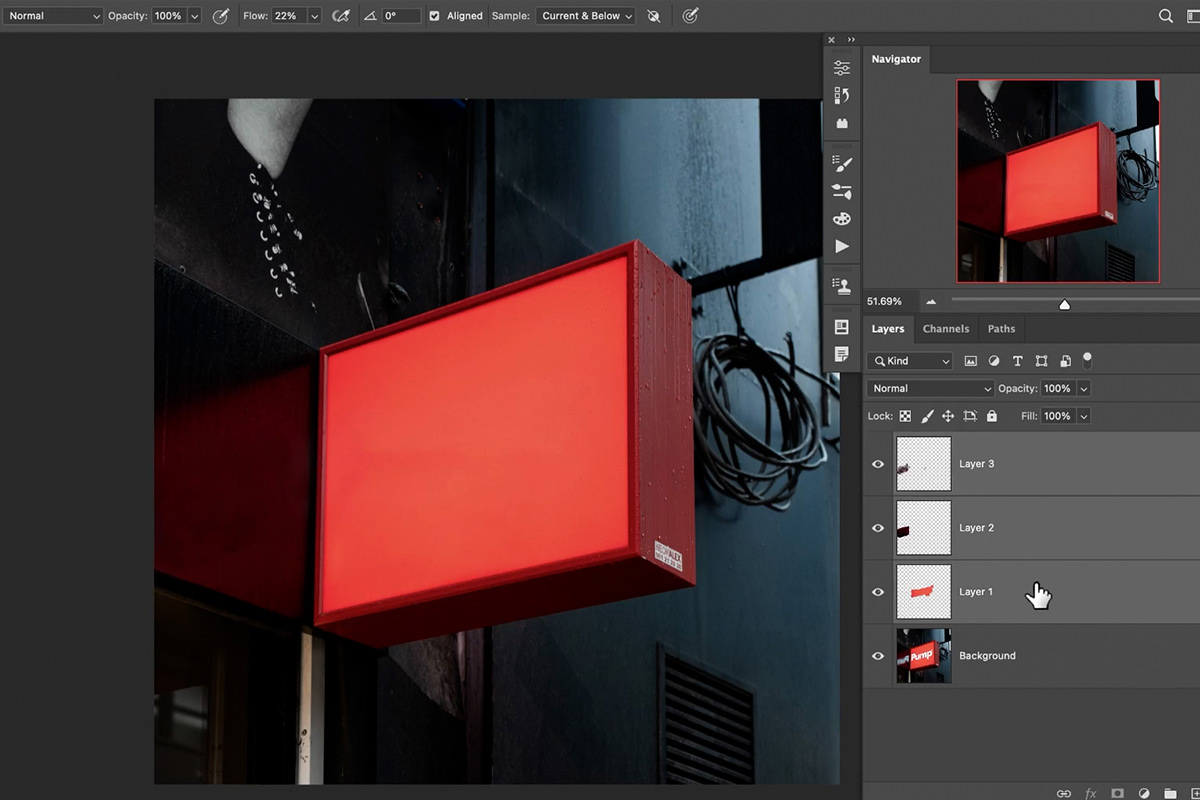
You should be left with a blank canvas that’s ready for you to apply your own text, logo, or graphics.
Perspective & Place Linked
To ensure that whatever we add to the sign looks like it belongs in the photograph, we need to make sure that the perspective of the text or logo matches that of the sign.
We have a particularly fun and useful approach to doing this that will now only allow us to work in the correct perspective, but will also let us make changes to our logos/graphics in a separate Photoshop Document in a normal, flat view, which will then update in real-time, and in the correct perspective, in our main project.
Creating Guides & Perspective
Let’s start by creating some guides that we can use to place our graphic within the image.
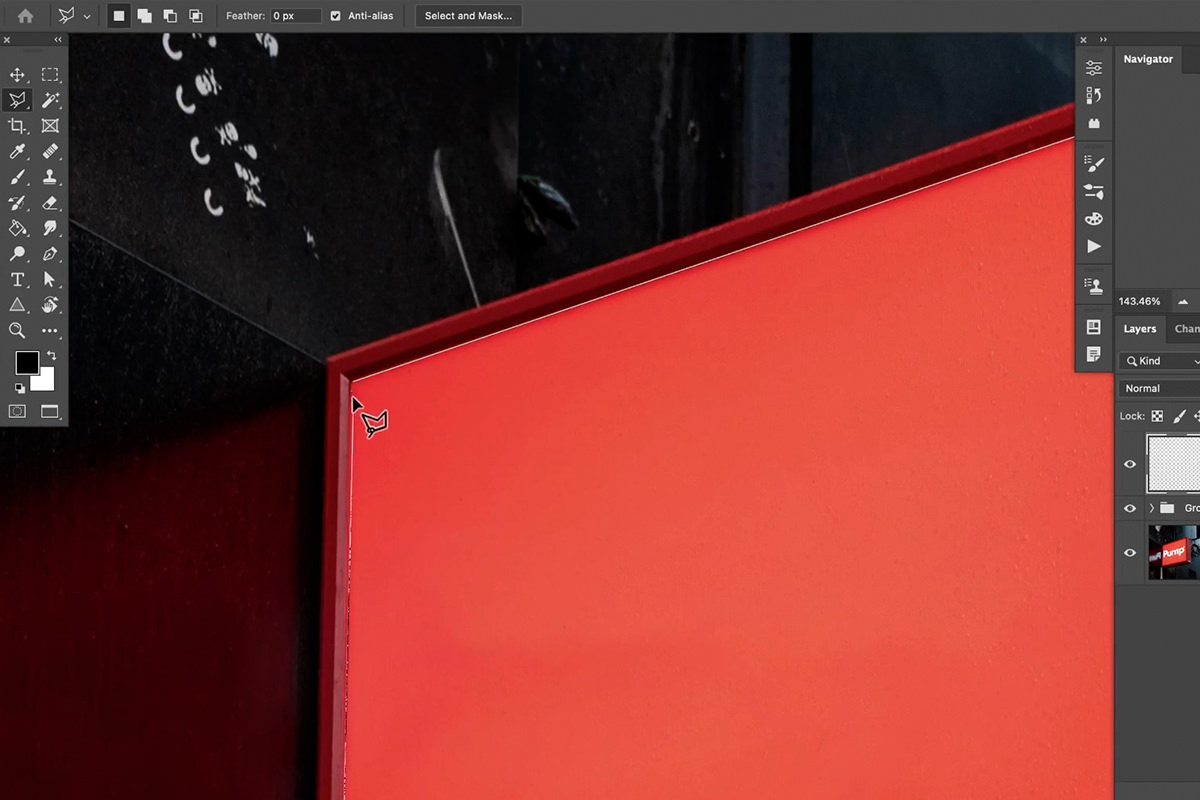
First, let’s create a selection of surface of the sign where we want to apply our own graphic. Once again, the Polygonal Lasso Tool is the best and easiest tool for the job. Simply click on each of the corners inside of the sign’s frame.
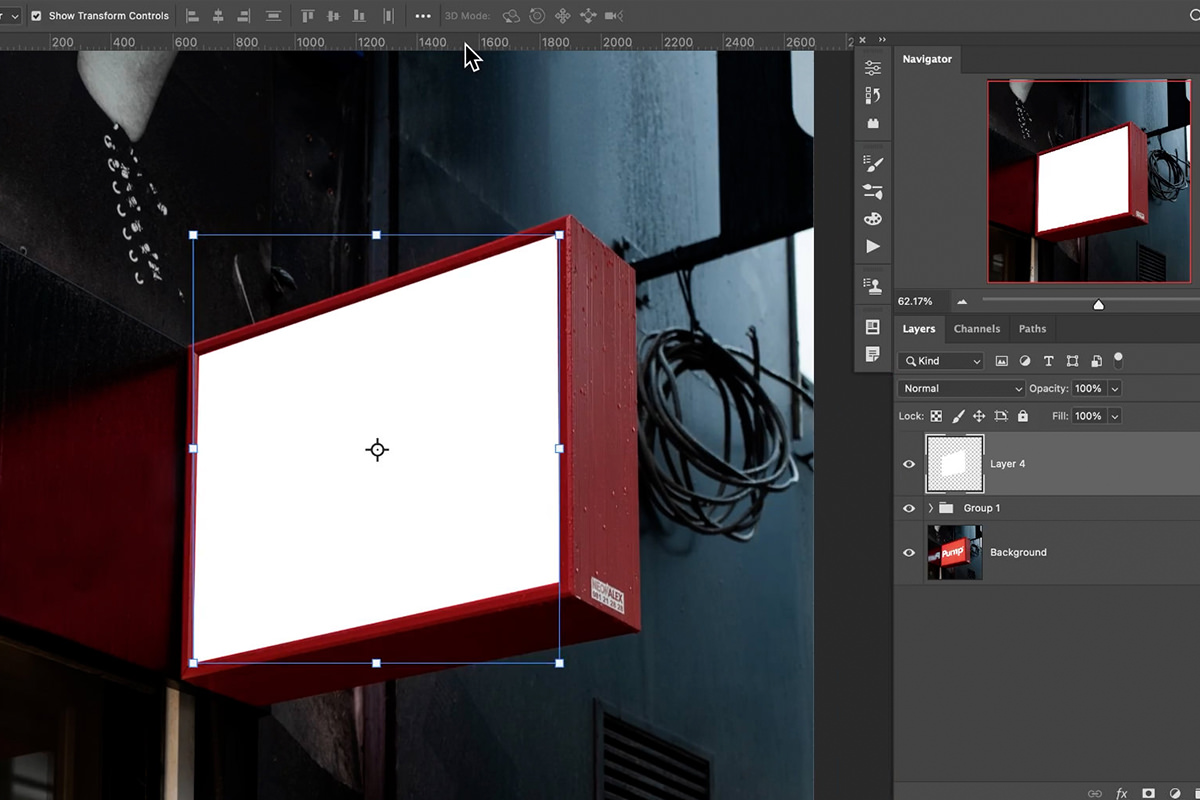
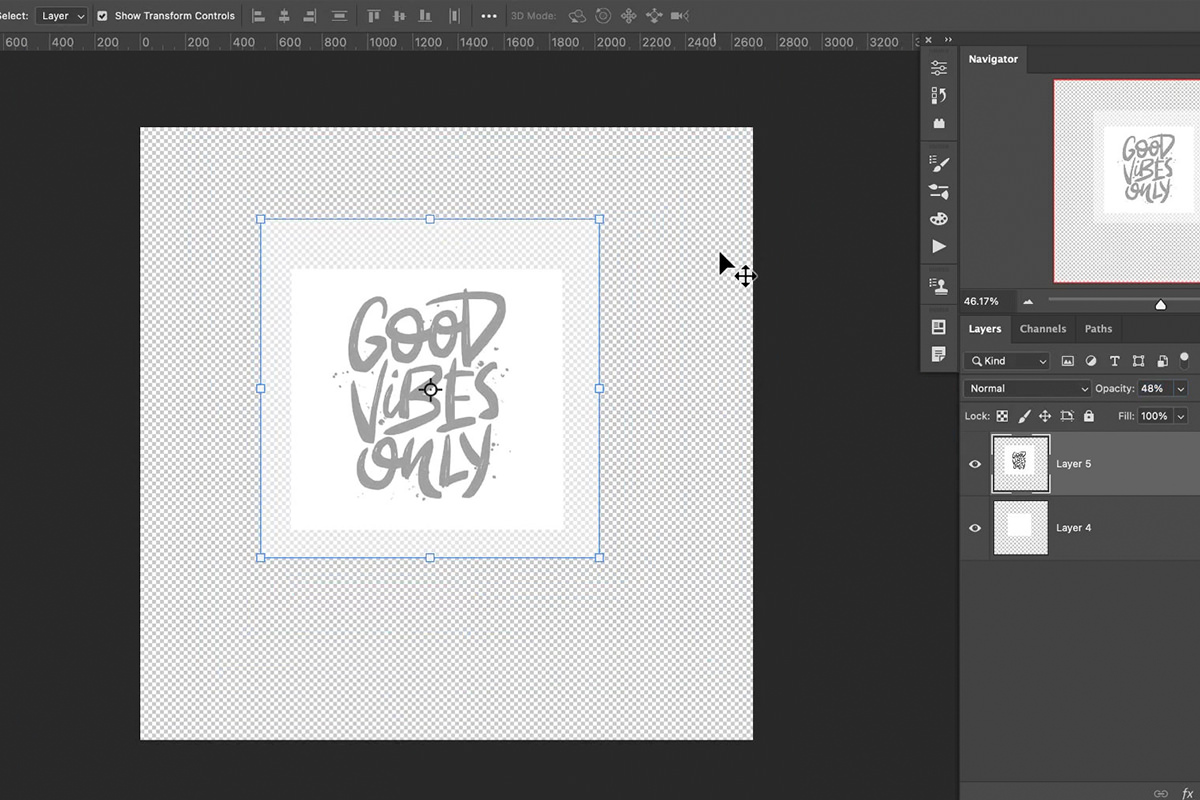
Then, so we can see the area a little easier, create a new Layer and fill that selection with white.
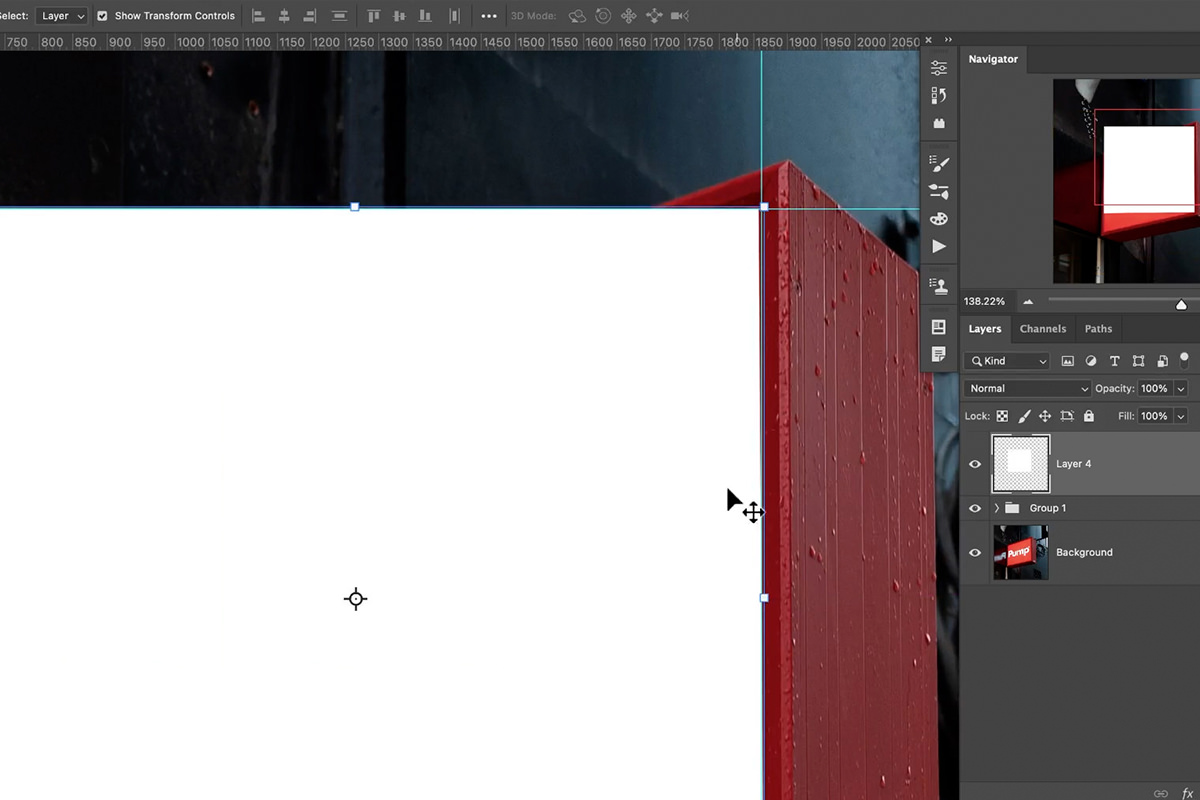
Next, hit CTRL or CMD + R to turn on Rulers. Create and align two vertical rulers with each side of the sign. Then create and align two horizontal rulers that each line up with the top and bottom right-hand corners of the sign.
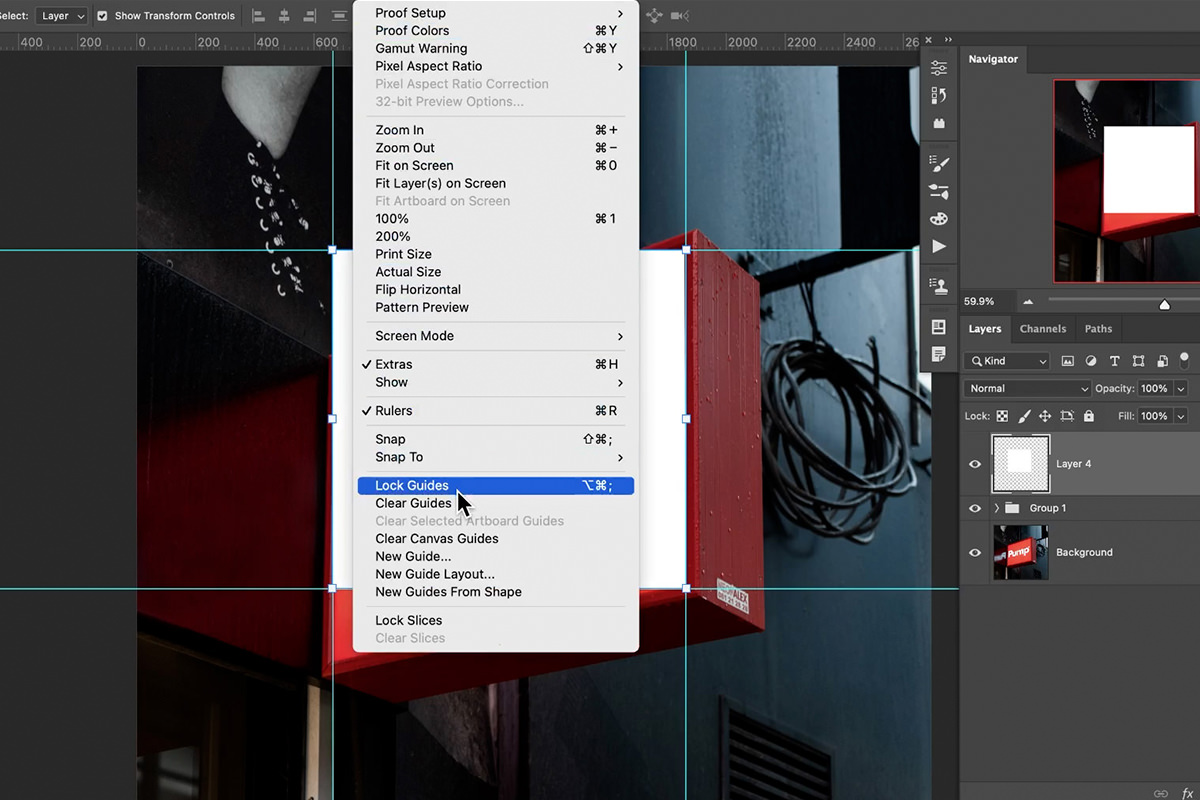
You should have four rulers in place that combine to create a central square guide. Lock those guides in place by opening the View menu and selecting the Lock Guides option.
Then transform the white box we created earlier until it fits perfectly within the new square guides. You should be left with a white square that’s aligned along the right edge of the sign in the photograph.
Using Multiple Photoshop Documents with Place Linked
Now that we have an area of reference in which we can place our graphic, we can send it over to a second Photoshop Document.
Doing so allows us to work with the graphic in a flat, normal view. But once we make any changes to it, like adjusting the size or adding additional elements, those change will be reflected in our original Photoshop Document and with all of the elements appearing in the perspective that we want.
Right click on the white square layer and select Duplicate Layer. In the Duplicate Layer dialog, open the first drop-down in the Destination Section, and choose New. This will send the Duplicated Layer to a new Photoshop Document.
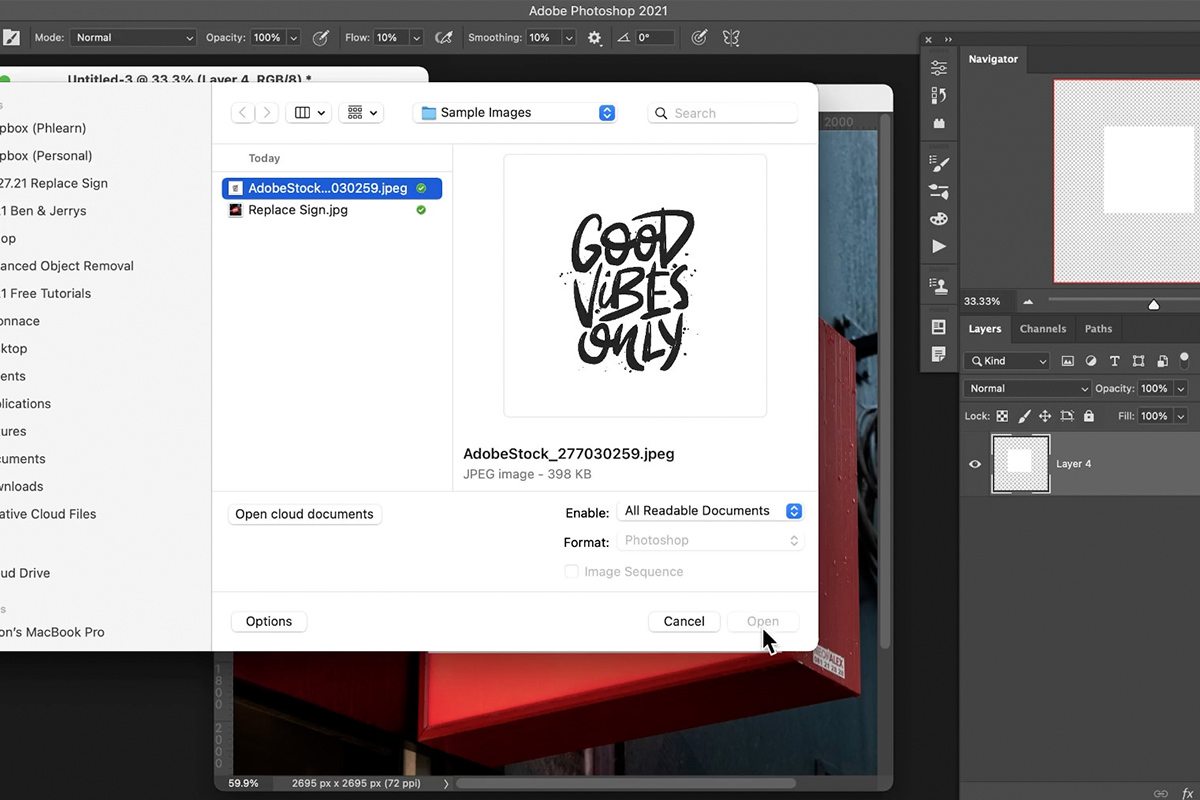
The example graphic we chose to use was purchased from Adobe Stock. Feel free to use a graphic from another source or create your own! Even simple text can work to get the same effect.
Since the image we chose has a solid white background, we had to do a little bit of extra work to ‘extract’ the graphic and place it on to a transparent background.
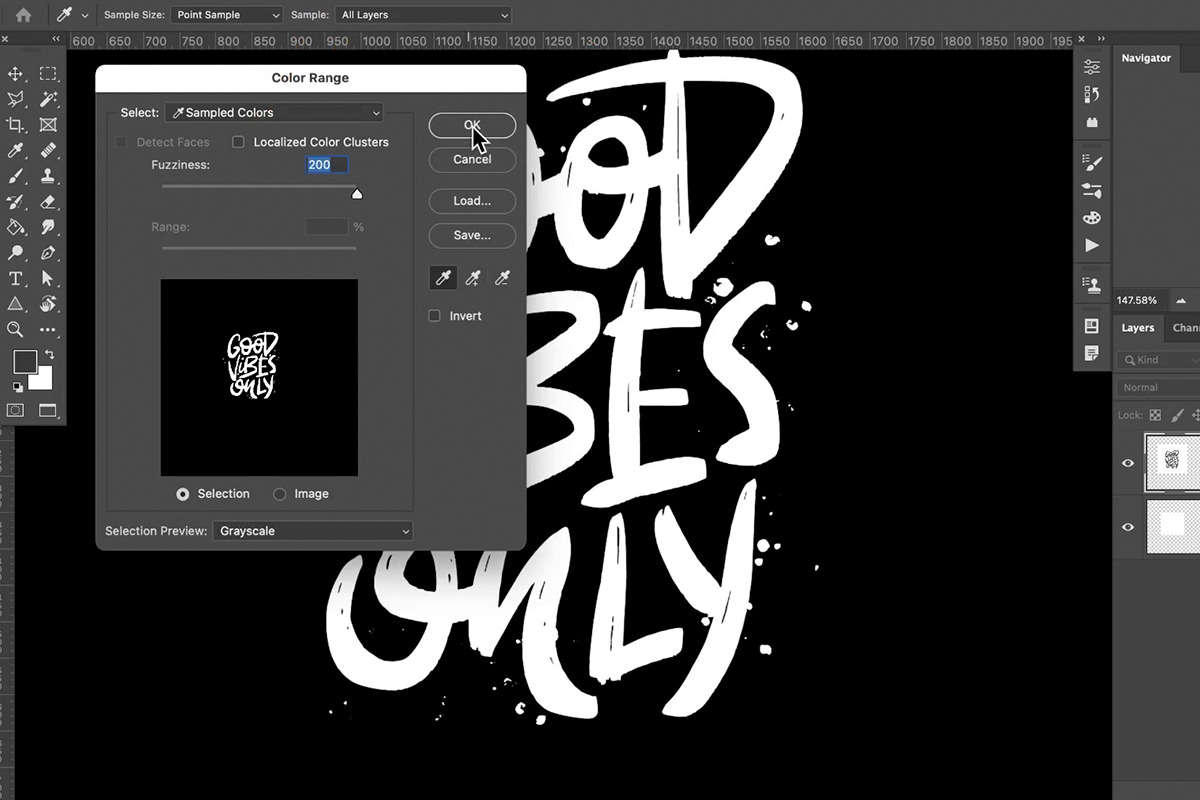
If you run into a similar situation, you can use tools like Select Color Range to make a quick and accurate selection of the area you want.
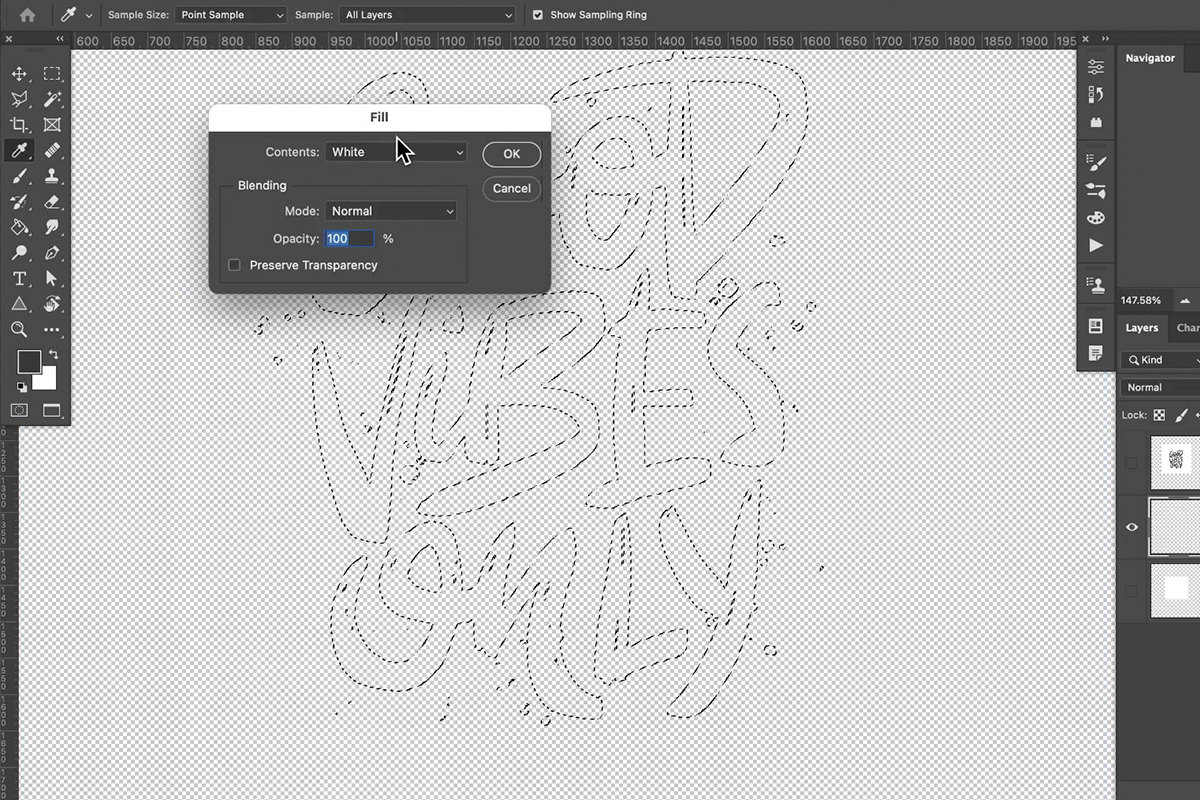
You can then use that selection to remove the background color and then fill the interior of the graphic with any color that you want.
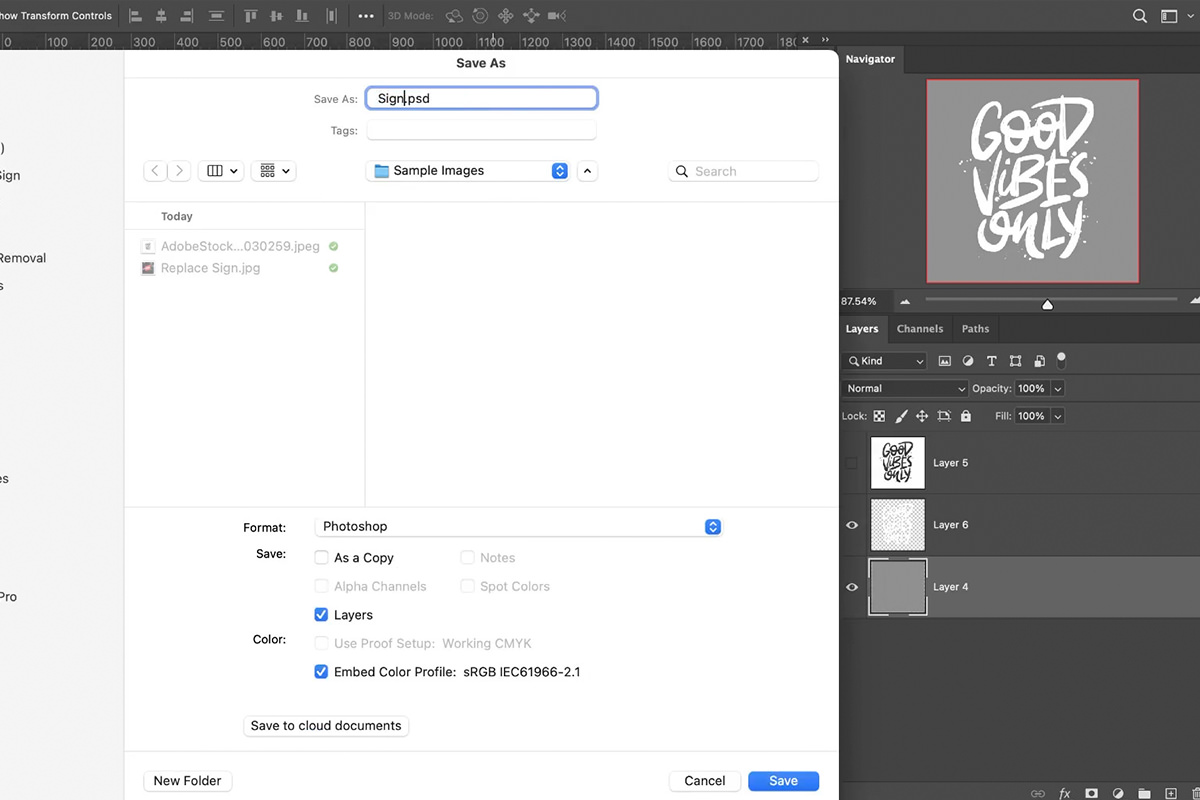
Once you have a graphic on a transparent background, save the PSD in the same directory as the original PSD with the sign image.
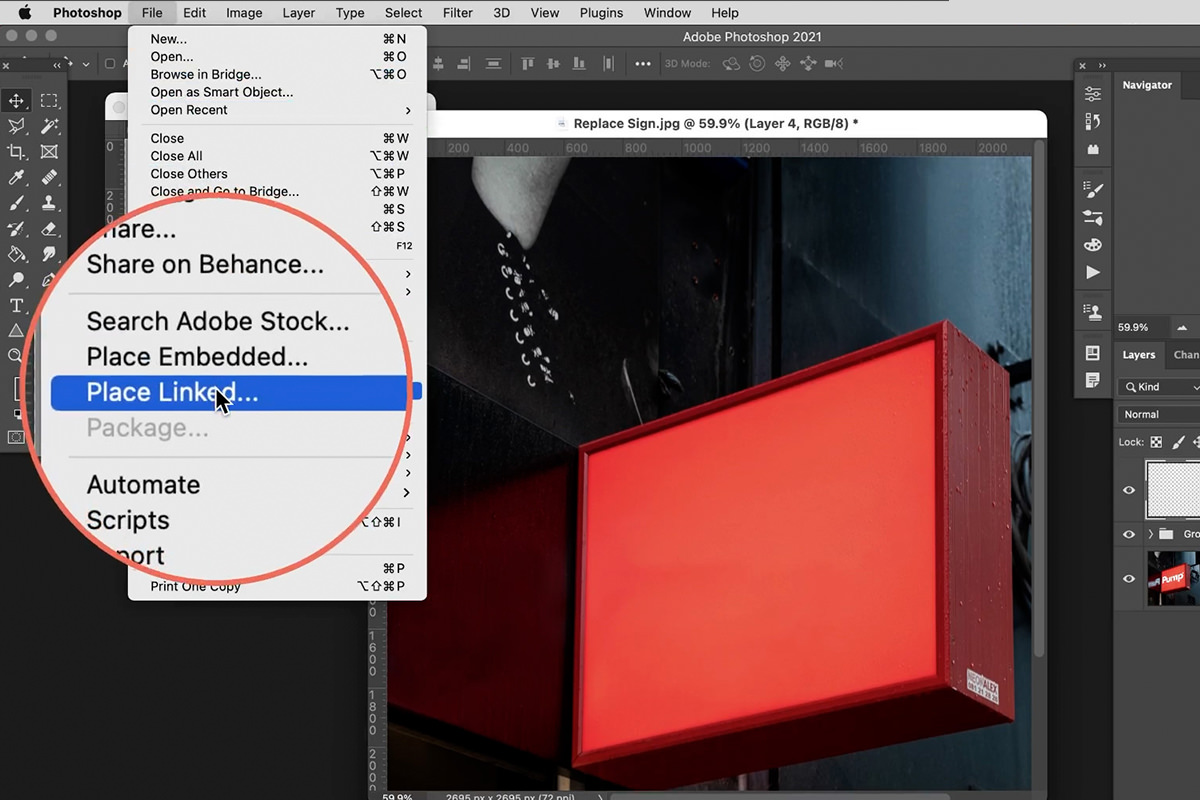
Go back to the original image PSD, open the File menu, and select Place Linked. This allows us to embed another PSD within this PSD.
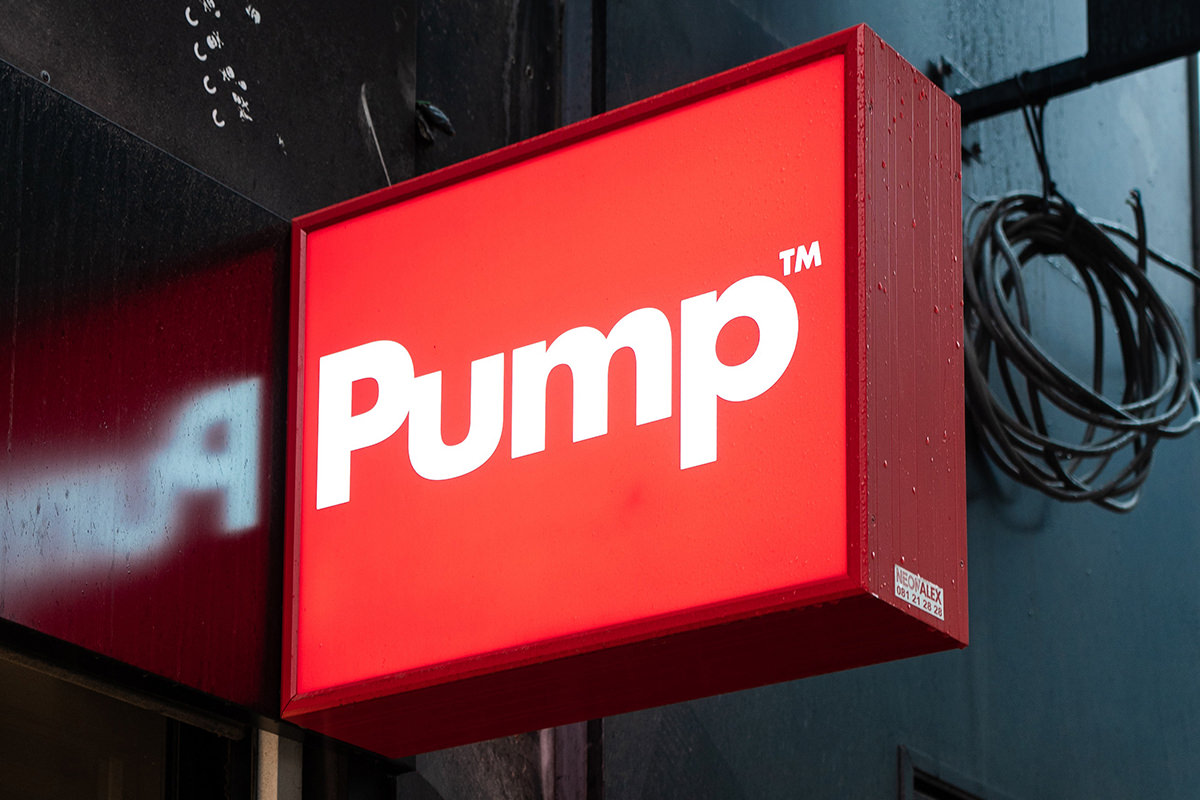
You should end up with your graphic placed the same position it was before, only now we can edit it directly using the secondary Photoshop Document.
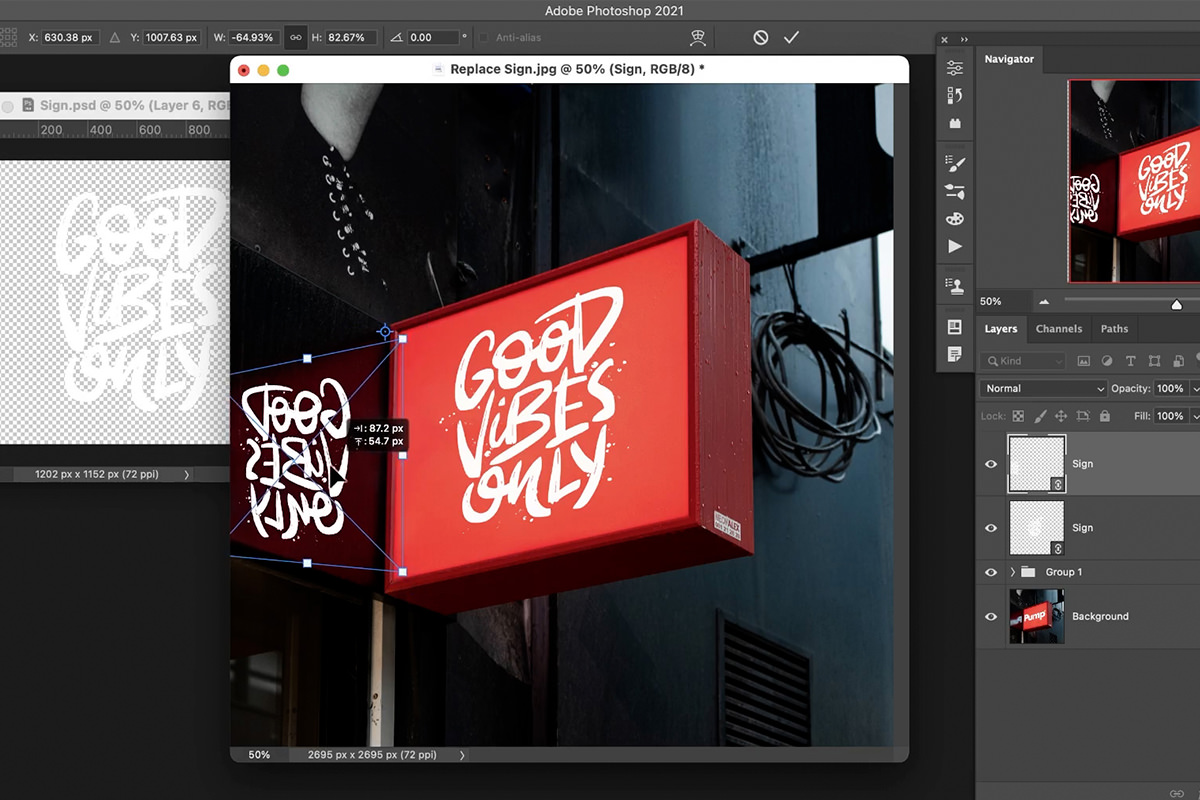
Placing the Graphic in Perspective
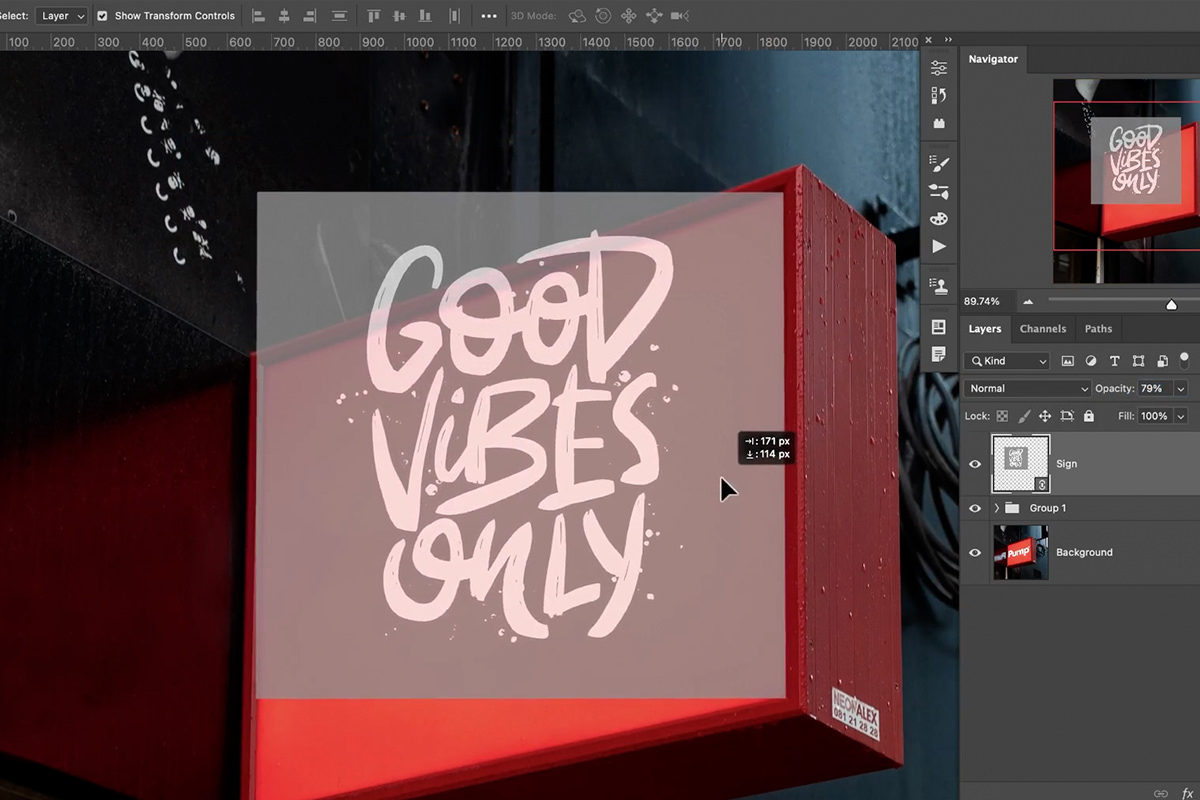
Now that the graphic is linked from a second PSD, we can transform it within the main PSD without affecting the graphic itself.
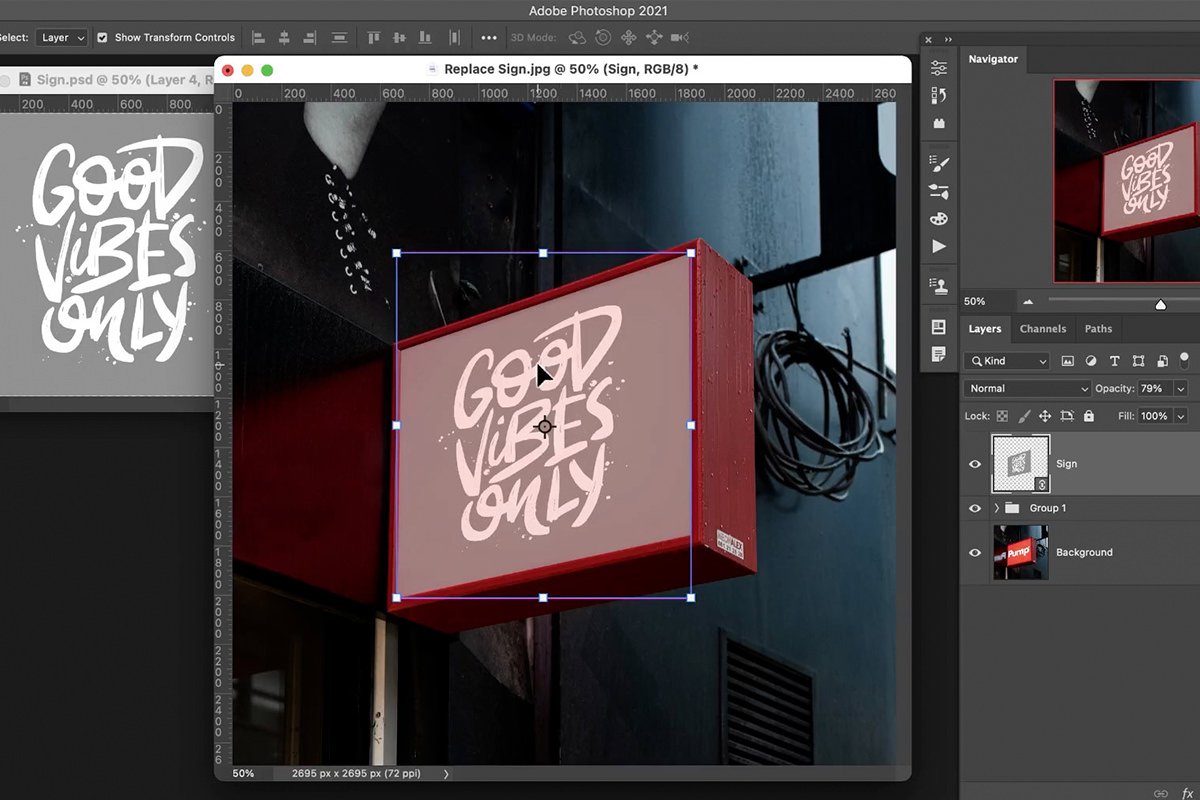
Use the Transform options to change the square shape back into a shape that fits within the bounds of sign.
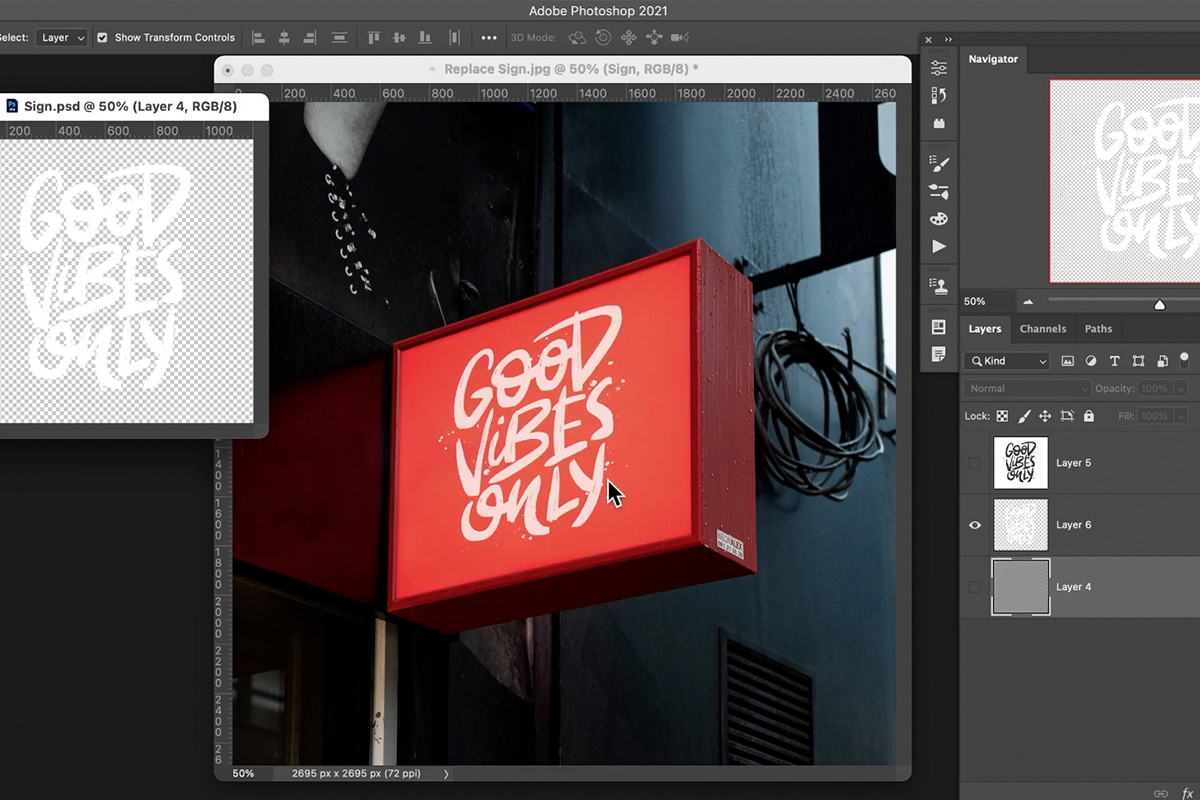
Once the graphic is placed into the proper perspective, you can make changes to it within the secondary PSD. Notice that they’ll be reflected in real-time within the main image PSD and within the perspective that we created!
Finishing Touches
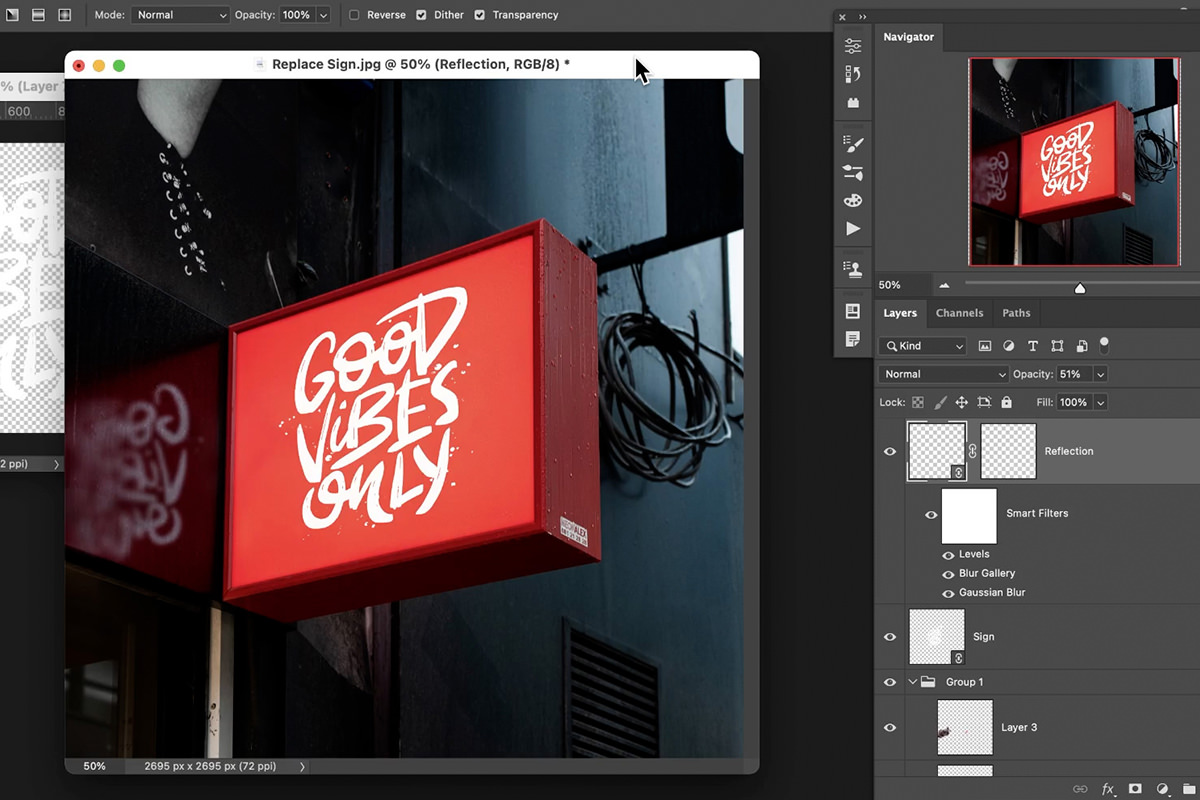
Most of the main work is done, but we can still do a little bit more to integrate the new graphic into the scene. Remember the reflection we removed earlier? We can recreate it using the secondary PSD!
Open the File menu and select Place Linked again. Choose the same PSD that holds the graphic image. You should end up with another copy of that PSD that you can freely transform without affecting the other elements we’ve created.
Reflect and Transform this new copy so that it matches the direction of the reflection of the sign that we originally removed.
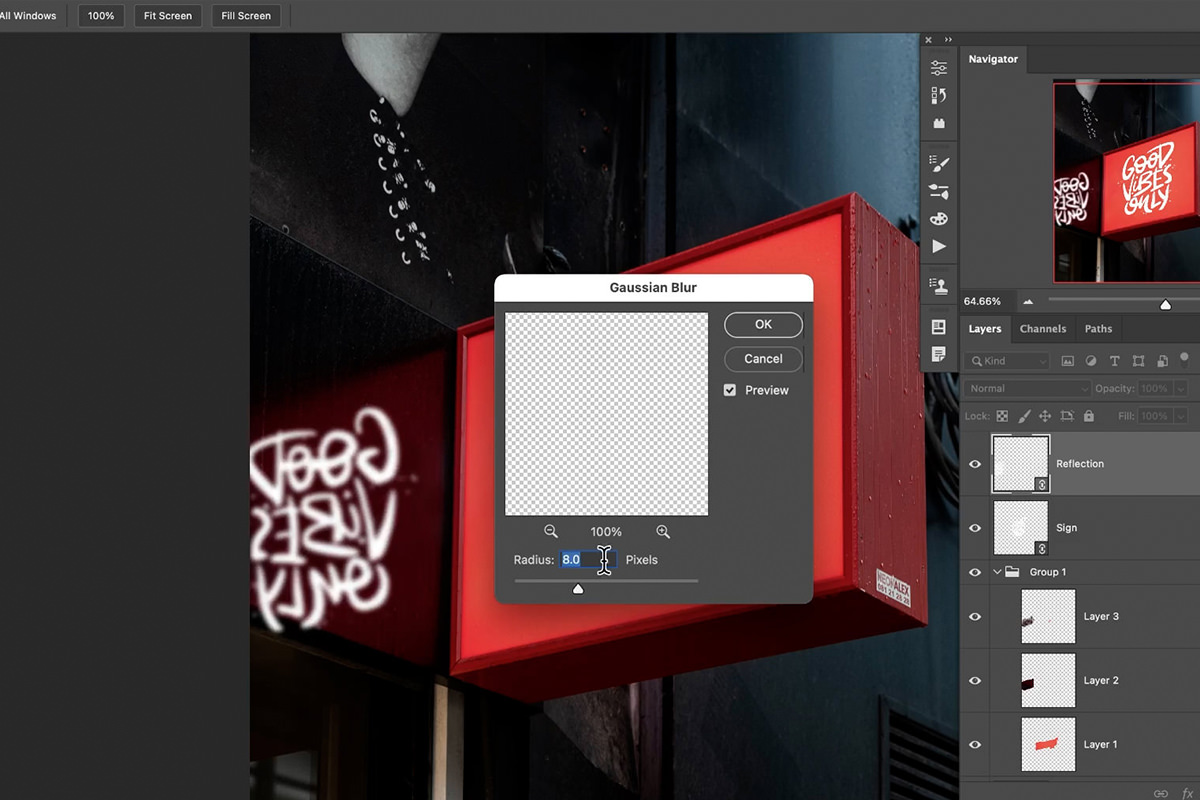
Apply a slight Gaussian Blur to the reflected graphic.
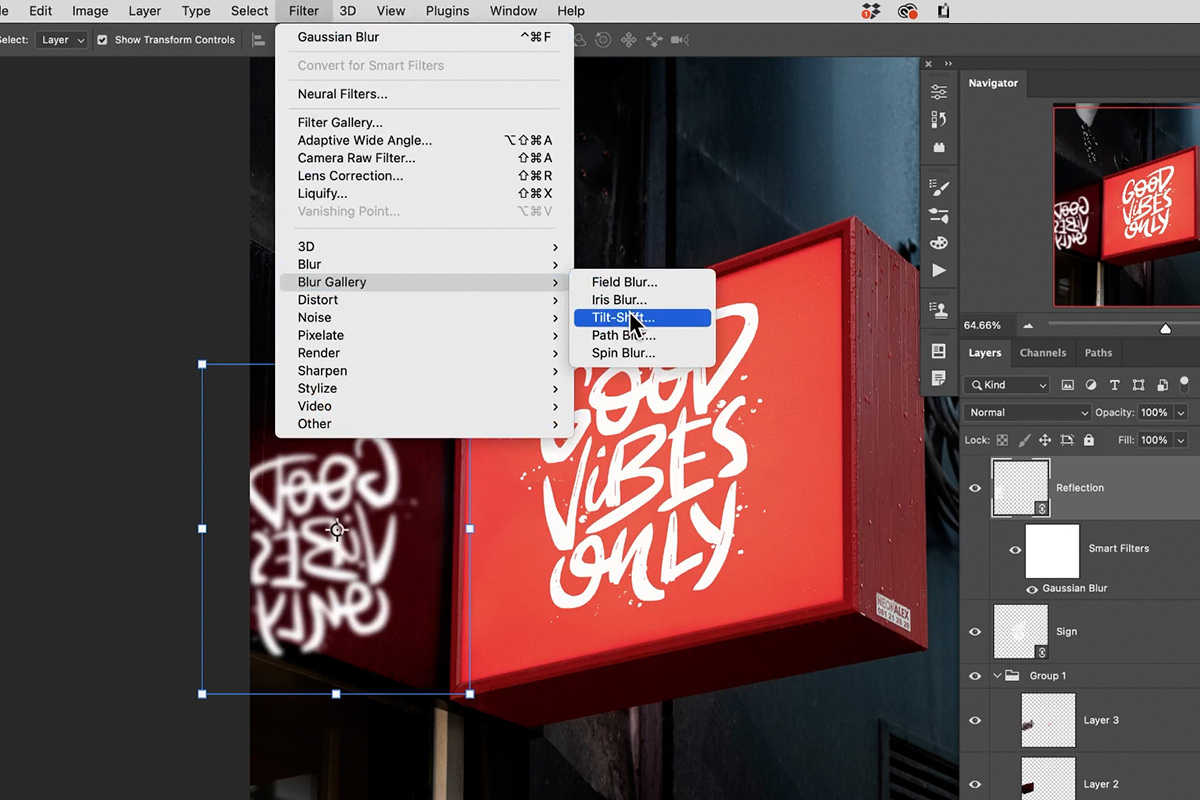
Next, within the Blur Gallery, select Tilt-Shift Blur. This type of blur will allow us recreate the effect of the reflection becoming more blurry the further away it is from its source.
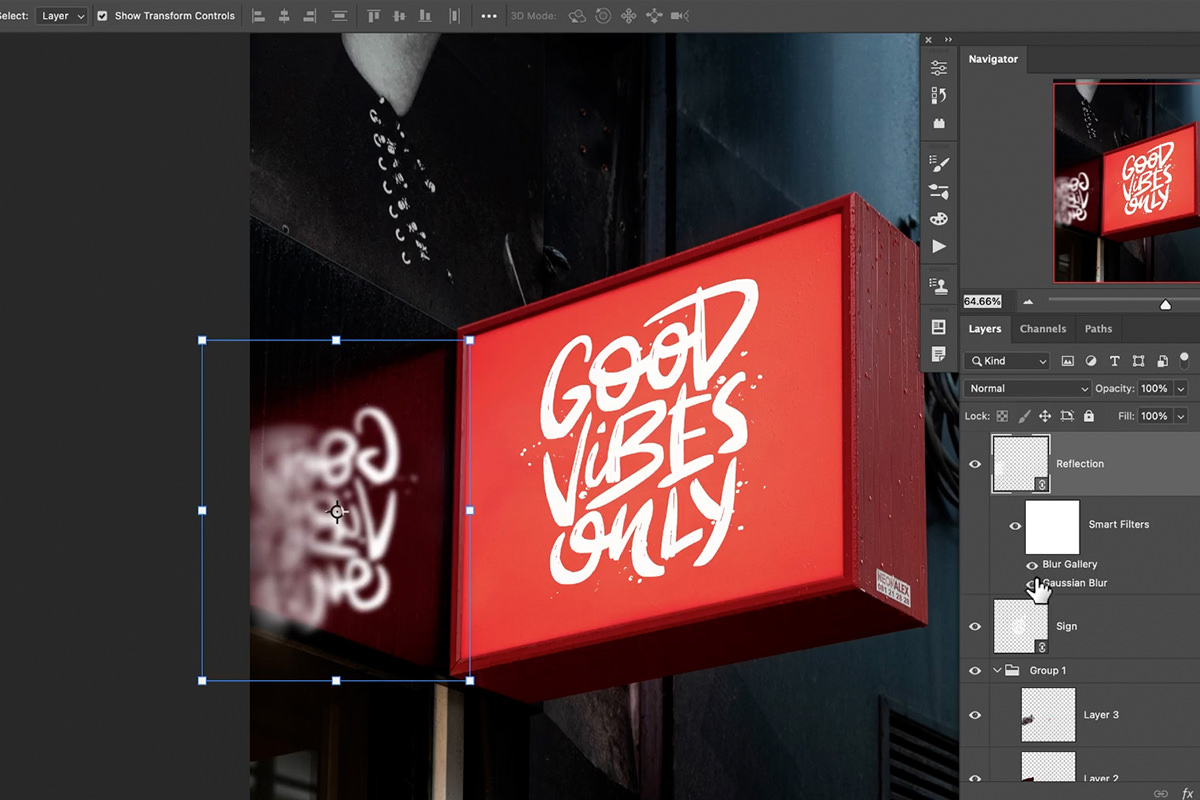
Adjust the Tilt-Shift Blur settings until the left half of the graphic has a much softer appearance than the right half.
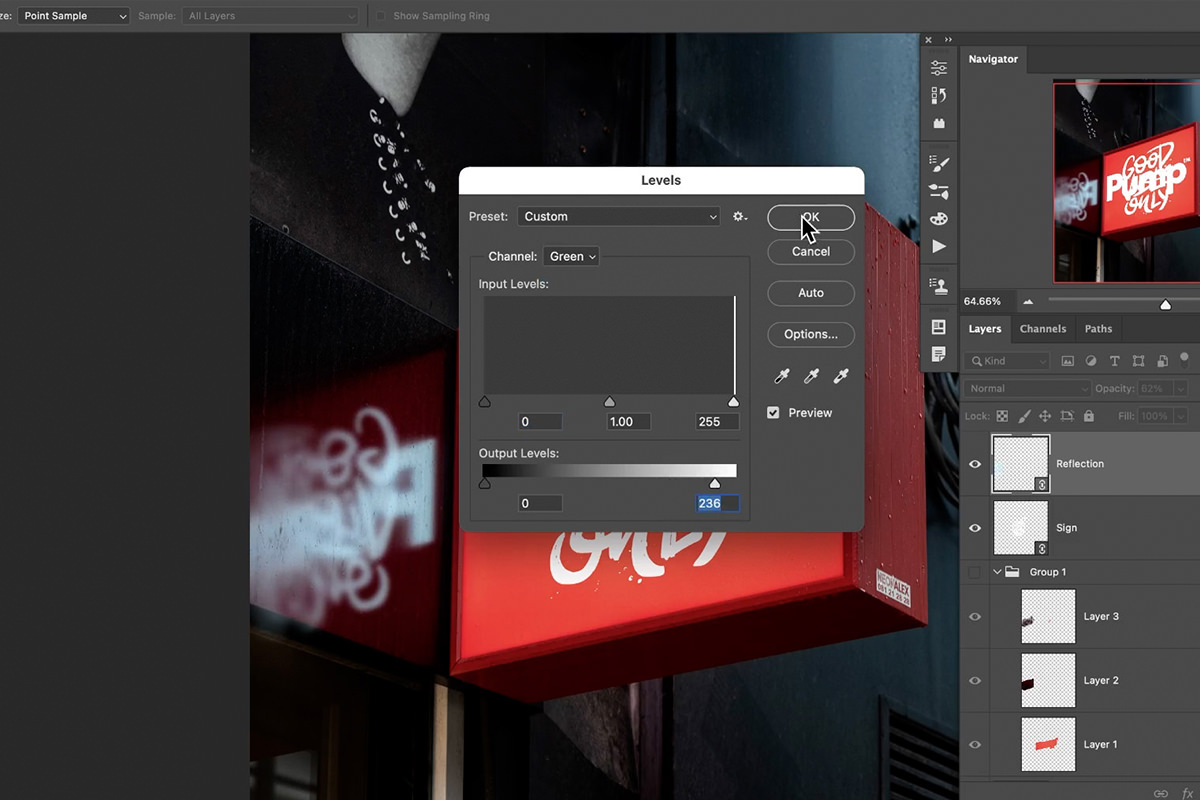
You can also disable the object removal layers to show the original reflection. Use it as a reference to make further adjustments that will help blend the new graphic into the scene.
We created a Levels Adjustment to help the lighting and contrast match more closely with the original reflection.
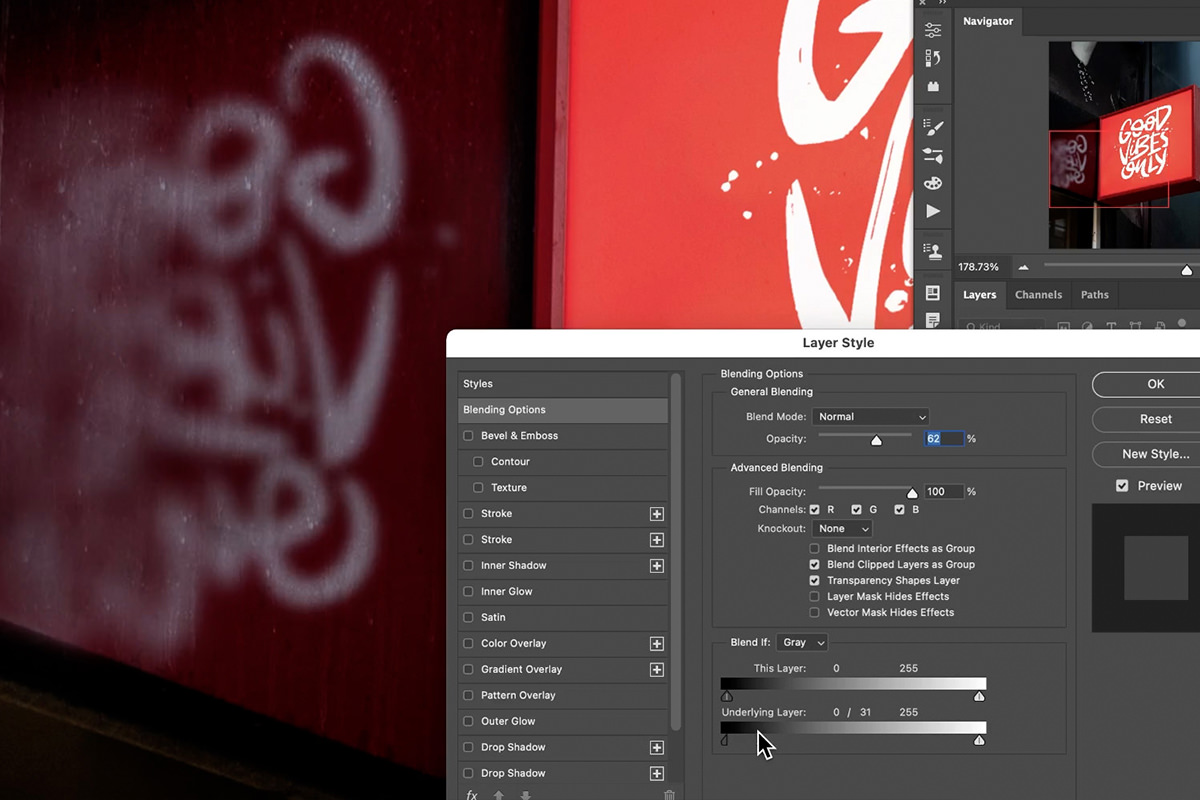
And we also used Blend If to affect where within the highlights of the image that the graphic will appear.
Feel free to make any adjustments you think will help create a more photorealistic appearance. Small effects like this will really help make the new graphic feel like it’s part of the photographed environment.
And remember that you can continue to make changes to the graphic within the secondary PSD! Any changes you make, whether they be to size, color, or position, will be reflected immediately within the main PSD, all while maintaining proper perspective, and preserving all of the additional effects that you’ve applied.