
How to Master Smart Objects in Photoshop
-

-
Add to
favorites
-
DifficultyEasy
-
Length1.25 hours
-
Software
description
Smart Objects can drastically improve the way you work in Photoshop, providing a non-destructive way to transform layers and apply Smart Filters, like Smart Blur, that can be changed or removed at any time.
In this tutorial, we show you how to convert any layer into a Smart Object, create Smart Objects from scratch, and take advantage of the flexibility that Smart Objects offer. By the end, you will be able to apply detailed edits that can be adjusted or removed without affecting your original image. Perfect for creating multiple design mockups quickly and easily!
THIS COURSE INCLUDES
- 19 Sample Images
Share
Table of Contents
-
01 - How to Use Embedded Smart Objects12:02m
-
02 - How to Create Mock-Ups with Linked Smart Objects15:11m
-
03 - How to Edit Using Smart Objects16:18m
-
04 - How to Transform Smart Objects Non-Destructively10:22m
-
05 - How to Open RAW Photos as Smart Objects in Photoshop8:11m
-
06 - How to Use Smart Filters9:11m
Course Downloads
Fast, Non-destructive Workflow

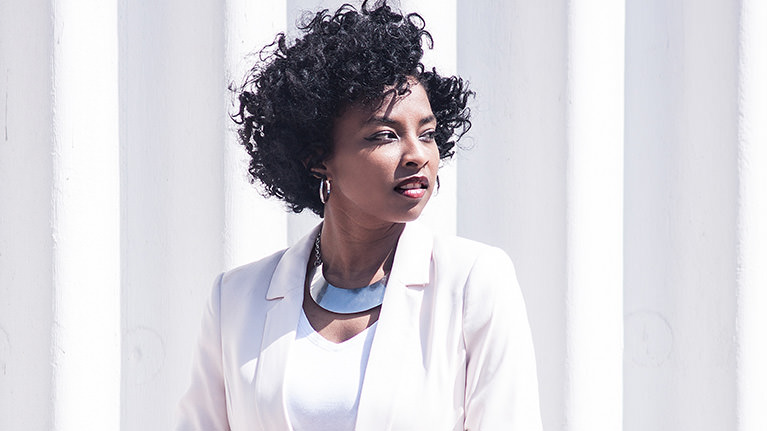
REPLACE ANY OBJECT IN PHOTOSHOP
ORIGINAL
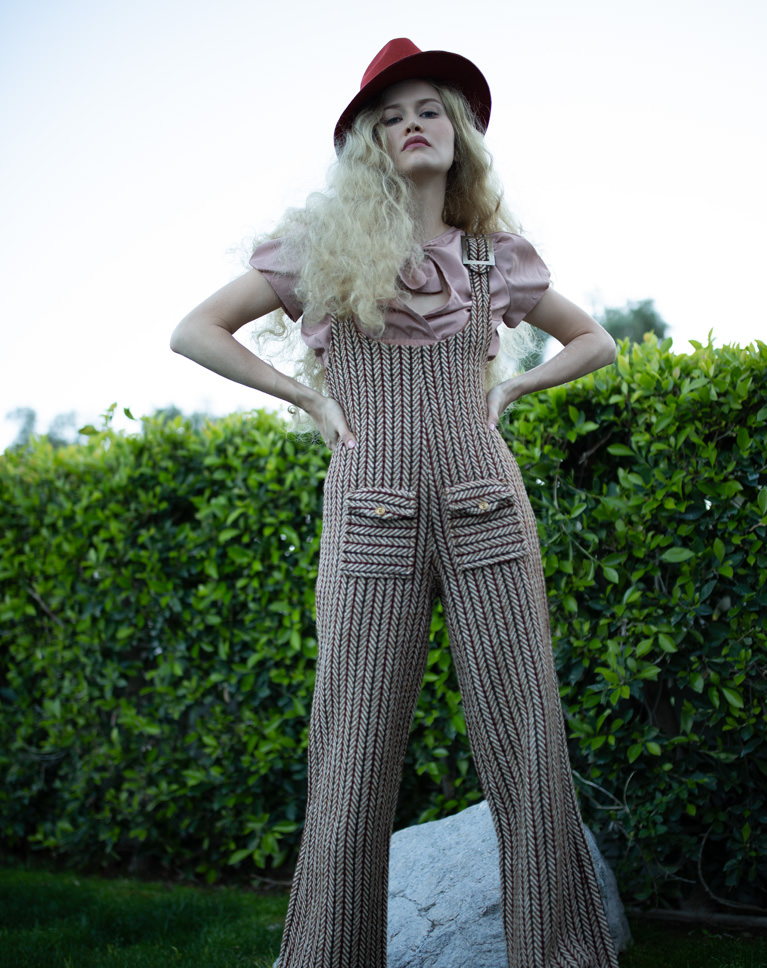
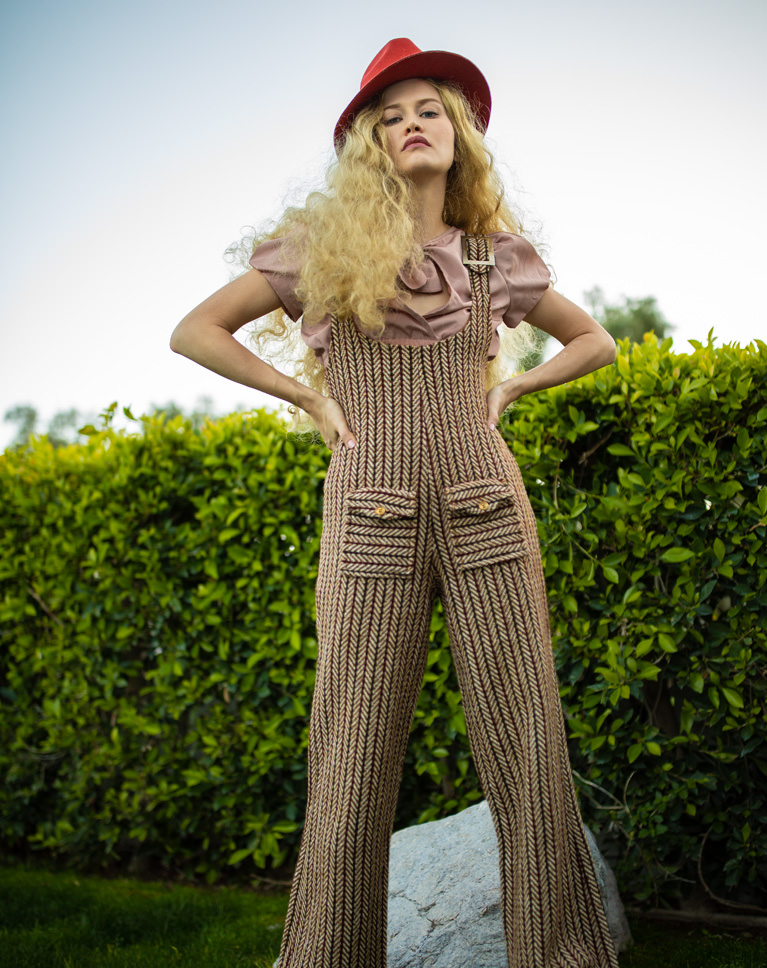
CREATE MULTIPLE VERSIONS OF THE SAME OBJECT
ORIGINAL
Smart Objects in Photoshop
For beginners and professionals, using Smart Objects is an ideal way to approach editing and creating images in Photoshop. Converting a layer into a Smart Object allows you to make changes to that layer – such as scaling, warping, and applying filters – without affecting the original image.
Creating Smart Objects
Smart Objects can drastically improve the way you work in Photoshop, providing a non-destructive way to transform layers and apply Smart Filters, like Smart Blur, that can be changed or removed at any time.
Smart Filter Mask
One of the most useful aspects of Smart Filters is that they come with their own Layer Masks. Layer Masks allow you to show or hide the visibility of the filters that you’re using, which will allow you to blend and refine your effects in ways you couldn’t before!
EDIT RAW PHOTOS AS SMART OBJECTS
ORIGINAL
Free Transform
In Photoshop, you might often find yourself transforming a layer multiple times to get it to fit in with the rest of your image. With Smart Objects, you can transform without the worry of ever losing image quality. You can scale a layer down to a very small size and change it back to its original size without sacrificing any information.
Embedded Smart Objects
Once a layer is converted into a Smart Object, it becomes an Embedded Smart Object. This new Embedded Smart Object layer references a separate document created by Photoshop that contains all of the information of the original image. This allows you to work freely without ever having to worry about losing quality as you edit.
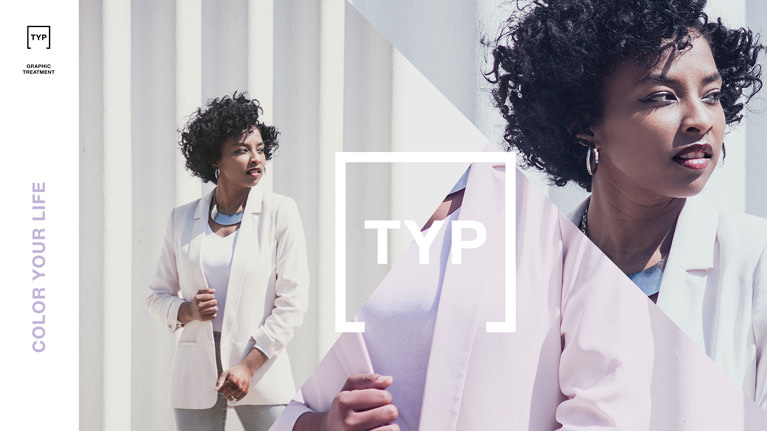
Linked Smart Objects
Linked Smart Objects allow you to use a single file or image across several Photoshop projects. Better yet, any changes made to the original will instantly be reflected across any other Photoshop files that are referencing it, which can save you a ton of time when you need to create several designs using the same image!
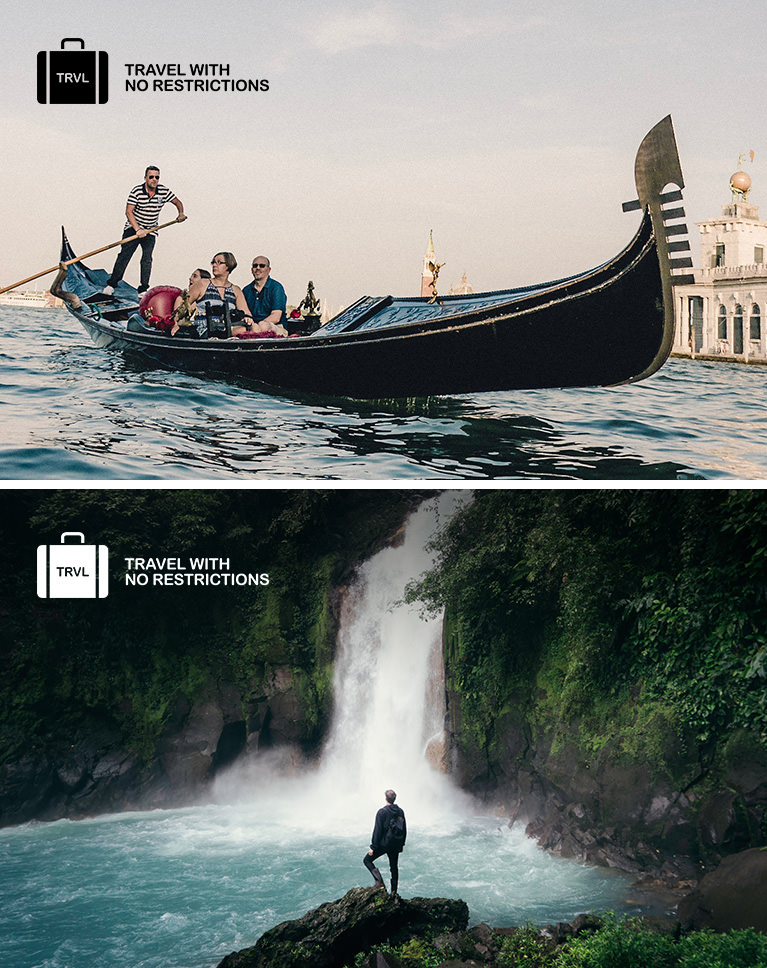

UPDATE MULTIPLE FILES WITH LINKED SMART OBJECTS
MAKE CHANGES TO A DESIGN AND UPDATE MULTIPLE FILES
Smart Filters
The filters in Photoshop are extremely useful and necessary for creating a lot of popular effects. When you combine those filters with Smart Objects you get Smart Filters, which give you an incredible amount of control and flexibility. In this tutorial, we show you how to get the most out of using Smart Filters to create stunning effects and then change or hide them at anytime!
The Liquify Tool
One of the most powerful and tricky tools to use when retouching is the Liquify Tool. It’s easy for edits using this tool to look unnatural so having the ability to go back and make changes and adjustments is incredibly valuable! We’ll show you how to master some of the most useful Smart Filters in Photoshop.
Smart Noise
Adding noise is a great way to help your edits look like they came straight out of the camera. Smart Filters allow you to change and adjust the size and amount of noise as you work, ensuring that your edits blend seamlessly into your original image.
Work Smarter

Non-Destructive Editing
Use Smart Objects to resize and transform images without losing quality. Master a key part of a non-destructive, professional workflow!

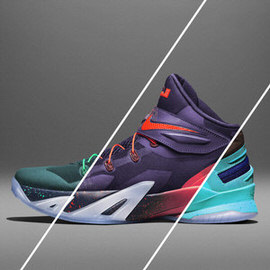
MAKE CHANGES AT ANY TIME WITH SMART FILTERS
ORIGINAL
Smart Blur
Adding a blur to the background of a photo is a popular effect in Photoshop. Smart Blurs are a fantastic way to achieve the look you want! Add a blur to any desired areas of a photo and freely adjust it at anytime. Smart Filters allow you to constantly refine your edits to nail a realistic depth of field effect.
High Pass Sharpening
One of the best methods to sharpen an image, high pass sharpening wouldn’t be nearly as flexible without the use of Smart Objects. We’ll show you our tried and tested process for image sharpening and walk you through all the steps to dial in the look the you want.
Work Non-Destructively
Whether you’re a professional retoucher or you love the creativity of conceptual composites, working non-destructively will always be one of your keys to success! Smart Objects allow you to apply a number of effects and filters with complete control later on to change or remove them. Keep clients happy and make your workflow smoother than ever!


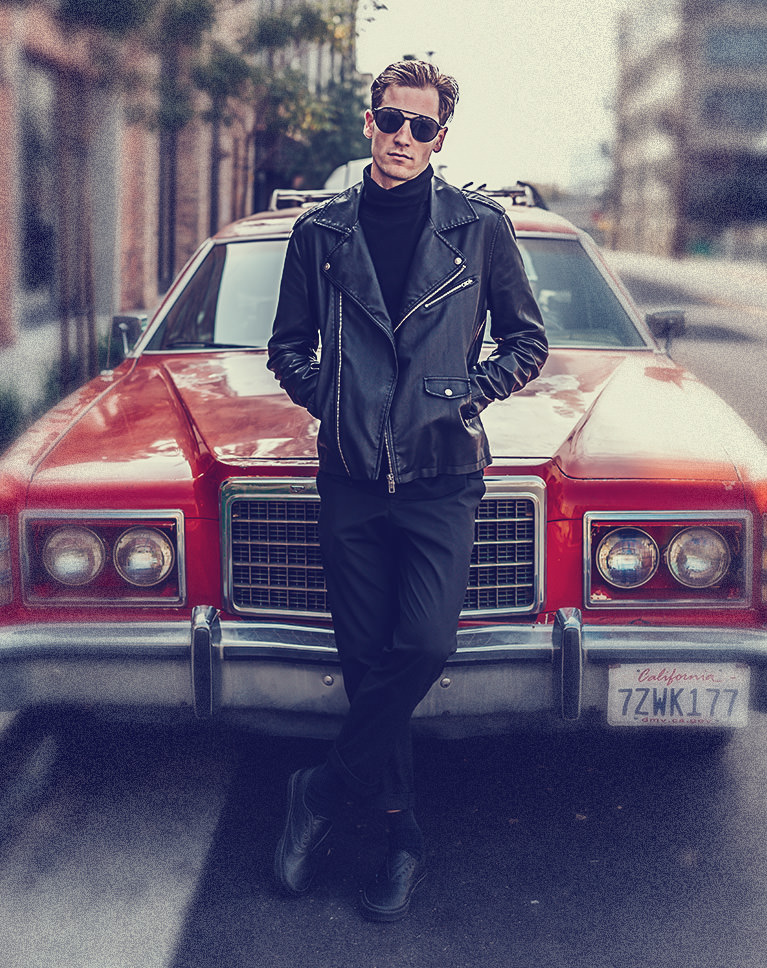
RESIZE IMAGES WITHOUT LOSING RESOLUTION
ORIGINAL
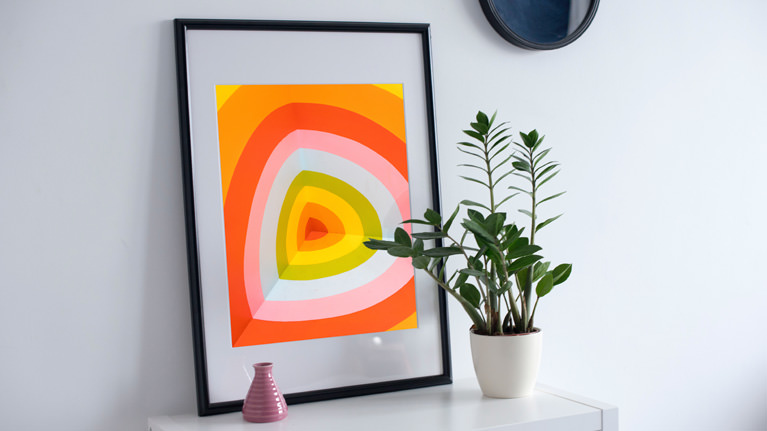
Quickly Create Design Mockups
If you need to create multiple versions of flyers, poster, or website banners, you will be amazed at how much faster you can work using Smart Objects! Learn how to link logos and images to multiple Photoshop files! Now you can make changes and edits to those original images or logos and see how they look within several different designs.
RAW and Smart Objects
When working in Photoshop, it’s almost always best to make sure you’re working with the most information possible. Smart Objects allow you to make edits to RAW images in Adobe Camera RAW or Lightroom at anytime!
Keyboard Shortcuts
Keyboard shortcuts will help you work faster and more efficiently in Photoshop. Not only do we show you some of the most common and useful shortcuts you’ll need but we also walk you through creating your own custom keyboard shortcuts to make working with Smart Objects even easier.

Aaron Nace
PHLEARN Founder
Aaron Nace is a photographer, Photoshop artist and founder of PHLEARN. He is the #1 Photoshop instructor in the world with millions of YouTube subscribers.


Reviews
New & Popular Tutorials


Training Site in
the World
Tutorials!
Ratings
and Counting
Subscribers
This is significant information, which I learned a great deal from. One constructive suggestion would be to start with videos 5 and 6 before talking about embedded objects etc in videos 2-4. I found that video 5 and 6 were actually more introductory for what Smart Objects are and I almost didn’t view them because I started watching the more complex videos 1-4 and found them less useful…needless to say I’m glad I stuck with it and got the better introductory information I was needing from Videos 5&6. Other then that small suggestion I believe the last video about Smart Filters is perhaps the best video tutorial I’ve watched, and I’ve watched a lot of your videos, including your entire Photoshop course! Well Done!!
Holey money, I’ve been doing it wrong…again! I knew smart objects were important, but I never took the time to figure them out! Worth the watch! Thanks, Aaron! ~Cat
Mr.Phlearn! Just recently allowed myself the time to finally learn Photoshop and your tutorials are AMAZING! You should teach “how to teach” they are that good. You make it so easy to learn, you think of every possible questions and answer them as you go along, provide a full summary at the end… simply perfect. For YEARS I continued to use a different graphic software because I had no time to learn Photoshop and I found Photoshop intimidating. In just a few weeks I feel I can do so much more in Photoshop I could ever do with my previous application. It is a pleasure to be Phlearning with you.
Wow…so many more uses for smart objects than I knew! Aaron is great.
I have just finished studying a full 27 of Aaron’s incredible tutorials (123 hours of videos), and cannot recommend more highly buying the PRO subscription. Smart objects are used everywhere in practically every tutorial Aaron teaches. Vital knowledge. Thank you Aaron.
And I thought I knew Smart Objects. I do Now Thanks MR phlearn
After resizing image in smart object without losing detail can we convert to raster image after that, could image lose detail.
Can we use converting smart objects images to print 4 color process.
Does photoshop cost have place link file in file menu for smart object.
I’m now in love with Smart Objects. So versatile and taught with practical application
GREAT STUFF! It was just what I was needing today!
Great information for beginning with smart objects
Great tutorial, I learned a lot!
A thorough tutorial on really getting the best use out of smart objects. Each section includes a range of ways in which smart objects can be utilised in your workflow as well as practical examples. As usual Aaron is entertaining and engaging in the way he delivers the course content. Definitely recommended for all users of Photoshop.
Great tutorial, learned so much from it!
I see where your going with this… your going to make it very, very hard for me to not renew my membership. 🙂
another great tutorial, keep up the good work
Love it! Such a huge help and will make my editing work so much faster, creative and NON-DESTRUCTIVE! Smart objects are going to be my go-to method from now on. Thanks Aaron!
Great Tutorial
Its so funny…..I have actually been using smart objects and didn’t even know how much I could archive with them. You are really turning me into something in photoshop now am gonna do some linked ones create some collages and make some editable filters….now i know what solid colors are….can mask smart filter….understand what a highpass can do i have actually learnt more than just smart filters
What a great lesson! I remember when you couldn’t work on an image until it was rasterize. Photoshop and you make work so much enjoyable without all the destructive pain. Dig the new music too. Love my Phiday with Phlearn.
Your presentation style is always so practical and provides an amazing insight into the power of Smart Objects… I feel like I am self taught but I have learnt it all from PHlearn
Everything from Aaron tutorials is the best that anyone can find over the internet. The only thing that I regret a little is that intro in every chapter (about 5 sec. in the beginning and also at the end). I can understand the reason for, but after a few chapters, it becomes a little too much. Normally I watch all the videos on a subject, like to have an overall idea. After that, I go chapter by chapter using a dual monitor configuration. One monitor with the video and the other in PS using the assets files. It’s ok to go back and forward several times when trying to follow up and reproducing what is being shown in the video. Most of the time a reduce the speed of the video since Aaron, sometimes moves faster and it’s hard to catch up and keep in sync with what you are seeing and what you are doing. Not very hard to do but… Overall, no complains and like I said before it’s the best that you can find over the net. Good job Aaron
sorry there is no any keyboard shortcuts and plus I can’t understand properly I saw the first 3 videos thousand time but I didn’t get anything
I needed this tutorial. Differently will change the way I edit.
Elegantly concise explanation of how Smart Objects work and the ways in which they can be used. Highly recommended for anyone wanting to understand this topic.
You opened my eyes to Smart Objects…. the use is amazing…. You need to put the humor back to you stick… they always lighten up the message and keep us from drifting aways… thanks again.