
Download Assets
This tutorial includes 2 sample images and 1 PDF guide. Downloads are free with a PHLEARN account.
- Download the sample images and PSDs from every free tutorial on PHLEARN
- New free tutorials published every week
- One free account — sign up once, then download anything
Free PDF Guide · 3 Pages
This Tutorial as a Step-by-Step PDF
The 3-page guide builds four Lightroom export presets: a 1 x 1 crop for Instagram, a Filename plus Custom Text template, JPEG, sRGB, Quality 80, Resize to Fit at 1080, Sharpen For Screen, then 1200 Landscape, 1200 Portrait and Full Size, saved under Add in an Export folder. Keep it next to your keyboard.
description
One photo usually needs to exist at several sizes — 1080 for Instagram, 1200 for the web, full size for print. An export preset captures the whole chain at once: format, quality, resize, sharpening and a file name built from the original plus custom text, so every exported file says what size it is and where it belongs without being opened. Landscape and portrait get their own presets.
Enjoying This Free Tutorial?
We publish a new free tutorial every week, each one with sample images and PSDs you can download and follow along with. Sign up and they land straight in your inbox, along with early word on sales, events and subscriber-only offers.

How to Save Time with Export Presets in Lightroom
Photos rarely end up in just one place — Instagram, a website, a portfolio, and print all typically call for different sizes and file settings from the same original image. Rather than manually resizing and renaming every photo for every destination, a set of saved export presets in Lightroom lets you export the exact right version, sized and named correctly, in just a couple of clicks.
Cropping to Square for Instagram
Before exporting for Instagram, crop the image into a square. In the Develop module’s Crop tool, click the aspect ratio dropdown and choose 1:1, then adjust the crop position and press Enter. Repeat for each image you’re preparing, keeping in mind that a portrait-oriented image and a landscape-oriented image will need slightly different crop adjustments to make a square composition work well.
Customizing the File Name Template
Right-click an image and go to Export to open the export dialog. Under the Rename section, click Edit to open the File Name Template Editor. Building a template that includes the original file name plus additional custom text keeps every exported file both traceable back to its source and immediately identifiable by its destination and size.
Adding Custom Text to Identify Size and Destination
Insert the File Name token to preserve the original image name, then insert a Custom Text token and type something descriptive, like _1080_Instagram. The preview shows exactly what the final exported file name will look like — for example, the original file name followed by “_1080_Instagram” — so at a glance, without opening the file, you know both its pixel dimensions and where it’s meant to go.
Setting File Type, Quality, and Resize Dimensions
Set the file format to JPEG with the sRGB color space and a quality setting around 80, which balances file size and image quality well for most online destinations. Under Image Sizing, choose Resize to Fit and enter the target width — 1080 pixels works well for Instagram — and set Output Sharpening to Standard, sharpened for screen viewing.
Saving the Export Settings as a Preset
Once every setting is configured the way you want, click the Add button in the Presets section of the export dialog. Create a new folder to keep your export presets organized — naming it something like “Export” — and give the preset itself a clear, descriptive name reflecting both the dimensions and destination, such as “1080 Instagram.” From that point forward, this exact combination of renaming, file format, quality, resizing, and sharpening is available with a single click.
Organizing Exports into a Dedicated Folder Structure
Choosing “folder later” during export lets you pick the destination folder each time rather than locking a preset to one fixed location. Setting up a dedicated folder structure — a top-level “Final Images” folder, with a subfolder for the specific project, and further subfolders for each export size and destination, like “1080 Instagram” — keeps every exported version organized and easy to find later.
Using Cloud Storage for Access from Anywhere
Placing that final-images folder structure inside a cloud storage service like Google Drive or Dropbox, rather than only on the local desktop, means your finished exports are accessible from any computer or mobile device, anywhere. For final, ready-to-share images, that kind of universal access is worth the small extra step of setting the folder up in cloud storage from the start.
Creating Separate Presets for Landscape and Portrait Web Sizes
For a size like 1200 pixels — a good balance for web use on a site or social page, large enough to display well but not so large that the original becomes easy to steal — landscape and portrait images need slightly different settings, since the long edge sits on a different axis for each orientation. For a landscape image, change the custom text to _1200px_web, set the resize width to 1200 pixels and name the preset something like “1200 Landscape.” For a portrait image, keep the same _1200px_web custom text, clear the width and set the resize height to 1200 pixels instead and save it as a separate preset, such as “1200 Portrait.” Having both ready means any image, regardless of orientation, always gets exported at a consistent long-edge size.
Exporting a Full-Size Version for Print
For situations that call for the original resolution, like print, a full-size export preset skips resizing entirely while still applying a clear, descriptive file name.
Skipping Resize While Keeping a Descriptive File Name
In the export dialog, uncheck the Resize to Fit option so the image exports at its original dimensions, while keeping the renaming template active with custom text like _Full_Size. Save this as its own preset, and from then on, exporting the original, unresized file with a clearly labeled name takes exactly the same one-click process as any of the smaller resized presets.
Applying Saved Presets to Future Exports
Once a full set of presets exists — Instagram, web-sized landscape and portrait, and full size — exporting any future photo for any of these destinations is simply a matter of selecting the image, right-clicking, choosing Export, selecting the saved preset, and picking a destination folder. Multiple images can be selected and exported together using the same preset, applying identical settings to all of them at once, which turns what used to be a repetitive manual process into a matter of seconds.
Why This Approach Works
Export presets work because they capture an entire chain of decisions — file format, quality, dimensions, sharpening, and naming — as a single reusable setting, rather than requiring you to reconstruct that chain manually every time you need a photo in a particular size. Building the file name template to include both size and destination means every exported file is self-documenting: you can identify exactly what a file is and where it belongs just by looking at its name, with no need to open it first. And organizing exports into a consistent, cloud-accessible folder structure means the right version of any photo is always easy to locate later, no matter which device you’re working from.
Final Thoughts
A handful of well-built export presets — one for Instagram, one or two for web use, and one for full-size print — turns a repetitive, error-prone export process into a one-click action you’ll never have to think through again. Once your presets are set up and named clearly, editing a photo once in Lightroom and exporting it everywhere it needs to go takes only a few seconds, regardless of how many places that image ultimately needs to live.
Quick Reference: Keys, Menus and Settings
- Square cropDevelop > Crop: aspect ratio 1 x 1, drag to reframe, Enter/Return; Right Arrow for the next photo
- Open ExportRight-click the photo > Export > Export
- RenameFile Naming: Rename To > Edit, Filename then Custom Text tokens; custom text _1080_Instagram
- Instagram settingsJPEG, sRGB, Quality 80, Resize to Fit W 1080, Sharpen For Screen at Standard, Choose folder later
- Save a presetAdd > New Folder “Export” > name it 1080 Instagram > Create
- Web and print_1200px_web with W 1200 (landscape) or H 1200 (portrait); _Full_Size with Resize to Fit unchecked
- Use a presetShift-click the photos, right-click > Export > preset name, pick the folder
No AI, no generative credits.

Free Downloads
Follow Along on the Same Photos
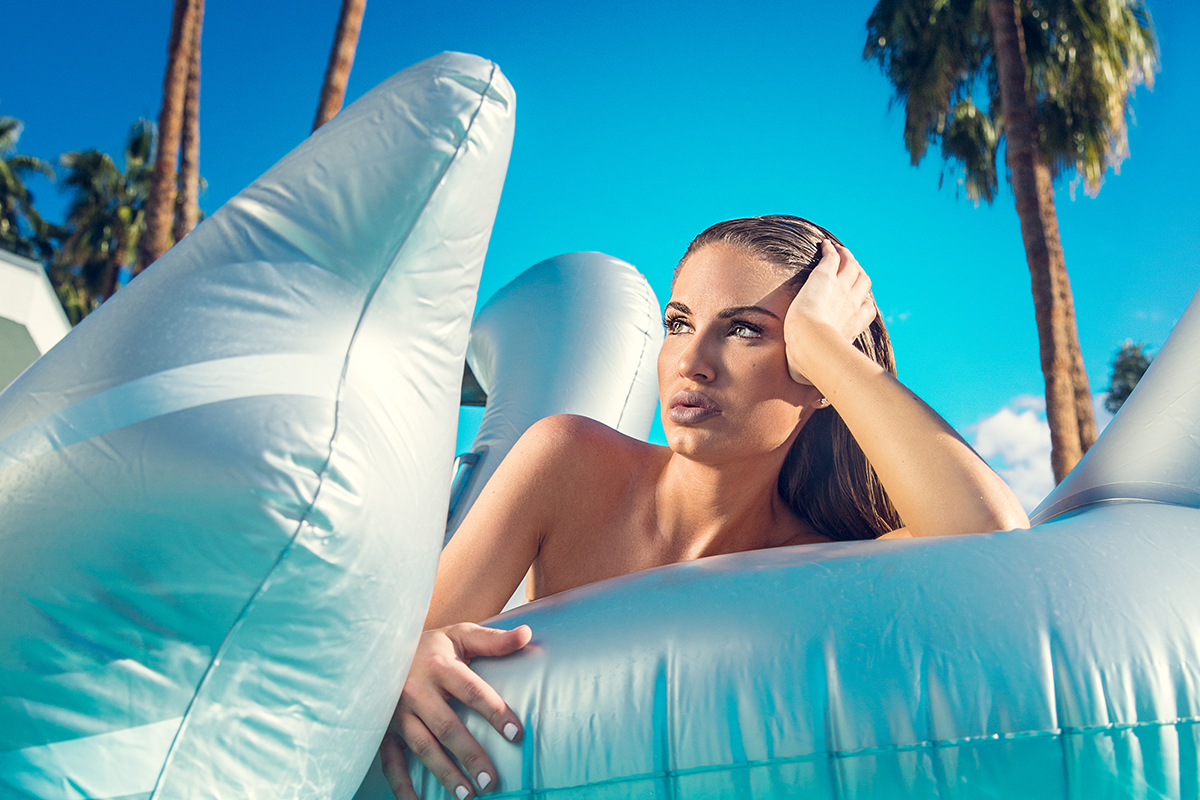
Get the two sample photos, one portrait and one landscape, and the 3-page PDF guide with all four export presets. Free with a PHLEARN account.
Lightroom Export Presets: Common Questions
What does an export preset save?
The whole set of export choices: the file name template, file format, color space, quality, resizing and output sharpening. After that, one click exports a photo the same way every time.
What size should I export for Instagram?
The Instagram preset uses JPEG, sRGB, Quality 80 and Resize to Fit with a width of 1080 pixels. Crop the photo to 1 x 1 first, so the file comes out 1080 x 1080.
Why didn’t my Instagram export come out square?
The preset only sets the width. The square comes from cropping to 1 x 1 in the Develop module’s Crop tool before you export.
How do I add the size and destination to the file name?
In the Export dialog, check Rename To and choose Edit. Use the Filename token, then Custom Text, and type something like _1080_Instagram. The Example line previews the result.
Can a preset ask where to save each time?
Yes. Under Export Location, set Export To to Choose folder later. The preset then asks for a folder every time you use it.
Why are there separate presets for portrait and landscape?
They are different aspect ratios. 1200 Landscape sets the width to 1200 pixels, and 1200 Portrait sets the height to 1200, so both come out 1200 pixels on the long edge.
How do I export a full-size file for print?
Uncheck Resize to Fit and change the custom text to _Full_Size. Click Add, name the preset Full Size and click Create.
Can I export many photos with one preset?
Yes. Select them, right-click, go to Export and click the preset name. You don’t need to open the Export dialog; you could select 50 images and export them all at once.
Where should I keep the exported files?
Make one top folder for final images, a folder for the project inside it, and one folder per export size. Keeping it in Google Drive or Dropbox lets you view the photos from any computer or mobile device.
Are the sample files free?
Yes, with a free PHLEARN account. You get 2 sample images and 1 PDF guide: one portrait and one landscape photo from Photography 101, and a 3-page step-by-step guide.
Master Photoshop, Lightroom and Photography
Join PHLEARN PRO for $12.99 a month or $99.99 a year. Cancel anytime, with a 100% money-back guarantee.





