

Download Assets
This tutorial includes 2 sample images and 1 PDF guide. Downloads are free with a PHLEARN account.
- Download the sample images and PSDs from every free tutorial on PHLEARN
- New free tutorials published every week
- One free account — sign up once, then download anything
Free PDF Guide · 4 Pages
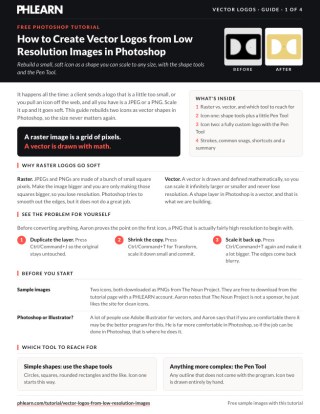
This Tutorial as a Step-by-Step PDF
The guide walks through why raster logos go soft, rebuilding the first icon with the Rounded Rectangle Tool, the Pen Tool with Rubber Band, naming the path and clicking Shape, mirroring and Merge Shapes, tracing the apple logo with Ctrl/Command and Alt/Option, and three ways to add a stroke. Keep it next to your keyboard.
description
A raster logo is a fixed grid of pixels, so scaling it up just stretches those pixels and the edges go soft. A vector is defined mathematically, so it scales in either direction with no loss at all. Learn how to rebuild vector logos from a low-resolution image in Photoshop two ways: with the built-in shape tools when the logo is simple geometry, and traced by hand with the Pen tool when it is not.
Enjoying This Free Tutorial?
We publish a new free tutorial every week, each one with sample images and PSDs you can download and follow along with. Sign up and they land straight in your inbox, along with early word on sales, events and subscriber-only offers.
Image Source
Icons by icon 54 and Govind Dhiman via The Noun Project
CREATE A VECTOR LOGO FROM ANY IMAGE
How to Create Vector Logos from Low Resolution Images in Photoshop
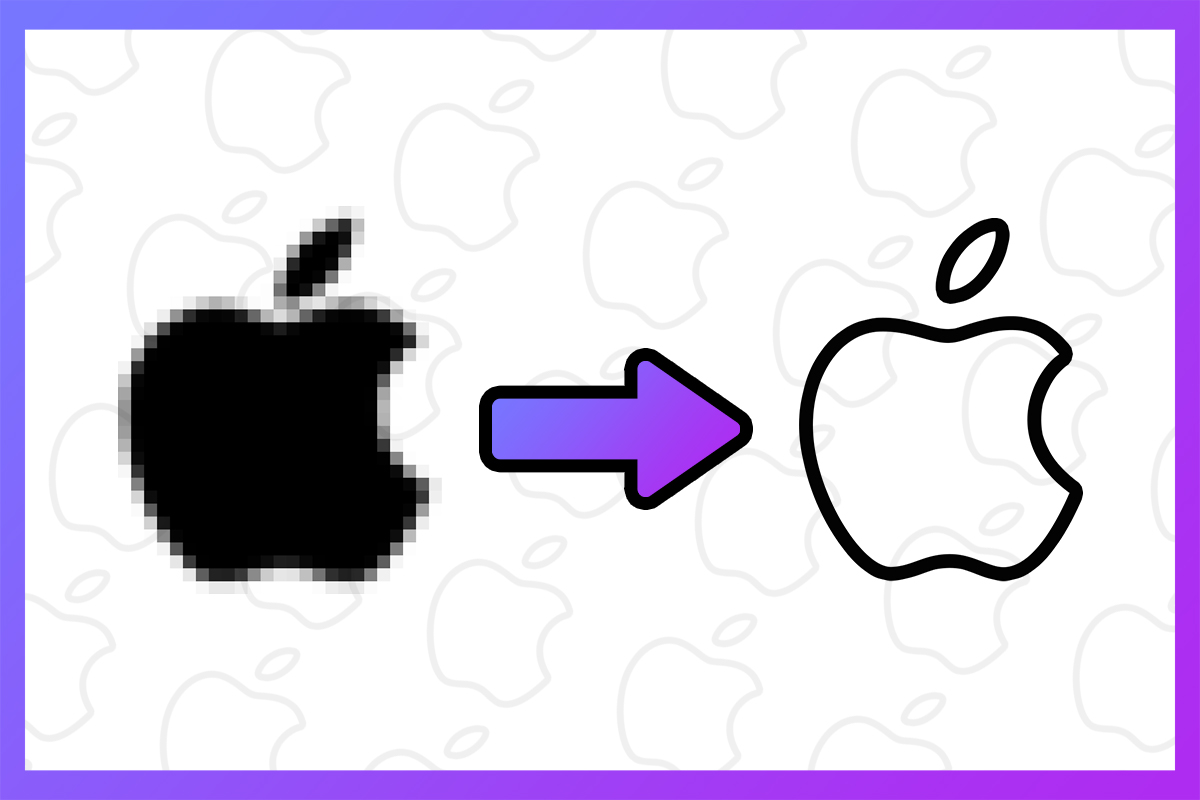
A raster image — a JPEG or PNG — is built from a fixed grid of pixels, so scaling it up means stretching those same square pixels larger, which is exactly why a small logo pulled from a client or found online often looks blurry once it’s resized. A vector graphic, by contrast, is defined mathematically rather than pixel by pixel, so it can scale infinitely in either direction with zero loss in quality. Two different icons — one built with simple shape tools, one traced entirely by hand — show both ways to make that conversion happen in Photoshop. A lot of people use Adobe Illustrator for vectors, and if you are comfortable there it may be the better program for this; Aaron knows Photoshop far better, so if the job can be done in Photoshop, that is where he does it.
Getting Started: Why Raster Images Lose Quality When Scaled
Before converting anything, it helps to actually see the problem a vector solves.
-
Compare a Raster Image at Two Sizes
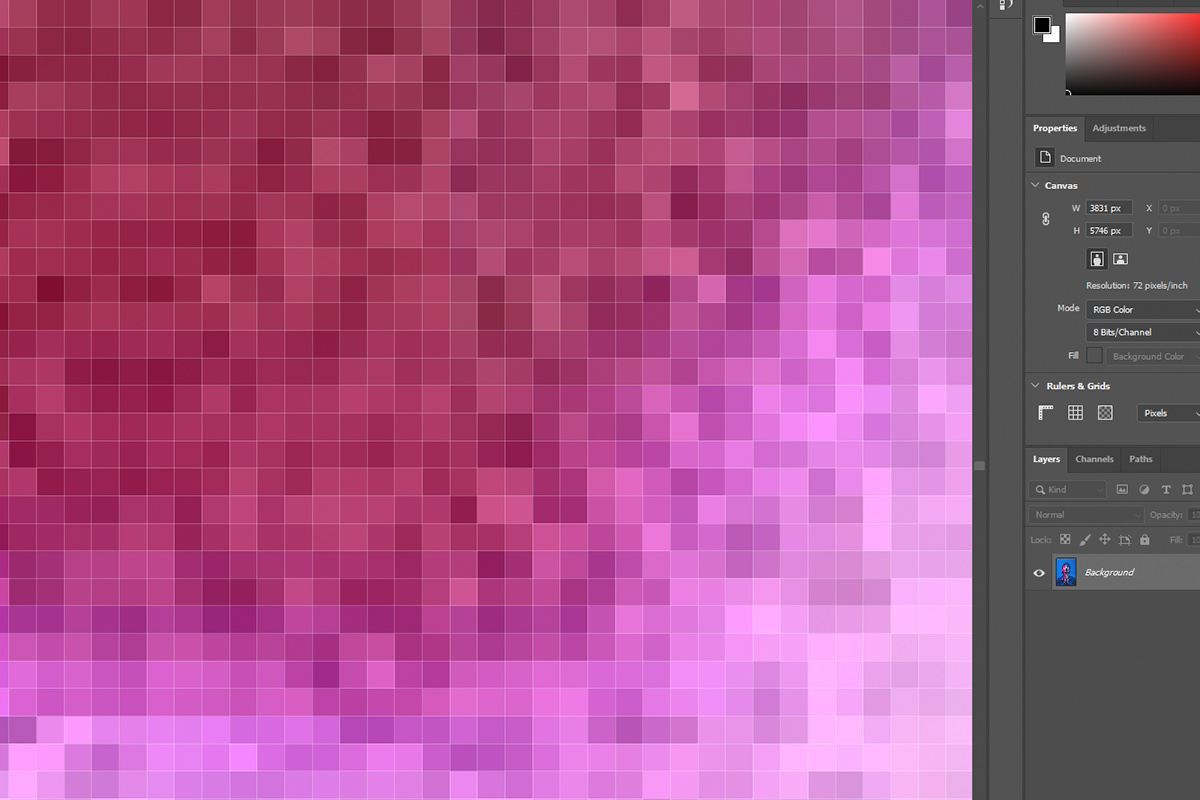
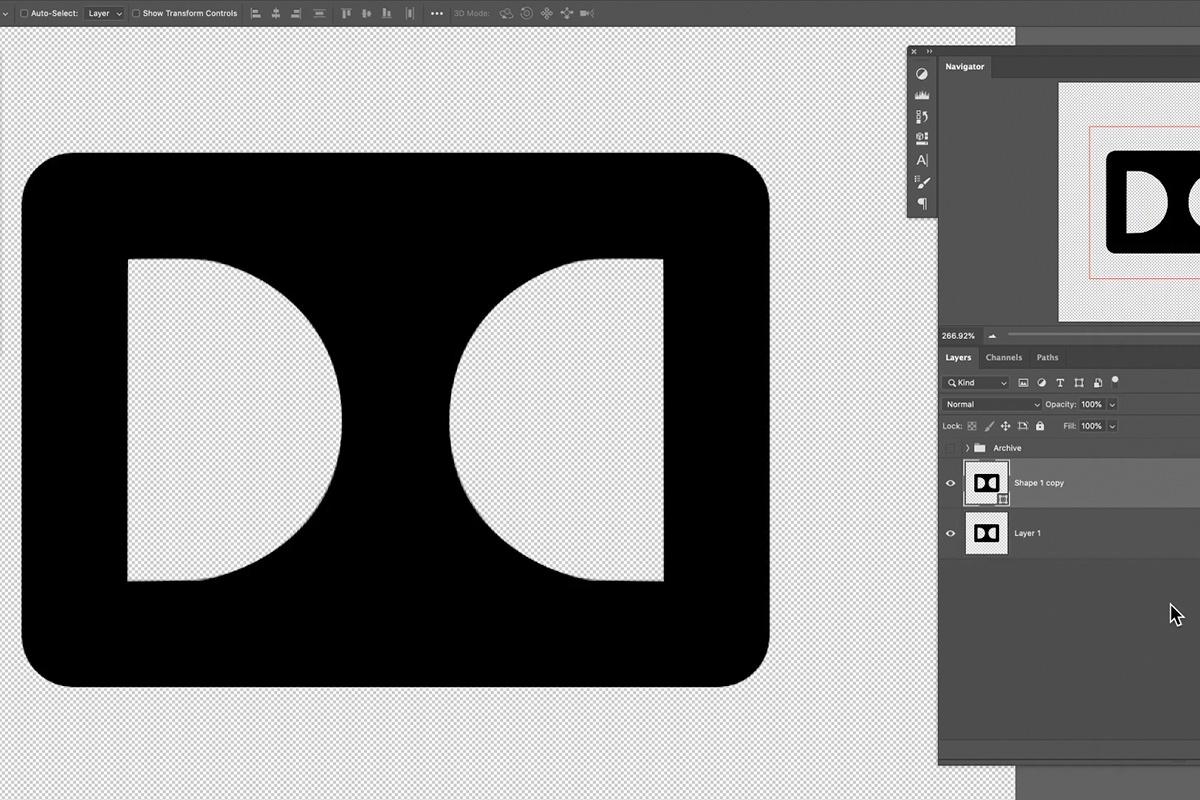
Duplicate a raster logo layer with Ctrl/Cmd + J, then use Ctrl/Cmd + T to scale one copy up significantly. Photoshop tries to smooth the enlarged pixels, but the result still loses noticeable sharpness and definition compared to the original.

Building Simple Shapes with the Shape Tool
For a logo made of basic geometric forms — rectangles, circles, rounded corners — Photoshop’s built-in shape tools do most of the work without ever touching the Pen tool.
-
Draw the Base Shape
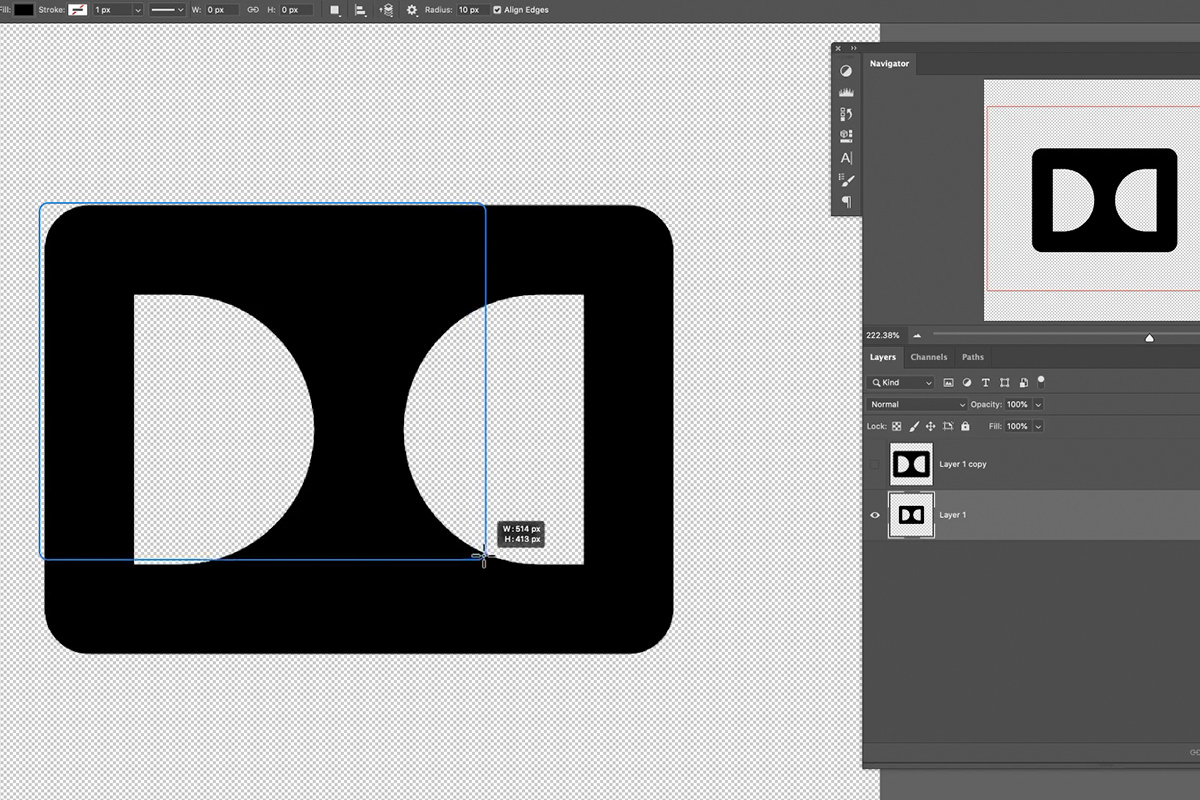
Select the Rounded Rectangle tool (nested with Rectangle, Ellipse, and Polygon), then click and drag to cover the outer form of the icon. Holding the spacebar while dragging lets you reposition the shape mid-draw.
-
Adjust the Corner Radius
With the rounded rectangle’s corner radius handles linked by default, dragging any one of them adjusts all four corners simultaneously until the roundness matches the source icon.
-
Set Fill and Color
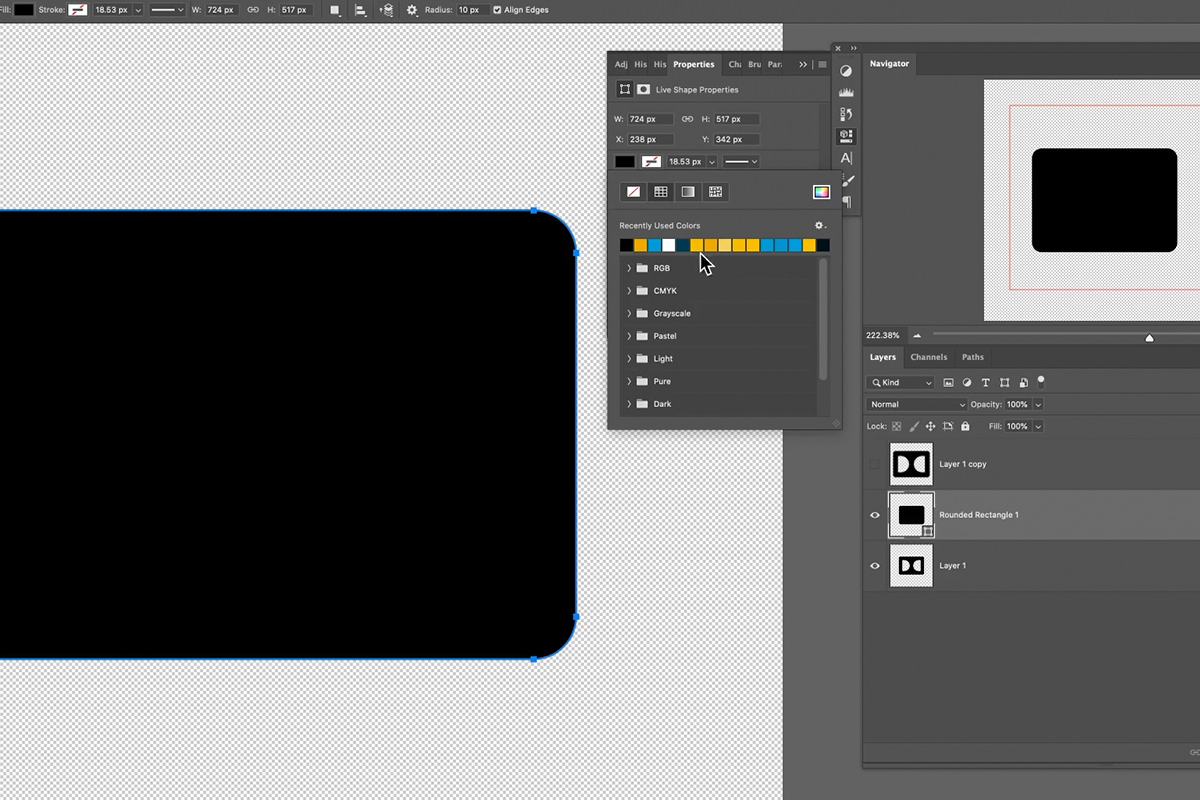
Choose whether the shape should have a fill, a stroke, or both from the options bar, then set the fill color — solid black is a common starting point before adding a final color later.
Organizing Layers with an Archive Group
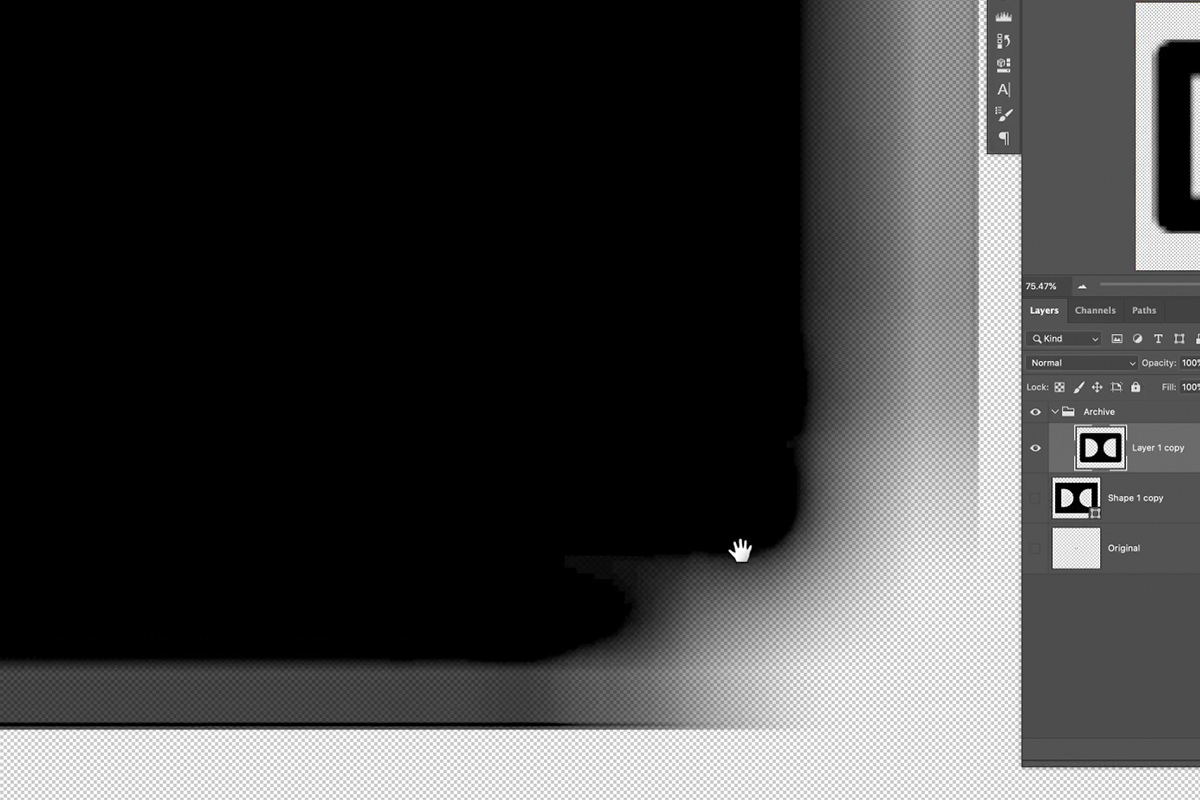
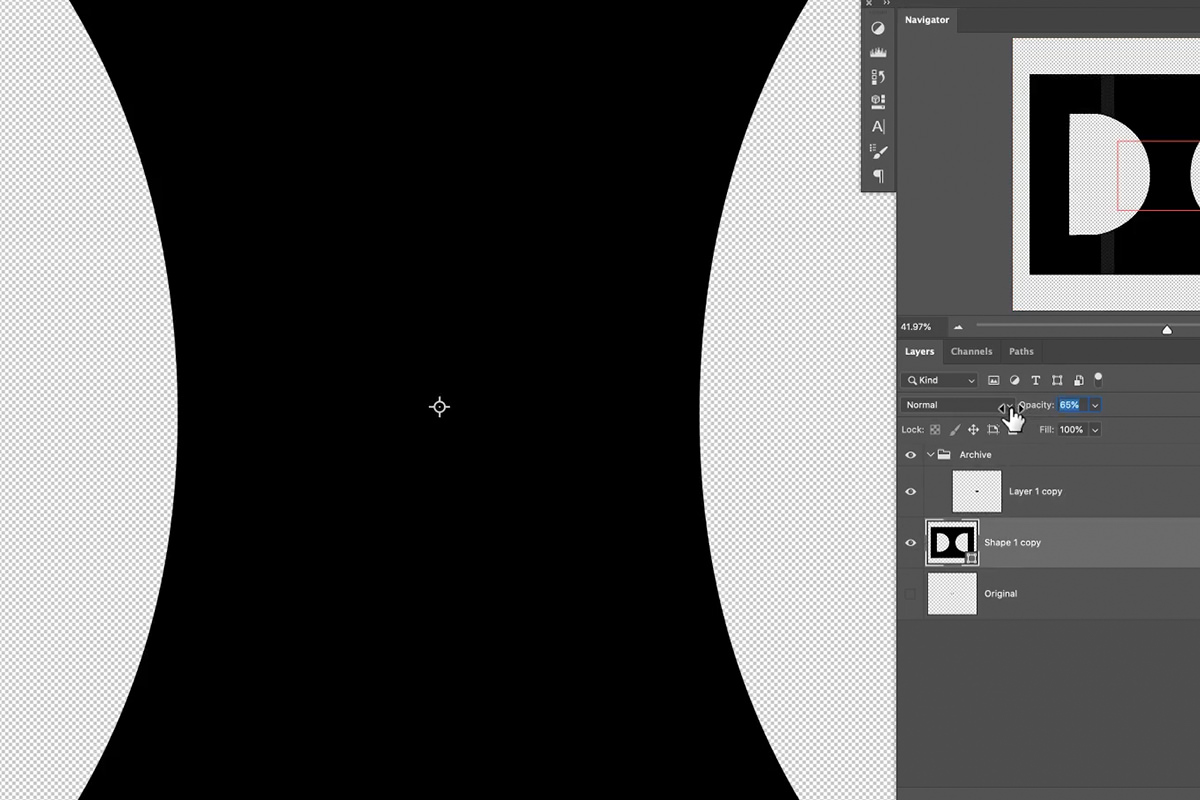
Grouping the original low-resolution version into a folder labeled something like “archive” and hiding it keeps the source image available for later comparison without cluttering the layers panel while the vector version is being built.
Drawing Custom Curves with the Pen Tool
When a shape doesn’t match any built-in tool, the Pen tool draws it as a fully custom, editable path.
-
Place Points at Every Angle Change
Select the Pen tool and click to place an anchor point everywhere the outline’s direction changes — a straight section followed by a curve, for instance, gets a point right at that transition.
-
Drag to Shape Curves
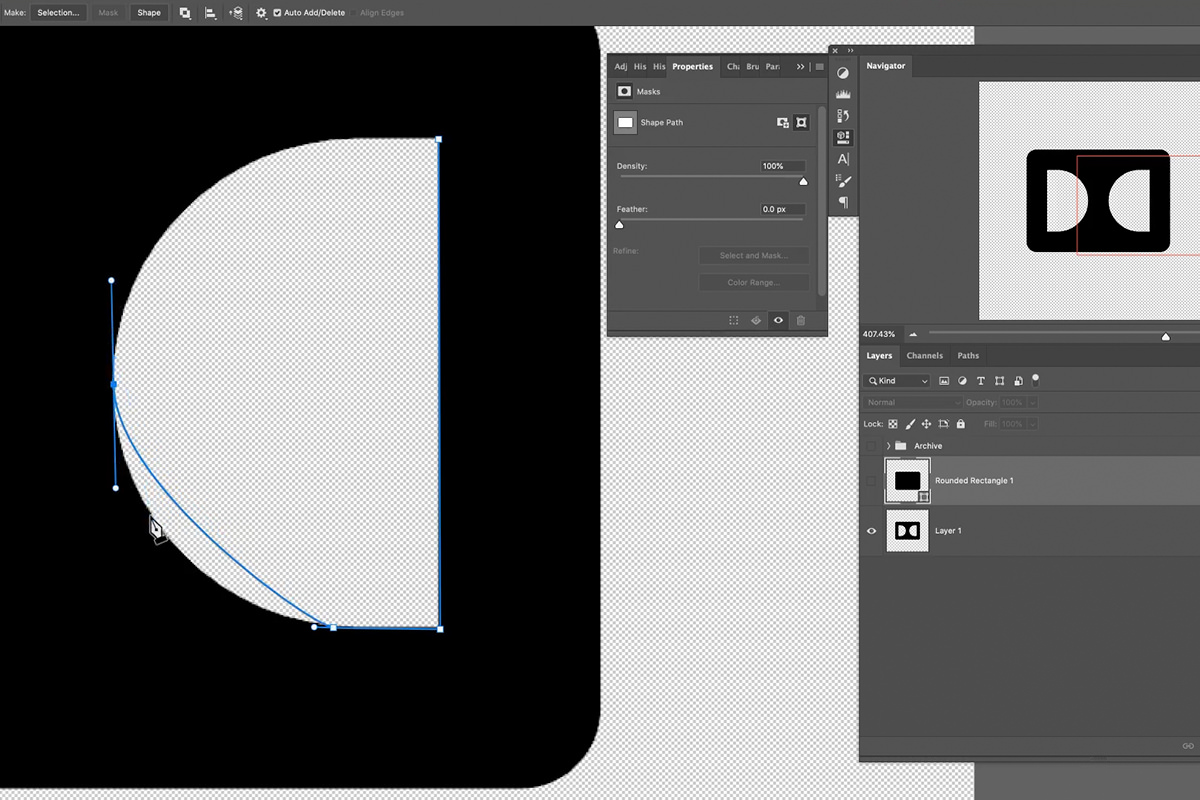
Click and drag at each point to pull out a curve handle, shaping the path as it’s drawn. Enabling Rubber Band in the Pen tool’s settings (the small gear icon in the options bar) shows a live preview of where the next segment will land, which makes placing points significantly easier.
-
Close the Path
Hover back over the starting point until a small circle icon appears next to the cursor, then click to close the path into a complete loop.
Refining Points After the Path Is Closed
Hold Ctrl/Cmd to temporarily switch to the Direct Selection cursor, then click and drag a point’s curve handles to fine-tune the shape until it matches the source image. It’s normal to need several passes back and forth adjusting individual points before a hand-drawn curve reads as clean and intentional.
Converting Paths to Shapes and Combining Them
Once a path is drawn, turning it into an editable shape — and merging it with other shapes — takes just a couple of clicks.
-
Save and Convert the Path
Double-click the temporary “Work Path” entry in the Paths panel to give it a permanent name, preventing it from being overwritten by the next path you draw. Then use the Path/Shape toggle at the top of the options bar to convert it into a proper shape layer.
-
Duplicate and Mirror for Symmetry
For a symmetrical icon, duplicate the shape with Ctrl/Cmd + J, flip it horizontally with Ctrl/Cmd + T and a right-click, then reposition it with the Move tool while holding Shift to keep it aligned.
-
Merge Shapes to Cut Out Negative Space
Select multiple shape layers, right-click, and choose Merge Shapes. As long as one shape sits inside another, Photoshop automatically treats the inner shape as a cutout rather than a separate solid piece.
Changing Color After Merging
Once shapes are merged into a single combined shape, the fill color can still be changed freely with the shape tools — there’s no need to unmerge anything to try a different color, which makes it easy to test several options before settling on a final one.
Comparing Vector and Raster Results at Scale
The real payoff of this whole process only becomes obvious once both versions are scaled side by side.
-
Scale the Finished Vector Shape
With the shape layer selected, use Ctrl/Cmd + T to scale it up as large as needed. Because it’s a true vector shape rather than a rasterized image, the edges stay perfectly crisp at any size.
Tracing a Fully Custom Logo with the Pen Tool
For a shape with no straight edges or simple geometry at all — a logo like an apple silhouette, for example — the Pen tool is the only practical option.
-
Place Points at Each Directional Change
Work around the outline placing a point at every place the curve changes direction, dragging to set each curve as you go. It doesn’t need to be perfect on the first pass — every point can be adjusted again afterward.
-
Use Ctrl/Cmd vs. Alt/Option to Control Curve Handles
Holding Ctrl/Cmd and dragging a curve handle affects both sides of that point’s curve symmetrically, which is useful for a smooth, continuous curve. Holding Alt/Option instead affects only one side, which is what a sharper transition — like the top of a leaf or a stem — usually needs.
Naming the Path and Adding the Leaf
Before drawing anything else, double-click Work Path in the Paths panel and give it a name (Aaron calls it Path 1), so the next path does not save over it. Then trace the leaf, which sits outside the apple body, as a second closed outline: a click and drag for its one curve, back to the first point, and Alt/Option on each end to shape it. With the Pen tool still selected, click Shape in the options bar and the traced logo becomes a shape layer you can fill with any color.
Adding a Stroke and Comparing the Final Result
Once the traced logo is a shape, a stroke can approximate the original logo’s outline treatment, though it’s worth knowing the limits of Photoshop’s stroke tool for this kind of work.
-
Add a Stroke via Layer Effects
Double-click the shape layer to open Layer Styles, then enable Stroke. Layer Style strokes offer a choice of inside, center, or outside alignment, which gives more control than the basic stroke option available directly on a shape tool. Aaron notes it isn’t as accurate as the shape tool’s stroke, though, and it loses some resolution as you scale up, so keep the size fairly small.
The original apple icon is an outline, and Aaron traced its outside edge, so he adds a stroke and lowers the layer’s Fill to 0 to imitate it. The result is close, but not the exact same as the original outline.
-
Or Trace the Outline Manually for an Exact Match
For a stroke that matches the original exactly, draw a second path with the Pen tool tracing just the outline shape, then add it to the existing path rather than relying on the automatic stroke — Photoshop’s built-in stroke tools are a bit less refined than Illustrator’s for this specific purpose.
Why This Approach Works
The distinction that makes this whole workflow possible is mathematical rather than visual: a vector path stores a shape as a set of points and curve equations rather than a fixed grid of colored pixels, so “scaling” a vector just means recalculating that math at a new size instead of stretching existing pixel data. That’s why the shape-tool icon and the hand-traced logo both scale with zero quality loss, while the raster comparison right beside them visibly degrades. For simple geometric shapes, Photoshop’s built-in shape tools get there fast; for anything with organic curves or no matching built-in shape, the Pen tool remains the tool of choice, and getting comfortable with it opens up a much wider range of what’s possible using the same core skill set covered in these tutorials.
Final Thoughts
The rule of thumb worth remembering here is simple: reach for the built-in shape tools when a logo is made of basic geometric forms, and reach for the Pen tool when it isn’t. Neither approach demands a perfect first attempt — every point on a Pen tool path stays fully adjustable after the fact, which is exactly what makes it approachable even before it feels fully comfortable. And because Photoshop covers this much ground with just its shape and Pen tools, it’s worth remembering that mastering every single tool in the toolbox tends to open up workflows like this one that aren’t obvious until you’ve actually learned what each tool is capable of.
Quick Reference: Keys, Menus and Settings
- Duplicate and transformCmd/Ctrl + J, then Cmd/Ctrl + T; right-click > Flip Horizontal to mirror
- Move a shape while drawingHold Space as you drag with the Rounded Rectangle Tool
- Pen ToolP; gear icon in the options bar > Rubber Band
- Edit curvesHold Cmd/Ctrl to move both handles, Alt/Option to move one
- Path to shapeDouble-click Work Path in the Paths panel to name it, then click Shape in the options bar
- Line up the copyV and Shift-drag; V then 0 sets layer opacity to 100%
- Cut out inner shapesCmd/Ctrl-click the shape layers, right-click > Merge Shapes
No AI, no generative credits.
Free Downloads
Follow Along on the Same Icons
Get both icons Aaron rebuilds as vector shapes, the rounded-square icon and the apple logo, plus the 4-page PDF guide. Free with a PHLEARN account.
Vector Logos in Photoshop: Common Questions
Why does my logo get blurry when I scale it up?
A JPEG or PNG is a raster image, a grid of small square pixels. Making it bigger only makes those squares bigger, and Photoshop’s smoothing doesn’t do a great job of hiding it.
What makes a logo a vector in Photoshop?
A shape layer. It is defined mathematically, so you can scale it infinitely larger or smaller with Cmd/Ctrl + T and never lose resolution. A small icon on the layer thumbnail tells you it is a shape.
Should I use a shape tool or the Pen Tool?
Use the shape tools for simple geometry like circles, squares and rounded rectangles. For any outline that doesn’t come with the program, like the apple logo, use the Pen Tool.
How do I match the rounded corners of an icon?
Draw over the icon with the Rounded Rectangle Tool, holding the Spacebar to move it while you drag. The corner radii are linked by default, so dragging one radius control changes all four.
How do I see where the next Pen Tool segment will go?
Click the gear icon in the options bar and turn on Rubber Band. You get a blue preview of the next segment, which helps a lot when placing points.
What is the difference between Cmd/Ctrl and Alt/Option when editing points?
Hold Cmd/Ctrl and drag a handle to move both sides of the curve together, for one continuous curve. Hold Alt/Option to move only one side, for a corner; Alt/Option-drag out from a clicked point to give it handles.
How do I turn a Pen Tool path into a shape?
First double-click Work Path in the Paths panel and name it, so the next path doesn’t save over it. Then, with the Pen Tool selected, click Shape in the options bar.
How do I cut the inner shapes out of the main shape?
Cmd/Ctrl-click the shape layers to select them, right-click and choose Merge Shapes. As long as the smaller shapes sit inside the main one, Photoshop cuts them out.
What is the best way to add an outline stroke?
The shape tool stroke in the options bar is the more accurate one. A Layer Style stroke lets you choose inside, center or outside but loses some quality as you scale up, so keep it small. For an exact match, trace the outline on a new path with the Pen Tool.
Are the sample files free?
Yes, with a free PHLEARN account. You get 2 sample images and 1 PDF guide: the two icons from the video, both PNGs from The Noun Project, and a 4-page guide to every step.
Master Photoshop, Lightroom and Photography
Join PHLEARN PRO for $12.99 a month, or $99.99 a year (save 36%). Cancel anytime, with a 100% money-back guarantee.





