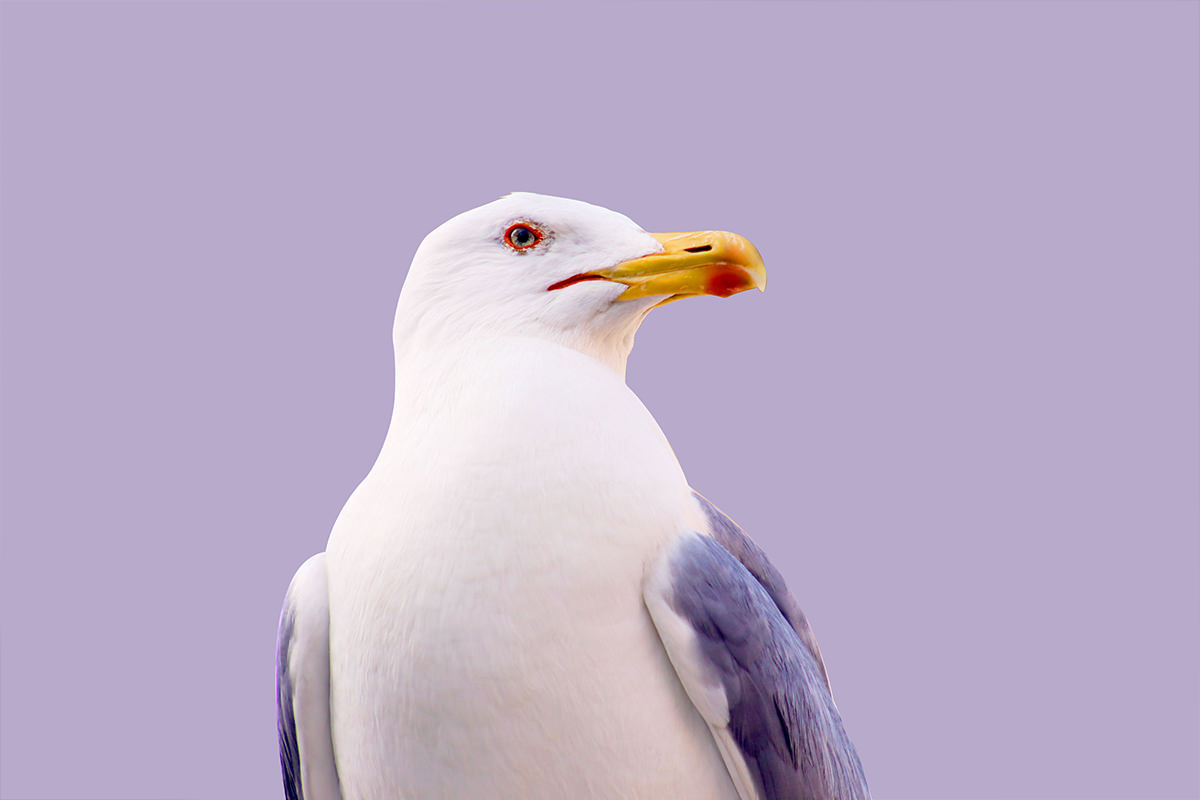

Download Assets
This tutorial includes 1 sample image and 1 PDF guide. Downloads are free with a PHLEARN account.
- Download the sample images and PSDs from every free tutorial on PHLEARN
- New free tutorials published every week
- One free account — sign up once, then download anything
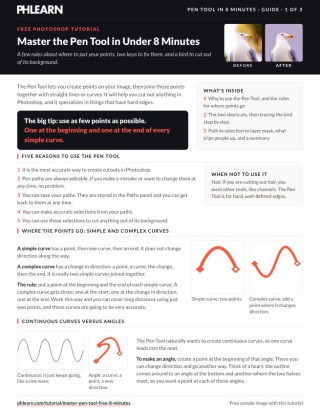
Free PDF Guide · 3 Pages
This Tutorial as a Step-by-Step PDF
Covers the five reasons to use the Pen Tool, where points go on simple and complex curves, and curves versus angles, then traces the bird step by step: Window > Paths, Alt/Option to change direction, Ctrl/Command to move any point, Ctrl/Command-click the path thumbnail and the layer mask icon. Keep it next to your keyboard.
description
The Pen tool is the most accurate way to cut a hard-edged subject out of its background in Photoshop, and it comes down to a handful of rules: use as few points as possible, put one at the start and end of every simple curve, add one more wherever the curve changes direction, and use Alt/Option and Ctrl/Cmd to reshape anything afterwards. This tutorial applies all of it to tracing and masking a bird.
Enjoying This Free Tutorial?
We publish a new free tutorial every week, each one with sample images and PSDs you can download and follow along with. Sign up and they land straight in your inbox, along with early word on sales, events and subscriber-only offers.
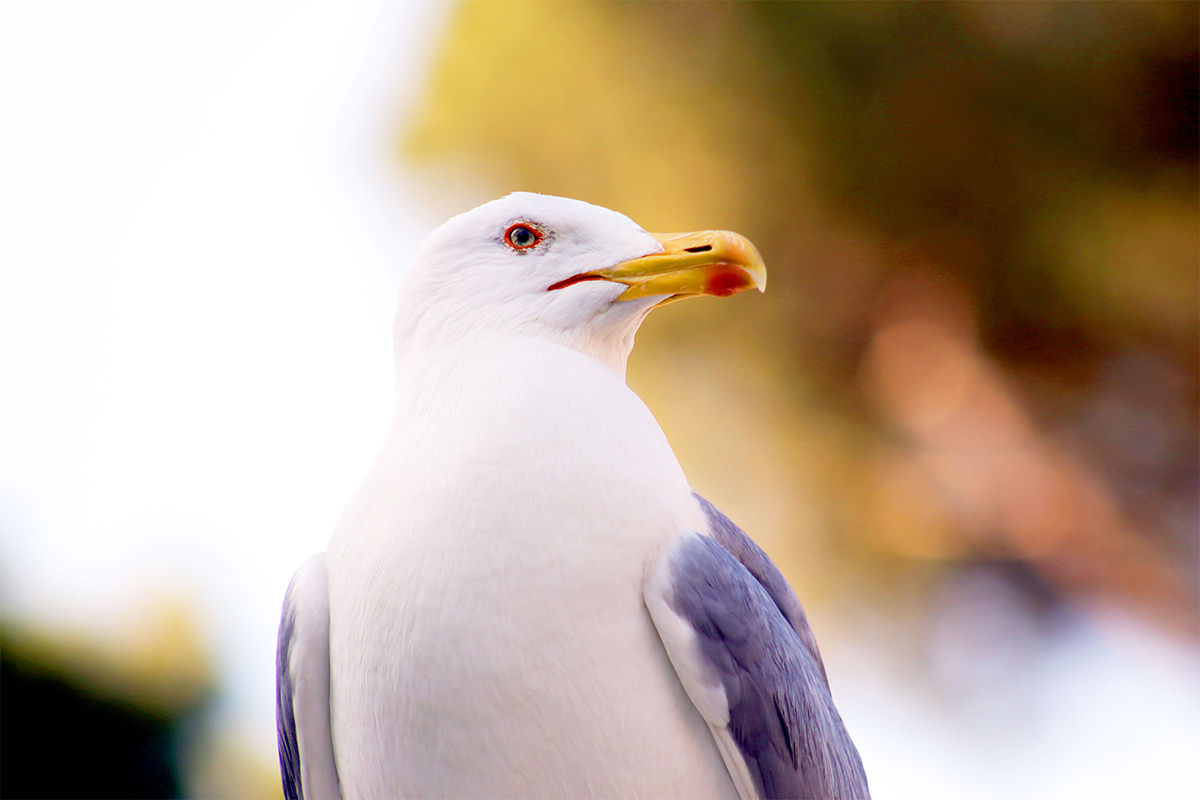
Master the Pen Tool in Under 8 Minutes
The Pen tool is the most accurate way to cut anything out of a background in Photoshop, especially subjects with hard, well-defined edges. It’s not the right tool for something like flyaway hair, where a channel-based technique works better, but for clean edges it produces fully editable paths that can be turned into pixel-perfect selections at any time. This tutorial breaks the Pen tool down into a small set of rules, then applies them to trace and cut out a photo of a bird.
Why the Pen Tool Is Worth Learning
The Pen tool has a few clear advantages over other selection methods: it produces the most accurate cutouts in Photoshop, the paths it creates are always editable rather than locked in once drawn, paths are automatically stored in the Paths panel for later use, and a finished path can be converted into a precise selection at any time and used to cut a subject cleanly out of its background.
When Not to Use the Pen Tool
The Pen tool specializes in subjects with hard, defined edges. For soft, fine detail like flyaway hair, a channel-based selection technique works better than trying to trace every individual strand as a path.
Using as Few Points as Possible
The single biggest guideline for working efficiently with the Pen tool is to use as few points as possible. Instead of clicking a new point at every visible bump along an edge, a single curve can cover a long distance accurately if it’s placed correctly.
Placing Points at Simple Curve Boundaries
A simple curve has just one curve between a starting point and an ending point, with no change in direction along the way.  A complex curve, by contrast, changes direction partway through — it curves one way, then reverses and curves the other way.
 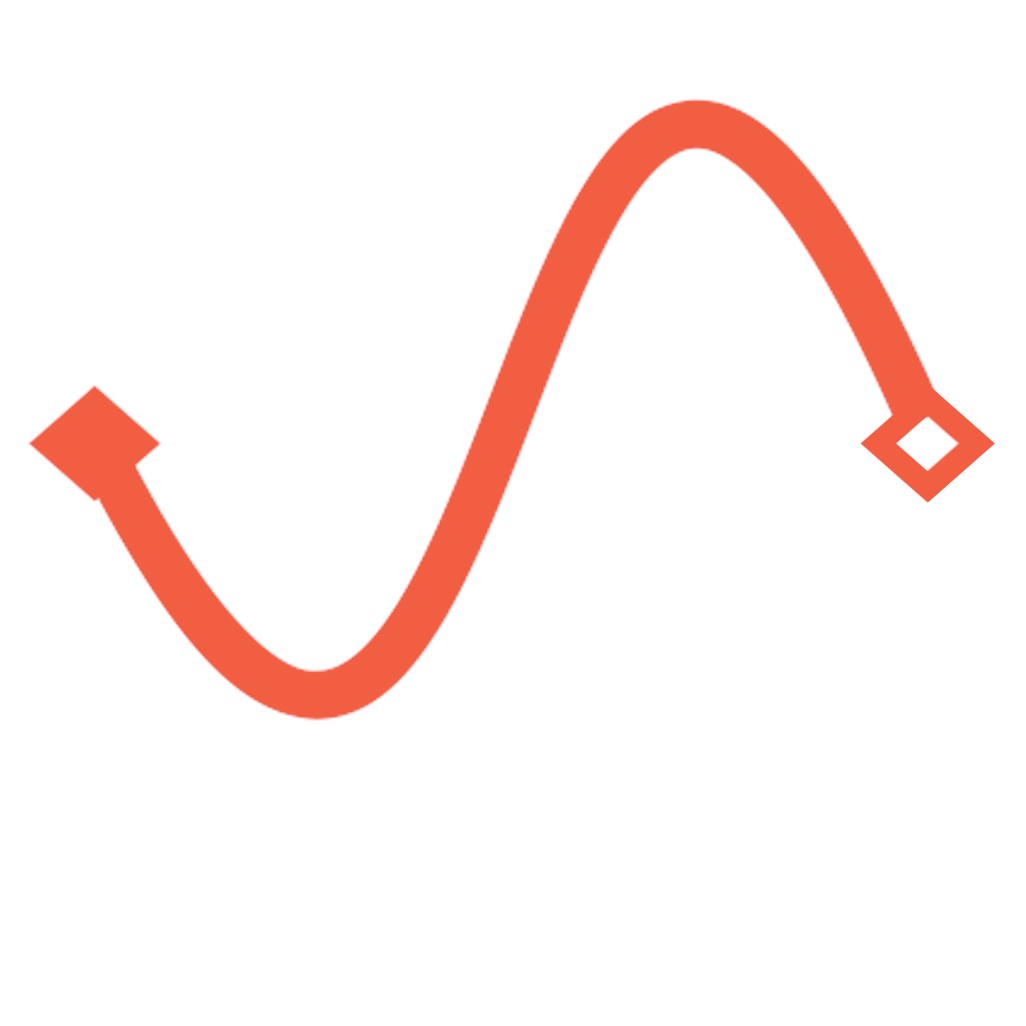 The rule for placing points is simple: put a point at the beginning and end of every simple curve. A complex curve, since it’s really two simple curves joined together, needs a point at the start, one at the direction change, and one at the end — three points instead of two, but still far fewer than clicking along the entire path freehand.
Continuous Curves Versus Angles
The Pen tool naturally wants to create continuous, flowing curves, similar to a sine wave, where one curve smoothly leads into the next. An angle, by contrast, is where a curve meets a sharp change in direction rather than flowing smoothly into the next curve.  To create a genuine angle instead of a smooth continuous curve, a point needs to be placed deliberately at the start of that direction change — for example, tracing a heart shape requires a point at the angle at the bottom and another where the two halves meet so the path doesn’t try to round them off into smooth curves instead.
Two Keyboard Shortcuts That Make Editing Easy
Two modifier keys handle almost everything needed to adjust a path after it’s drawn. Holding Alt/Option while clicking and dragging a point converts it between a curve point and a straight corner point, which is how continuous curves get turned into sharp angles or vice versa. Holding Ctrl/Cmd allows any existing point or curve handle to be clicked and dragged to a new position at any time, which is what makes Pen tool paths so forgiving — nothing has to be perfect on the first try.
Tracing the First Simple Curve
Working through a real example — tracing a bird for a cutout — open the Paths panel with Window > Paths, pick the Pen tool and start on the wing, since it forms one continuous simple curve with no direction change. Click at the start of the wing, then click again at the end and drag outward to shape the curve, letting one long curve cover the entire wing edge in just two points.
Building a Complex Curve Along the Body
Where the body’s outline curves one way and then reverses into a different curve, that’s a complex curve, so a point goes at each direction change: one where the first curve ends, and the path continues from there into the next curve, using Alt/Option to break the direction at each change and Ctrl/Cmd to nudge any point afterward until it hugs the actual shape of the bird.
Handling Fine Detail Like Feathers
For small details like the texture along the top of the bird’s head, the same continuous-curve approach works, just at a smaller scale — using Alt/Option to redirect the path back and forth traces the fine variation naturally. Zooming in and adding a few extra points wherever more accuracy is needed is always an option; the trade-off is simply between speed (fewer points, faster tracing) and precision (more points, closer to every small detail).
Finishing the Outline and Cutting It Out
Continuing around the beak and the rest of the bird’s outline uses the same three tools throughout: simple curves for smooth stretches, Alt/Option-created points for angles and direction changes, and Ctrl/Cmd to reposition any point that overshoots or undershoots the actual edge.
Converting the Finished Path into a Selection and Mask
Once the path fully encloses the subject, hold Ctrl/Cmd and click the path’s thumbnail in the Paths panel to convert it into a selection, then click the Layer Mask icon with a layer selected to load that selection directly into a mask — producing a clean cutout with a hard, accurate edge.
Why This Technique Works
Breaking every edge down into simple curves and angles, rather than treating the whole outline as one continuous freehand trace, is what keeps a Pen tool path both accurate and efficient. Recognizing that a complex curve is just two simple curves joined at a direction change tells you exactly where a point is needed and where it isn’t, so a long, smooth stretch of edge can be captured with only two points instead of a dozen. Because Ctrl/Cmd and Alt/Option make every point and curve fully adjustable after the fact, there’s no pressure to get each click perfect on the first pass — the path can be refined until it matches the subject exactly before it’s ever converted into a selection.
Final Thoughts
Once the distinction between simple curves, complex curves, and angles clicks, the Pen tool stops feeling intimidating and becomes one of the fastest, most reliable ways to cut out any hard-edged subject in Photoshop. The same handful of rules used to trace this bird — minimum points, points at direction changes, and full editability via Alt/Option and Ctrl/Cmd — apply to tracing anything else with clean, defined edges.
Quick Reference: Keys, Menus and Settings
- See your pathWindow > Paths, then pick the Pen tool
- Place pointsOne at the start and end of each simple curve; click at the end and drag to shape it
- Change directionHold Alt/Option and drag the handle to make an angle
- Move a point or curveHold Cmd/Ctrl and drag
- Path to selectionCmd/Ctrl-click the path thumbnail in the Paths panel
- Cut it outClick the layer, then the layer mask icon
No AI, no generative credits.
Free Downloads
Follow Along on the Same Photo
Get the bird photo to trace and cut out with the Pen tool, plus the 3-page PDF guide with every step and shortcut. Free with a PHLEARN account.
The Pen Tool: Common Questions
Why use the Pen tool instead of other selection tools?
It is the most accurate way to create cutouts in Photoshop. Your paths are always editable, they are stored in the Paths panel, and you can turn them into accurate selections at any time.
Should I use the Pen tool to cut out hair?
No. The Pen tool specializes in subjects with hard, well-defined edges. For hair, use other tools like channels.
Where should I put my points?
Use as few points as possible: one at the beginning and one at the end of every simple curve. A complex curve changes direction, so it gets a third point where the direction changes.
Why do my corners come out rounded?
The Pen tool naturally wants to create continuous curves. To make an angle, create a point at the beginning of that angle, then change direction. A heart needs a point at the angle at the bottom and another where the two halves meet.
What does holding Alt/Option do with the Pen tool?
It makes a point into a curve or a curve into a point. In the video, Aaron holds Alt/Option and drags the handle of the point he just made to aim the next curve in a new direction.
How do I fix a point in the wrong place?
Hold Cmd/Ctrl, then click and drag the point or the curve. Paths can be edited at any time, so nothing has to be perfect on the first click.
Where do I find my path?
Go to Window > Paths. The path shows up in the Paths panel as you draw, and it stays saved there.
How do I turn a path into a layer mask?
In the Paths panel, hold Cmd/Ctrl and click the path thumbnail to make a selection. Then click your layer and click the layer mask icon, and the selection loads into the mask.
How accurate do I need to be?
As accurate as you like. Zoom in and add a few more points wherever the edge changes direction to get every feather, or use fewer points and move faster.
Is the sample file free?
Yes, with a free PHLEARN account. You get 1 sample image and 1 PDF guide: the bird photo from the video and a 3-page guide with every step and shortcut.
Master Photoshop, Lightroom and Photography
Join PHLEARN PRO for $12.99 a month or $99.99 a year. Cancel anytime, with a 100% money-back guarantee.





