Download Sample Images
DOWNLOAD RAW IMAGES
Download the RAW photos (100 MB).
description
Do you want to learn how to take stunning, professional-grade images with your drone? Well, you’re in the right place! Learn how to use some simple tools and settings to help you capture more detail and more balanced photos.
We also show you how to merge your drone images together to create a beautiful HDR in Lightroom Classic!
Share
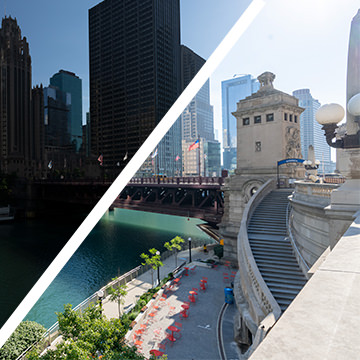
CREATE BEAUTIFUL HDR PHOTOS
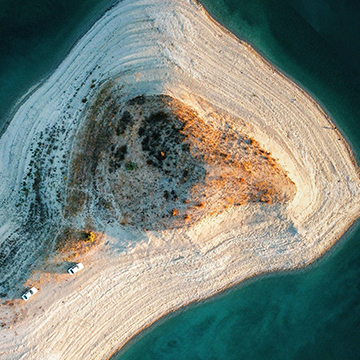
BEFORE
Capture Better Drone Photos!
Using a Drone for Photography
Drone photography has come a long way. But, even though most drones are capable of capturing great photos, they still have a lot of limitations when compared to shooting with a handheld DSLR.
When your camera has a fixed lens and is hundreds of feet away from you, you’ll need the right combination of tools and settings to make sure you nail the shot.
RAW & JPEG
Many drones will allow you to capture both RAW and JPEG files, and we highly recommend enabling both. RAW images will provide the most amount of information for you to work with in post, and is invaluable for recovering details, fixing exposure, and enhancing color.
Exposure Bracketing
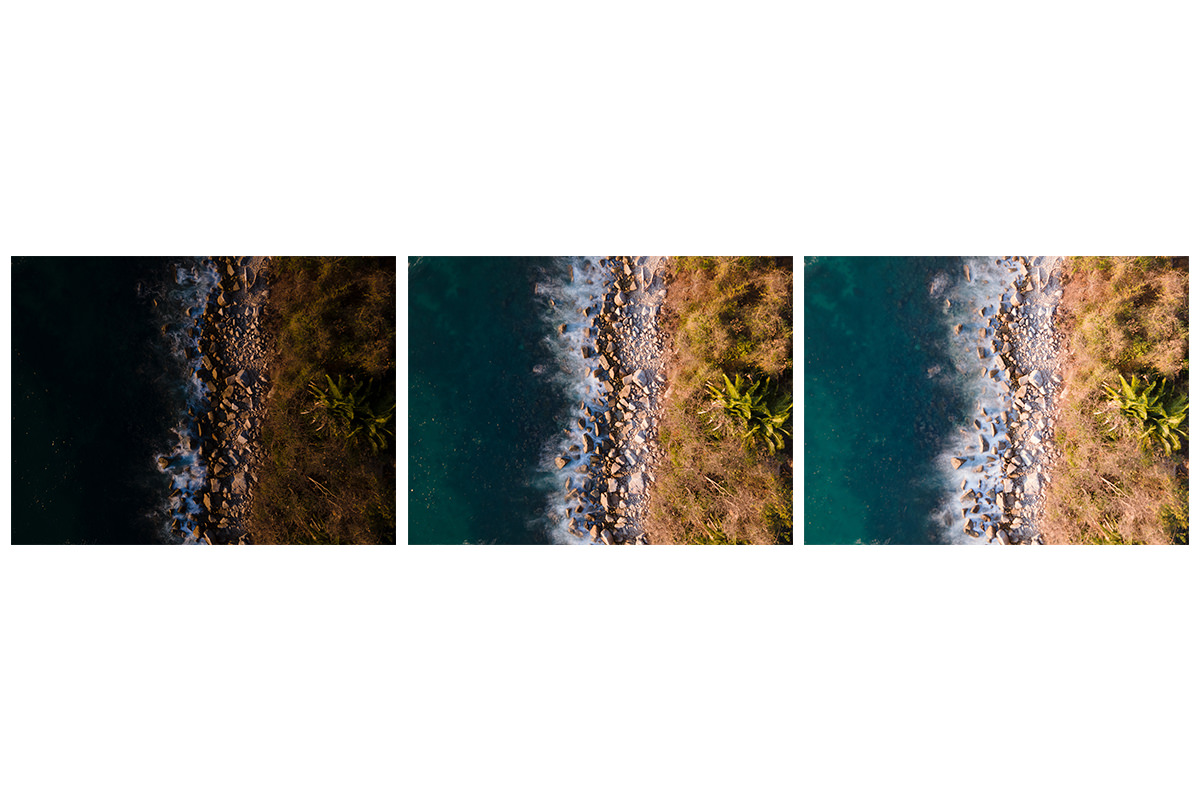
If your drone has a setting for exposure bracketing, it’s definitely worth using when you’re trying to capture static landscape images. When you take a picture with exposure bracketing, the drone will actually capture multiple images (typically, you can set the number of shots it will take).
Each image will be taken at a different exposure setting. You’ll end up with underexposed, overexposed, and ‘properly’ exposed images. This gives you a much wider range of detail to work with when you load these images into Lightroom or Photoshop.
You can use the highlight details from the underexposed images, the shadow details from the overexposed images, and use the more neutral exposures as a solid foundation for the others.
Neutral Density Filters
If you take traditional landscape photos with a DSLR, you’re very likely familiar with neutral density filters. ND filters cover the lens of a camera and reduce the amount of light that passes into the sensor.
By reducing the amount of light allowed into the camera, especially in very bright, outdoor settings, you’ll have more flexibility to make creative decisions with camera settings.
Creating an HDR in Lightroom Classic
Let’s say that you’ve got multiple exposures of a scene and you want to combine them in post-production. How should you do it? Well, there are a ton of options.
We cover some advanced, manual techniques like luminosity blending in our PRO courses. But, if you’re looking for something quick and effective, try the Photo Merge tools in Lightroom Classic!
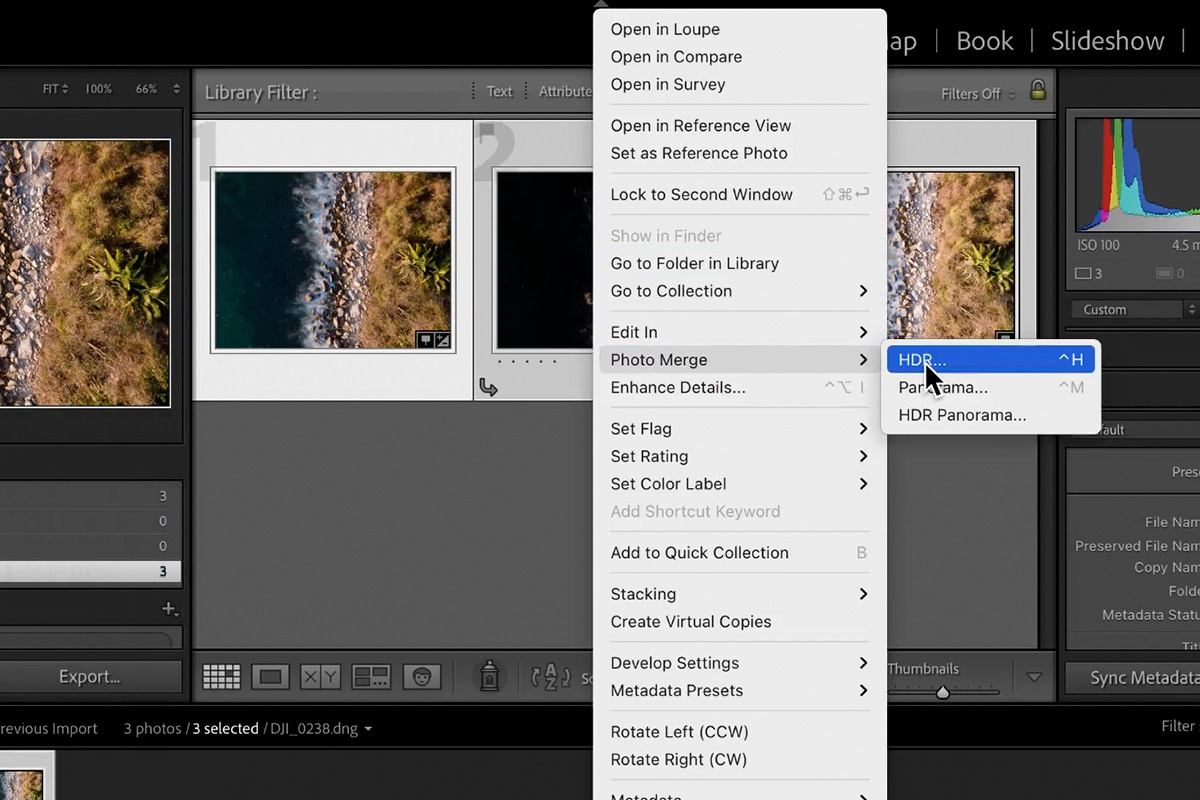
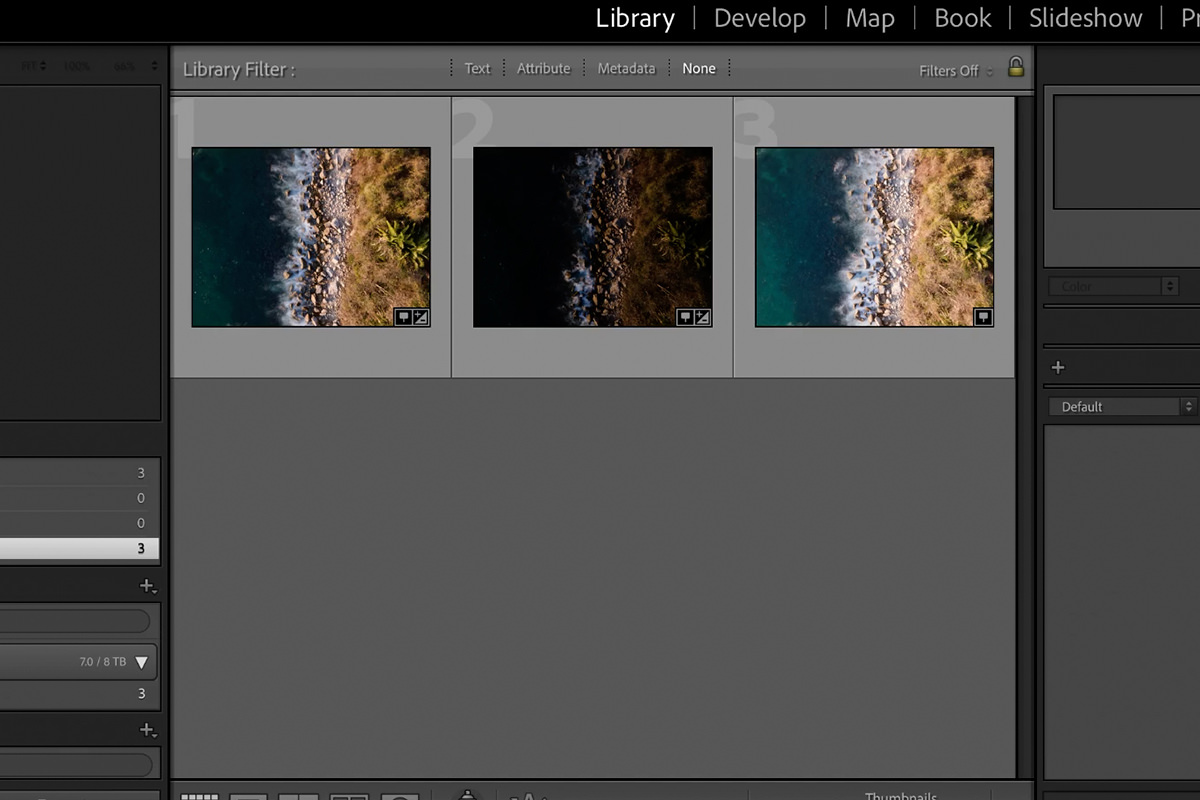
Import all of the exposures you want to use into Lightroom Classic, select all of them, and then right-click and select the Photo Merge, HDR option.
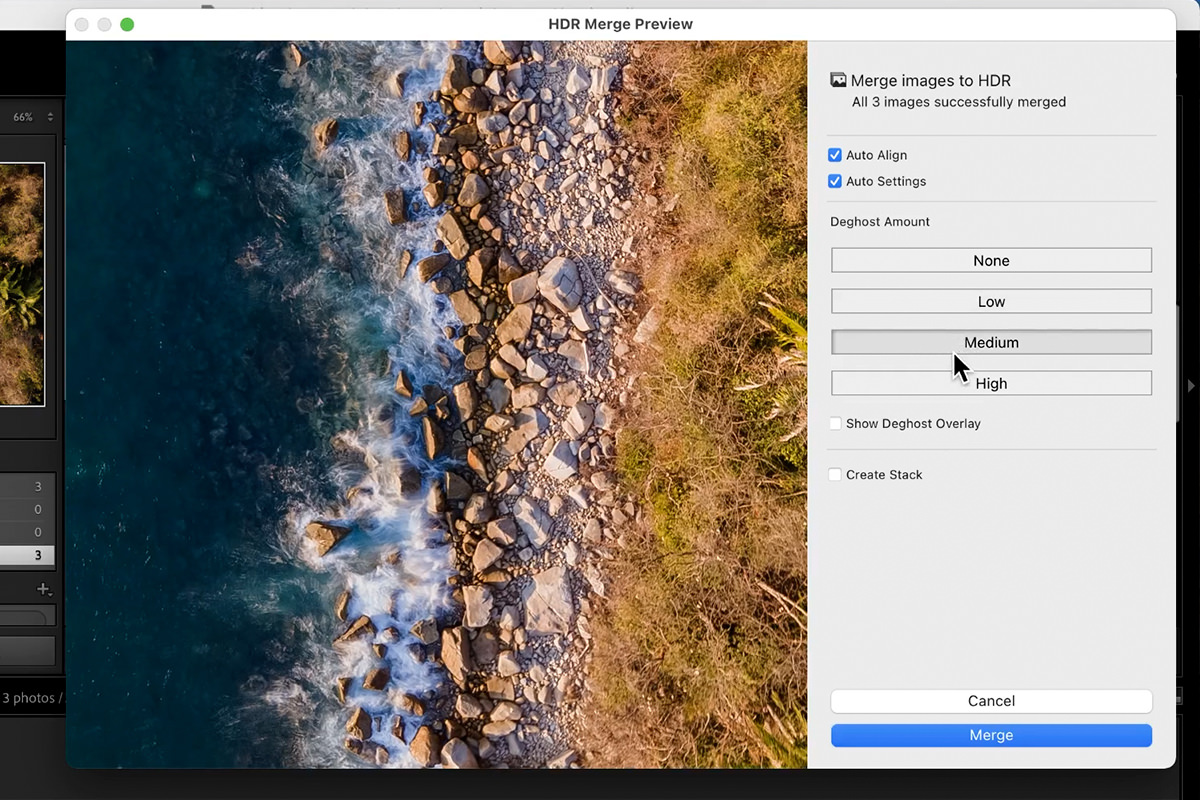
In many cases you can check the Auto Align and Auto Settings options. Below those you’ll see a number of options for Deghost Amount. Deghosting will try to eliminate the effects of anything that might have moved between exposures in a scene.
In our case, we have a drone that’s relatively still but usually will not be in the exact same position between shots. Additionally, the water in the scene is constantly moving as well.
Setting the Deghost Amount to Medium did a pretty good job of cleaning up some of the fuzziness caused by such movement. If you’re working with images with more significant motion, you may need to turn to a more manual method of HDR creation.
Additional Edits
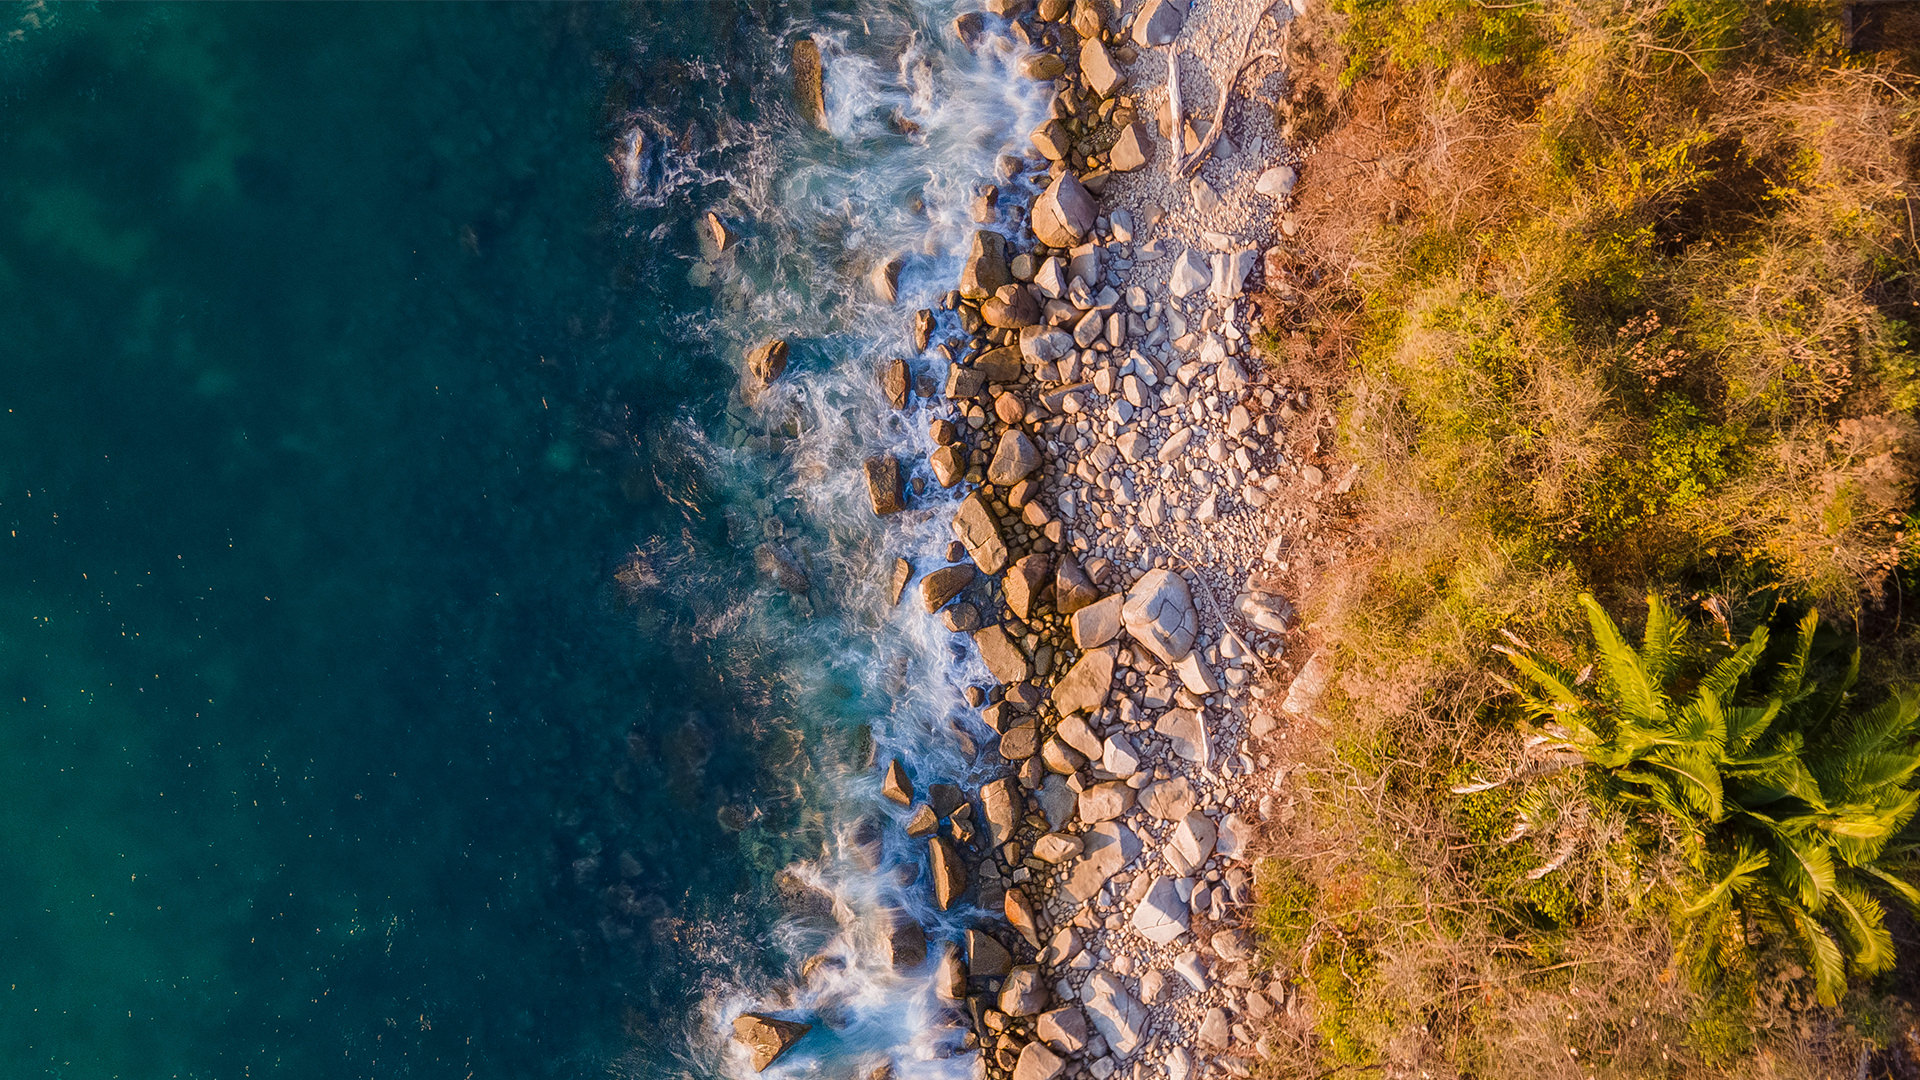
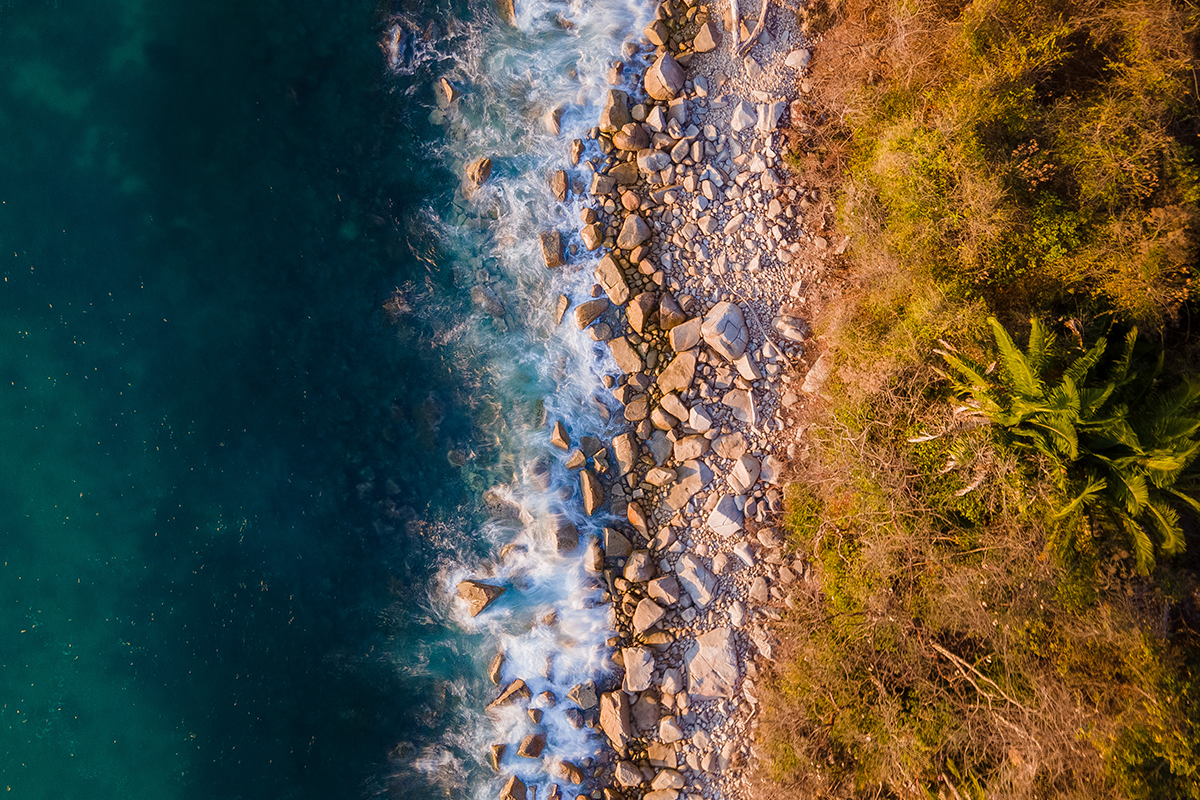
Let’s take a look at our newly merged image! Notice the detail now present in the highlights and shadows that wasn’t visible in the individual exposures.
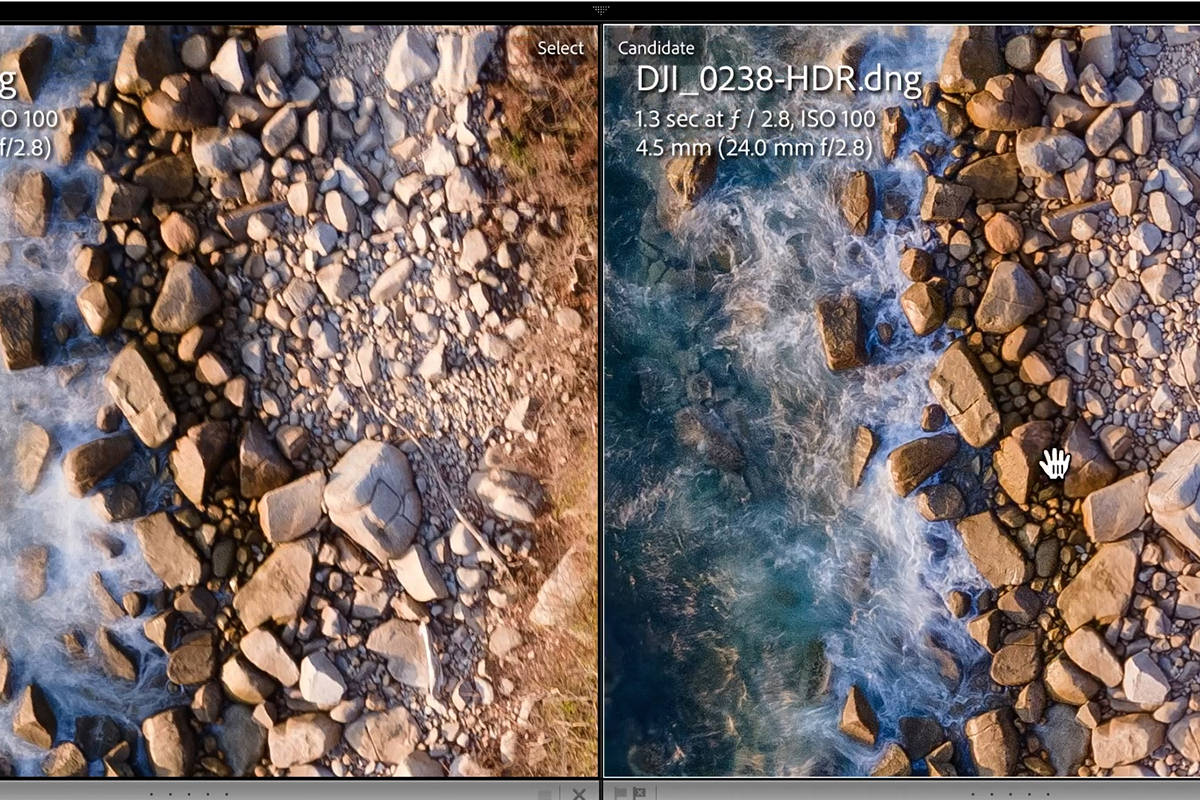
It looks great, but we don’t have to stop there! Lightroom Classic has a number of easy-to-use tools that can help us further enhance detail, add contrast, bring out colors, and guide the eyes of the viewer.
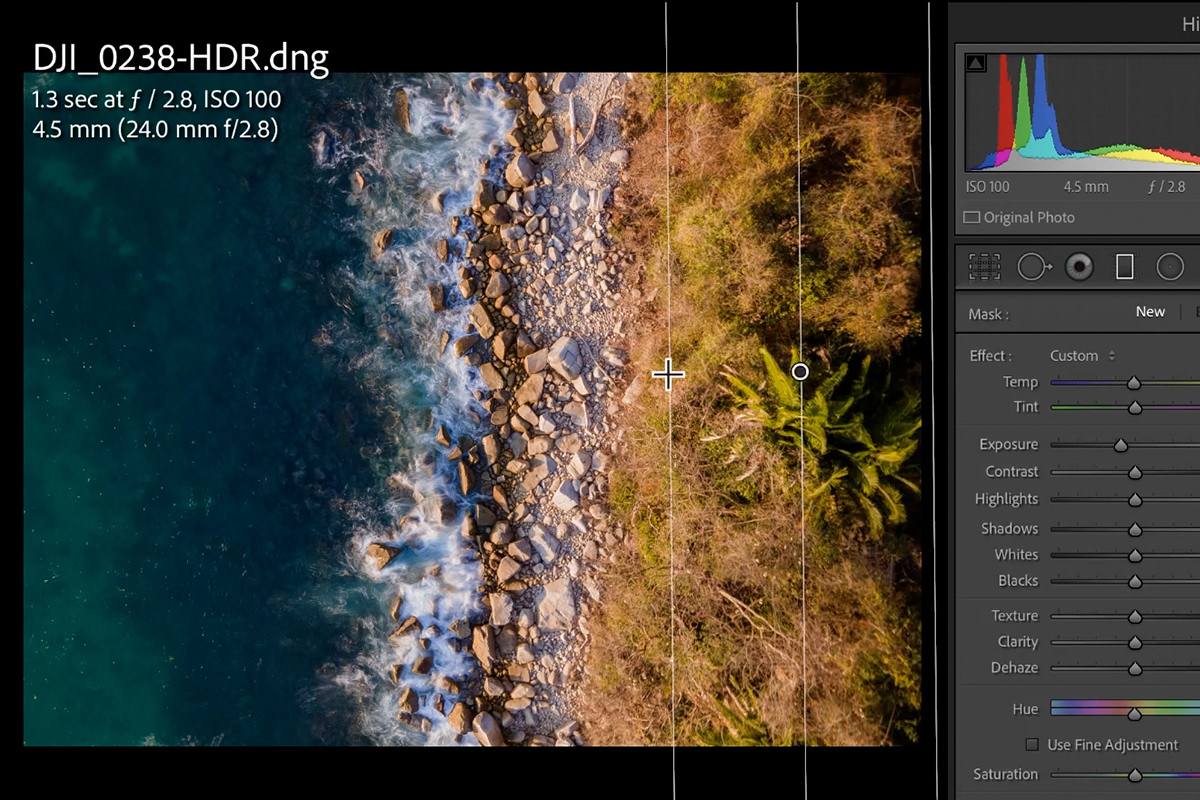
You can use Graduated Filters, Radial Filters, and the Adjustment Brush to selectively edit different areas of the photo.
We generally recommend trying to enhance the natural characteristics of an area. If one area is darker than another, use local adjustments to make that area a little bit darker.
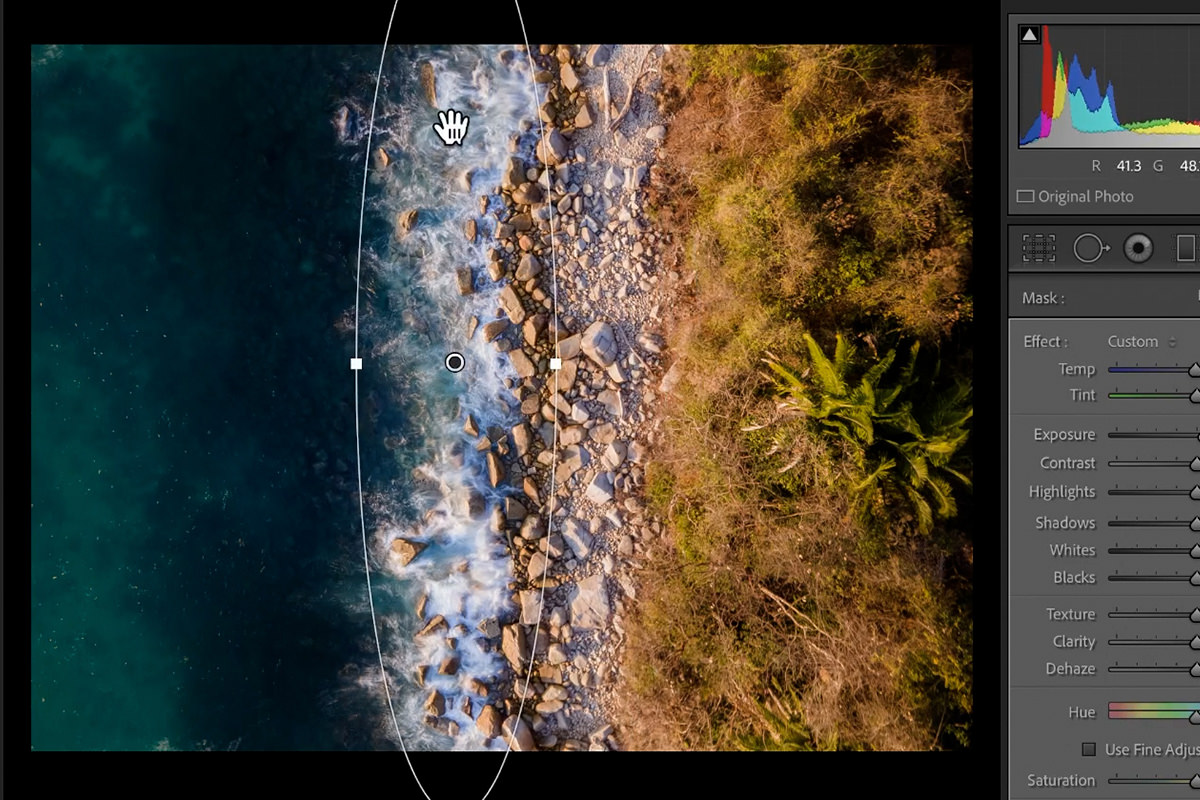
This helps to enhance the overall contrast, and can also help make sure that the highlight areas stand out.
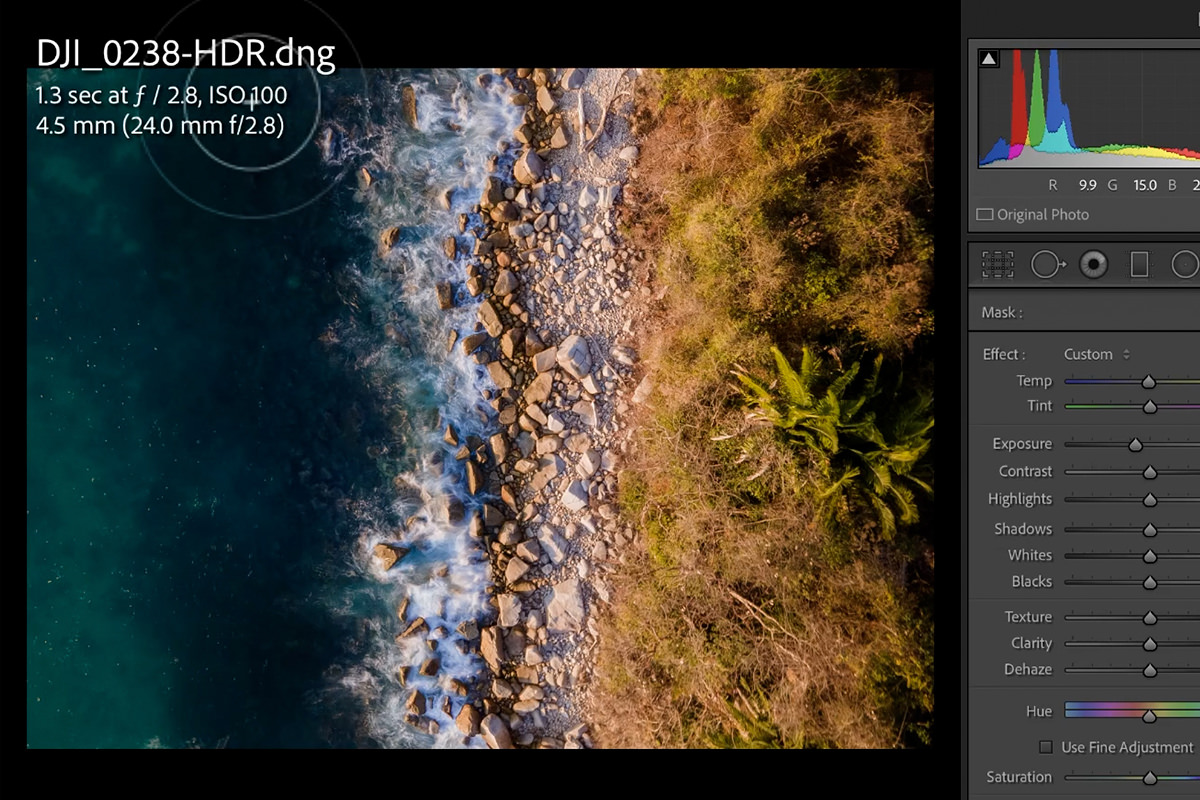
You can also enhance the highlight areas of the image. In our photo, the waves have a lot of the beautiful details that we want to feature. By making them a little bit brighter and sharper, we can make sure that the viewer’s eyes find them easier.
By using RAW files, exposure bracketing, neutral density filters, and some Lightroom HDR magic, you can quickly take your drone photography skills to the next leve.