Download the PSD
Download the PSD (135 MB).
Download Sample Images
description
Follow along and learn how to create a cool neon graphic effect in Photoshop! Perfect for creating stylized portraits or profile photos for your website or social media accounts.
Share
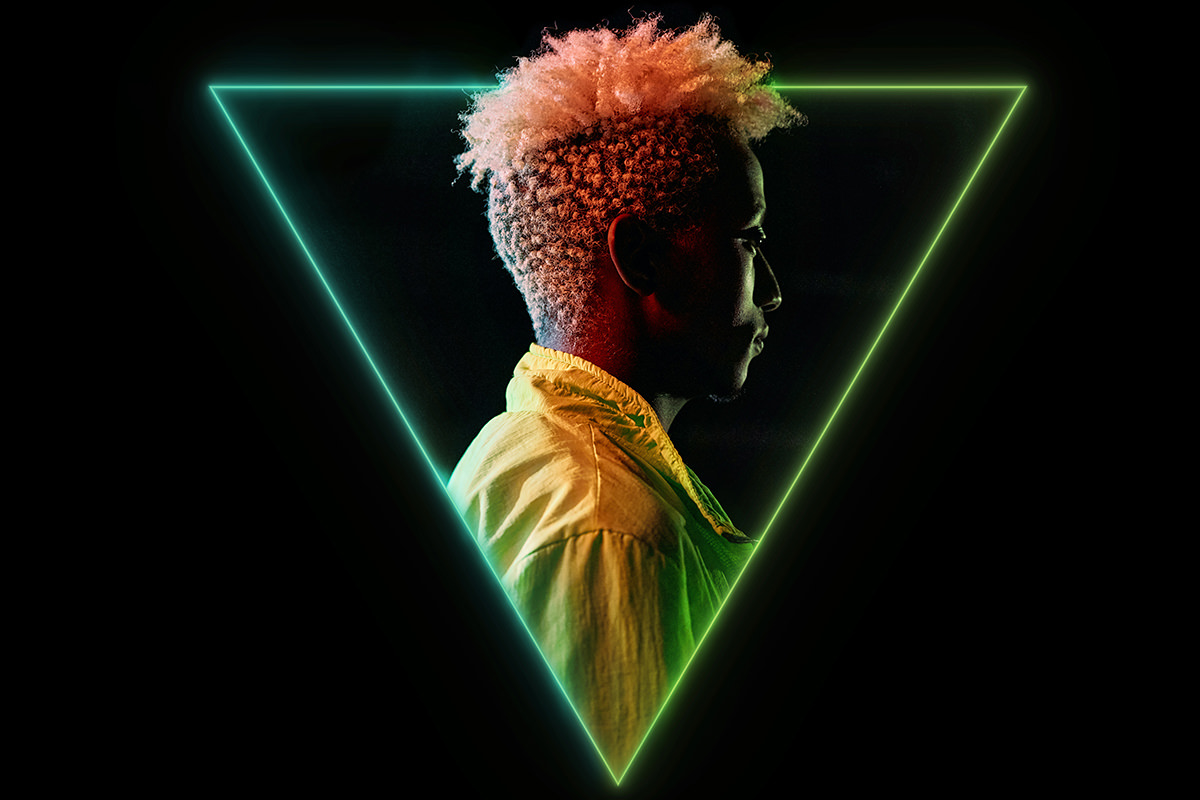
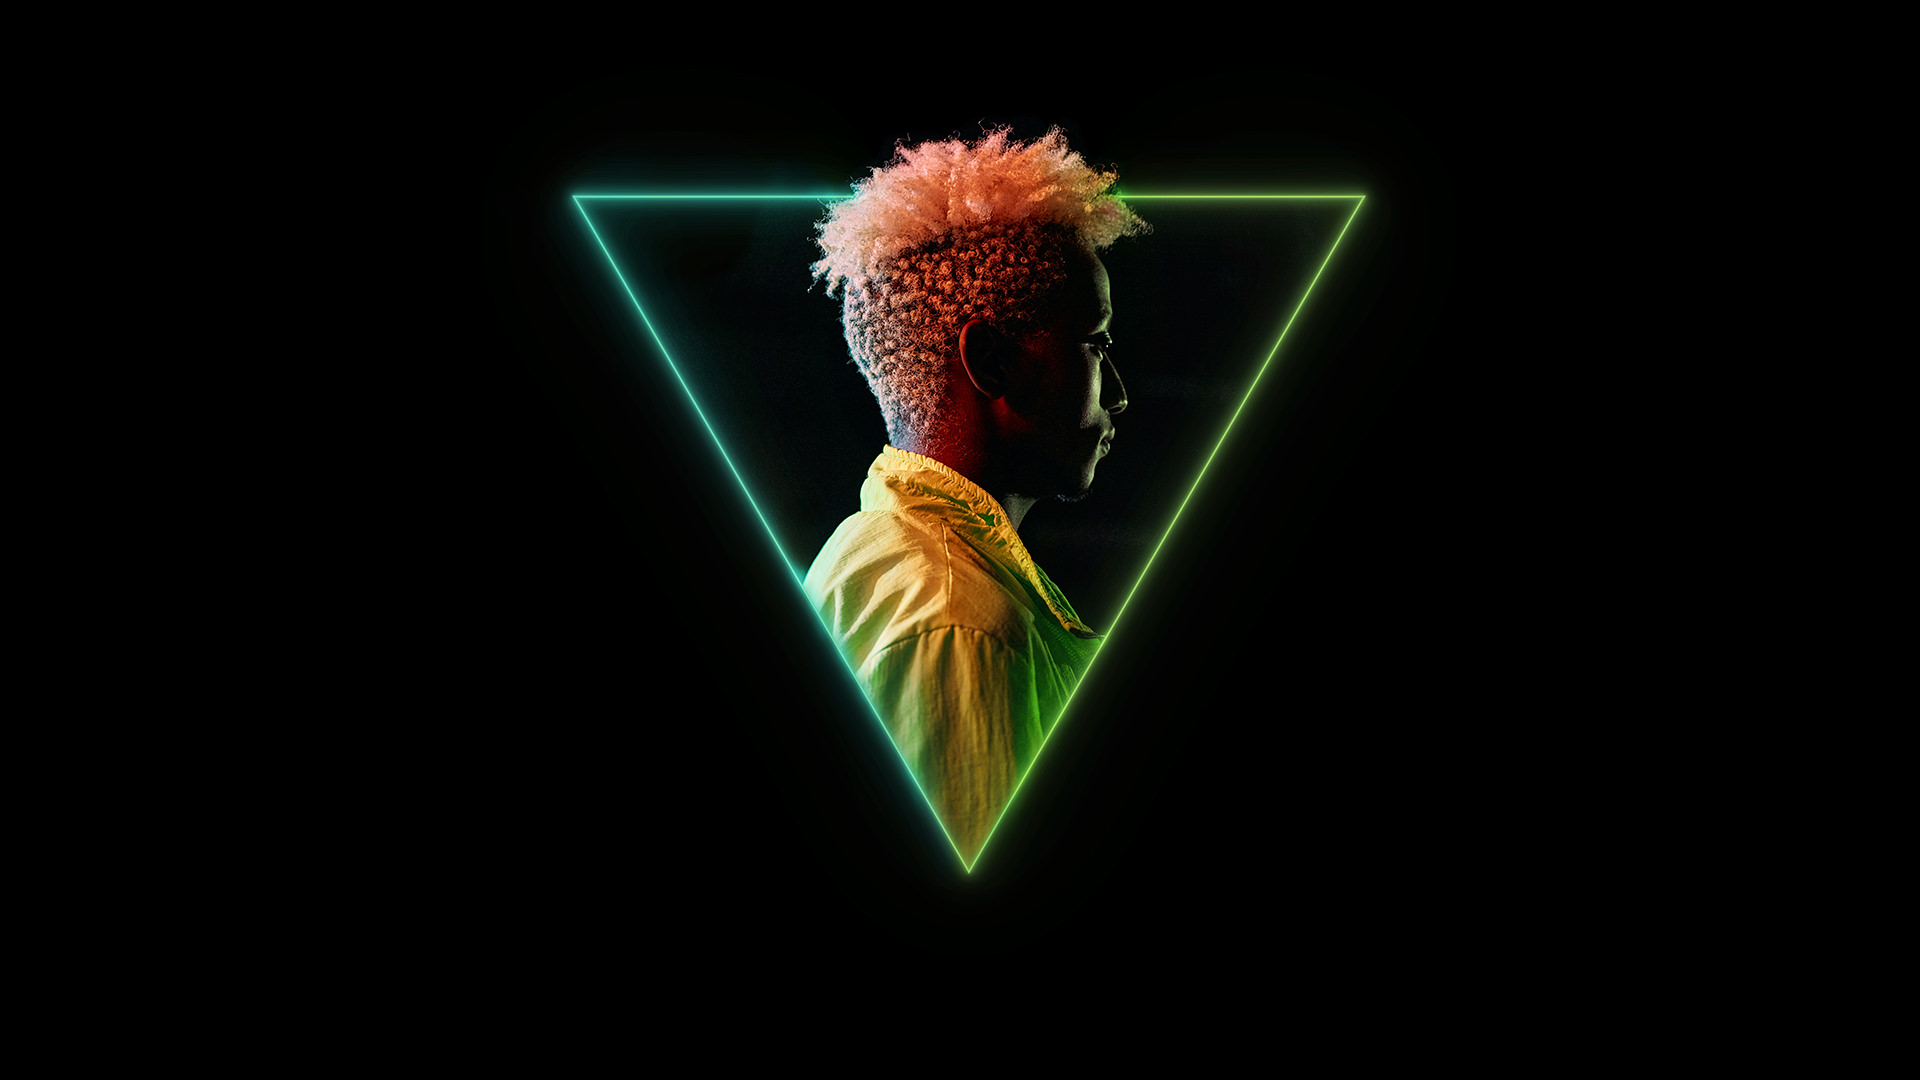
EYE-CATCHING NEON GLOW
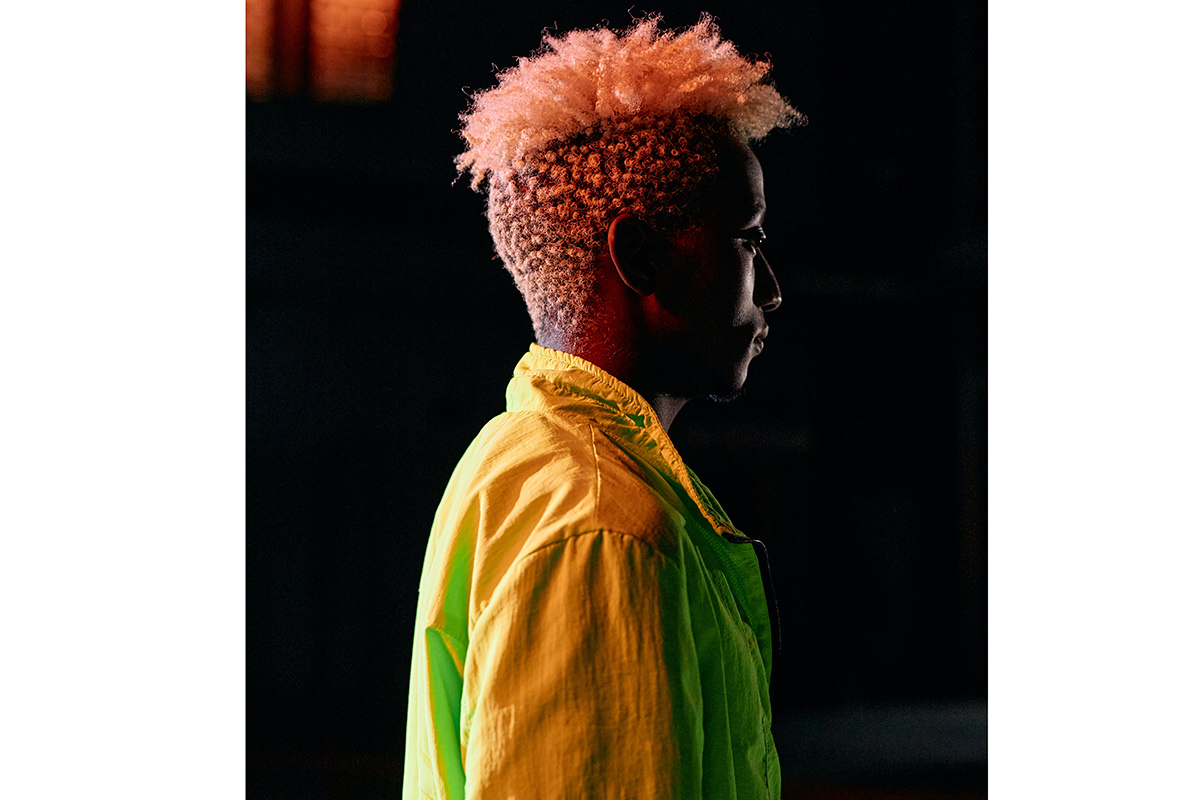
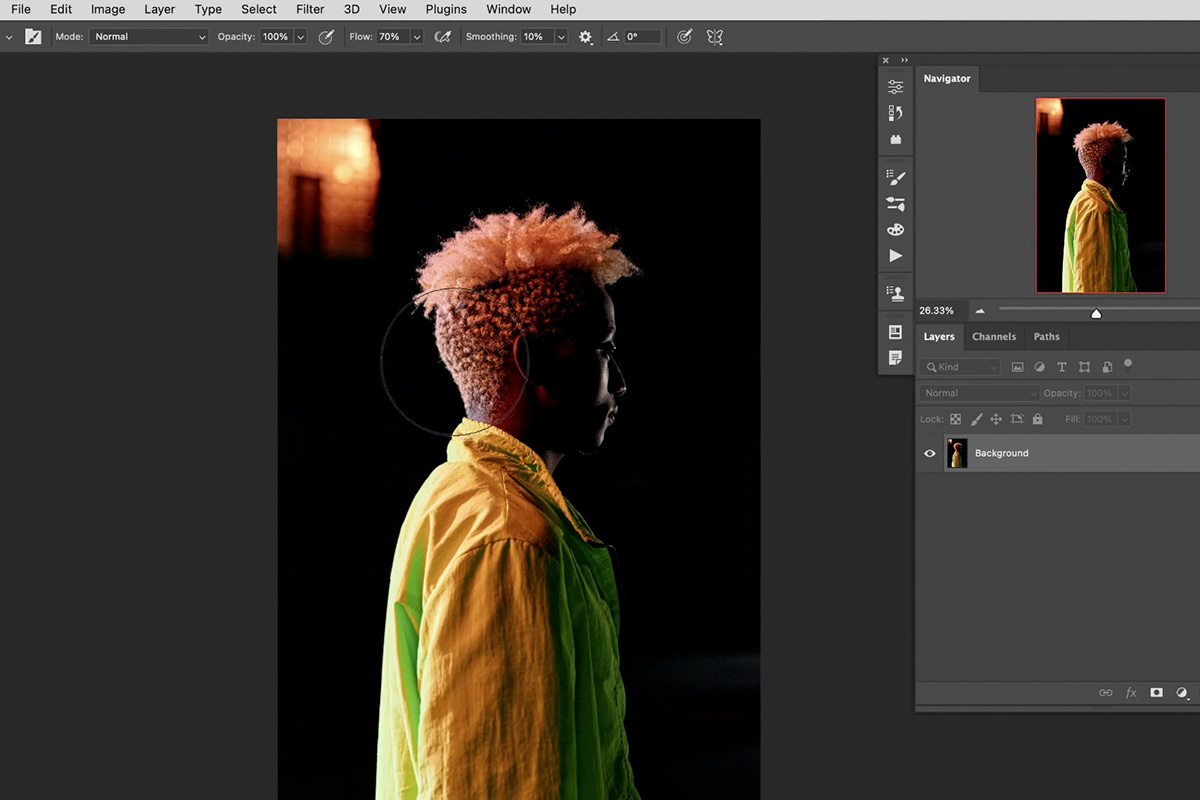
BEFORE
Create Stylized Portraits
Neon Portrait Effects in Photoshop
Whether you want a fun creative project, or you’re looking for new ways to display portraits on your website and social media accounts, there are plenty of reasons to try adding graphic, glowing effects to your work.
We’re going to take this already dramatic portrait and give it even more style. First, we’re going to create a frame around the portrait using simple Shape Tools. Then, we’ll take that frame and make it glow with bright, neon colors. And lastly, we’ll utilize the original lighting in the photo to integrate the colors from the new glowing elements.
Ready? Let’s get into it!
Create a Frame
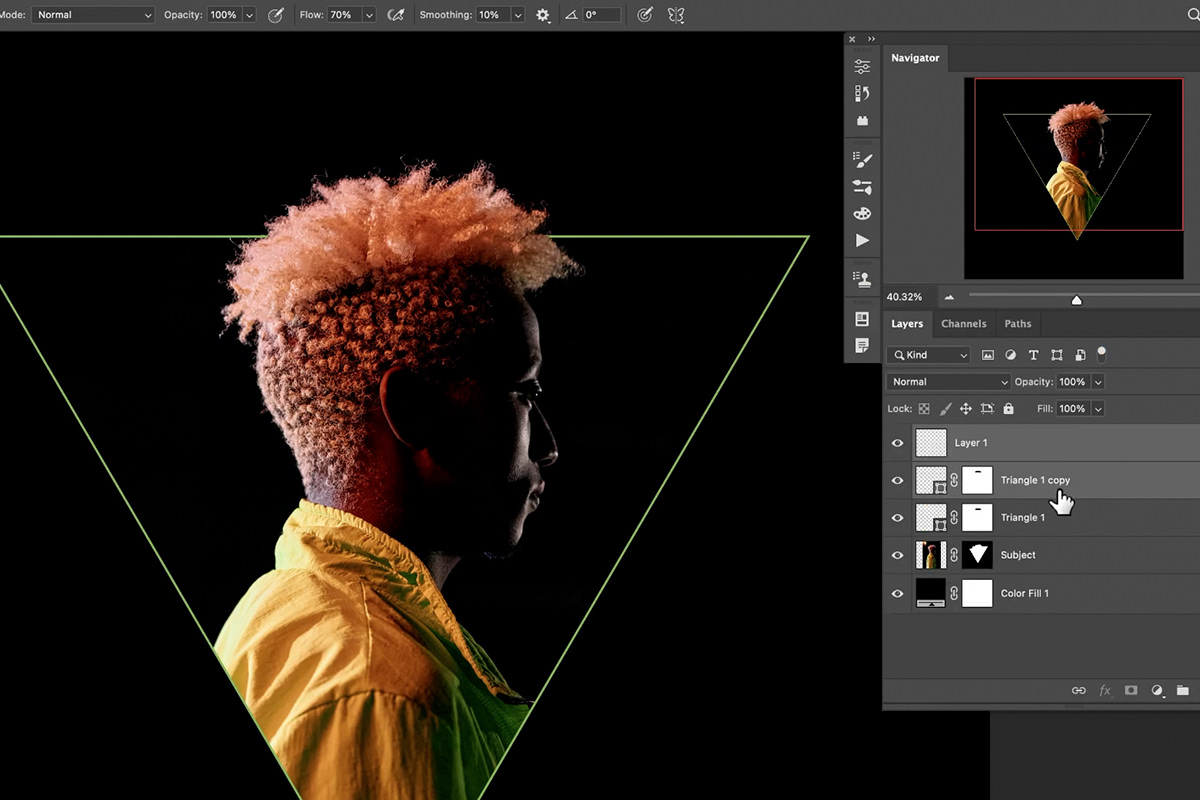
To start off, we’re going to create a shape around our subject that will act as a frame.
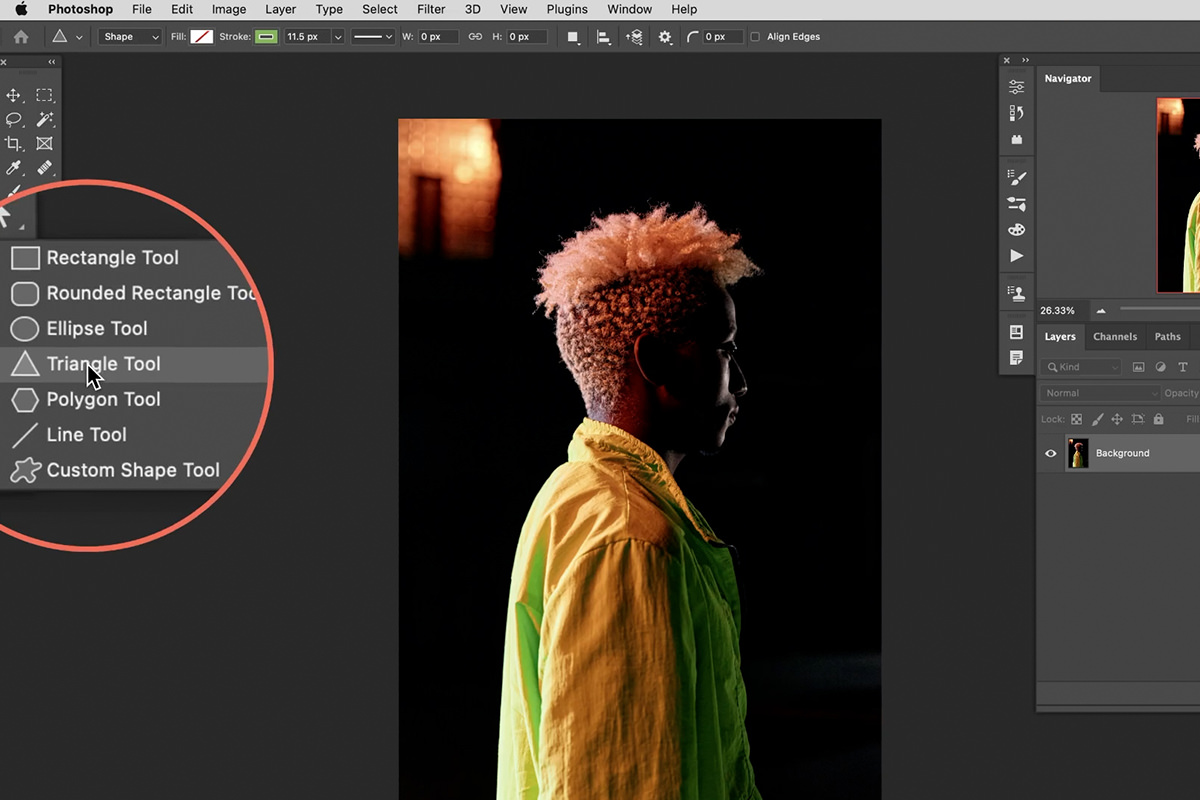
You can choose any shape you want. In our case, we decided to create a triangle.
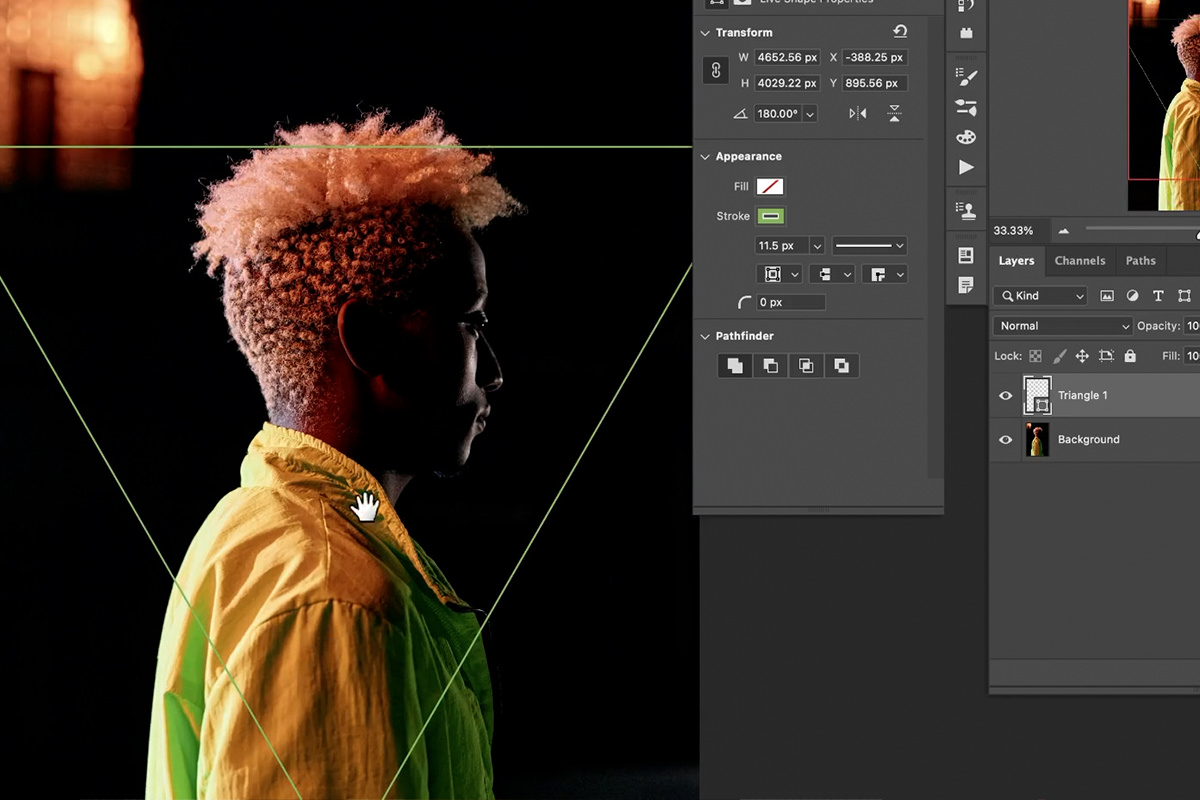
Set the Fill to none and set the Stroke to any color you want. You can change the Stroke color at any time, and we’ll be making further color adjustments later on, so don’t worry too much about getting the color exactly right at this point.
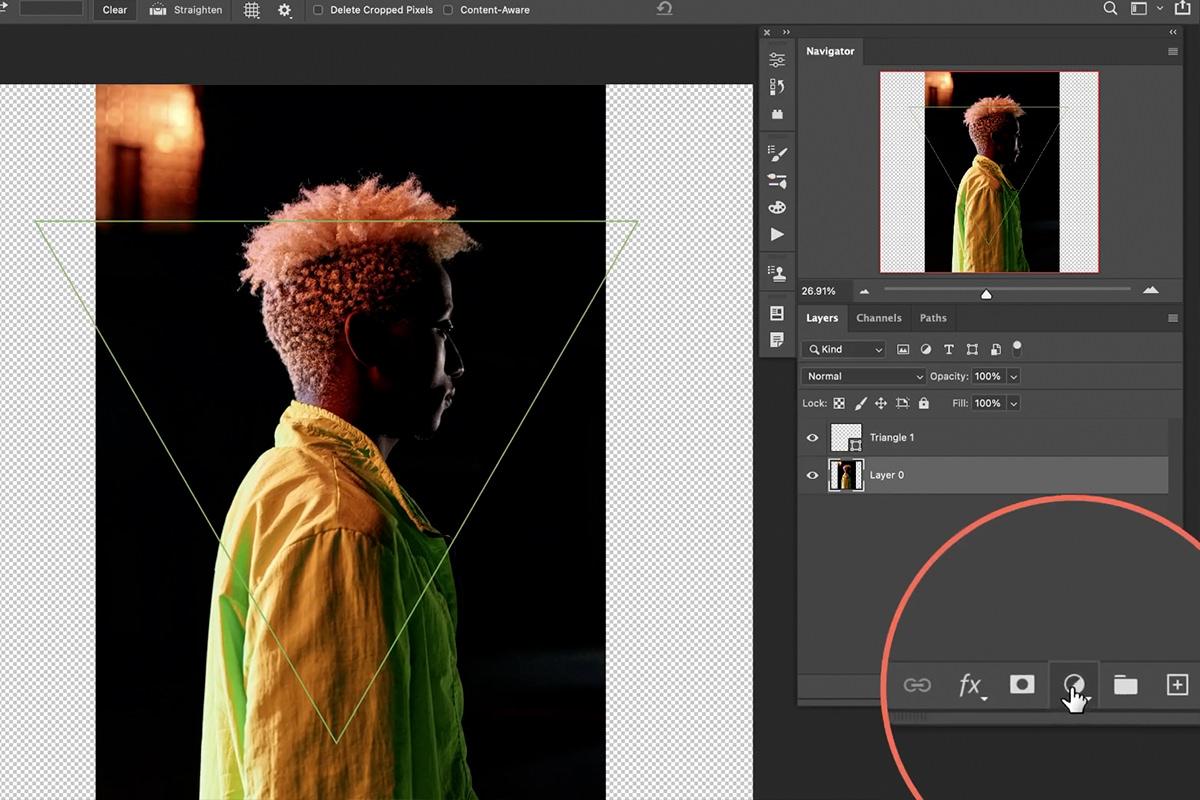
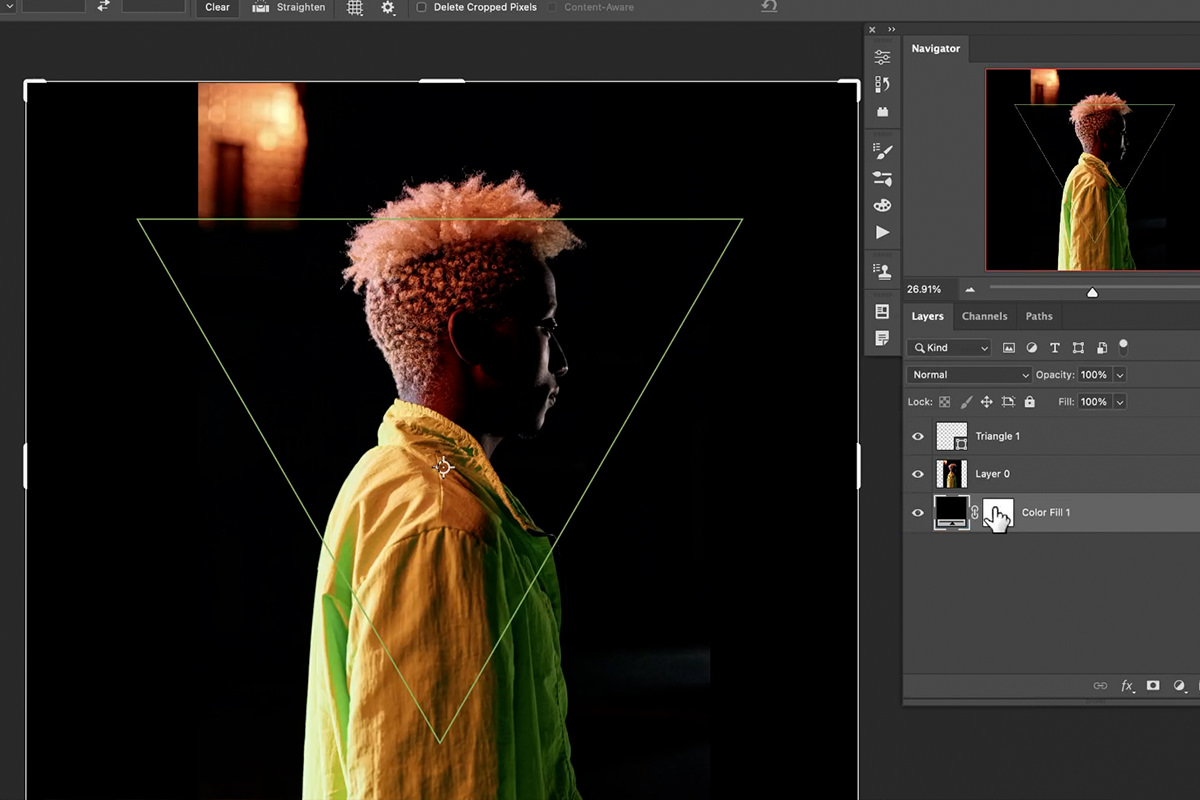
Since our shape is spilling over the edges of the original photo, let’s use the Crop Tool to extend the boundaries of the canvas. Then, to fill the new, empty space, add a black Solid Color Fill Layer at the bottom of the Layer Stack.
Now let’s hide everything in the original photograph that doesn’t appear within the shape we created.
To do this, hold CTRL or CMD and click on the Shape Layer. This will create a selection of the shape.
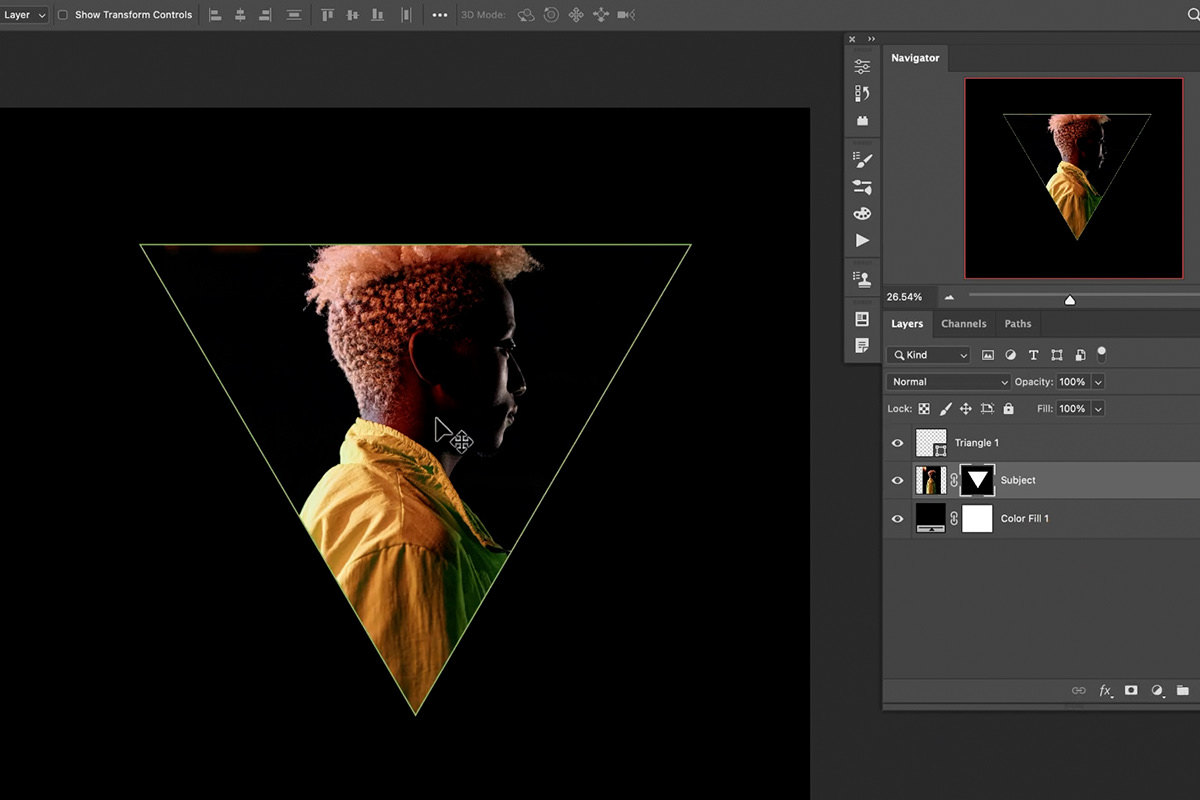
Then, with that selection still active, add a Layer Mask to the background photograph.
Extend the Subject Outside the Frame
Even though we’re creating a frame, we decided to have the subject’s hair extend beyond the edges of the frame. This will add a little bit more interest and dimension to the effect.
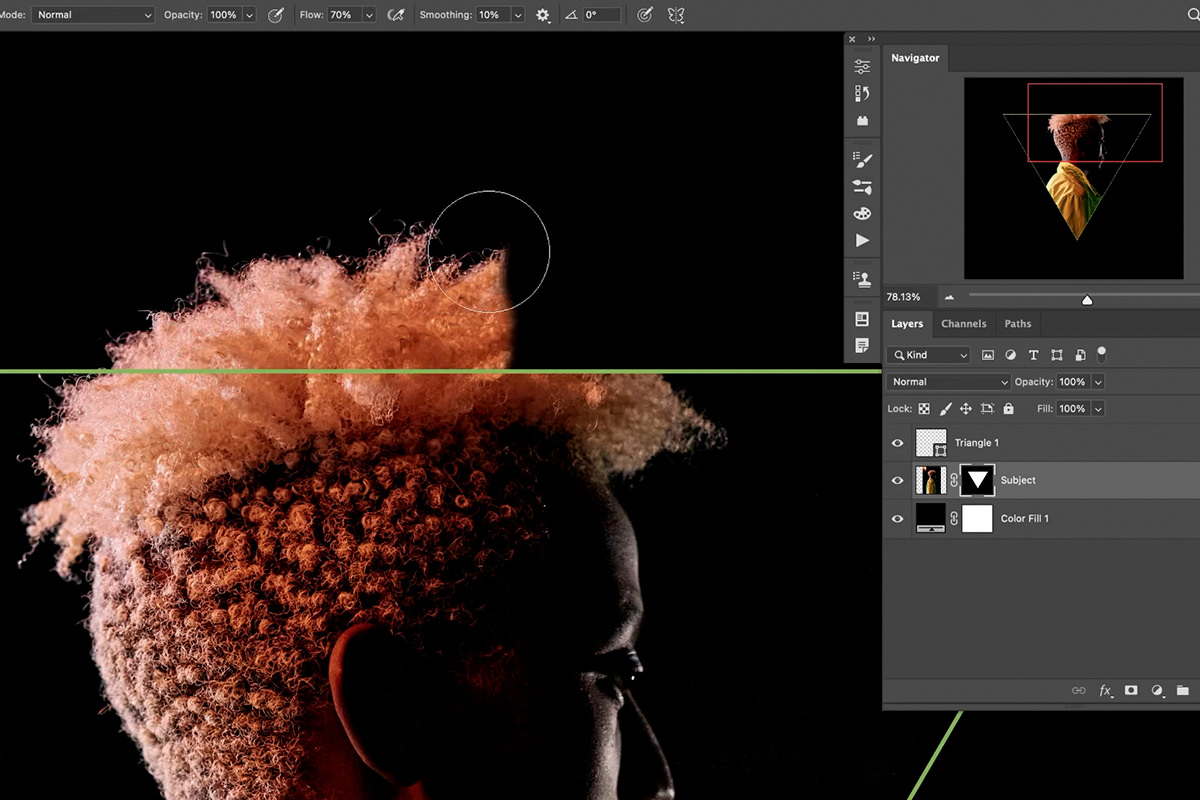
Use the Brush Tool to paint white on the Layer Mask of the background image over any areas you want to extend outside of the frame. The subject’s hair works perfectly for this particular example.
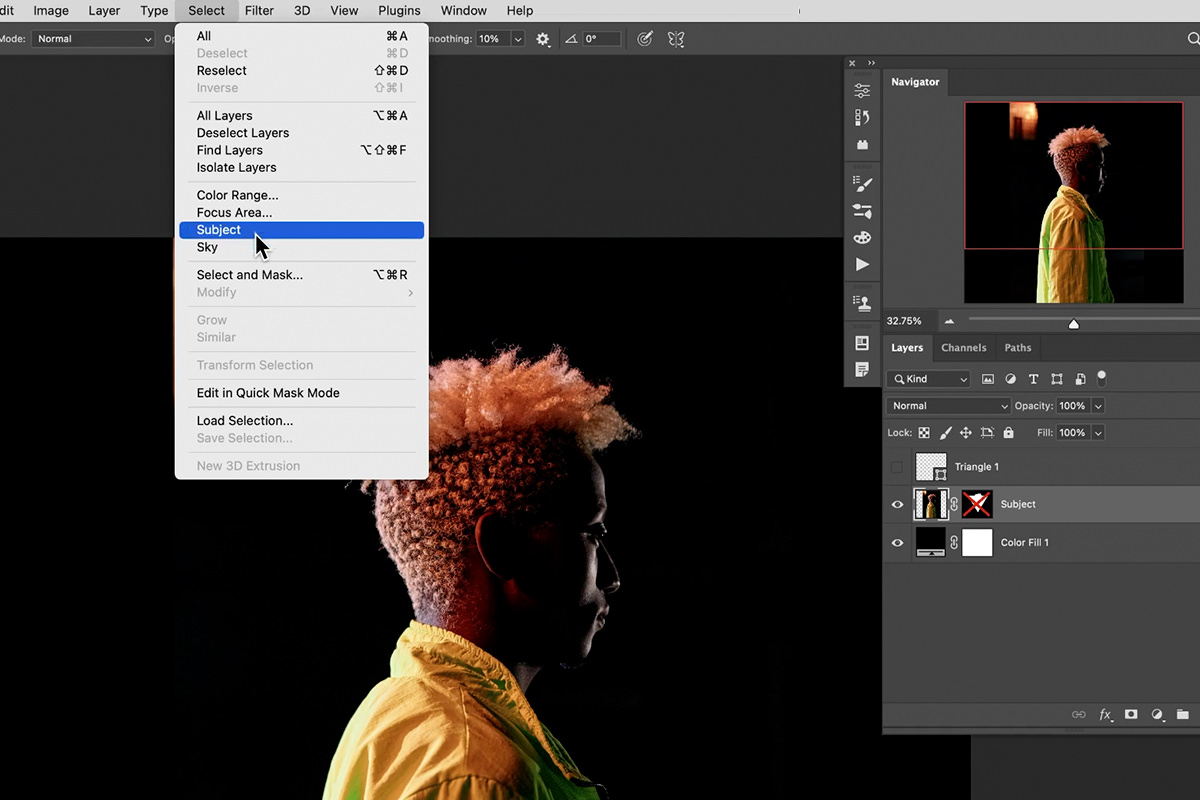
If you want to make sure you capture as much detail as possible, you can use a selection tool to try and capture the detail in the subject’s hair.
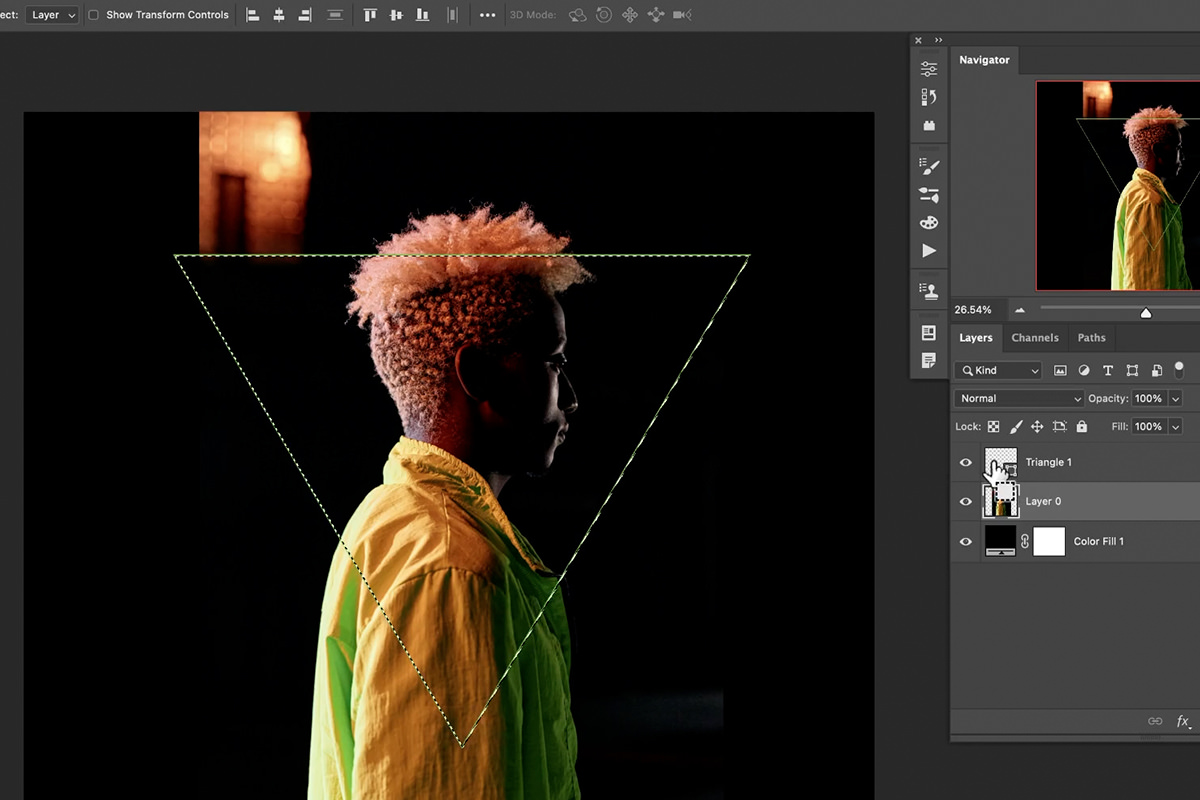
Disable the Layer Mask on the background image, then open the Select Menu, and choose the Subject option.
Then, with that new Selection active, enable the Layer Mask we already created and then paint with white along the subject’s hair. The new selection will help to bring back the details we want.
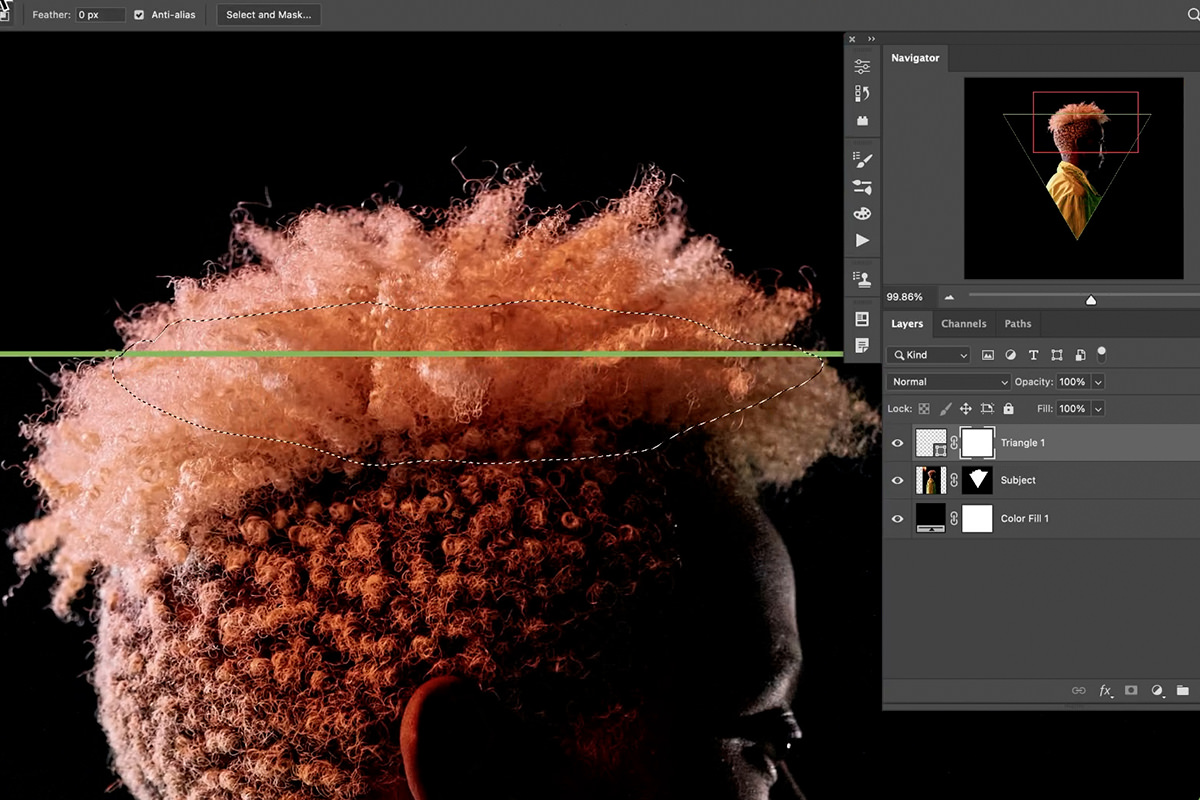
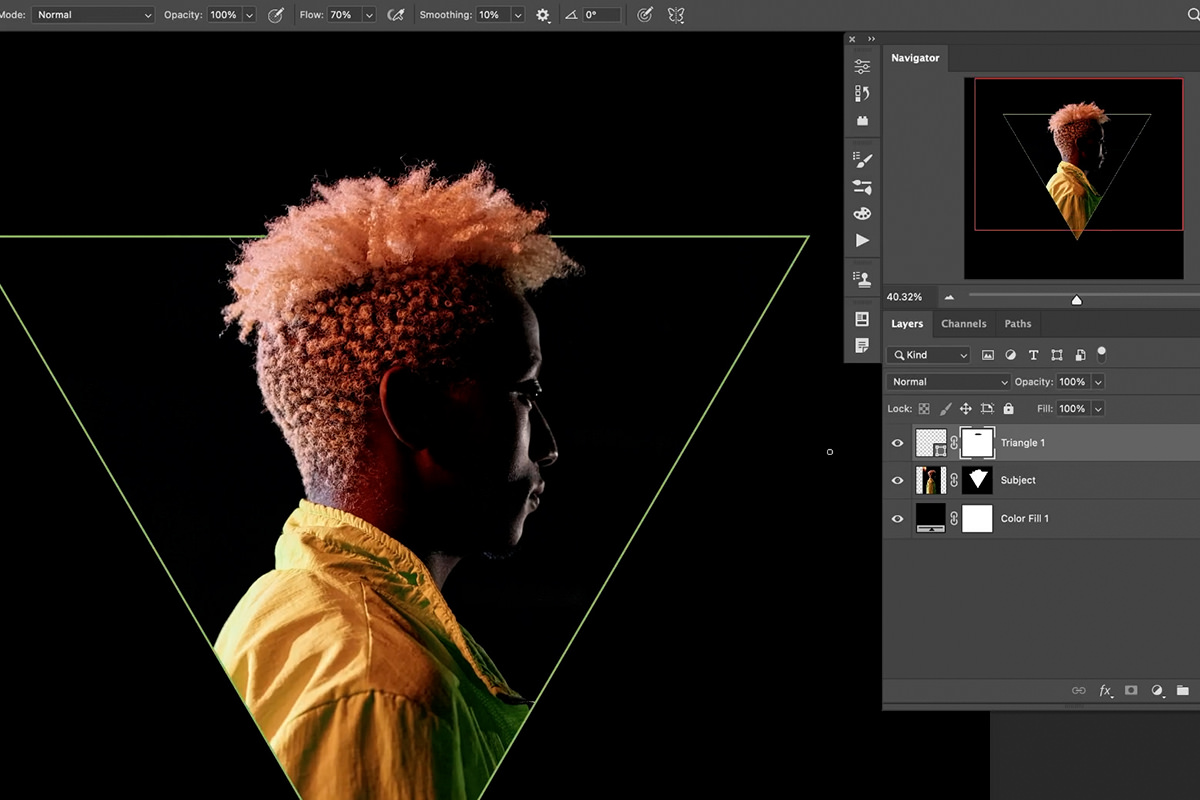
Lastly, we just need to remove the parts of the shape that are appearing over top of the subject.
Use the Lasso Tool to make a rough selection around the edge of the shape you want to remove, select the Layer Mask of the shape, and then fill it with black.

This will hide the edge of the shape where it would normally appear on top of the subject.
You can always use the Brush Tool to go back in and refine the edges where we want it to look the the shape is disappearing behind the subject.
Create a Glow Effect
Now that our frame is ready, let’s light it up! There are a number of ways you can create glow effects in Photoshop, and we cover a lot of them. One of the most common is to stack several Layer Effects. While that can still produce a stunning result, we generally prefer a slightly more manual process.
First, duplicate the shape layer.
Then, create a new, blank layer above the duplicate. Select both, and hit CTRL or CMD + E to merge them together. This will turn the frame from a shape layer into a normal layer.
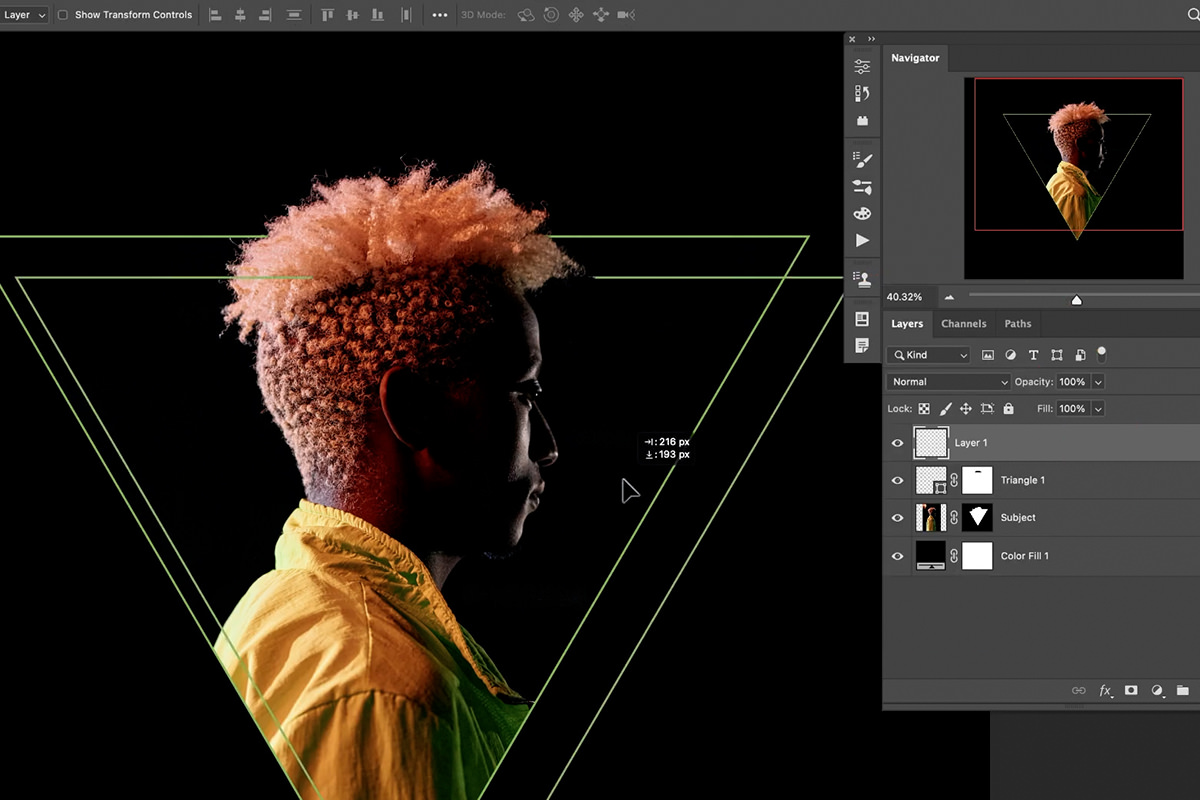
If you move the new layer around, notice that it still looks exactly like the original shape layer underneath. Return it to its original position.
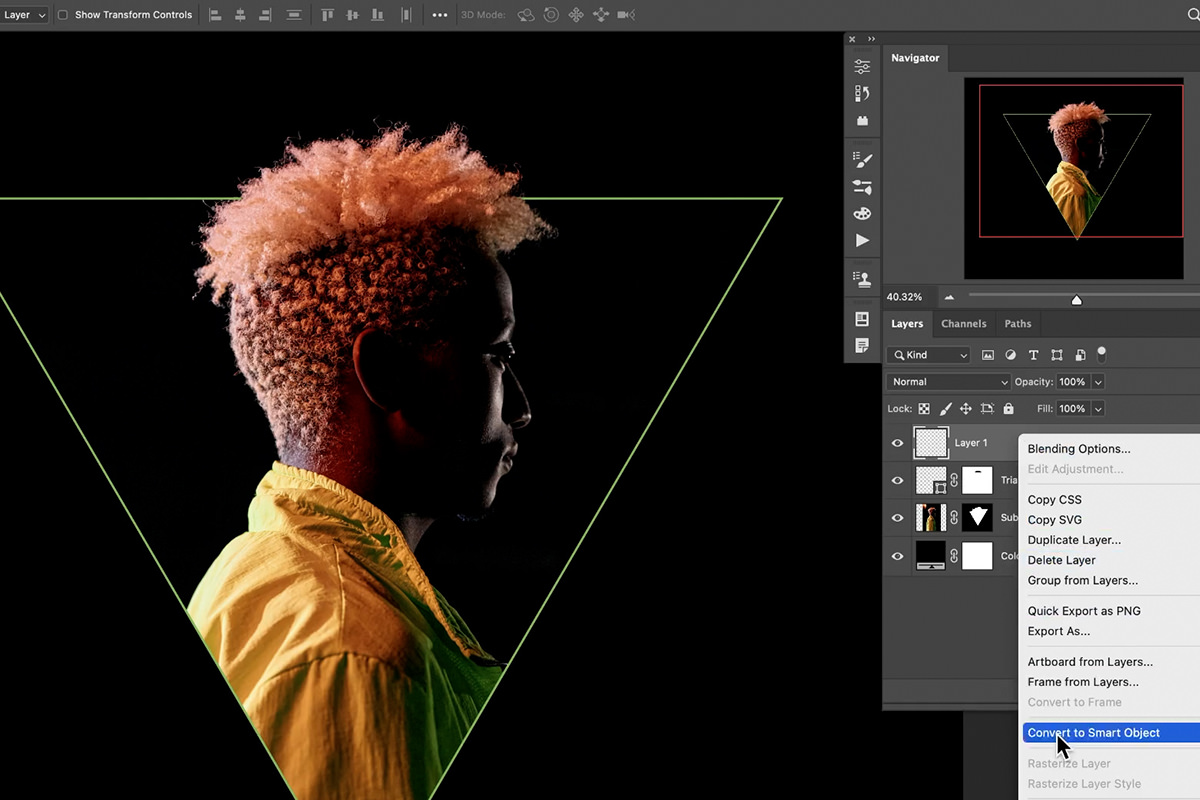
We’re going to be adding a Gaussian Blur to a bunch of these new layers. In order to work in a way where we can go back and adjust the levels of each Gaussian Blur, let’s convert the regular layer into a Smart Object.
Now any Filters applied will automatically be created as Smart Filters. Smart Filters can be adjusted, hidden, or removed without damaging the original Smart Object.
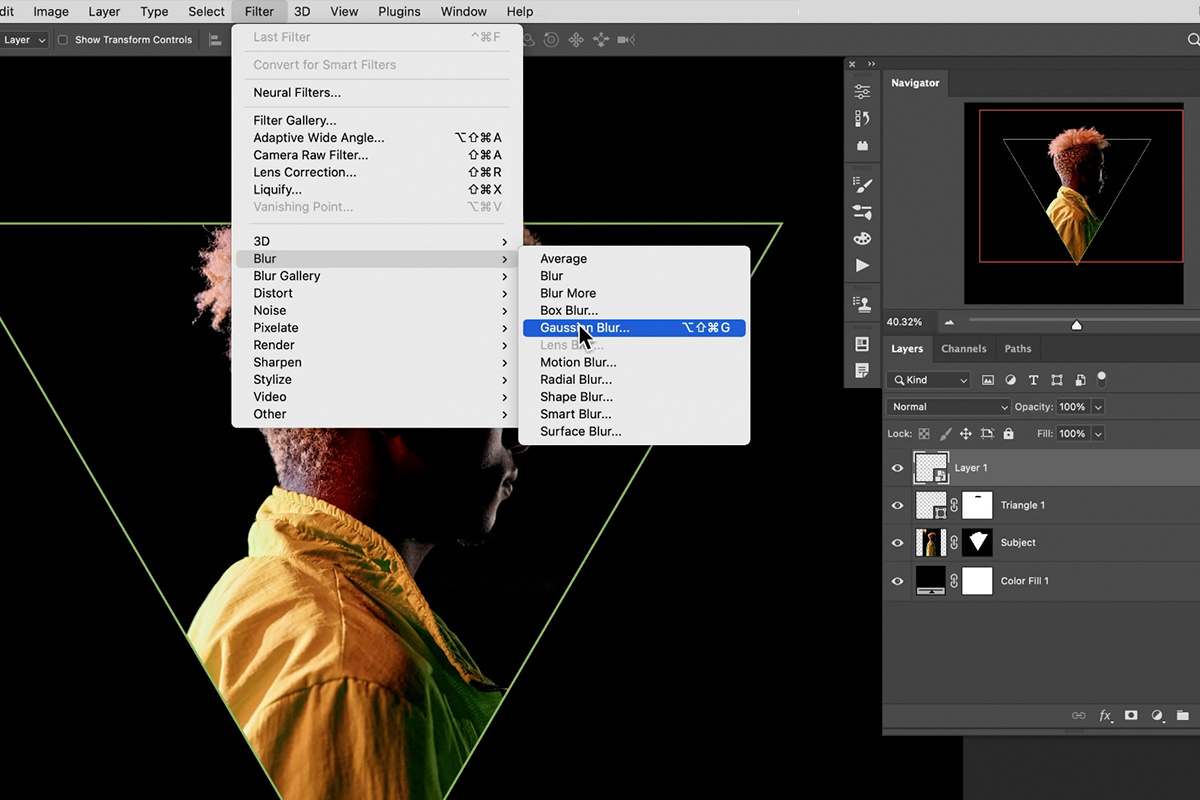
Open the Filter Menu, hover over the Blur option, and select Gaussian Blur.

Set the Gaussian Blur to a relatively high setting. We’ll be be creating several versions of this effect at varying levels.

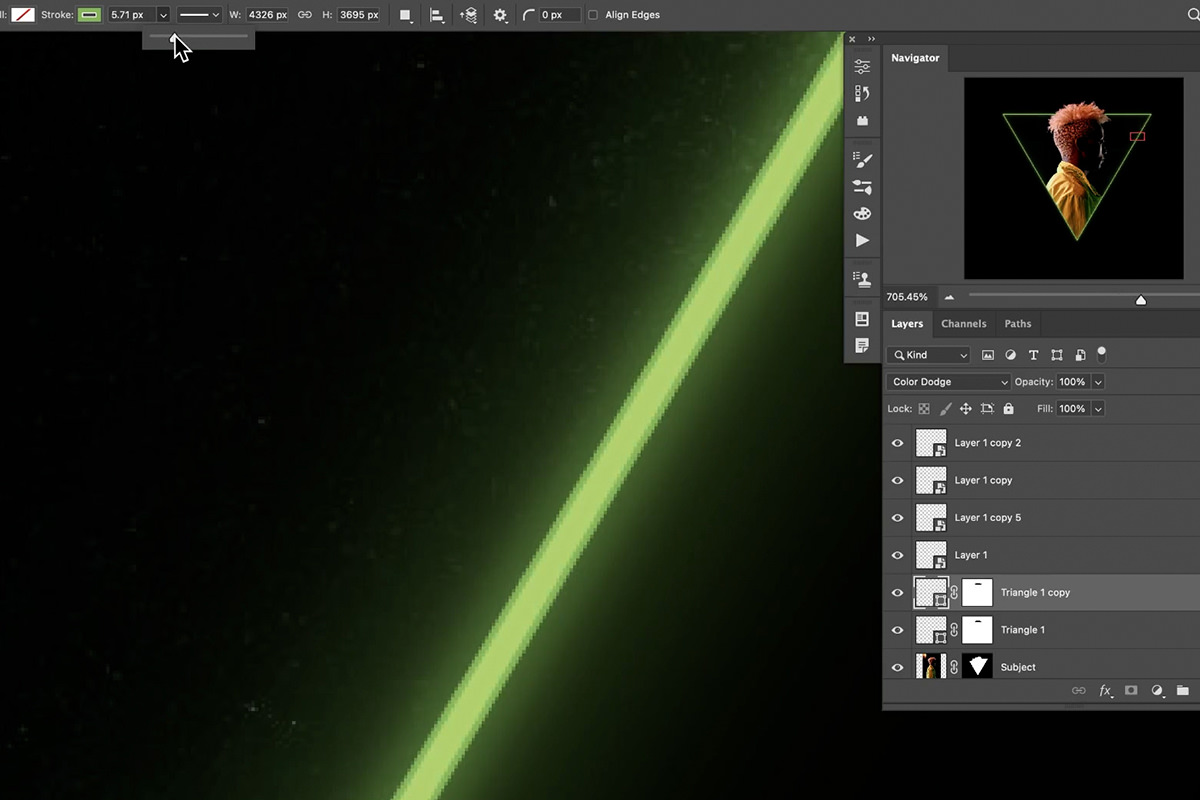
Duplicate that Smart Object several times. Add a Gaussian Blur to each new Smart Object, reducing the effect as you make your way up the Layer Stack.
You should end up with a convincing glow effect that creates a even gradient that reduces in intensity the further out from the shape it goes.
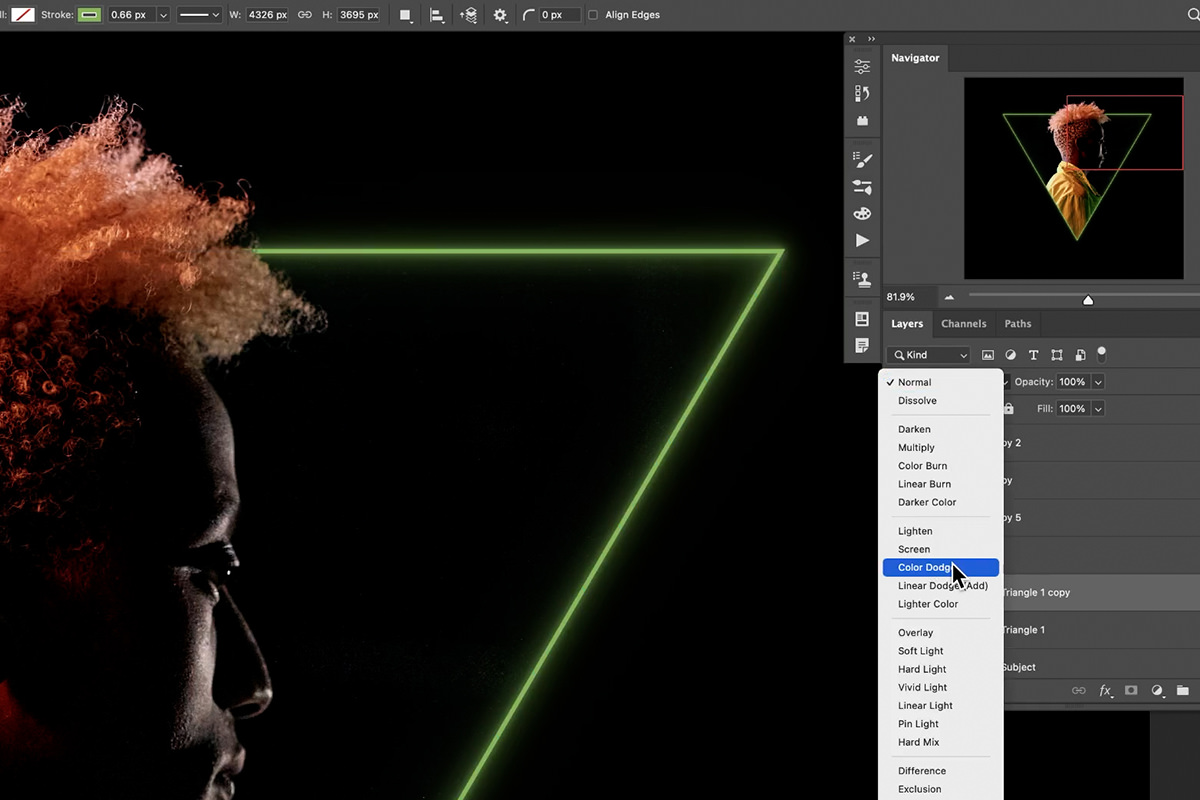
We can also give our frame a glowing inner core. Duplicate the original shape layer again and set the Blending Mode of the duplicate to Color Dodge.
Then, set the stroke of that shape layer to be slightly thinner than the original behind it.
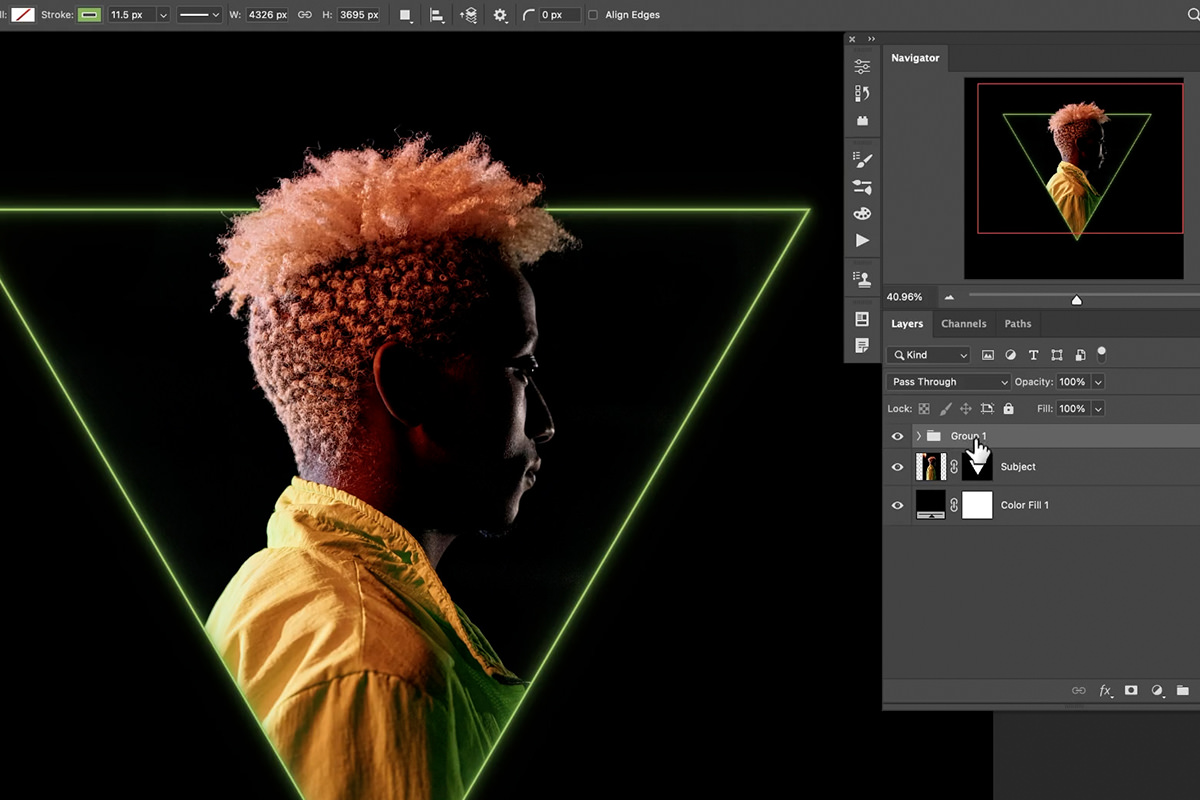
The glow effect is nearly complete! Our frame looks great. Now it’s time to dial in the colors we want, and integrate the lighting from the glow into the lighting around the subject.
Integrate Glow into the Scene
We chose an image that already had backlighting that framed the subject. We can take those existing highlights and use a variety of tools to push the colors to more closely match the colors in our glowing frame.
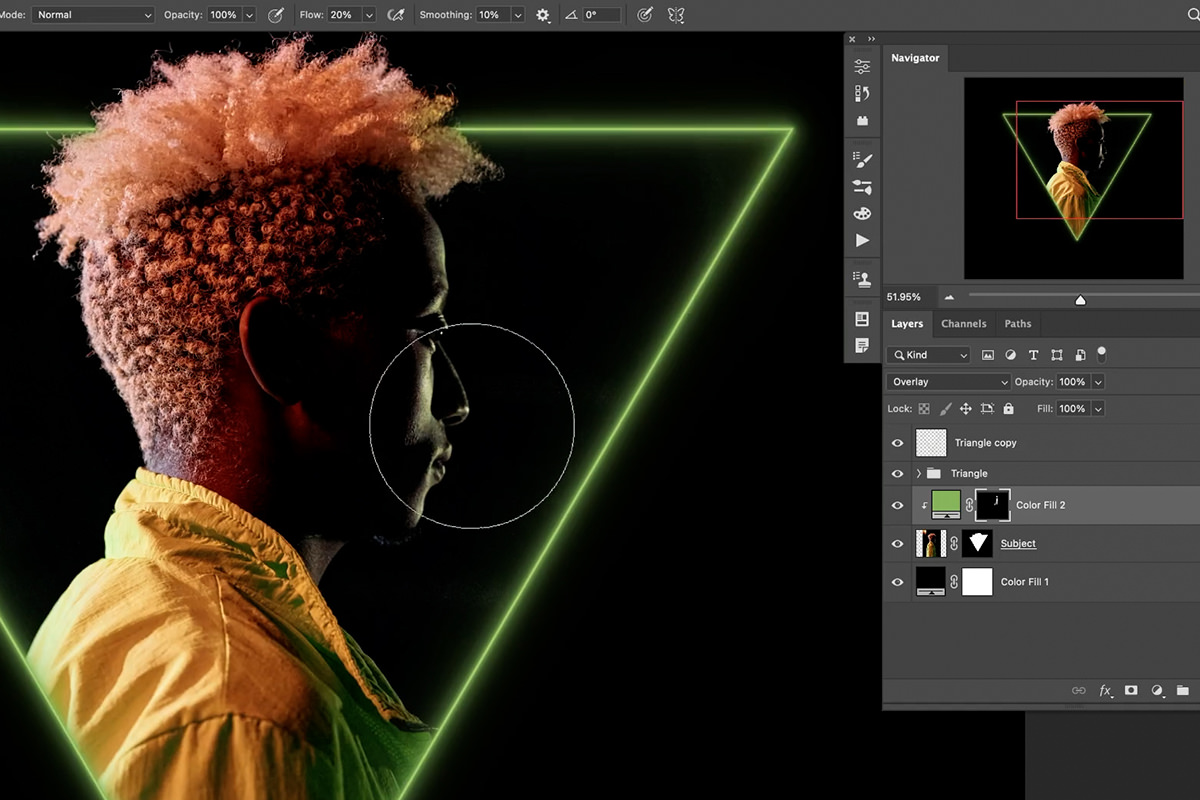
Start by creating a Solid Color Fill Layer just above the background image.
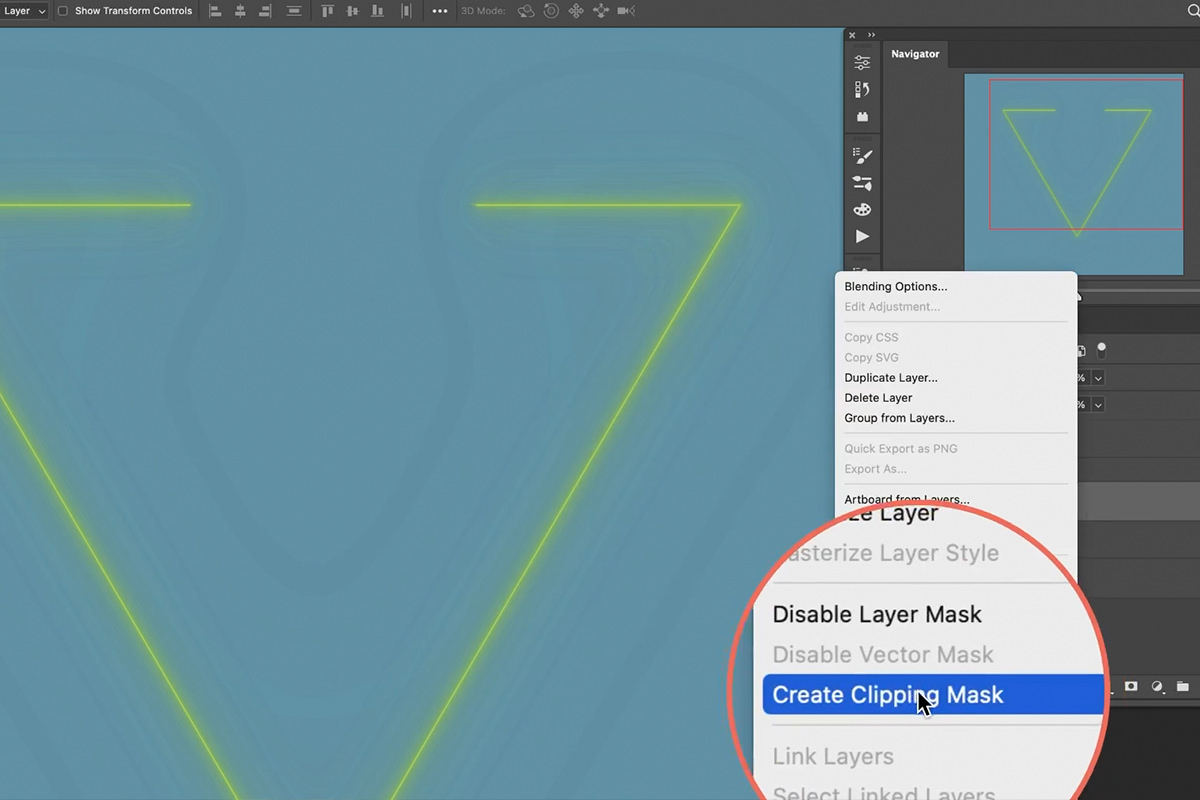
Right-click on the Solid Color Fill Layer and Create a Clipping Mask so that it only appears where the background image of the subject is visible.
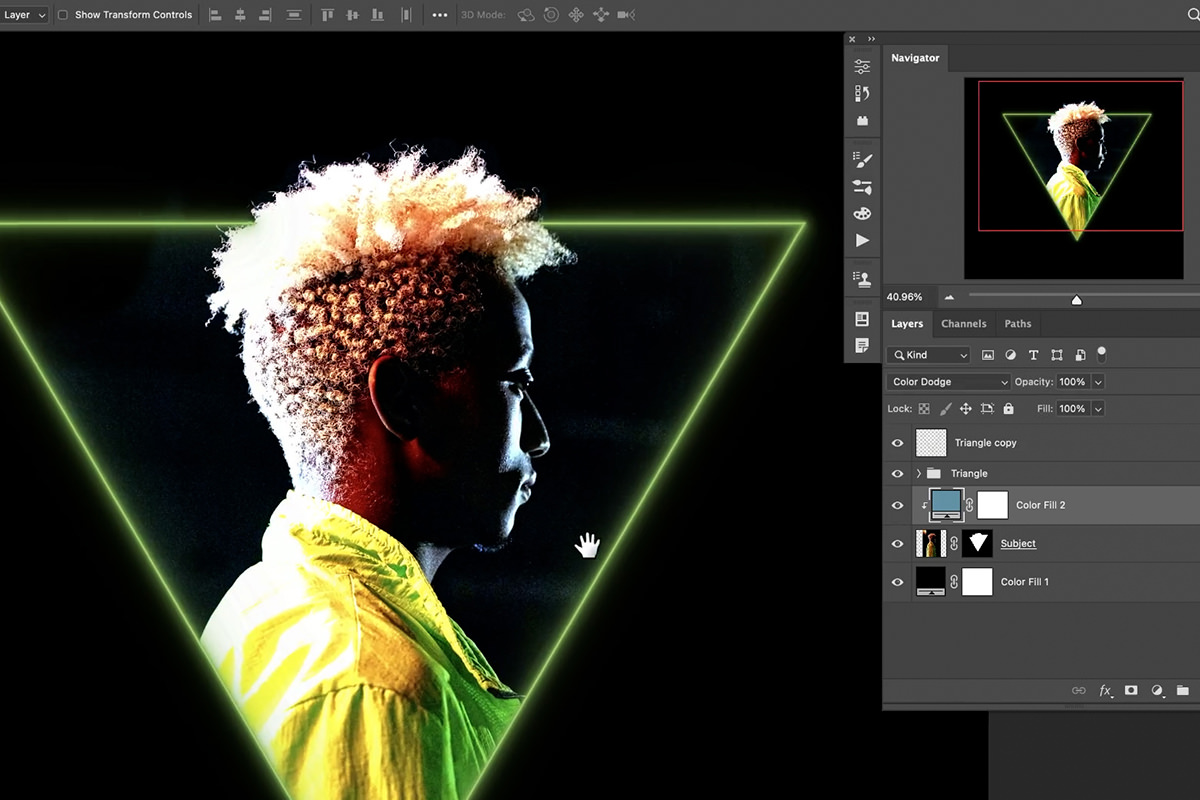
Set the Blending Mode of the Fill Layer to Color Dodge. Notice that the highlights of the image have changed color to match the Fill Layer.
Again, don’t worry too much about the exact colors just yet. We’ll adjust those shortly!
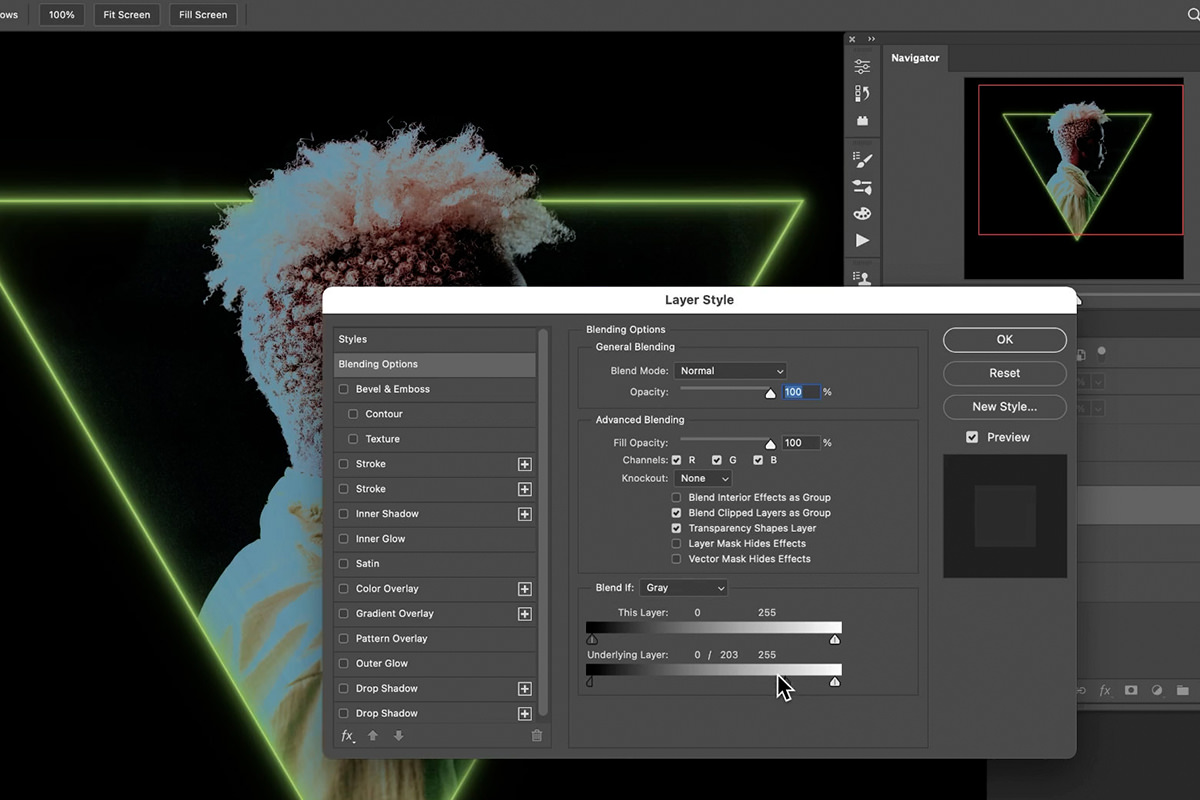
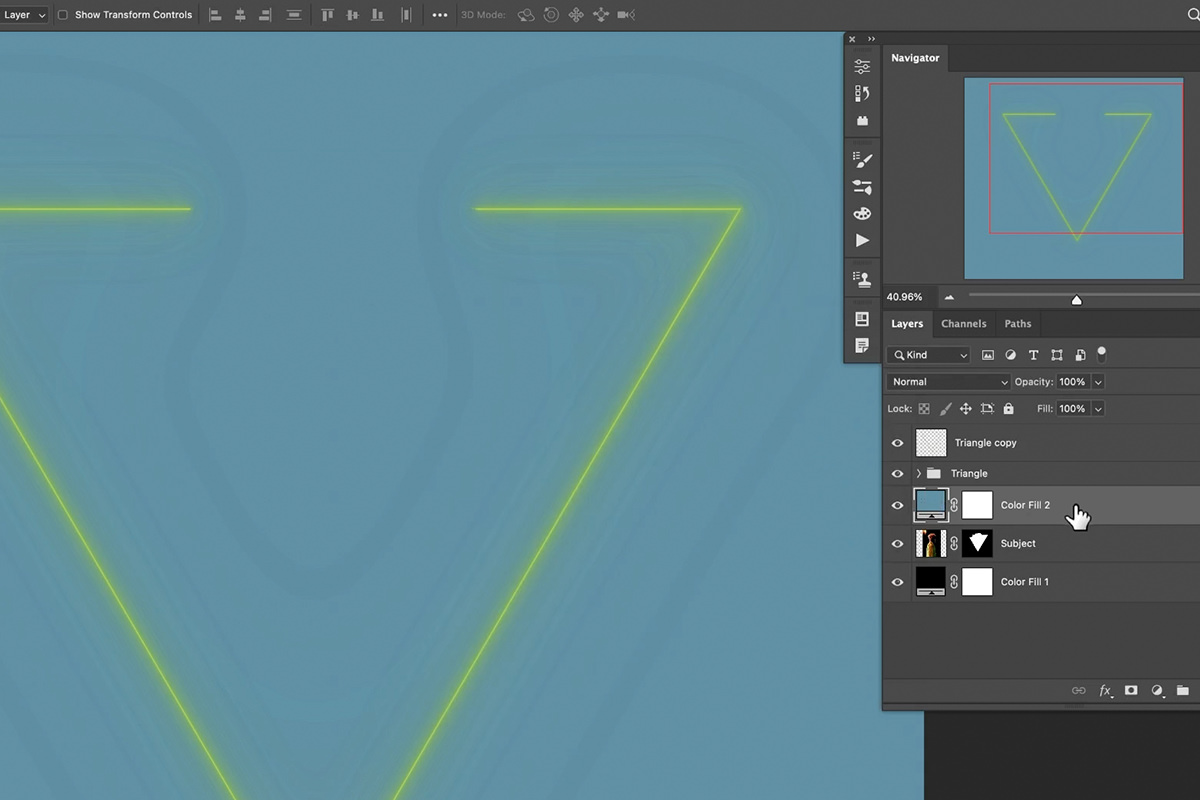
To make sure that the coloring effect only effects the highlights we want, we can use a powerful tool called Blend If.
Select the Solid Color Fill Layer and open up the Blending Options Menu. Locate the Blend If section, specifically the slider labelled Underlying Layer.
Hold ALR or OPTN and drag half of the shadow slider to the right. This will hide the Layer from the shadows and make sure that it only appears where we want it to in the highlights.
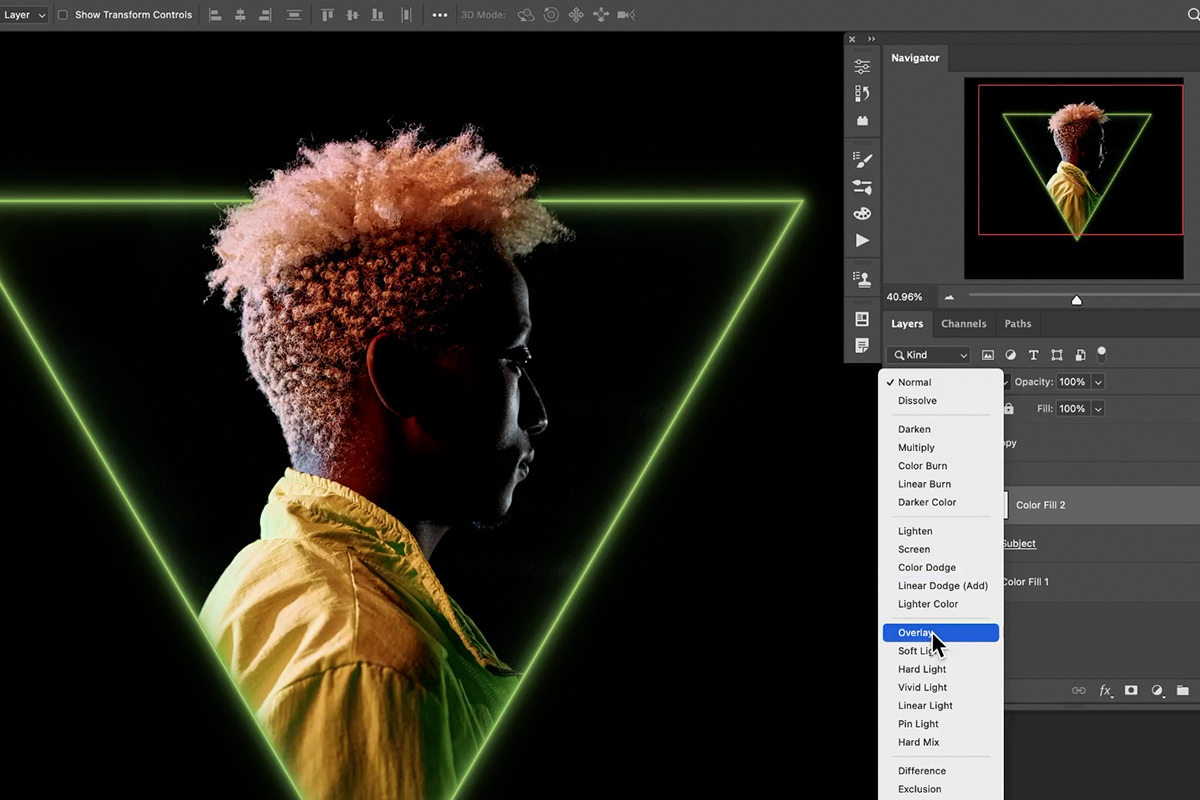
You can also change the Blending Modes at any time. We decided that Color Dodge was a bit to harsh, and instead switched the Fill Layer to the Overlay Blending Mode.
Now that the Fill Layer is ready, double-click on it and choose a color that matches the glow of the frame.
Invert the Layer Mask of the Fill Layer, and then use the Brush Tool, with a soft, round brush, to paint white over the highlights in the portrait.
You can do this for the entire background image to finish the effect. But if you want to take it a step further, try adding a second color!
Adding More Colors
We can take the existing elements and add a secondary color to affect half of the background image.
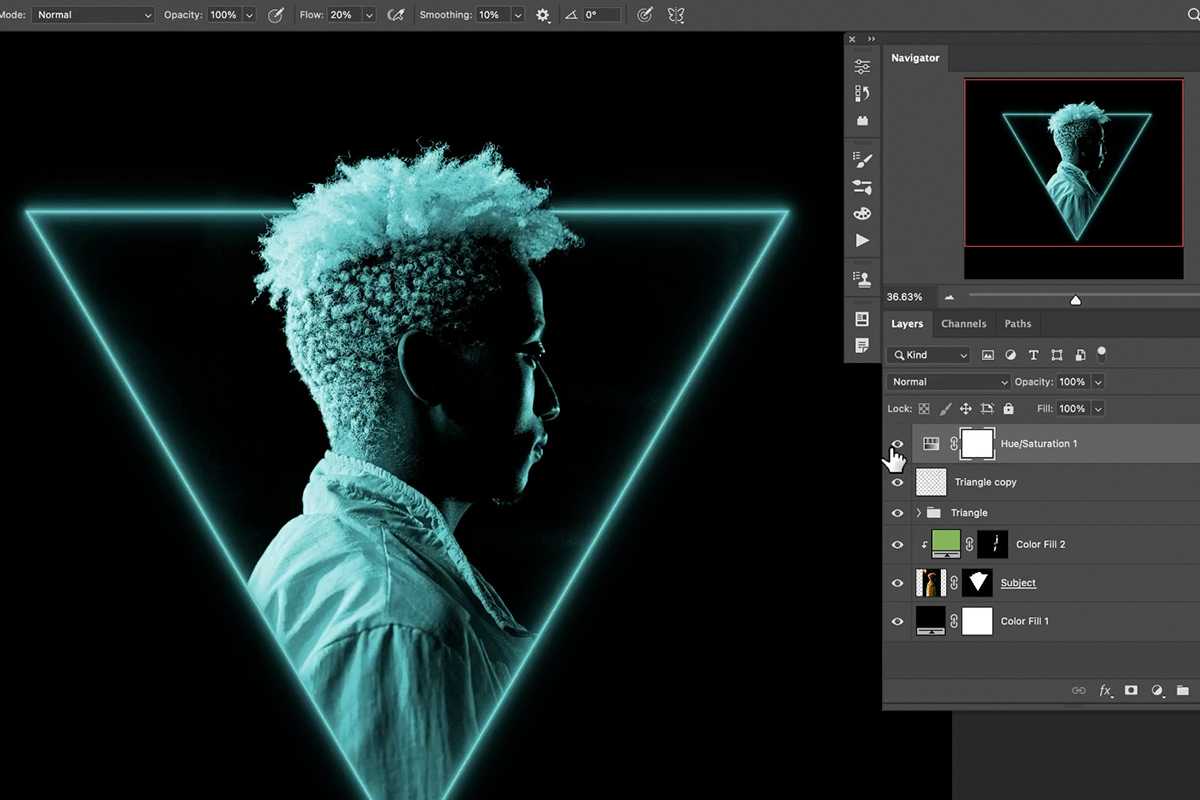
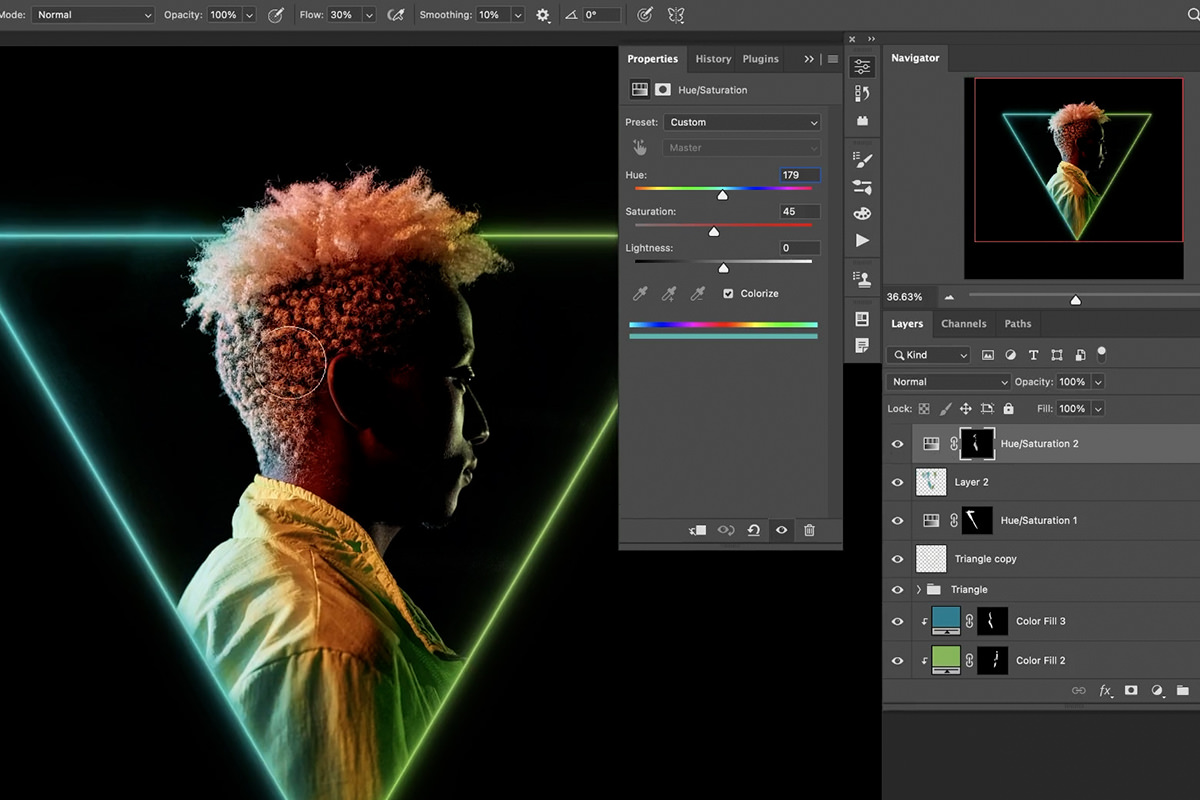
Create a Hue/Saturation Adjustment Layer on top of the Layer Stack and adjust the sliders until you get a secondary color you like.
But notice that it’s changing the hue of everything in the project.
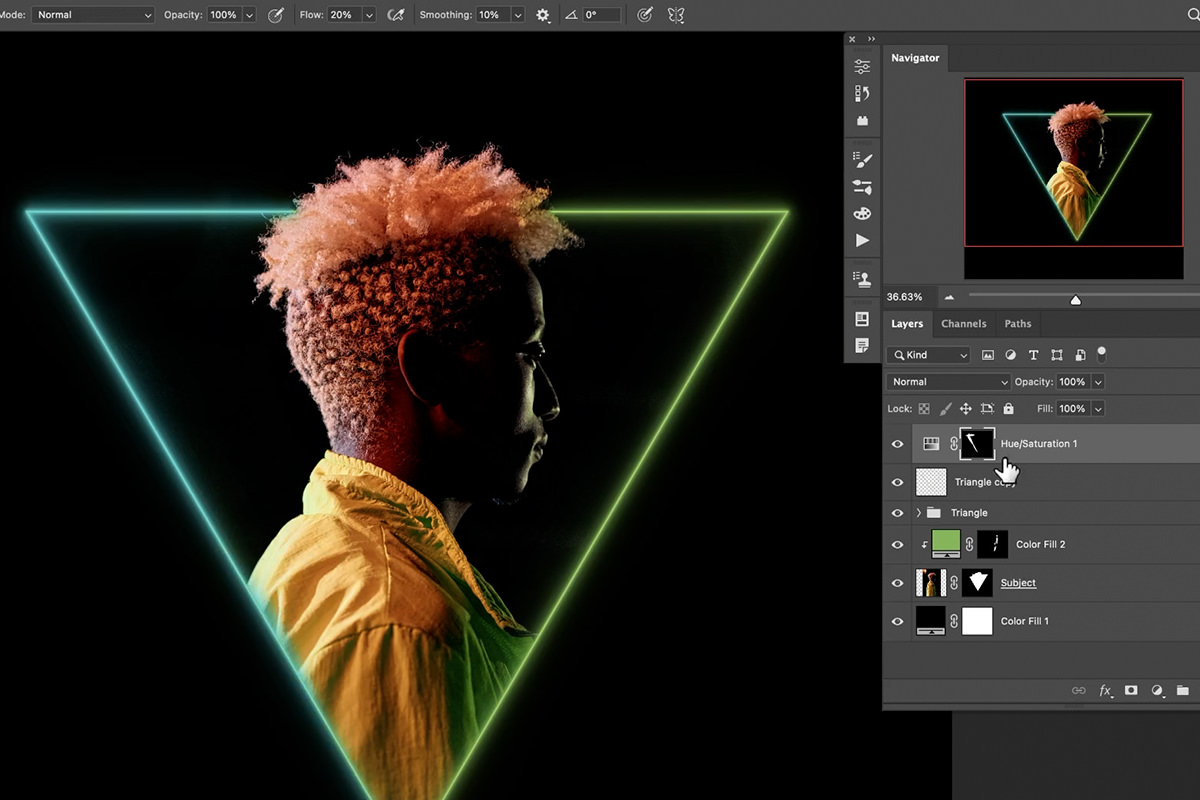
To fix this, simply Invert the Layer Mask of the new Hue/Saturation Adjustment Layer, and paint with white on the Layer Mask only where you want those colors to appear.
We split the image in half; one half with the new color, and the other with our original color choice.
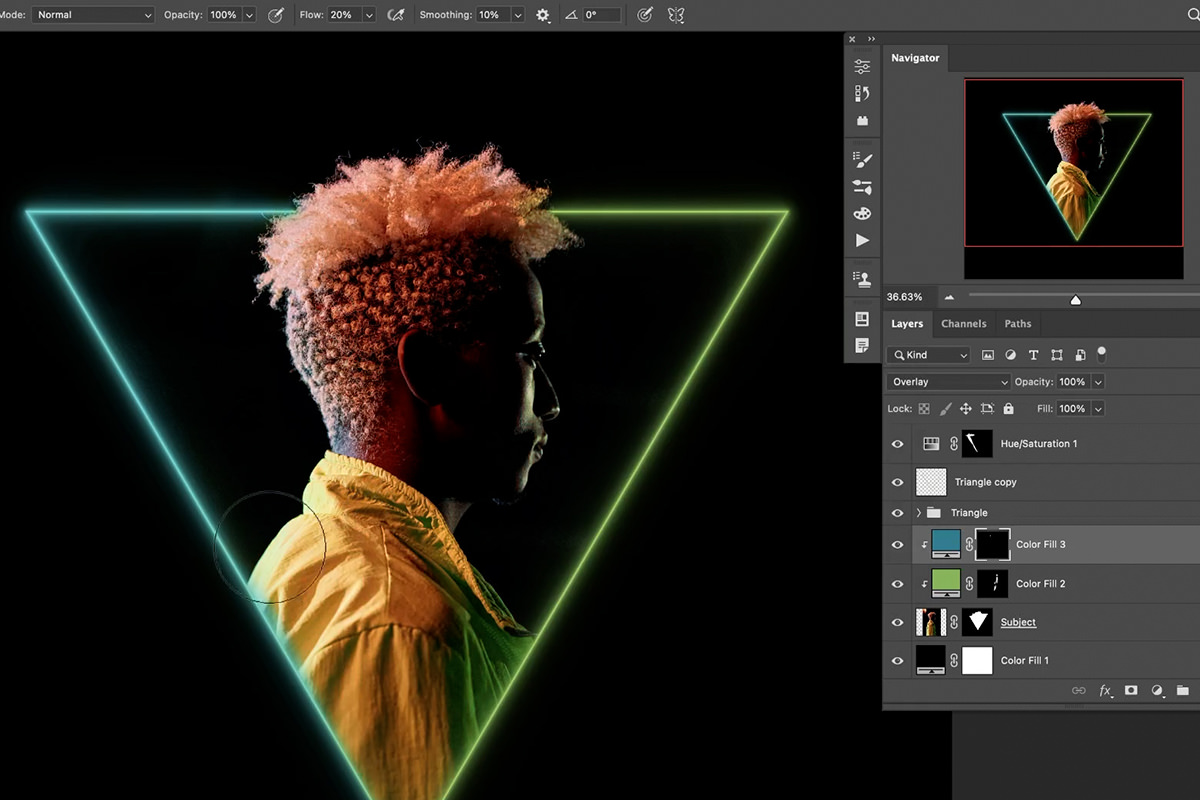
You can repeat the steps in the last section to enhance the color in the highlights in the subject.
And you can continue to add new Hue/Saturation Adjustment Layers to dial in the exact look you want. Remember to always use Layer Masks, Adjustment Layers, and New Layers to work non-destructively. You should be able to go back into any element, at any time, to make changes.

Have fun and experiment with different shapes, colors, and images! This effect can help any image pop, especially if you’re looking for new ways to integrate images and portraits into you website or social media profiles.