Tutorial Description
Step behind the scenes of our Film Noir Shoot. From Planning to Editing!
Lighting
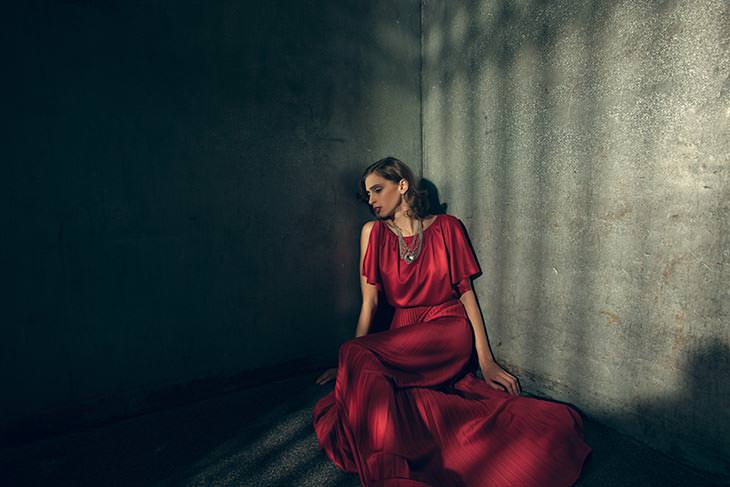
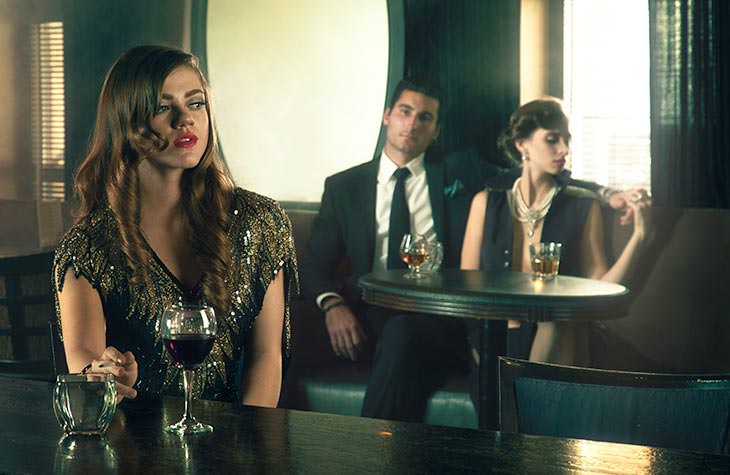
There are a few key factors in designing lighting for a single image or for a series. The first thing to keep in mind is what type of mood or feeling you want to convey in the images. Lighting can play a huge role in the mood of an image, so it is important to tie he two together in the conceptual stage. For this series we wanted to go for a bit of a somber mood, and the lighting reflects that.
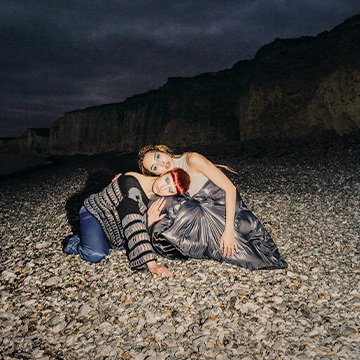
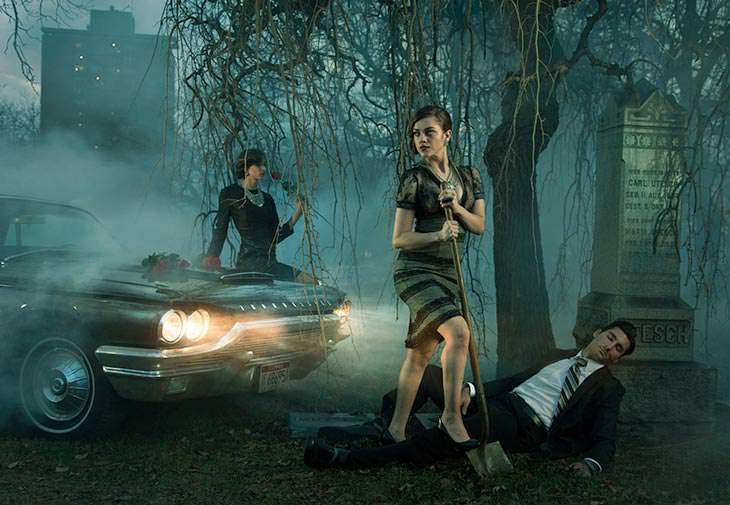
We used gels on most Lights to add interest and a fog machine to add atmosphere, making the lighting visible. We stayed away from “edgy” lighting which would have placed multiple rim lights on the subjects and went for something a bit more natural. The goal for the series was to make images that didn’t necessarily look they were lit with strobes, rather with lights that would exist in the environment. For example the photo of the two girls in the car has a red light coming from behind, and your brain assumes that it is coming from a tail Light.
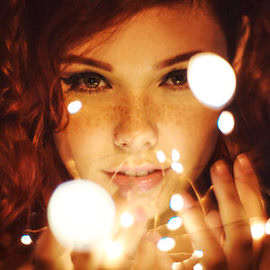
When the sun goes down you tend to see much warmer lighting, so it makes sense to gel your lights with CTO gels to match that mood. Strobe lighting set to 5600 degree white balance which is perfect for matching daylight. The problem is that at night you have a light that looks completely out of place. Gels are inexpensive and can make a huge impact on your images. A good rule of thumb when using gels is to go with colors that may be present in your environment. Using 3 bright blue rim lights would only work if this person was in a very high tech setting where this type of lighting may exist.
Production
Production for a photo shoot like this can be huge, here are a few tips on how to keep costs down and make sure everything happens as it should. Be sure you plan out every detail in advance, as there are a lot of things that can go wrong. You don’t have to know exactly what each shot is going to look like beforehand, but it is a good idea to know who will be in each shot and what shots will be attempted at each location.
To save money on locations try using places that don’t have to lose business to accomodate you. Most bars and some restaurants are closed during the day so it is not a big deal to have a photo shoot off hours. They are more than happy to get some extra exposure as well. A graveyard caretaker will love to have you over, it can get boring hanging out with dead people all day.
Instead of renting vehicles drive a few cars or find someone you know who owns a large SUV and borrow it for the day. If you can find models who can do their own makeup or hair, you can go that route if those elements are not the most important part of the shoot.
Using Props
It sounds a bit weird to refer to a ’64 Thunderbird as a prop, but in this case that is exactly what it is. It is another element used to drive (pun) the story forward. Using props can make a huge difference in the production value of an image. Often these things are easier to get that you may think. Chances are if you ask all your friends someone would probably know someone with an old car. We source people we know for props and also check things like Facebook and craigslist. A lot of the time these people don’t even want to be paid, a cool photo of their prop is good enough.

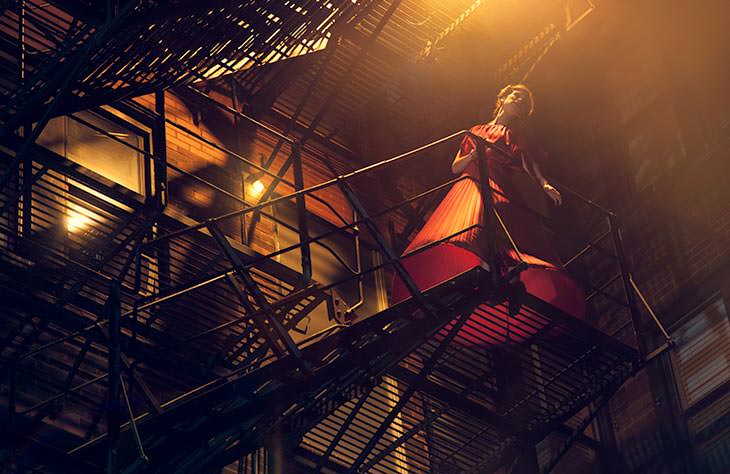
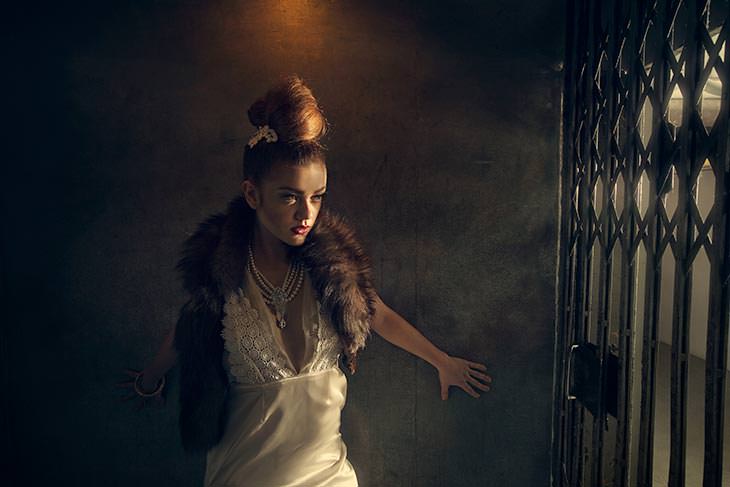
Color Palette
Having a color palette in mind when shooting can make a big difference in your shots. For this series we knew that the darks were going to be blue and green for the most part, so that helped us choose wardrobe that would be appropriate for the shot. In this photo we color the elevator cyan to contrast with the red dress. You don’t have to use complimentary colors in all of your images, but it helps to get your subject to stand out of their environment and creates a nice balance.