description
Photo editing is an essential skill for the modern photographer. Photo Editing 101-301 is built to guide you through the entire creative process, from shoot through edit.
THIS COURSE INCLUDES
- 139 Sample Images
- 1 Photoshop Action
- 1 Photoshop Brush
Share
Table of Contents
-
01 - Introduction1:43m
-
02 - Importing and Organizing Photos21:06m
-
03 - Intro to Culling2:18m
-
04 - Culling in Lightroom17:05m
-
05 - Editing Color in Lightroom9:00m
-
06 - Intro to Local Editing1:54m
-
07 - Exposure, Color & Local Editing in Lightroom14:17m
-
08 - Intro to Transforming1:56m
-
09 - Correcting Lens Distortion, Cropping, and Black & White18:13m
-
10 - Intro to Background Editing3:17m
-
11 - Removing Objects in Lightroom13:22m
-
12 - Intro to Color Variations2:32m
-
13 - Creating Virtual Copies with Color Changes16:56m
-
01 - Photographing Outdoors on a Sunny Day2:05m
-
02 - Correcting Exposure & Creative Coloring16:29m
-
03 - Photographing a Subject by Fire Light2:02m
-
04 - Graduated Filters & Lens Correction10:19m
-
05 - Photographing a Back-lit Portrait1:45m
-
06 - Exposure and Color Correction in Lightroom11:18m
-
07 - Retouching and Color Effects in Photoshop23:47m
-
08 - Photographing a Moving Subject1:48m
-
09 - Removing Large Objects in Photoshop20:08m
-
10 - Tutorial Overview2:10m
-
11 - Exporting & Delivering Photos10:34m
-
01 - Introduction2:15m
-
02 - Importing & Organizing Photos20:56m
-
03 - Photographing Nicole & Shooting with Gels3:18m
-
04 - Local Adjustments in Lightroom26:06m
-
05 - Retouching & Coloring in Photoshop1:14h
-
06 - Retouching and Dodging & Burning in Photoshop1:41h
-
07 - Photographing Taylor at Night5:34m
-
08 - Removing Noise & Fixing Color in Lightroom17:38m
-
09 - Coloring, Moving Objects, & Exposure in Photoshop55:58m
-
10 - Photographing Miki at Sunset4:24m
-
11 - Culling & Color Grading in Lightroom7:13m
-
12 - Retouching, Object Removal & Color Correction in Photoshop49:24m
-
13 - Photographing Alyse in the Pool3:17m
-
14 - Culling & Color Grading in Lightroom7:30m
-
15 - Compositing & Color in Photoshop57:03m
-
16 - Photographing Miki Twin2:24m
-
17 - Exposure Correction in Lightroom4:54m
-
18 - Removing Objects & Retouching in Photoshop37:35m
-
01 - Photographing Taylor by the Pool1:57m
-
02 - Culling, Highlights, Shadows & Color5:33m
-
03 - How to Remove Distractions & Retouch Clothes1:16h
-
04 - Outro54s
-
05 - Exporting & Saving Images9:48m
-
01 - Introduction2:07m
-
02 - Importing & Organizing Photos13:02m
-
03 - Photographing Devon in the Studio2:05m
-
04 - Culling in Lightroom8:05m
-
05 - Portrait Retouching in Photoshop1:08h
-
06 - Close Up Portrait Retouching in Photoshop58:27m
-
07 - Photographing Miki in the Desert2:54m
-
08 - Culling and Posing Review in Lightroom8:58m
-
09 - Clothing Retouch in Photoshop1:36h
-
10 - Photographing Lisa with Strobe and Ambient Light5:45m
-
11 - Culling and Workflow in Lightroom11:48m
-
12 - Coloring in Photoshop44:07m
-
13 - Removing Distractions in Photoshop38:19m
-
14 - Compositing the Sky & Color Matching in Photoshop1:07h
-
15 - Exporting & Organizing in Lightroom11:11m
A Professional Workflow.
From Shoot to Edit.
Remove Anything
You can’t always capture the perfect frame, sometimes an object sneaks its way in and needs to be removed in post-production. From small to large, learn to remove anything from a photograph in Photoshop.
Fix Exposure & Color
In a perfect world, every photo you take will be perfectly exposed and colored correctly. For most of us, we need a little help in post production getting things right. Learn to adjust exposure and color to give your images the impact they deserve.
From Capture to Completion
Photo editing is a combination of many individual steps including importing, organizing, general editing, object removal, retouching, coloring, exposure adjustment and exporting. Learn each step along the way to creating great images.
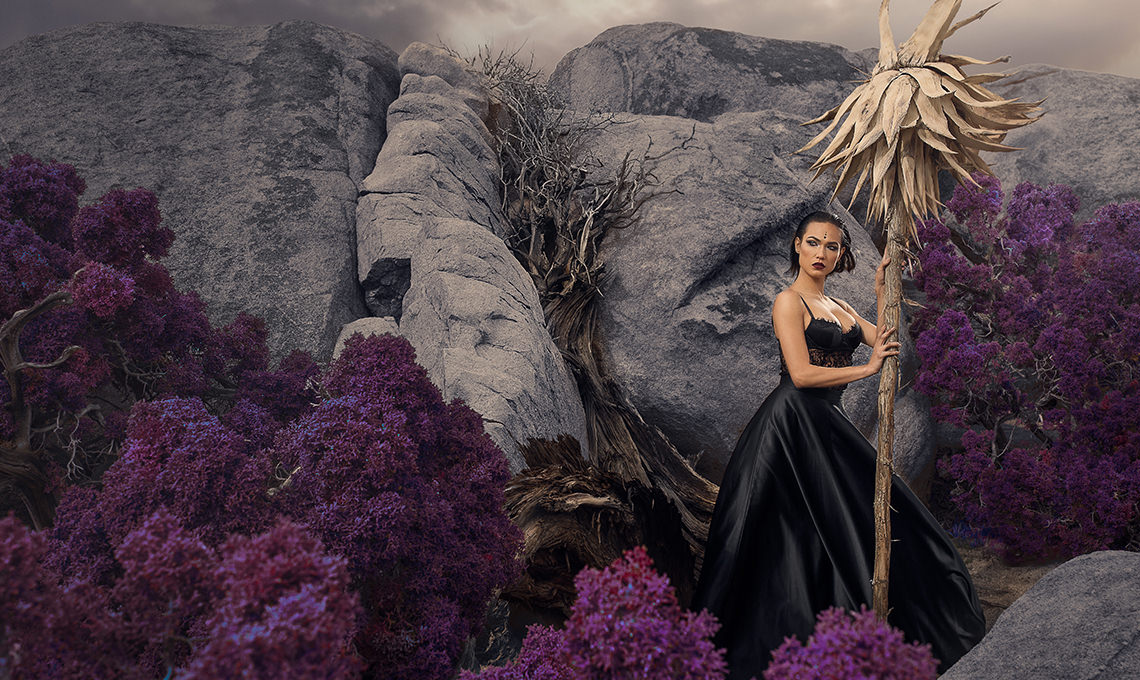
Photo Shoots, Explained
Go behind the scenes into each photo shoot and learn the details of how these images are captured.
Simple Cut-Outs
Cutting objects out of their backgrounds can take a long time and require tedious selection work with tools like the Pen Tool. There are other ways to cut objects out of their backgrounds that are more simple – the trick has to do with blending photos. Learn how to quickly bring multiple photos together.
What Makes a Great Photo?
Photo Editing has one purpose – to elevate your images to their highest potential. That is why we focus on teaching you what to look for, and how to fix common problems that any photographer faces.
Photoshop & Lightroom Workflow
Most images will require editing in both Photoshop & Lightroom. Learn how to import, organize and catalog images through Lightroom. Then move into Photoshop for more advanced editing.


From Capture to Completion
Learn how to create great images, from capturing them with your camera, to basic adjustments, to advanced edits with professional retouching and compositing.
Strobe & Natural Light
Learn the differences between continuous and natural light and how to combine them in multiple ways to create different effects in your images. Bonus: Learn special techniques like dragging the shutter.
Leave Your Mark
Photo Editing is a part of the creative process, and your editing style can be part of your signature look.
That is why we focus on why we make editing decisions and show you how to achieve the same results in your photos.
Professional Retouching
Learn how to use frequency separation and dodging & burning to create stunning portraits.
For more in-depth retouching techniques, check out our best-seller Retouching 101-301.

Aaron Nace
PHLEARN Founder
Aaron Nace is a photographer, Photoshop artist and founder of PHLEARN. He is the #1 Photoshop instructor in the world with millions of YouTube subscribers.


Reviews
New & Popular Tutorials


Training Site in
the World
Tutorials!
Ratings
and Counting
Subscribers
I can hardly believe I’m now orgainised – and orgainised in a practical way that make sense! Thank you Aaron. Just done 101 and found it to be very informative and helpful, especially going from LR to PS and back again. Because of this, my workflow and results are now going to be so different from now on – my enthusiasm is high!
These are very good and informative and instructional; BUT, is there a reason why when Aaron references “Chapters” (referring to the # of that particular video) it is NOT THE SAME as the numbers shown for the videos in 101/201/301. Very confusing!
Thank you, Aaron, for explaining things at an incredibly-helpful, basic level without making me feel like I needed to be hand-held through the process(es). So far, I’ve used LR by clicking around and figuring things out on my own (or not); you have just saved me an incredible amount of time and effort, because now I actually understand what I’m doing during those basic editing steps.
After all i must say, this was superb job, from alpha to omega. Im especially interested about PS, but all chapters made a one great monolith, and now i better understand links and implications between photographers, LR and PS. Im extremaly happy, last chapter gave me new tools for fantasy creations and more control in lights sphere ! :)) Thanks PHLearn Team !
“This layer factory ain’t gon’ make layers by itself”…..greatness.
I just went through Photo Editing 101. The main issue which is not on the lesson itself which have been brilliant. I’m finding myself kind of lost on where I last started. I was trying to find one of the videos on I believe the flowers one and I had to keep going through each video trying to find what video I was on. Maybe have the background color of the link be a the salmon color for the course you are currently on. Perfect Example: On Photo Editing 101 03 Intro To Culling You basically have Chapter 2.1 and a part B. I was thinking the second video for 2.2 was in Photo Editing Part 2. Also when I have to step out of the room for a couple of hours and come back. I really can’t remember what the name of the course was. I wish the video player would tell you what course you are currently on in case you do have to come back and you won’t feel lost. Overall constructive criticism. Great job.
Brian, thank you for your feedback! We are working on a better way to display courses you are already taking and allowing you to jump right back in where you left off. So, have no fear, it will get done!
Wow, I have spent all day going through these tutorials and I am so pleased to have learnt so much in so little time. I am quite excited! If you want to step up your photography editing game this is the best tutorial collection.
This was great, if you want to improve your photoshop skills ,this course is for you.
I am still halfway through this tutorial and am already loving it. I was almost crying of joy when I learned how to do something I’ve been seeing in professionally edited pictures and never knew how to do on my own. Excellent content. So thankful!
WOW! amazing content its incredible how much you can learn with this tutorials! definetly a must see and learn for any serious photographer who wants to learn a lot!
Incredible techniques which improve anyone’s photography
These tutorials are by far and away the best post production tutorials I have seen. I watch one on youtube and subscribed to the PRO version instantly. Thanks for all of your help so far.
I have been following Aaron for many years, and learning a lot. All tutorials are very clear and easy to follow.
I have watched the free Plearn tutorials for several years, I subscribed to the Pro-plan which is well worth it. Over several weeks I watched Photo Editing 101-301 and really learned a lot. I really like their marketing, there are many great videos that they make available for free, but if you really want to spend the time and take Photoshop to a higher level it is well worth the price to subscribe to the Pro. Including Plearn there are at least three good Photoshop tutorials that have both free and paid tutorials available, I have only subscribed to Plearn, I like there approach and they get straight to the point.
Not everyone can teach, but he’s a really good teacher. Just a heads up, he says crazy random things 🙂 Subscribe now!
Excellent series. Not only the experiences with the tools but the insight as to why something might need to be edited a certain way. Image styling, flow, color expression all the when, how and whys. Anyone interested in editing with Photoshop should watch this.
Photo editing is fantastic, fun, educating and I feel like a pro photographer learning from the master himself. I made a great investment being a subscriber.