Download Sample Images
description
Capturing and editing photos is one thing, but figuring out how to put them together and display them can be a fun project all its own. Learn how to create a quick and easy diptych-style photo collage in Photoshop!
And if you don’t want to go through the process of making a template from scratch, just download the free sample PSD and just add your own images.
Share
Diptych-style Photo Collage
Creating a Simple Collage in Photoshop
For this project we’re going to create some simple side-by-side frames in Photoshop that make it easy to insert any photographs we want. Since we’re going for a diptych-style collage, we want to display two related images in equal proportions next to one another.
Let’s start by dividing our canvas into two equal halves.
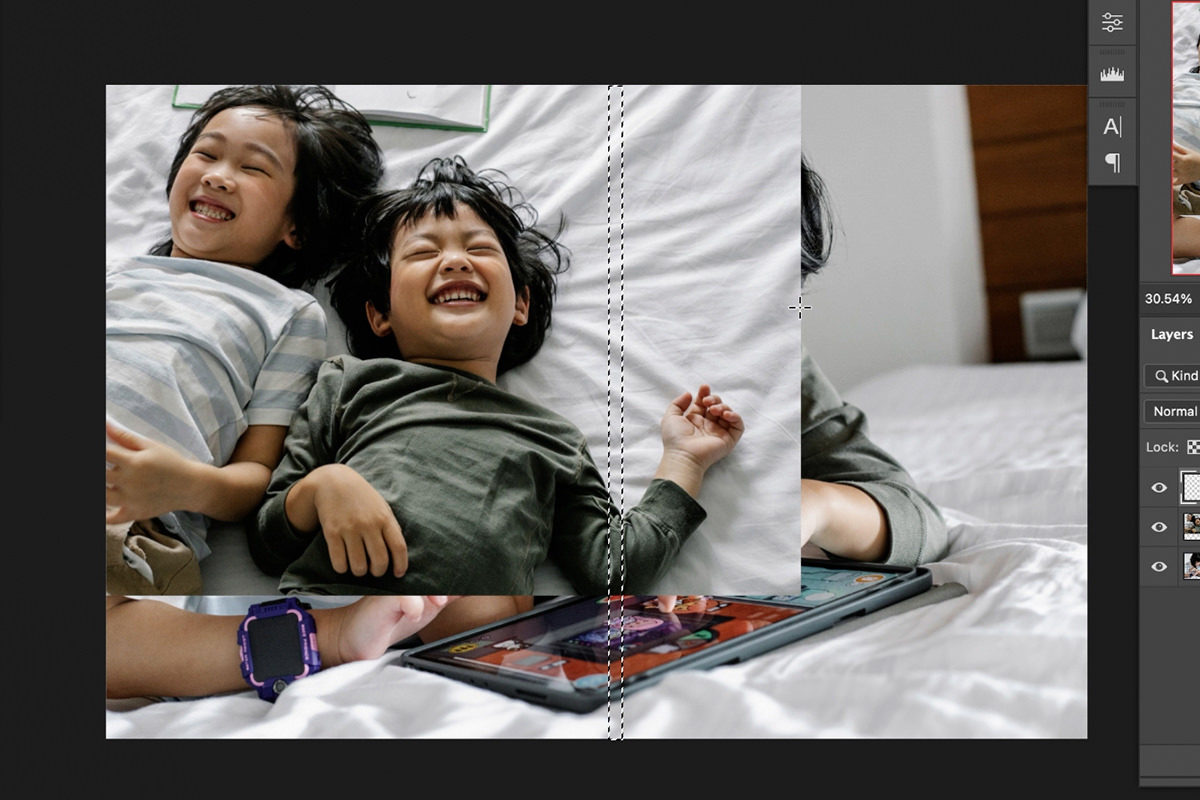
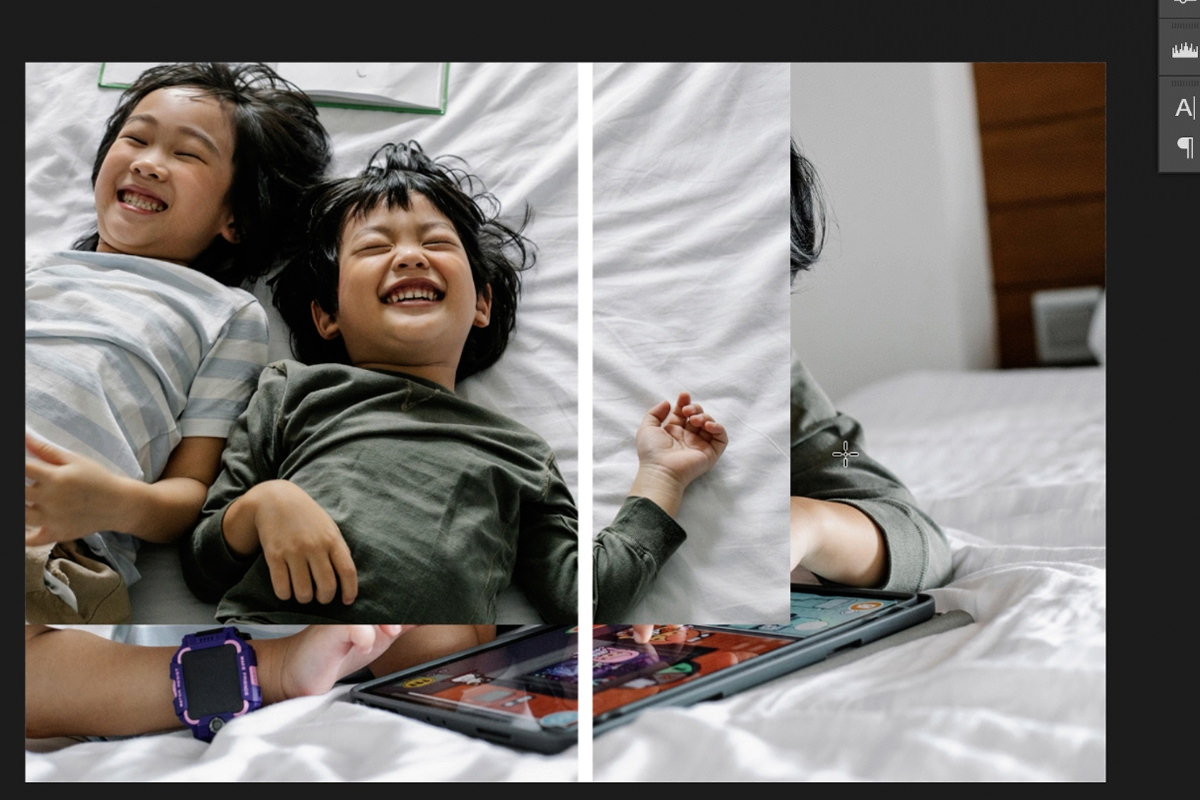
Use the Rectangular Marquee Tool to draw a thin rectangle near the center of the project that extends from the top all the way to the bottom. Create a new Layer and then fill that selection with white.
You’ll end up with a white dividing line that we can use to split the canvas into two side-by-side frames.
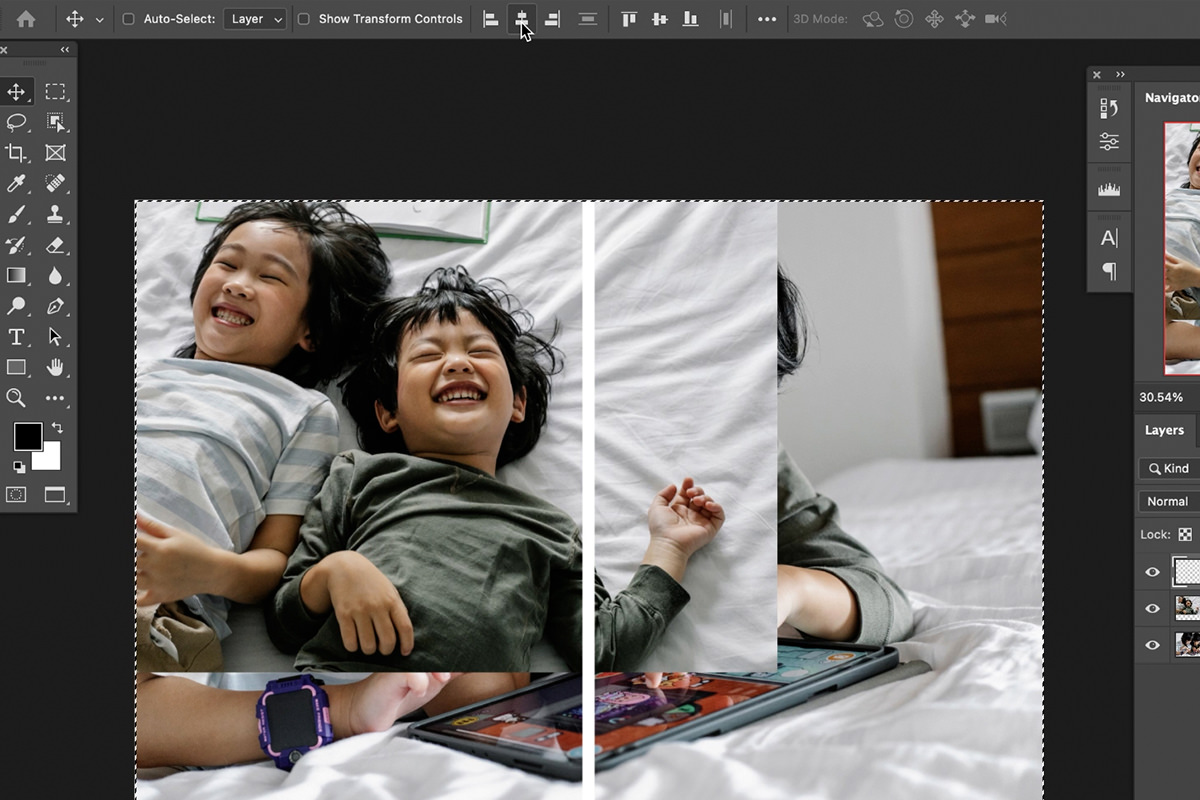
To make sure the line is centered, select it along with the background Layer and use the Move Tool options to center-align both vertically and horizontally.
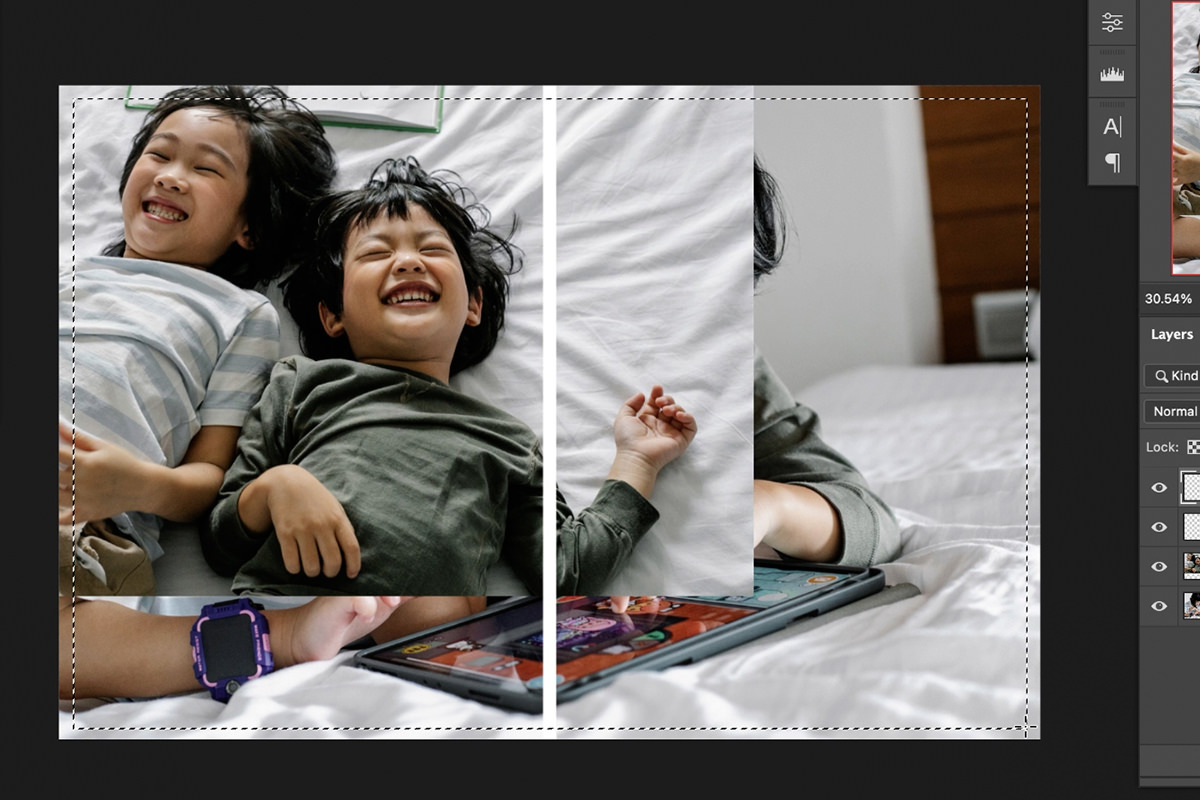
Now that we have two equal halves, let’s add a thing frame around the edges of the canvas as well. Again us the Rectangular Marquee Tool to create a rectangle that’s just a bit smaller than the total canvas size.
Center the Selection with background Layer both vertically and horizontally, Inverse the Selection by hitting CTRL or CMD + I, and then fill the new selection with white.
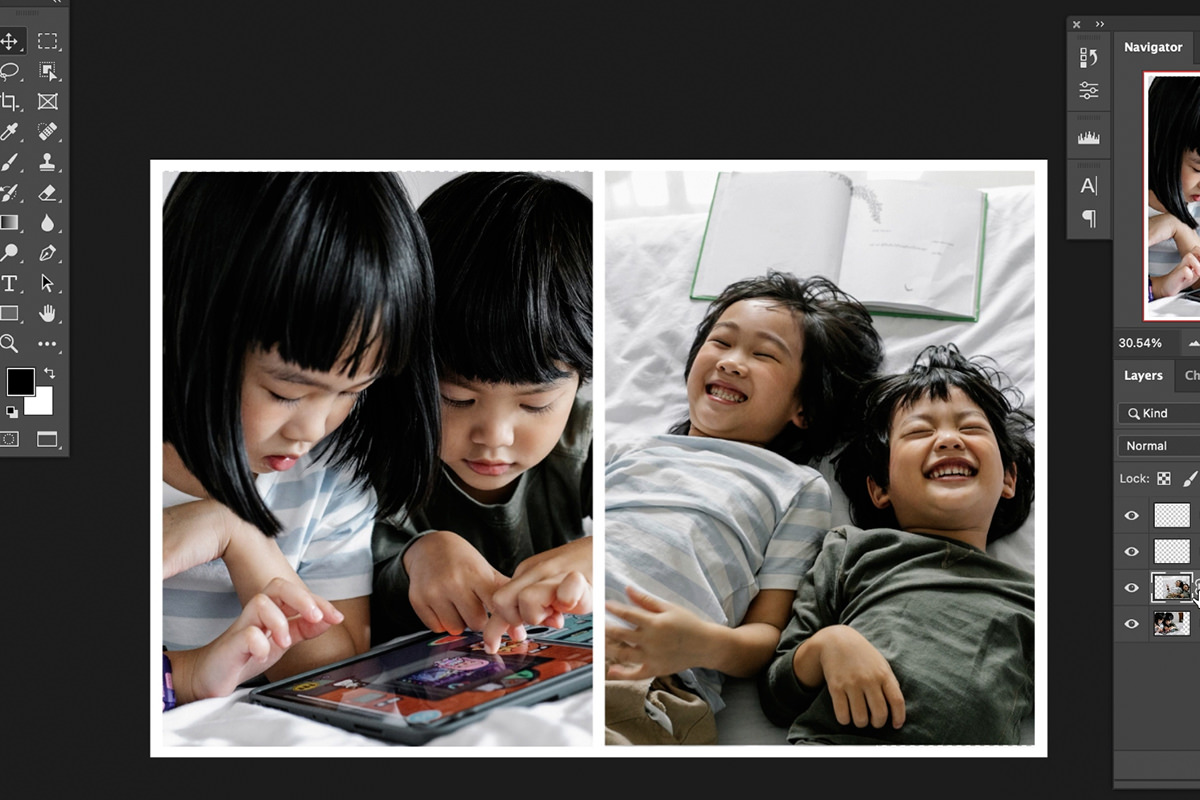
You should end up with a white border around the entire canvas as well as a white line separating the canvas into two equal halves. Now we can insert our images into the left and right frames.
Add Images to Your Collage
With our two frames prepared, we can simply drag and drop images behind our frame Layers and then position them within each of the windows we’ve created. You might notice that the images we’ve chosen are too wide to fit into the frames without spilling over into the other half of the project. Fortunately, this is a quick and easy fix using Layer Masks.
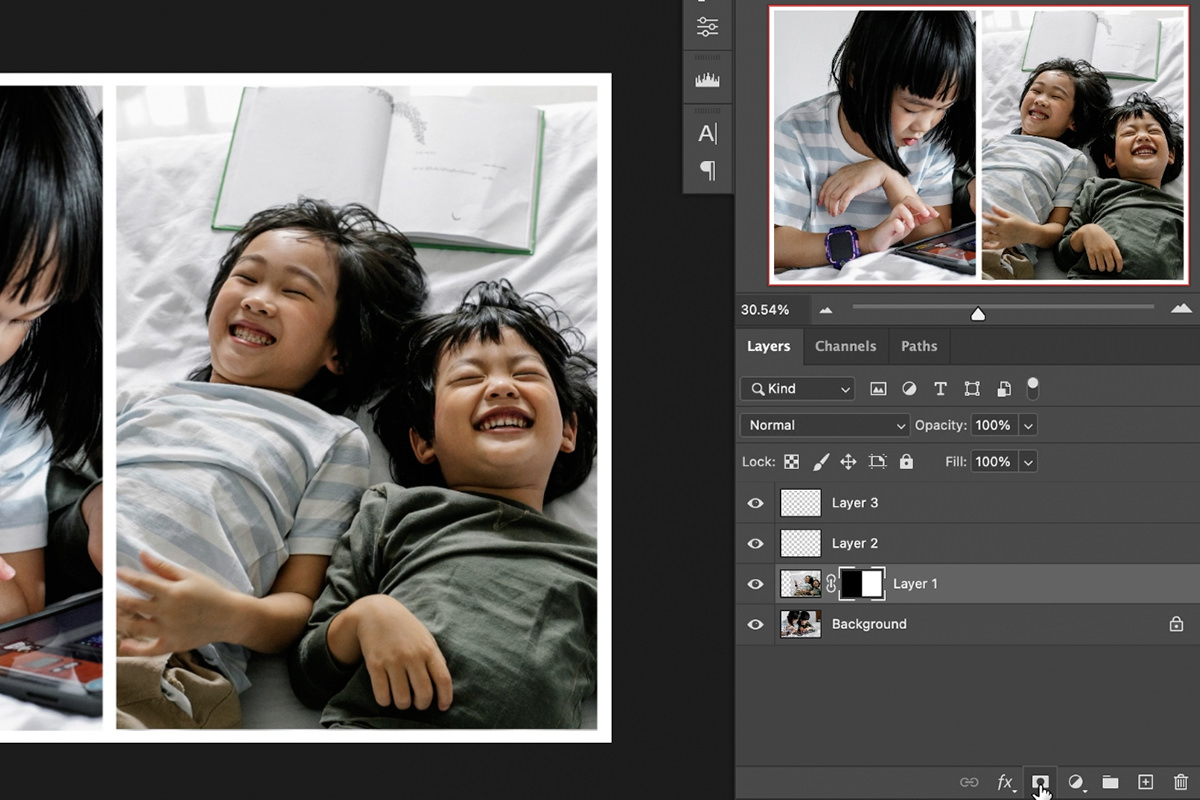
Create a Selection using the Rectangular Marquee Tool over either the left or right frame making sure that it doesn’t extend past the middle dividing line we created. Select one of the images and click on the Layer Mask icon to convert that Selection into a Layer Mask. Now the image is only visible within the frame that we chose.
You can still move the image and adjust its composition within the frame by unlinking the image from its Layer Mask and moving the image until it looks good.
Repeat the same process for the other frame and you’re done!


