BEFORE
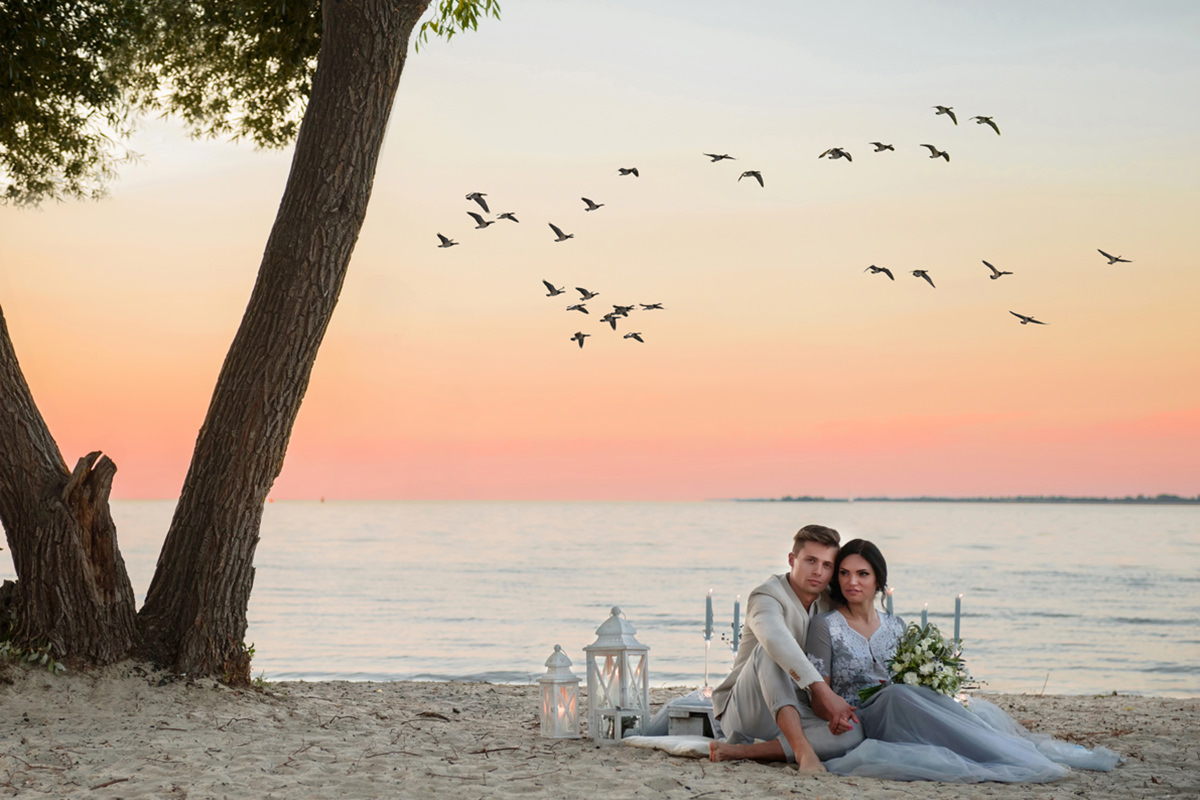
AFTER
Tutorial Description
Birds can add a bit of whimsy and movement to a photo and adding them couldn’t be easier! Learn how in today’s episode.
How to Select and Mask Birds
The first step to adding birds is finding a photo of flying birds. In this example we use an image from Adobe Stock but you can use any image that suits your needs.
First, make a rough selection around the birds you want to transfer from one image to another. Use the Lasso Tool to Draw a selection around the birds then use the Move Tool to transfer them to another document.
Next it is time to cut the birds out from their Background. The easiest way to do this is by going to ‘Select – Color Range’ and choosing the Color of the sky behind the birds. If you need to addd to the selected area, click on the PLUS Eyedropper Tool and add more areas of sky.
Keep in mind—dark areas will not be selected, Light areas will be selected.
After creating a good selection of the sky, hit ok, and load it as a Layer Mask on the bird layer. You will need to Invert the Layer Mask which can be done by hitting ‘CTRL/CMD + I’ or going to ‘Image – Adjustments – Invert’.
You should now see only birds on the new Background!
How to Color-Correct Birds
Because the birds are surrounded by the blue of the sky, it is important to Color Correct the birds to fit the new sky.
Duplicate the Background layer and place it over the birds and set the blending mode to ‘Hue’. This will bring the Color of the sky into the birds and allow everything to blend together!