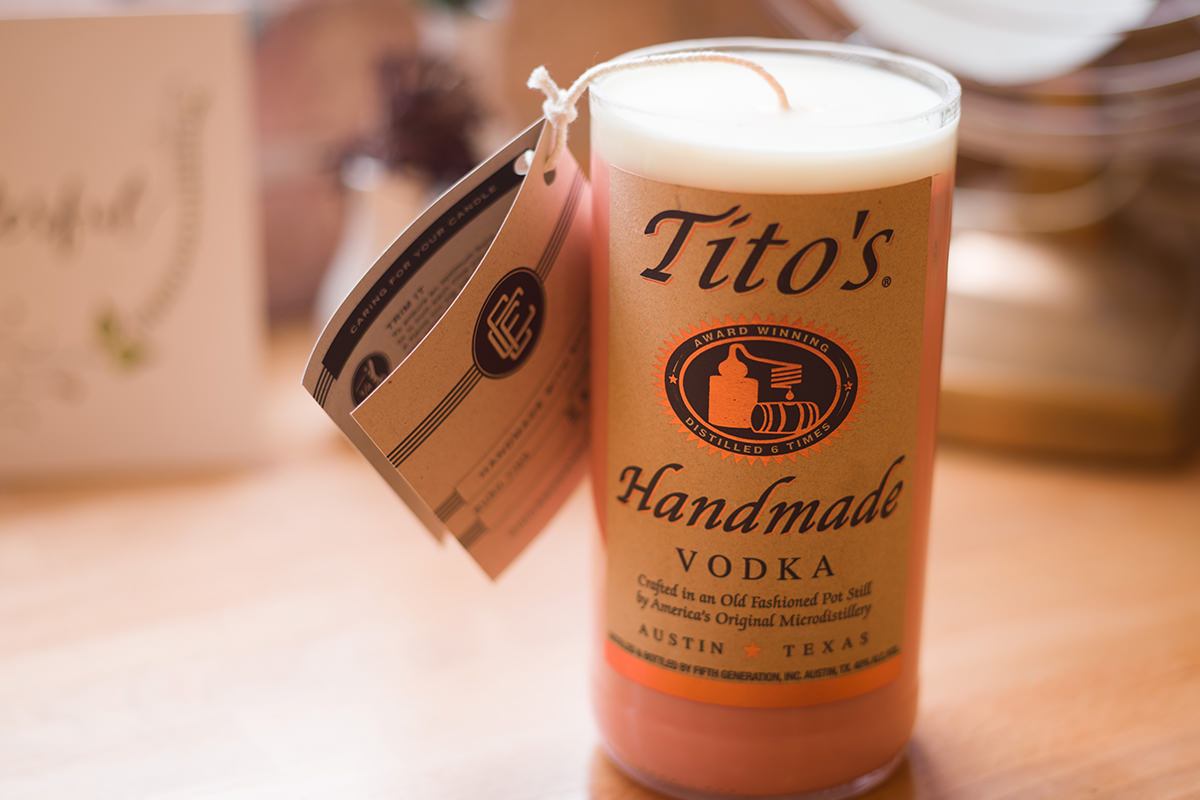
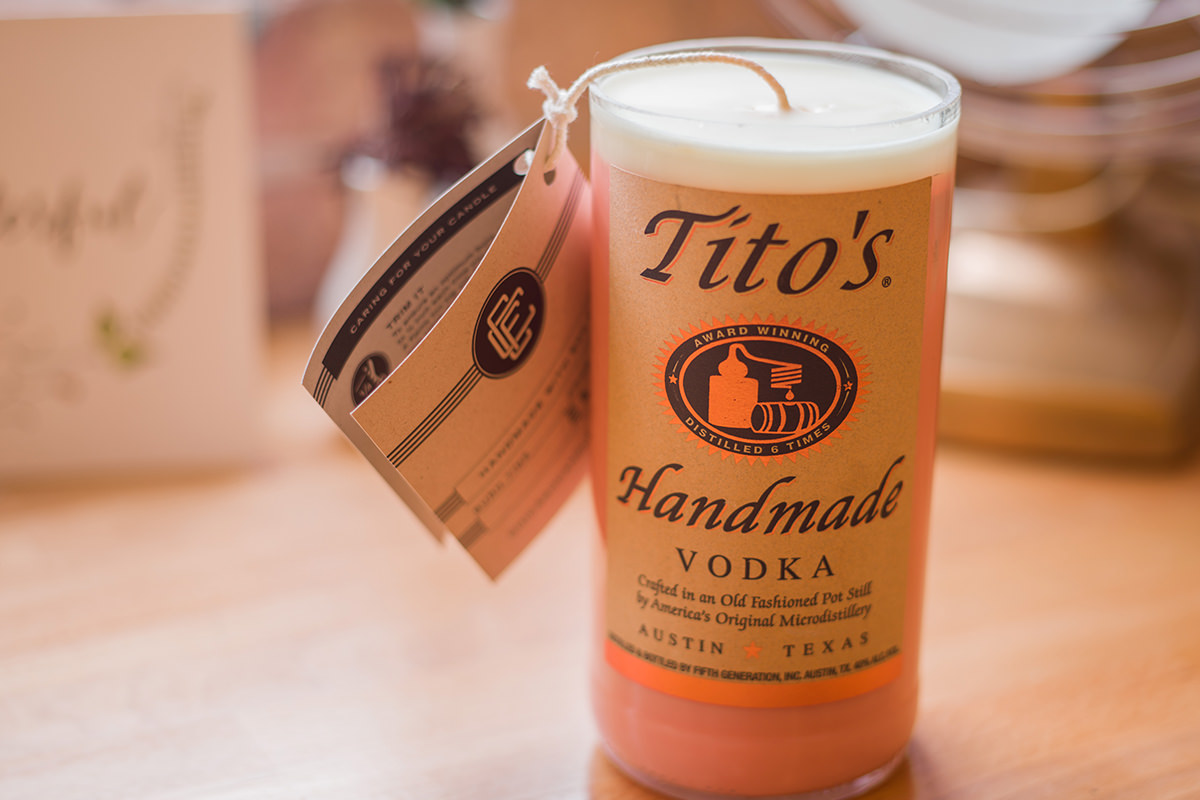
BEFORE
AFTER
Tutorial Description
Learn how to create multiple versions of the same image and combine them together to form an HDR Photo in Lightroom!
16-bit RAW Images in Lightroom
In order to achieve this effect, be sure to use 16-bit RAW images in Lightroom. 8-bit Jpegs don’t have enough information stored in the file to accurately change Exposure and make up for missing information.
Create Virtual Copies and Merge to HDR
Start by creating a virtual copy of your image, then adjust the Exposure slider down until the over-exposed areas become properly exposed. At this point the rest of the image may be too dark, but don’t worry about the dark areas – this image is only used for the Highlight information.
Next shift-click on both the original image and the virtual copy the right-click and go to Photo Merge – HDR… Lightroom will treat both of these images as separate photos and merge the Exposures together to retina information from the Highlights, mid-tones and Shadows. This way you can create an HDR Photo from one source image and pull information from over-exposed areas!