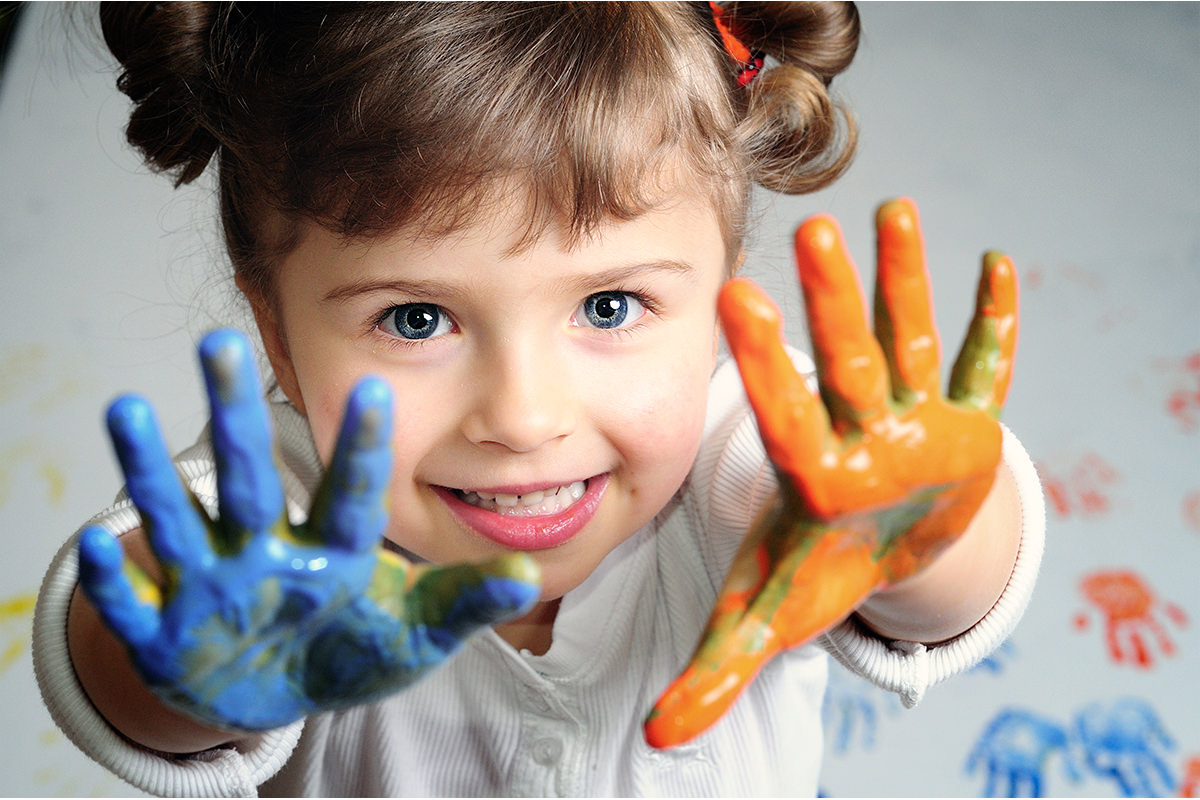
Tutorial Description
These three simple steps will take your children’s photos to the next Level!
Step One: Add a Vignette
A Vignette is a great way to Draw attention to a specific area of a photo. By darkening the edges of a photo, the viewer’s eyes will be drawn towards the center of the image, and ultimately the subject of the photo.
A Vignette can be added in many different ways, in this episode we use a Radial Gradient to add a Vignette in Photoshop.
First, choose the Gradient Tool and select ‘radial’ from the top menu. Then click on the gradient editor and choose ‘black, white’ as the gradient. To create a gradient, make a New Layer and click-drag from the center of the image outwards. The goal is to have white in the center of the image and black on the edges. If the opposite appears, check the ‘Reverse’ box at the top of the Screen.
After making the Radial Gradient, change the layer Blend Mode to ‘Soft Light’ and lower the layer Opacity until the effect looks natural.
Step Two: Add a Warming Filter
A warming Filter is a great way to warm Skin tones in an image and give the overall photo a warm glow.
To create a warming Photo Filter, go to ‘Layer – New Adjustment Layer – Photo Filter’ and choose ‘Warming Filter (85)’ from the drop-down menu. Adjust the density of the warming Filter to best suit the photo.
This simple step can make a big Difference to a photo.
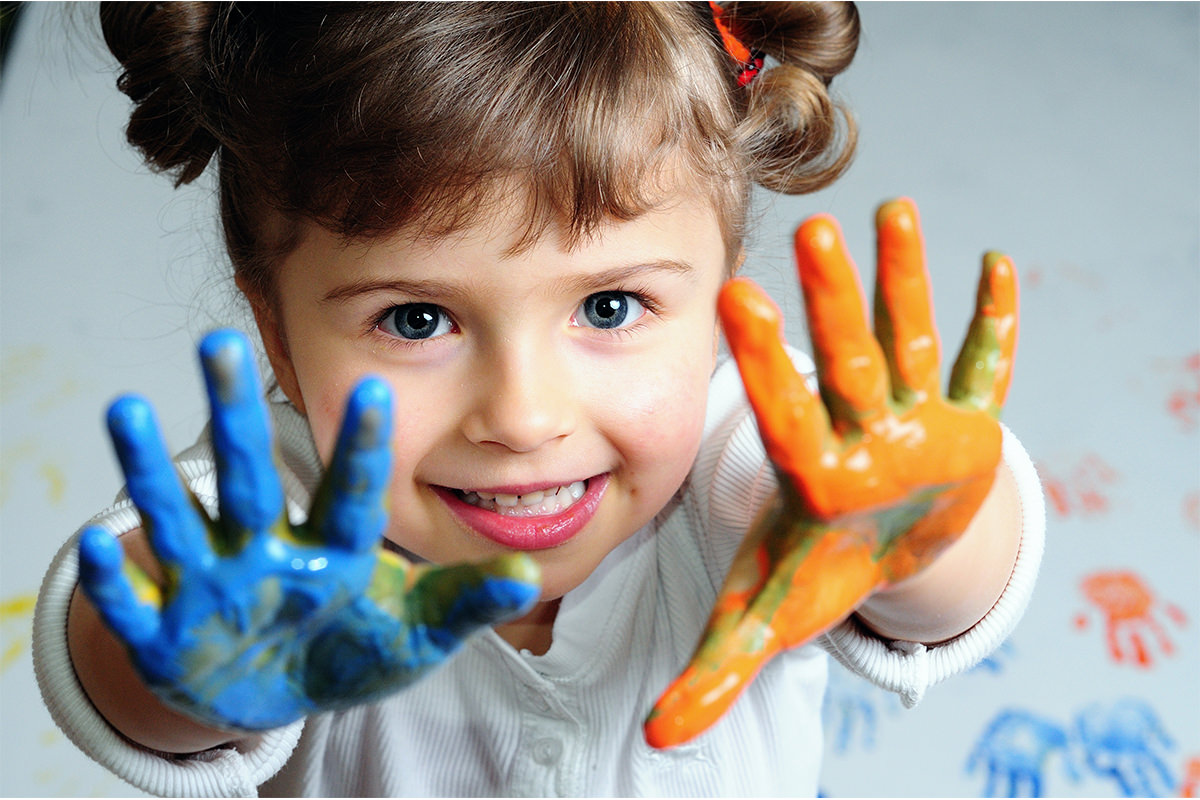
Step Three: Enhance the Eyes
Eyes are the window to the soul, learn how to enhance them in step three.
The first step is to add Color to the eyes, by using the Vibrance Adjustment Layer. Go to ‘Layer – New Adjustment Layer – Vibrance’ and increase the Vibrance and Saturation sliders until the eye Color pops. This layer should only be visible over the eyes, so be sure to fill the Layer Mask with black and paint white just over the eyes.
Next, add Brightness and contrast by using the Brightness/Contrast Adjustment Layer. Go to ‘Layer – New Adjustment Layer – Brightness/Contrast. Increase both Brightness and Contrast to add more attention to the eyes, then make the Layer Mask black by going to ‘Edit – Fil – Black’ and painting white over the eyes.
Lastly, create a New Layer and use the Sharpen Tool to paint over the eyes, adding a bit of sharpening. Be sure to make the sharpening visible yet subtle, too much sharpening can ruin a photo.


