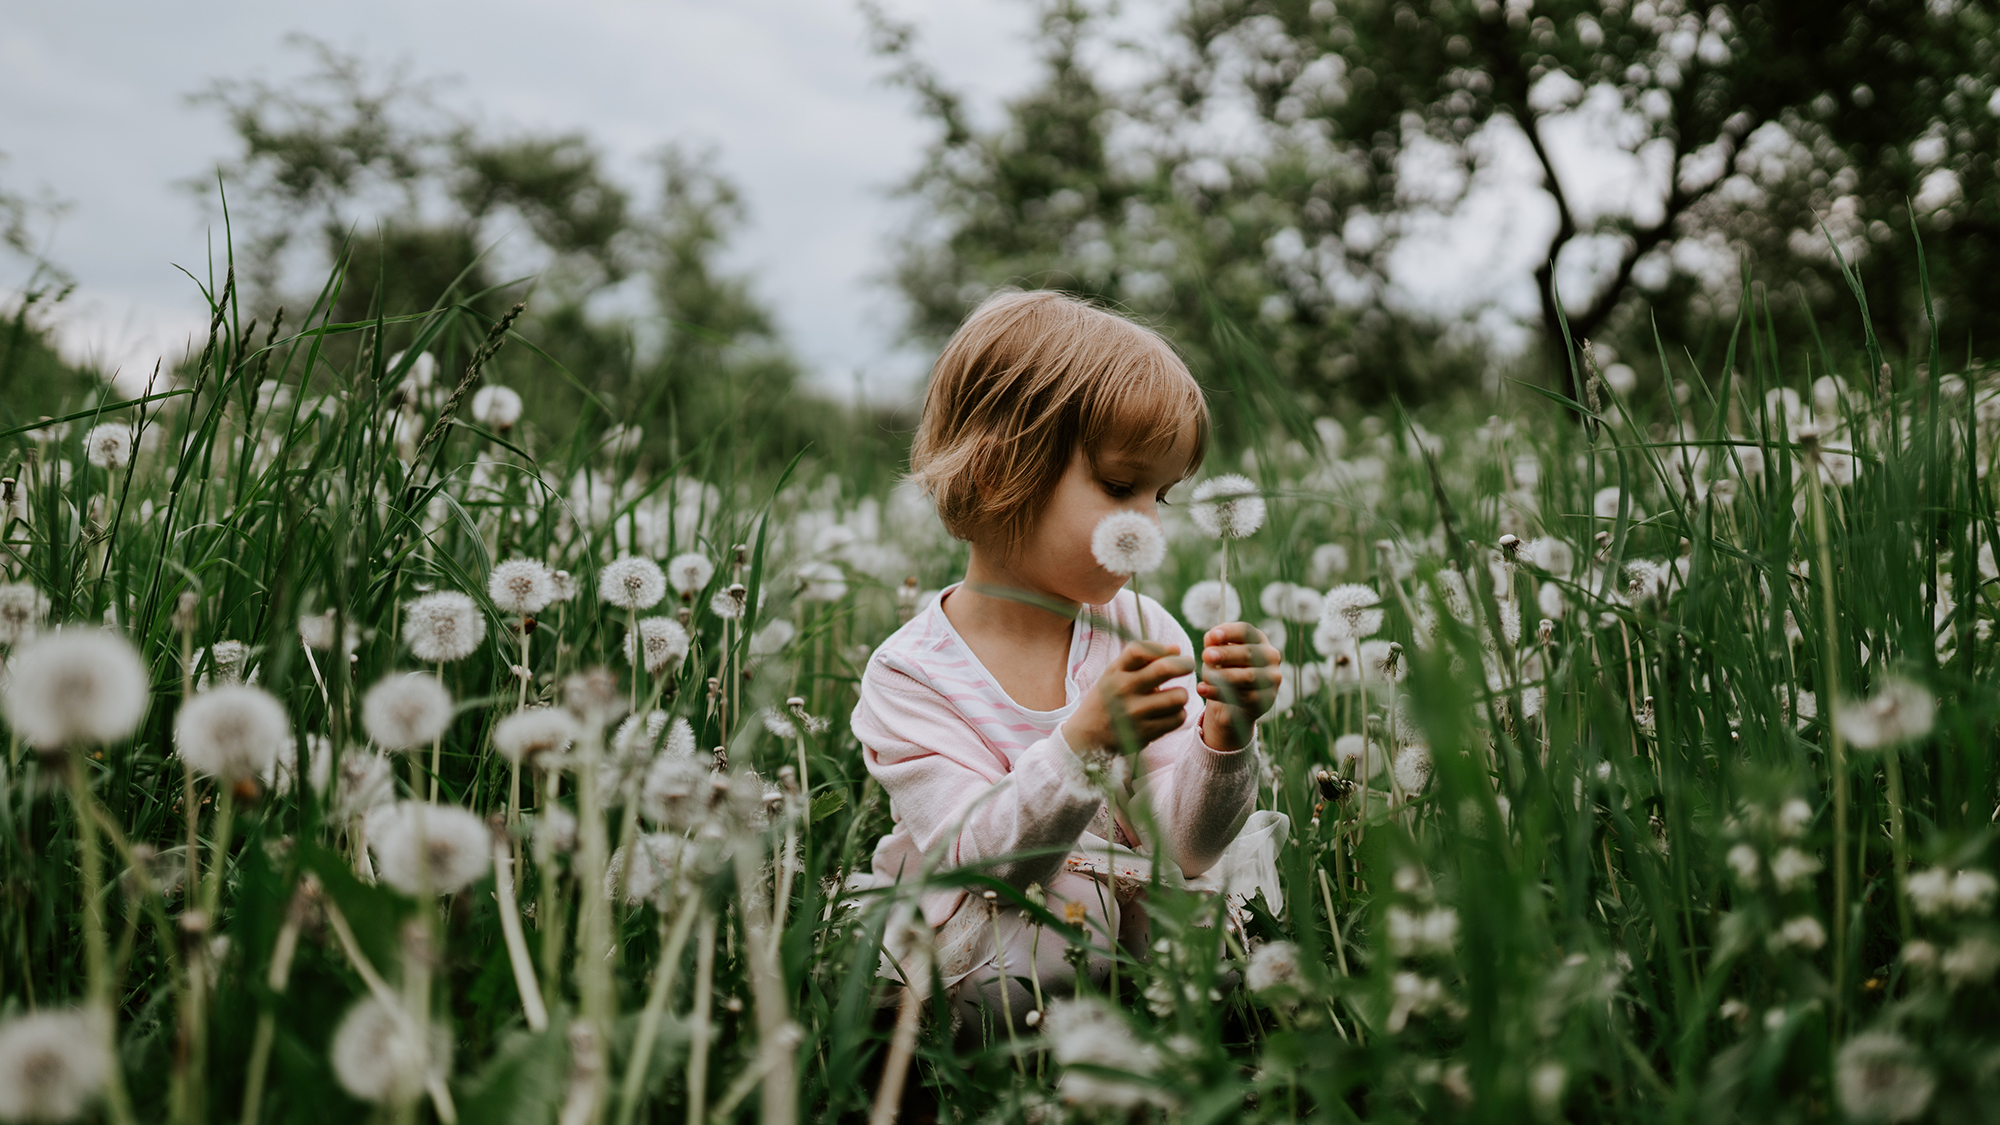
BEFORE
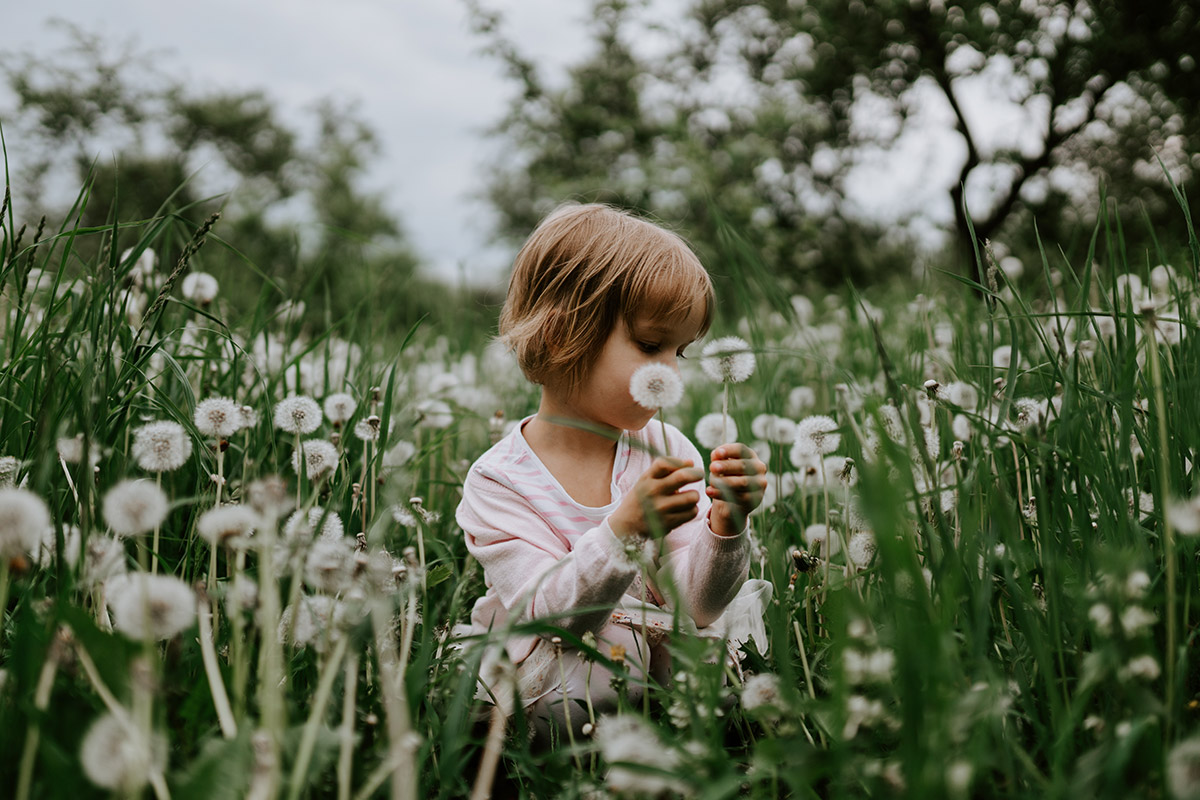
AFTER
Download Sample Images
Click the link below to download the sample images and follow along with this tutorial.
DownloadTutorial Description
Learn how to draw more attention to your subjects with soft, natural-looking vignettes in Photoshop! Follow along as we edit a photo using Curves Adjustment Layers to brighten up the areas that matter most, while darkening the corners and edges. Vignettes can be a powerful tool when used correctly and this is the best way to apply them in Photoshop.
Find Your Subject
Our eyes are naturally drawn to lighter areas in a photo. And vignettes work by brightening the spot where you want viewers to look while slightly darkening everything else. While it sounds simple, it can be tricky to pull off without the effect looking unnatural. The key to a great vignette is making it soft and subtle. Remember, small changes can have a huge impact on your final images.
We’ll show you how to use a combination of Curves Adjustment Layers and Gaussian Blurs to create a beautiful, natural-looking vignette effects that will help your subjects stand out!
Counting on Curves
Curves are one of the most powerful tools in Photoshop, capable of everything from exposure adjustments to precision coloring. To create a vignette, we’ll need two separate Curves Adjustment Layers–a slightly brighter one on our subject and a slightly darker one along the edges.
So how do we tell Curves what to brighten and what to darken? Let’s start by helping our subject stand out a bit more. Grab the Elliptical Marquee Tool and make a selection around the subject. We recommend making it slightly larger than the subject overall. With the new selection active, go to Layers, New Adjustment Layer, and select Curves Adjustment Layer. A new Curves Adjustment Layer will appear in the Layer stack and, best of all, it will automatically load the selection we made into the Layer Mask! Click along the center line of the Curves adjustment dialog and drag it up. Just don’t lift it too high! We want to make these changes appear as subtle as possible.
We’re nearly there! We’ve got an area around our subject which is now brighter due to the Curves Adjustment Layer. There’s just one problem; the transition from the new light area to the rest of the photo is too harsh. If you zoom in, you’ll see a noticeable line where the Curves Layer starts and ends. Let’s soften that edge with a Gaussian Blur.
Gaussian Blur
To create a natural fade from light to dark, we need only add a Gaussian Blur to the Layer Mask of the Curves Adjustment Layer. Select the Layer Mask, then go to Filter, Blur, and select Gaussian Blur. Before applying a blur, we recommend zooming out from the image. The more zoomed out you are, the easier it will be to tell if a transition between light and dark looks unnatural. Once you’re zoomed out, drag the slider in the Gaussian Blur menu up until you get a look that you like! It’s best to err on the side of too blurry than not, so don’t be afraid to crank it up!
With the blur applied, we’ve completed half of our vignette effect. Next, we need to complement our new bright area with some darker areas along the corners and edges of the image.
Corners & Edges
The classic vignette look usually involves darkening the corners of an image. Making the corners very dark might be nice for replicating an old-style film effect, but our goal is still to keep things soft and subtle.
To add the darkening effect, simply repeat the same steps as listed above–but with a few changes. Try and make the Elliptical Marquee Selection about as large as the entire image. Then once you add the Curves Adjustment Layer, you’ll want to Invert the Layer Mask by hitting CTRL or CMD + I. This will select the areas of the image outside of the elliptical selection. Then simply drag the Curves down to darken, zoom out, and soften it with a Gaussian Blur.
You’re done! You should be left with a subtle vignette that helps your subject stand out! And since you’re working with Curves, you can go back and change the amount of lightening and darkening at any time.


