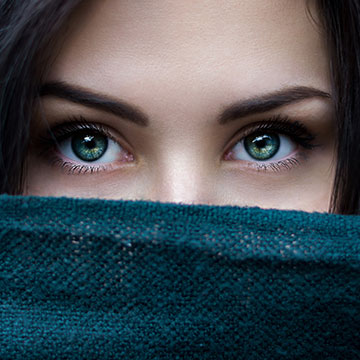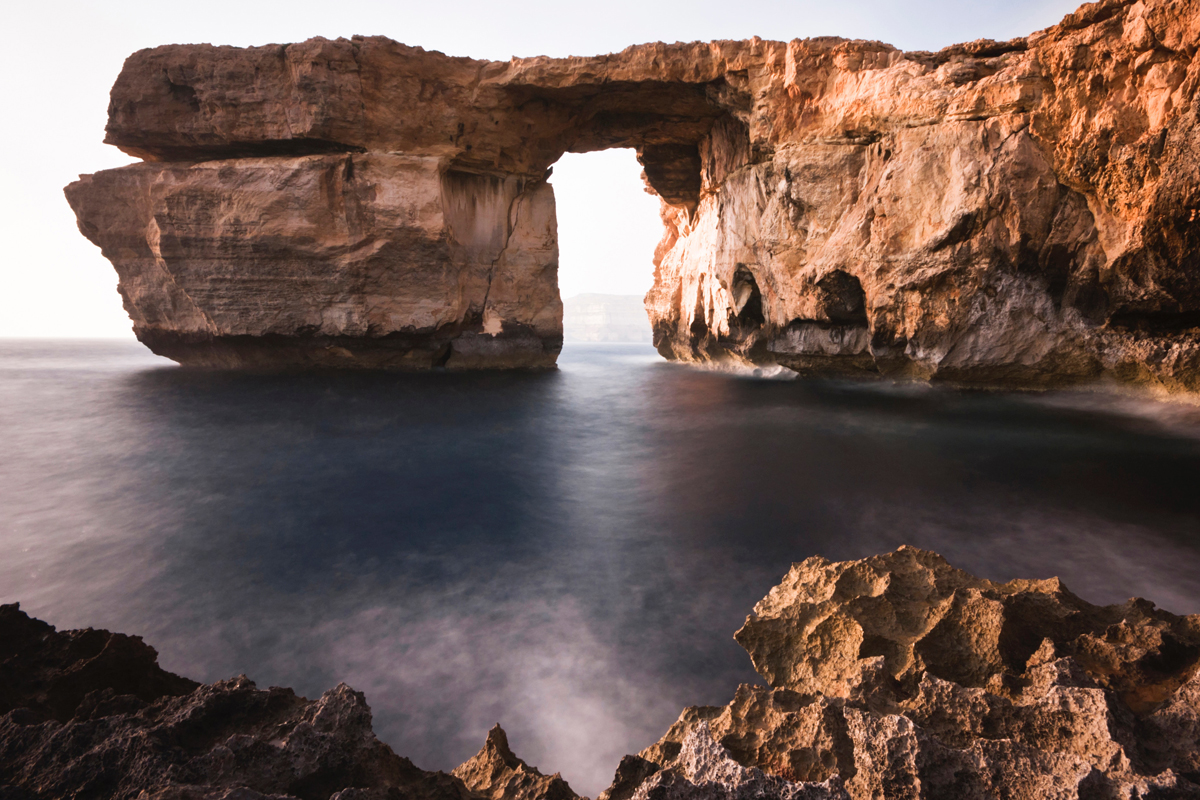
BEFORE
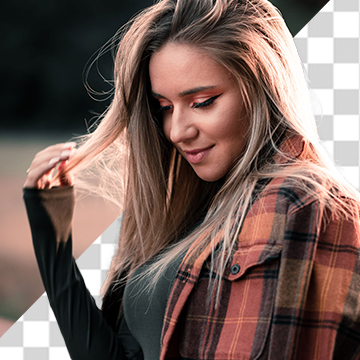
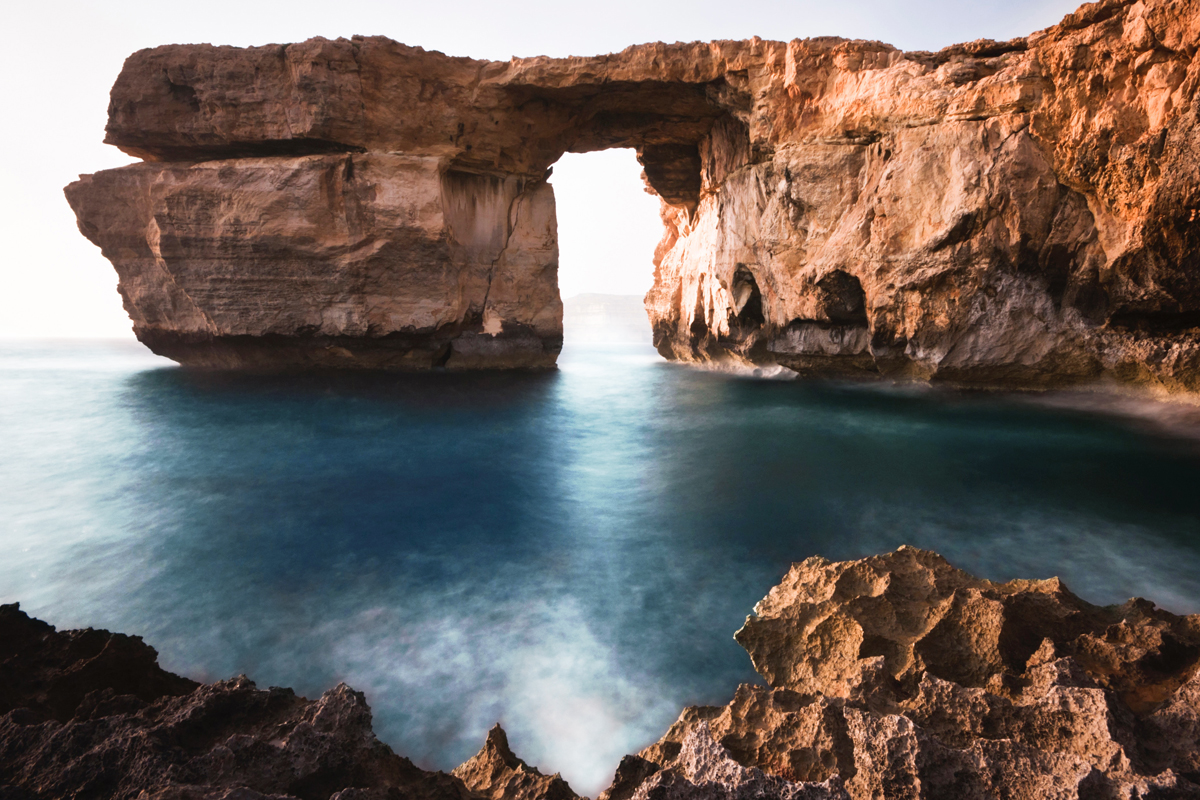
AFTER COLORING WITH A HUE/SATURATION ADJUSTMENT LAYER
Download Sample Images
Click the link below to download the sample images and follow along with this tutorial.
DownloadTutorial Description
With hundreds of tools, features, and techniques to keep track of, Photoshop can be an intimidating software to learn. In this tutorial, Aaron breaks down three essential tools that will help you work faster, smarter, and more comfortably. Master these and feel your Photoshop confidence skyrocket.
Learn how to edit photos non-destructively using Adjustment Layers, how to use use Layer Masks to hide and show parts of a layer, and learn the importance of saving your work as both a .PSD and a .JPG.
If you’re new to Photoshop, we also recommend our PRO tutorial series Photoshop 101-301. Go from beginner to pro with over 20 hours of in-depth, step-by-step instruction.
This episode is sponsored by our friends at monday.com! We use monday.com to plan and create every one of our tutorials. It is a beautiful team management tool that can help you stay organized, hit deadlines, share ideas, and communicate better than ever. PHLEARN uses monday.com, and we think you should too!
Adjustment Layers
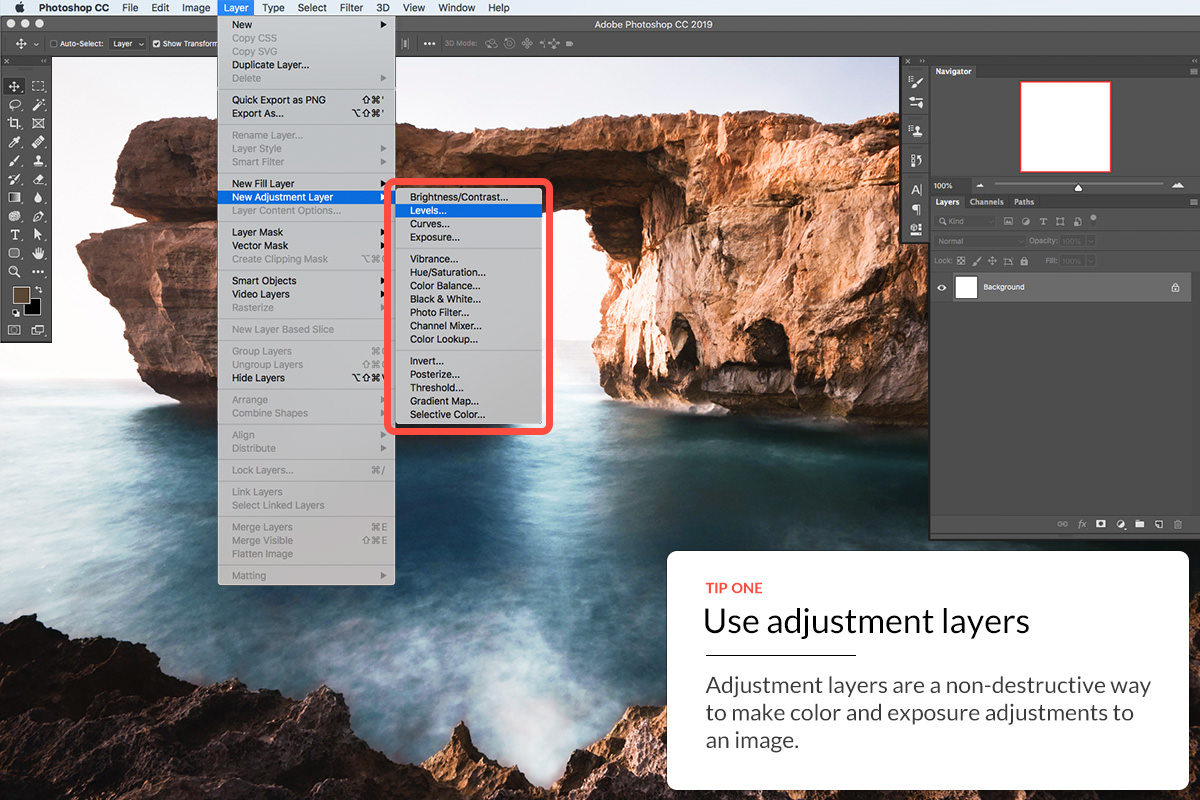
Adjustment Layers are the best way to edit your images. Why? The reason is in the name. The safest Photoshop workflow should always involve applying any edits to new layers. This way, you can always get back to your original photo by simply hiding or disabling any layers you’ve created.
Adjustment Layers are great place to start building good workflow habits. Since they are a type of layer, you can use them to edit a photo non-destructively without any extra steps.
They can be used to color correct, color grade, change colors, fix exposure, and they can be used to create amazing special effects. Adjustment Layers are one of the most powerful ways to work in Photoshop and their power is amplified when combined with the precision of Layer Masks.
Layer Masks
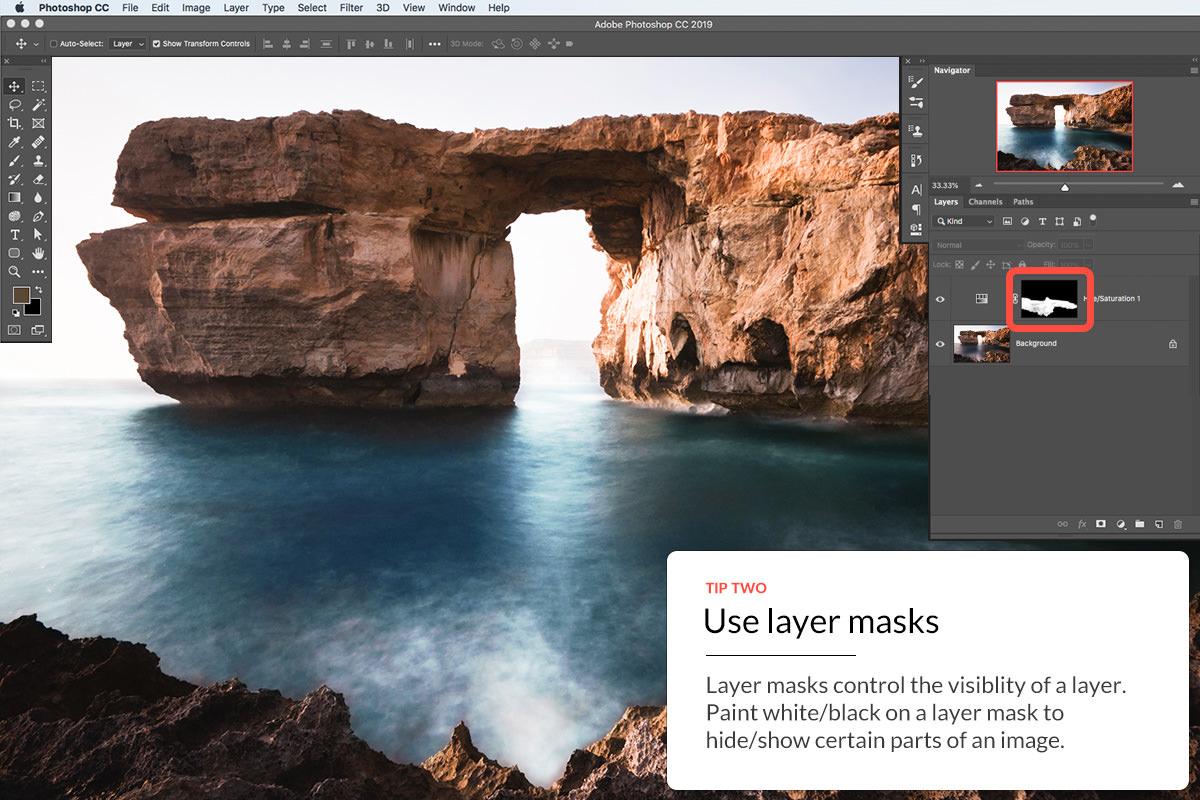
Layers & Masks are the backbone of Photoshop. Once you understand how they work, you can do almost anything you want. Layer Masks are a key tool, allowing you to change the visibility of a layer without ever deleting any pixel information (remember, we always want to preserve our original images!)
Adjustment Layers, for example, come with a Layer Mask already loaded and ready to go. In our example, we wanted to make the water appear more blue. We could use a Hue/Saturation Adjustment Layer to change the color, but if we use the default Layer Mask, we’ll be changing the colors of everything in the photo. How do we change the color of the water while leaving the sky and rocks untouched?
Simply select the Layer Mask of the Hue/Saturation Adjustment Layer and hit CTRL or CMD + I to Invert it. This will change the mask from white (which means everything on this layer is visible everywhere) to black (which means this layer is completely invisible).
Now we can used the Brush Tool to paint with white on the Layer Mask where we want the Hue/Saturation Layer to appear. If we paint over the water, we’ll see those blues that we wanted come through, while leaving the rocks and sky unchanged.
.PSD & .JPG
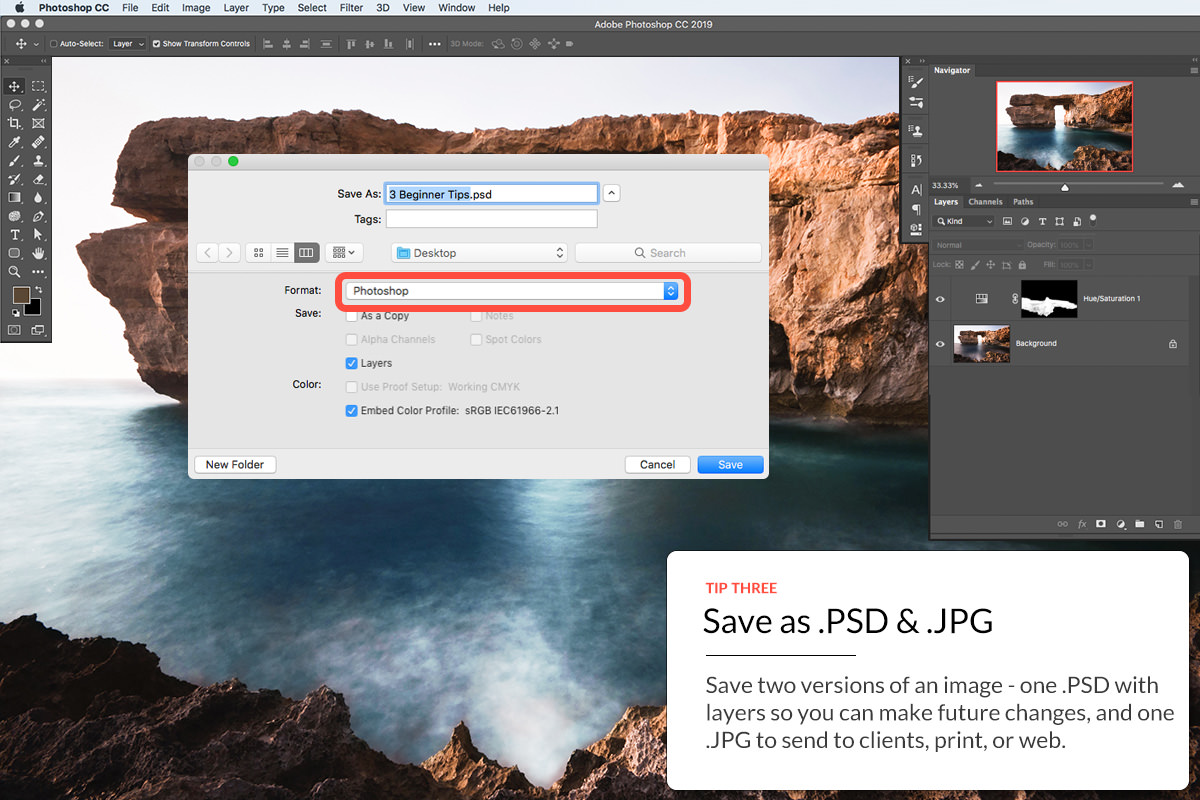
It’s important to think about saving your images in a couple of different ways. You’ll usually want to share your work, whether it’s through social media, your website, or maybe you’re just sending some samples to a client over e-mail. The most common file type for this purpose is the JPG. With a good balance of quality vs. file size, exporting your work out as a JPG makes sense.
Say you export a JPG – what if you see something after you export that you want to go back and change? If you try and edit the JPG, not only will you notice reduced quality, but you’ll also find it difficult to go back and remove any changes that have been baked into the image file. This is where a .PSD can save the day.
Always, always, always save your work as .PSD (or as a .TIFF, which work in a similar way). A .PSD is a Photoshop-specific document that will remember every layer and adjustment you’ve made. So if you notice in your JPGs that you applied a little too much coloring, let’s say you added too much orange to the image, you can open up the .PSD, find the Adjustment Layer that you used to add orange, and either reduce it or remove it.