
Tutorial Description
Today we show you how to change the display of any phone or tablet screen, a process perfect for creating mockups of websites or apps! Learn how to create a design for a website or layout, save it as a PSD, and then place that PSD into another document where you can seamlessly integrate it into any screen.
This technique uses Smart Objects to work non-destructively, and to make quick updates to an image across multiple PSD files. If you want to learn even more about the power of Smart Objects, check out our PRO tutorial How to Master Smart Objects in Photoshop!
Place Linked
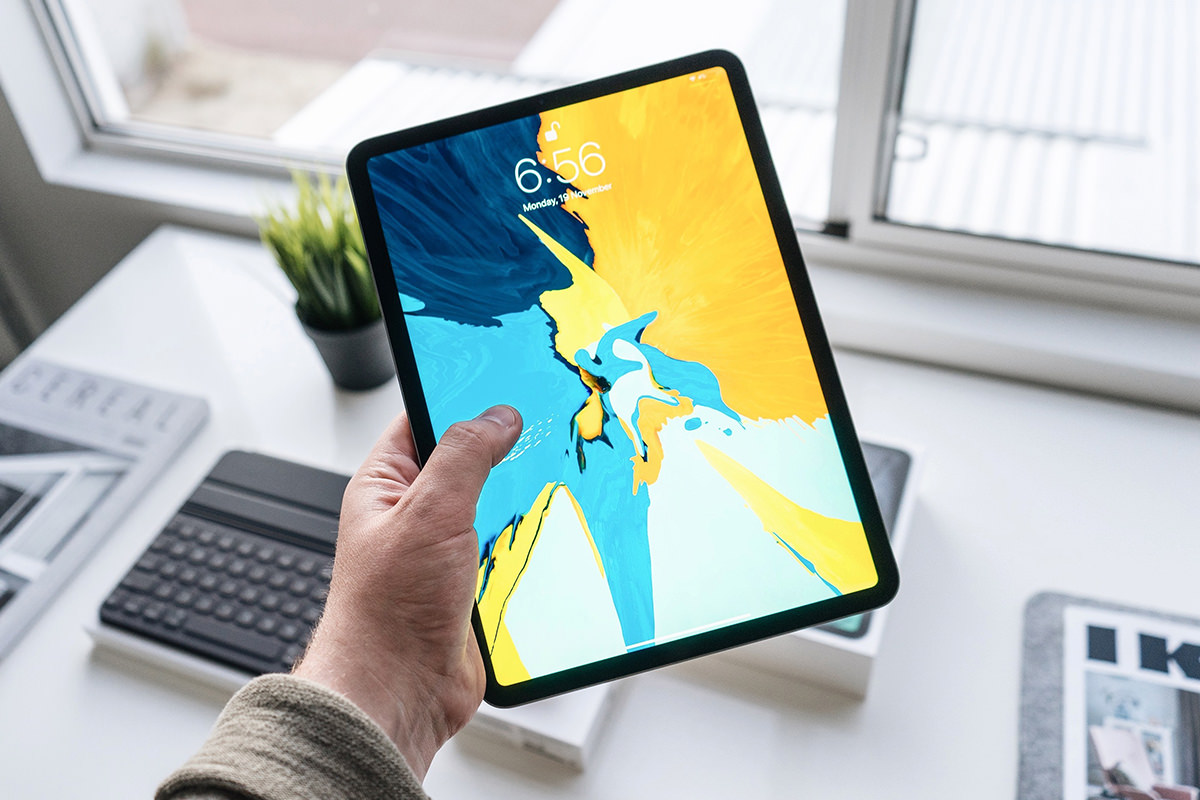
To start the process, you’ll want to create a Photoshop document that’s at an aspect ratio similar to the device you want to display it on. Then create any sort of design you want! It can be a website, an app, a logo, or even just a single image–anything that you want to see displayed on a phone or tablet screen. Once the design is complete, save it out as a PSD.
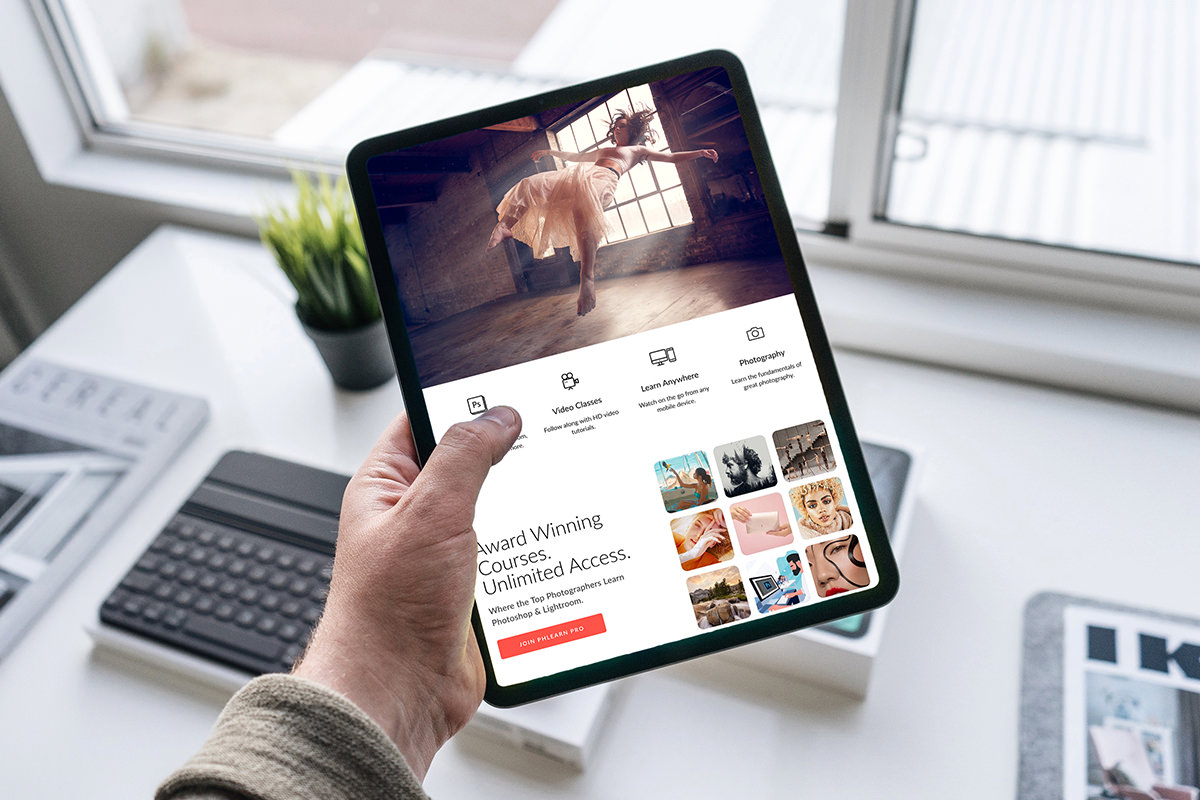
Now open up the image that has the phone or tablet screen and save it as a separate PSD. Open the File Menu and select Place Linked. Navigate to the design PSD and click on Place. This will load your design PSD into the document containing the image of the screen.
This allows you to do a couple of things:
- It will load the design PSD as a Smart Object, which makes it possible to Transform it and add Filters to it non-destructively–you can always get back the original, unedited version.
- You can make changes to the design PSD, save it, and then those changes will be reflected in the screen image PSD. This means you can experiment with the design and layout and see those changes updated immediately in the mockup.
This process makes it easy to create multiple mockups of a design, and see how they look when people view them on a phone or tablet screen!
Smart Objects
If you haven’t used Smart Objects before, this tutorial is a great introduction! We’re all about working non-destructively here at PHLEARN. Being able to undo changes, make adjustments, or start over with an unedited, original photo is extremely important for a frustration-free workflow. Smart Objects make it easier than ever to work non-destructively, allowing you to experiment with your images without losing quality or damaging your original photos.