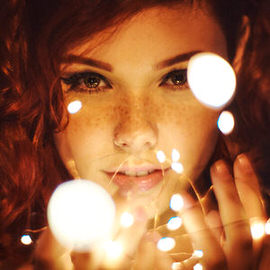
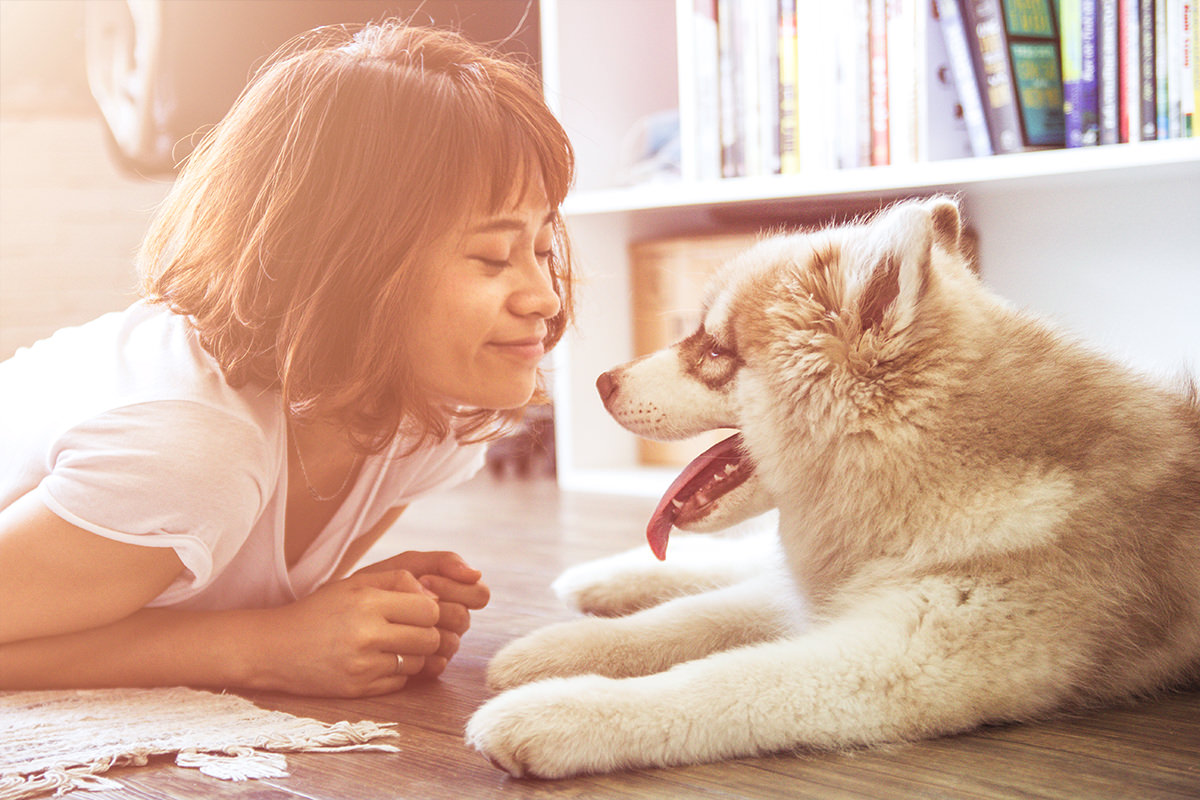
BEFORE
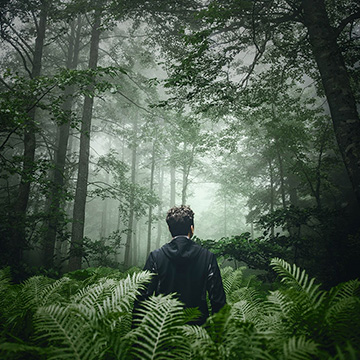
AFTER
Download Sample Images
Click the link below to download the sample images and follow along with this tutorial.
DownloadAdd the Warmth of Summer to Any Photo
Sometimes a bit of color is all a picture needs to help capture the mood and the moment. In this tutorial, we’ll show you a quick and effective method to add a warm glow that can help bring a picture to life with the tones of summer or autumn.
Orange You Glad To Be Here?
Capture the orange shades of the changing autumn leaves or the inviting yellows of the summer sun with this easy technique to colorize your photos.
We’ll get you familiar with the Gradient Tool and Gradient Maps but first you need to choose the right kind of photo for this effect.
We recommend using a picture that is mostly backlit to ensure that the glow and coloring look as realistic as possible. If you use a photo that is primarily front lit, the effect will still work but it will look much less natural.
The Gradient Tool
Once you’ve opened up your image in Photoshop, select the Gradient Tool and open up the Gradient Editor. This dialogue provides a ton of options for changing and customizing any sort of gradient to fit your needs. For our purposes, we’ll only need to create a standard black and white radial gradient.
Now, keeping in mind how the light is working in our scene, we want the brightest (the white portion) of our gradient to be coming from the same angle as the light source in our image. Using the gradient tool, drag a line from that corner of the image out to where you want the glow to extend. You should end up with a portion of the radial gradient covering most of your image, starting with white in the corner of the light source and then fading into black. Let’s make this layer invisible and move on to Gradient Maps where we’ll add the magic of color.
Gradient Maps
Gradient Maps are an incredibly powerful tool for coloring in Photoshop. Start by going to Layer and then to New Adjustment Layer. From the Adjustment Layer options, select Gradient Map. Now, you can follow along with our tutorial, but we definitely recommend spending some time playing around with gradient maps so you can understand how they work and how they’ll affect your images. When adjusting or adding colors to the gradient map adjustment layer, you’ll be directly affecting the colors of the respective highlights, midtones, and shadows in your image. Since we’re aiming for a warm glow, we’ll be focusing on reds and oranges.
You’ll want to leave your the black and white sliders where they’re at, since we want our darkest shadows to be black and our brightest highlights to be white. By clicking anywhere beneath the gradient color selector, you can add new colors to your gradient. Try starting near the shadows with a deep red, and then move your way to your highlights, changing to a brighter orange as you go. After a few colors have been added, you should have a nice, natural transition of reds and oranges throughout your photo. You can also move any sliders around to either brighten or darken certain colored areas. Experiment until you get the balance that you want!
Gradient Mashup
Now it’s time to combine the gradients together. Start by making that first black and white gradient visible again. Then, go to the Blending Mode drop-down for that layer and change the Blending Mode to Screen – this will make the black portions of the gradient invisible.
WAIT! Why didn’t we just make that original gradient white to transparent instead of white to black if we were just going to remove the black portions later? A most excellent question for which we will provide a most excellent answer.
We’re going to be using our Gradient Map layer to color our original gradient. Had we made a white to transparent gradient, we’d only be coloring the white areas and we wouldn’t have a transition from bright orange to darker reds.
Let’s see it in action! Right click on your Gradient Map adjustment layer (and make sure it’s on the top of the layer stack, directly above our original radial gradient) and click on Create Clipping Mask. Doing this will make it so our Gradient Map only affects our original gradient and not the underlying photo. You should end up with a new gradient that transitions from light to dark and comprised of the colors you selected when making your Gradient Map. Our warm glow is complete.
At any time, you can adjust the colors of your Gradient Map or change the position/size of the radial gradient to better fit your scene. Everything is completely customizable and non-destructive. So feel free to make some minor changes or get a little crazy!
Have some fun and add a little warmth to your pictures.