Download Sample Image
description
In episode three of our four-part series, learn how to remove objects large and small from a background with complicated lines, edges, and details.
Click here to download the complete PSD file (139MB).
Free Object Removal Series
- A Tour of the Best Object Removal Tools in Photoshop
- Clean Up Simple Backgrounds in Photoshop
- Remove Objects Around Lines & Edges in Photoshop (This Episode!)
- Remove Objects From Complex Textures in Photoshop (Coming Soon)
If you’re ready to take these skills to the next level, be sure to check out our PHLEARN PRO series on object removal in Photoshop.
Share

Clean Up Edges with the Clone Stamp
Lines & Edges with the Clone Stamp Tool
In the first two episodes of our object removal series, we covered most of the major tools in Photoshop that can help us remove distractions from our images. In this episode, we’re going to dive in a little deeper.
The images we used in episodes one and two were both relatively easy to clean up as they had fairly simple backgrounds to work with. Our example image for this episode will ramp up the difficulty while helping us explore one of the more powerful tools for object removal, the Clone Stamp Tool.
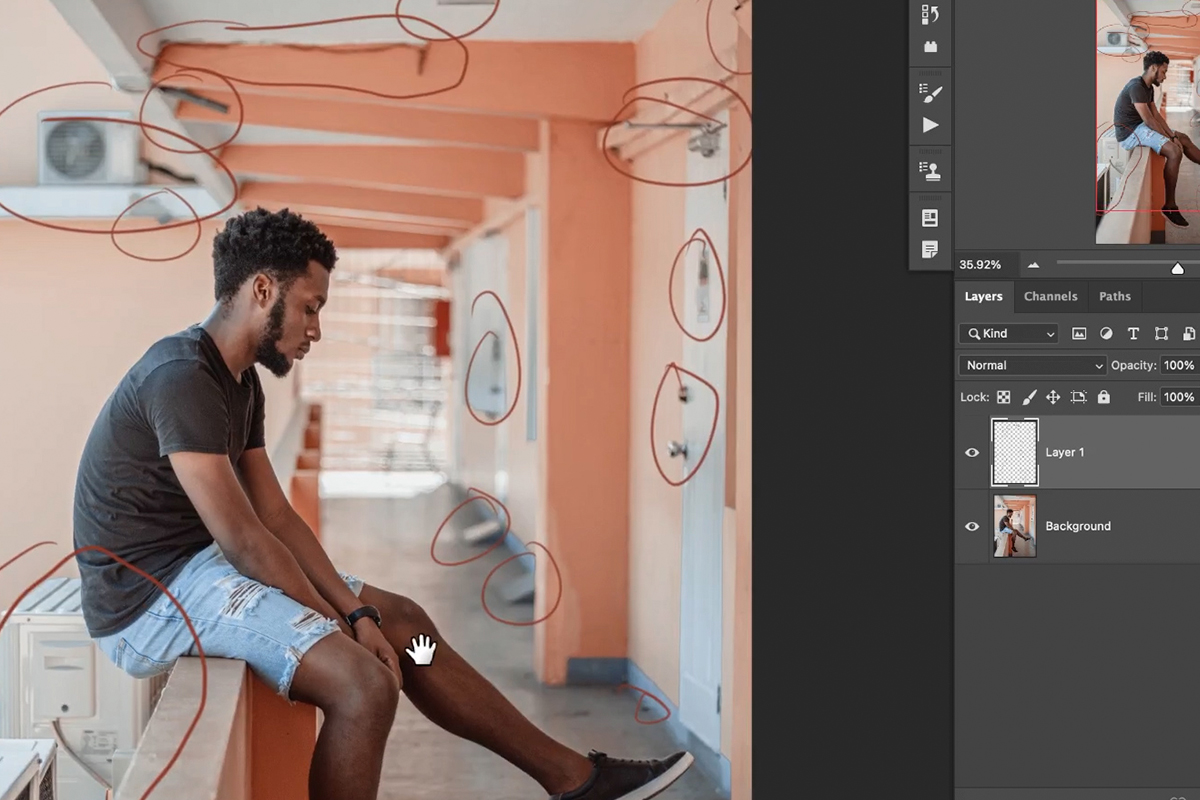
Aside from just being busier and more complicated than the previous examples, this image features one of the trickier things to work around while doing object removal: lines and edges. And when working around the lines and edges, as you may recall us mentioning, there’s no better tool for the job than the Clone Stamp.
Clone Stamp Tool Settings
Before digging into how to use the Clone Stamp Tool, there’s a couple settings that we can take advantage of that will help us work a little easier.
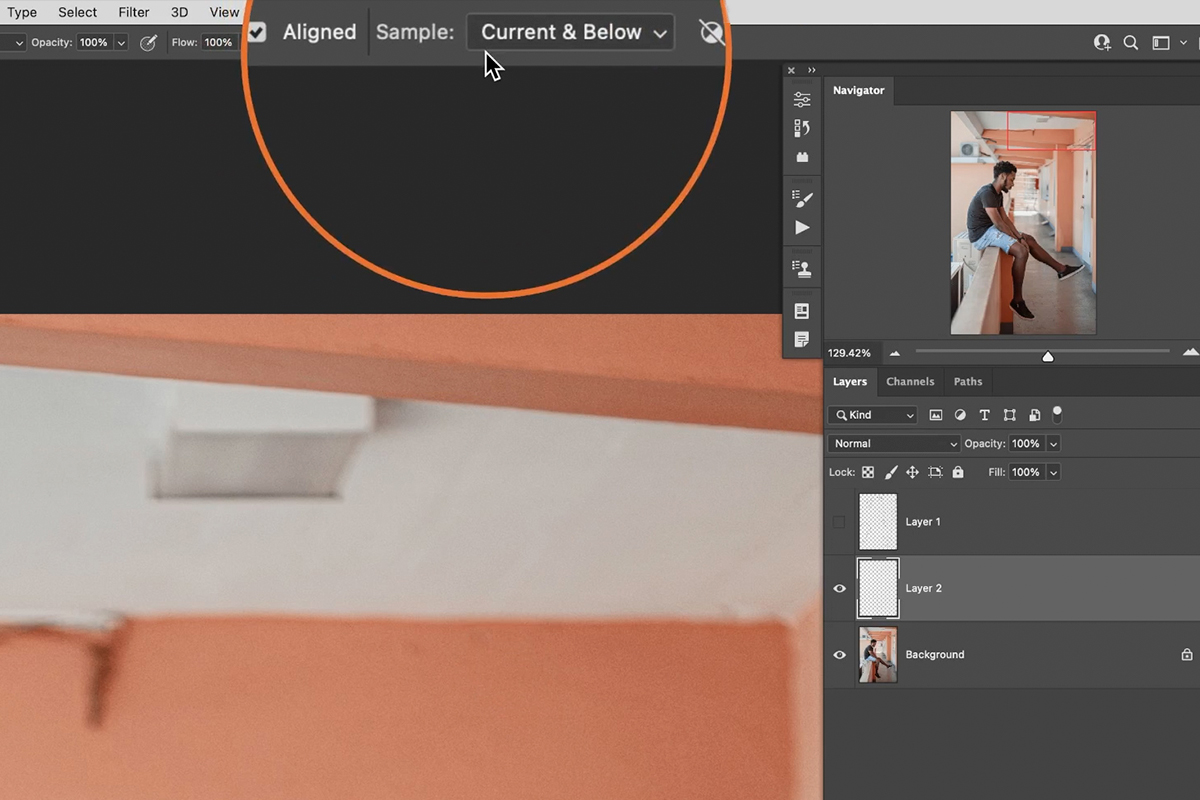
If you know PHLEARN, you know that we always preach the importance of a non-destructive workflow. That means that any and all adjustments should happen on new Layers–we should never directly edit our background image. That being the case, we’ll want to make sure that we’re using the Clone Stamp Tool on a new, blank Layer.
In order to do this, make sure that the Sample setting is set to Current & Below. This option tells Photoshop to use information from every Layer underneath our new Layer (as well as from the Layer itself once there’s image data on it).
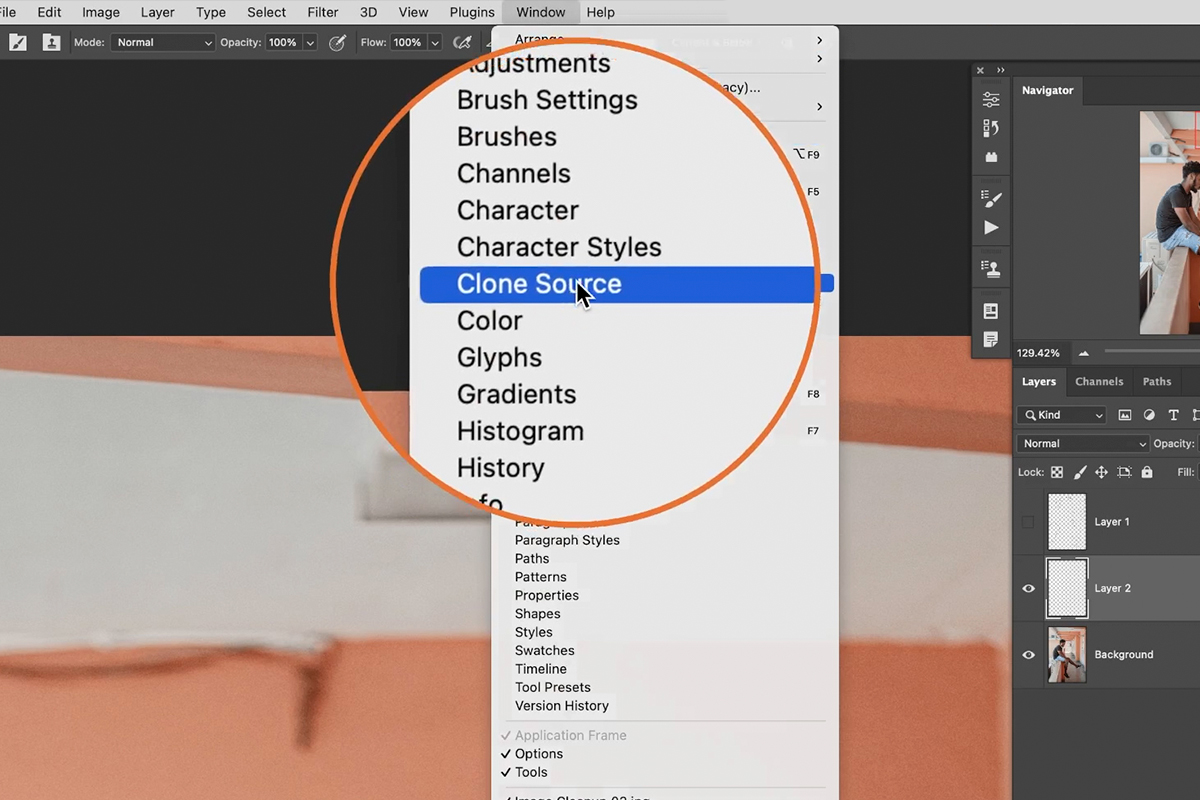
We’re going to be using the Clone Stamp Tool to copy lines and edges from one area and paint them over another. Being able to see what we’ve sampled will make our lives much easier when trying to line things up.
To enable a preview of the sampled area, open the Window menu and select the Clone Source option.
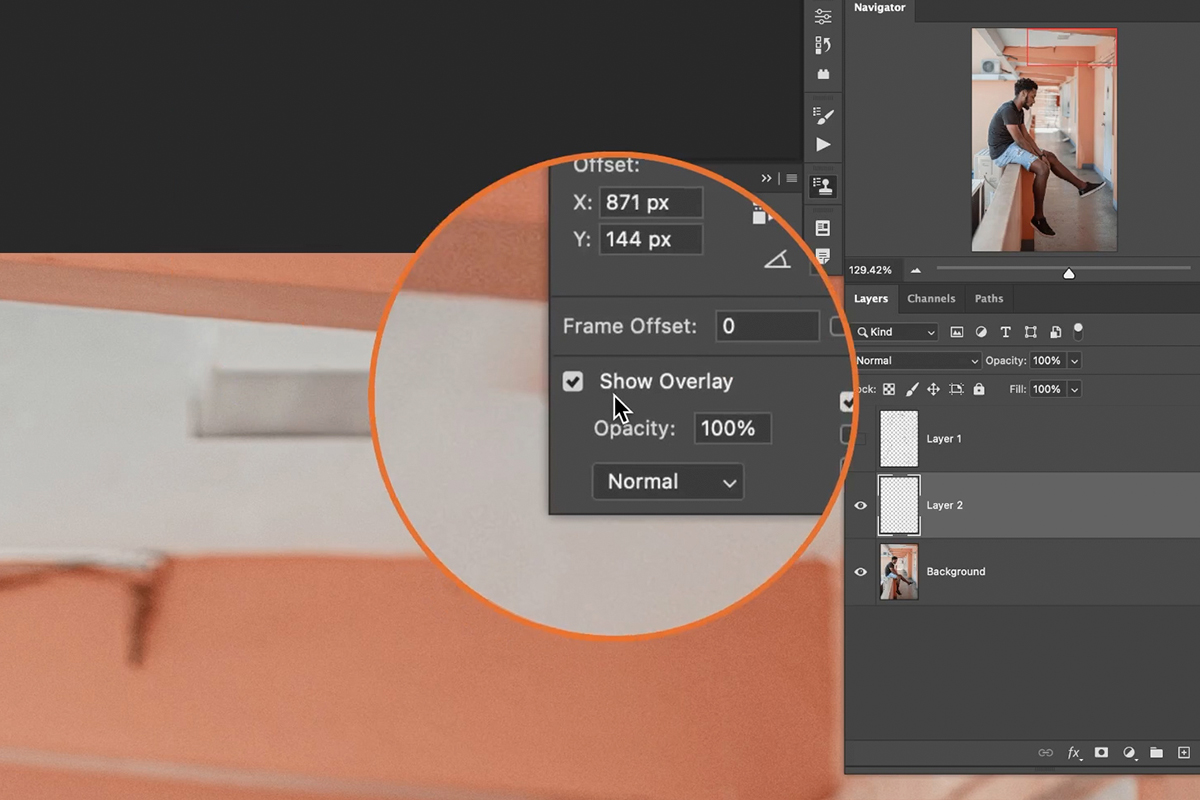
A dialog will open–just make sure that the Show Overlay option is checked. This will enable a live preview of what you’re about to paint with.
How to Use the Clone Stamp Tool
Now that we’re set up, let’s jump into how to use the Clone Stamp Tool to work around line and edge detail in an image.
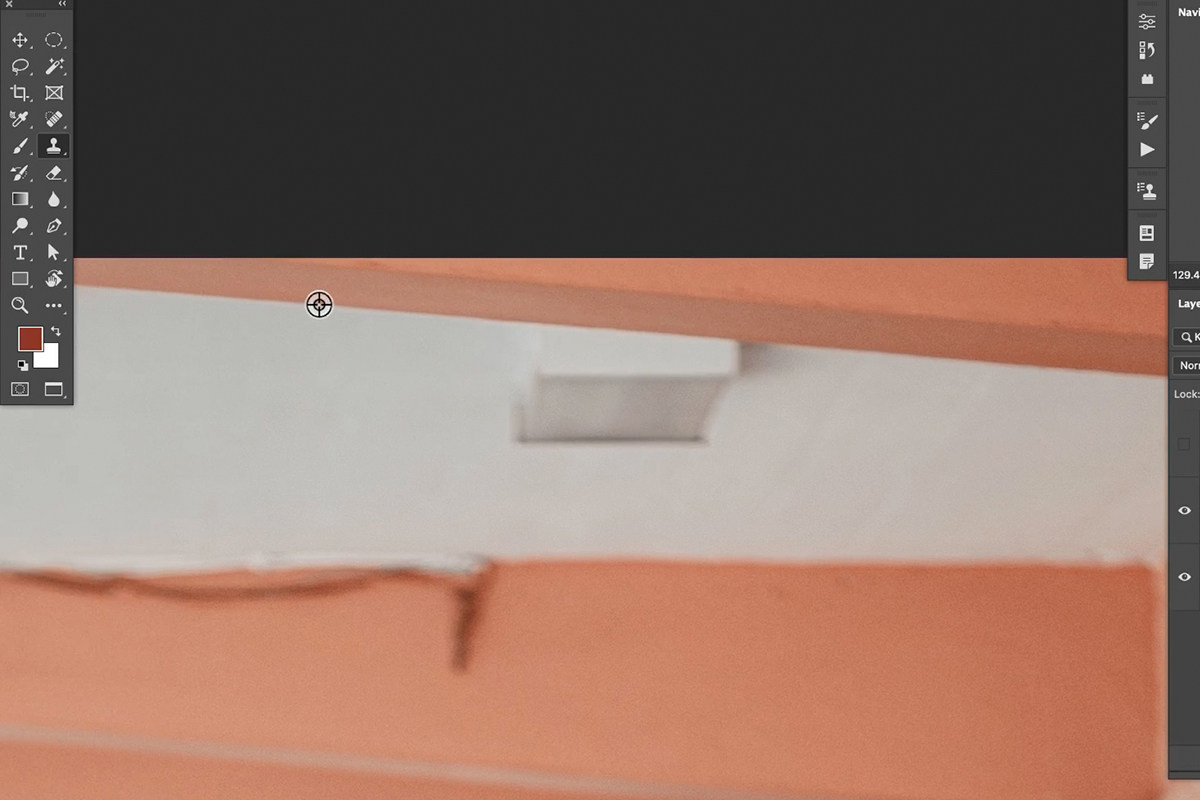
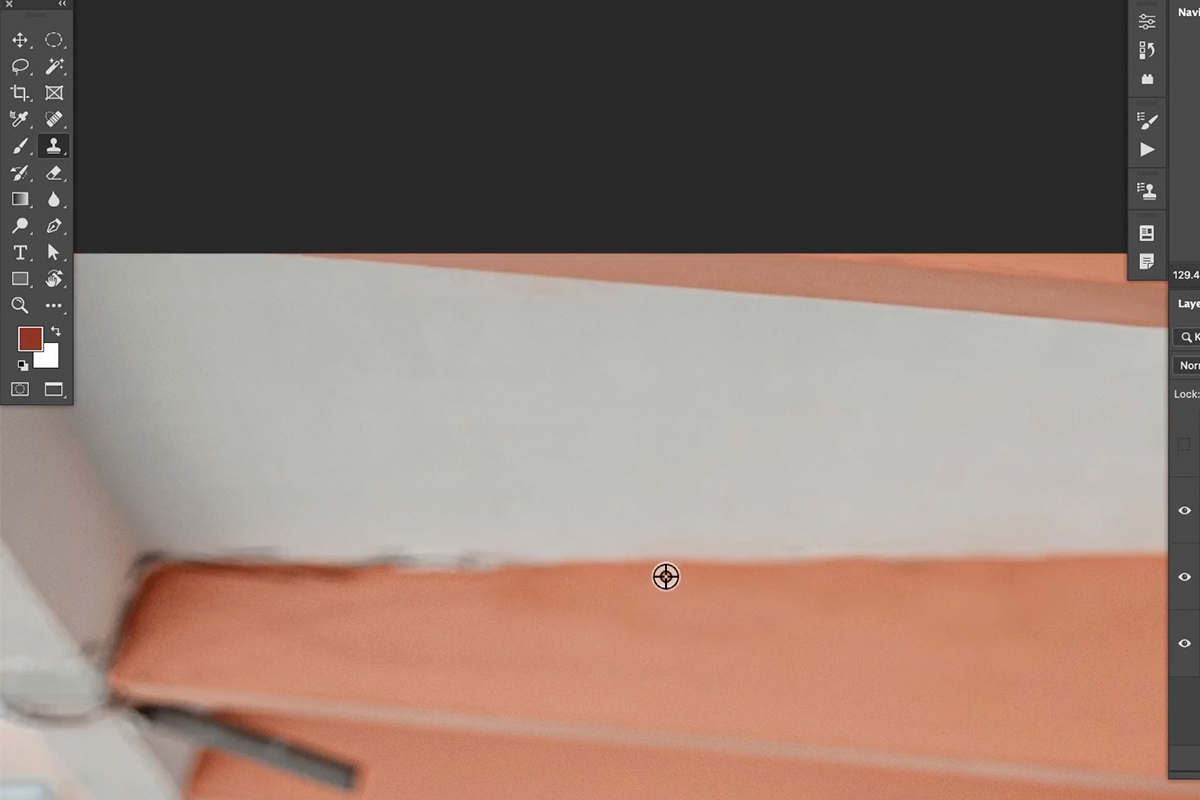
Zooming in on the roof area of the building, there are some wires and objects that we want to get rid of. But notice that they’re surrounded by the lines and edges of other elements of the building. We need to remove those unwanted bits without distorting any of the structural details.
First, create a new, blank Layer above the background image. Select the Clone Stamp Tool. After analyzing the area where the object is that you want to remove, find another spot in the image with a similar edge but that’s clear of any unwanted objects. Hold ALT or OPTN to Sample that area.
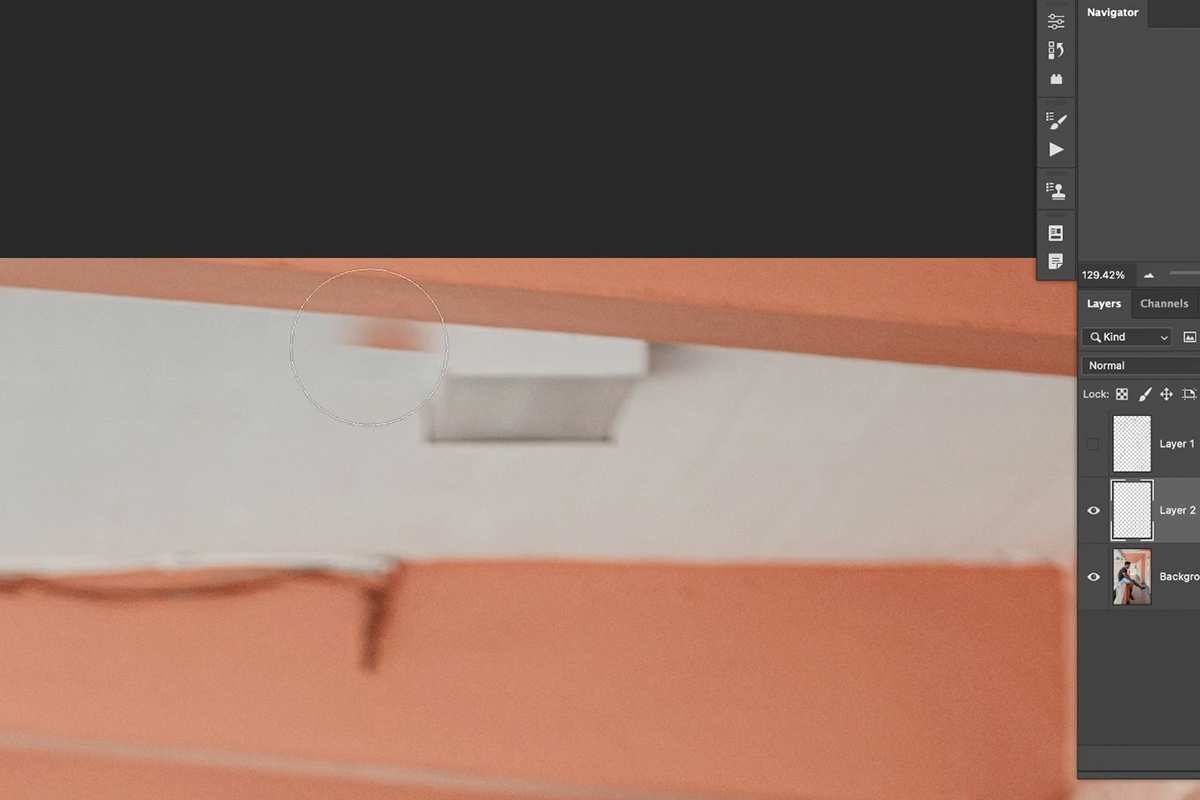
Once you’ve sampled a clean edge, move the cursor until you can easily see a preview of the Clone Stamp. Notice that the preview shows exactly what you’ll be painting with: an exact copy of the edge you sampled.

With that sampled area active, use the preview to line it up with edge around the object you want to remove. Then start painting over the object. Photoshop will continue to pull information from the sampled area, moving the sample point relative to the direction you paint.
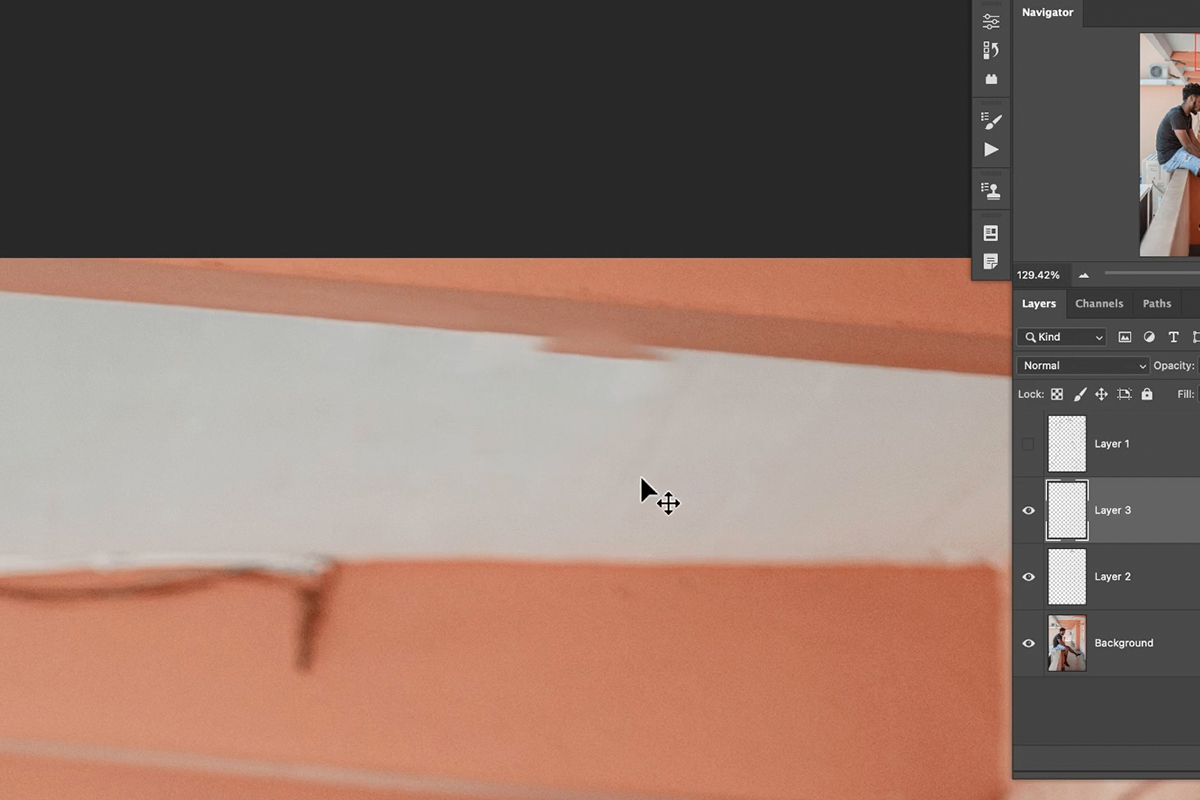
You should be able to cover up the unwanted object while maintaining a clean, straight edge. But what if you missed when initially lining up the preview? Since you’re working on a new Layer, you can simple use the Move Tool to move the Layer into the correct position.
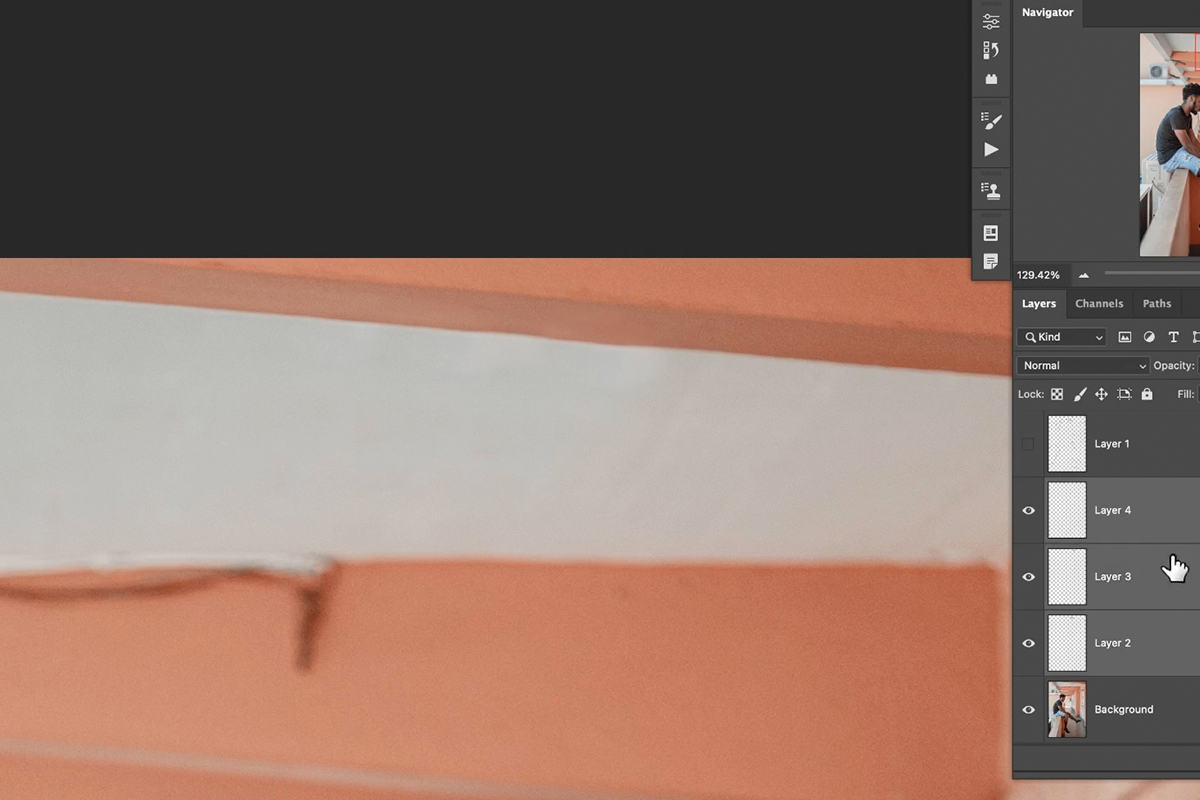
It’s even a good idea to continually create new Layers as you use the Clone Stamp, that way each edit can be moved and adjusted independently. Once you’ve successfully removed the object, you’re free to Group these Layers together, or merge them together if you’re happy with the result.
Backgrounds like this can be challenging, and can take a lot of time to clean up since you’ll need to rely more heavily on manual removal tools. Continue working around the image, removing as many distractions as possible. Stick to the Clone Stamp Tool for anything that’s near any lines or edges, but don’t forget to practice the other removal tools we covered in the previous episodes!