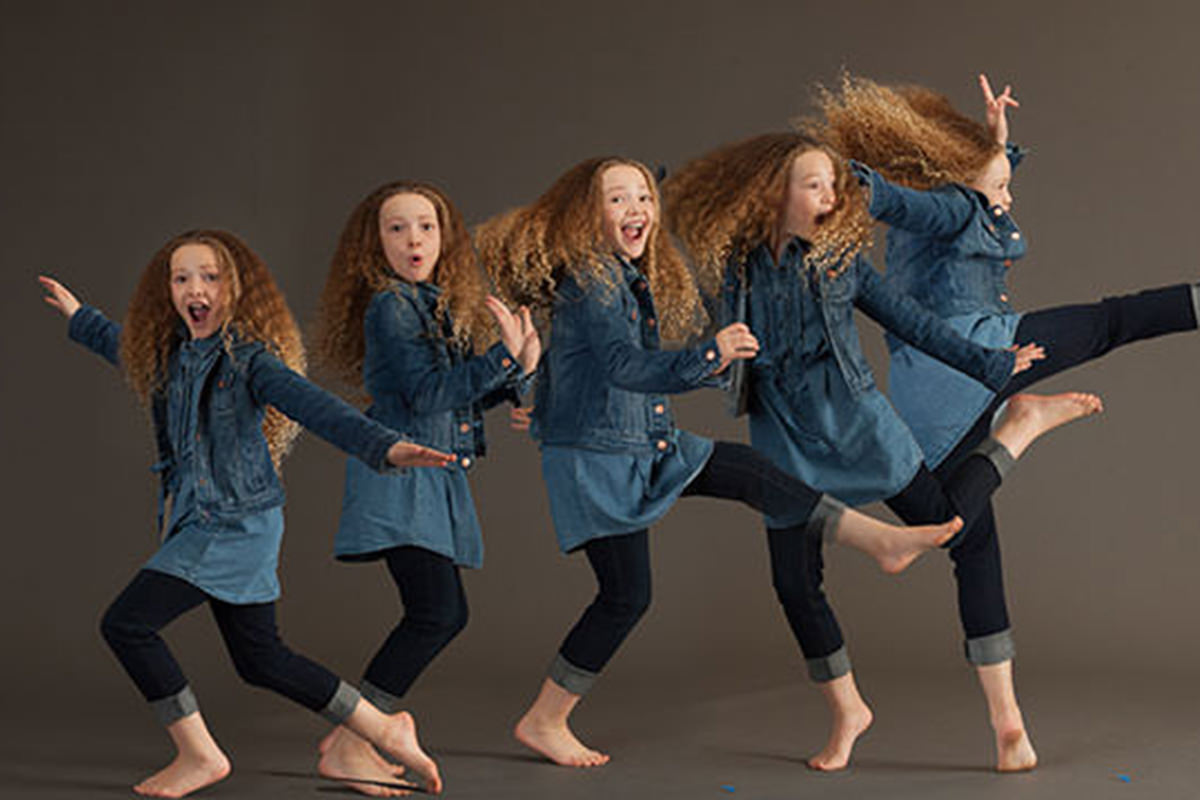
BEFORE
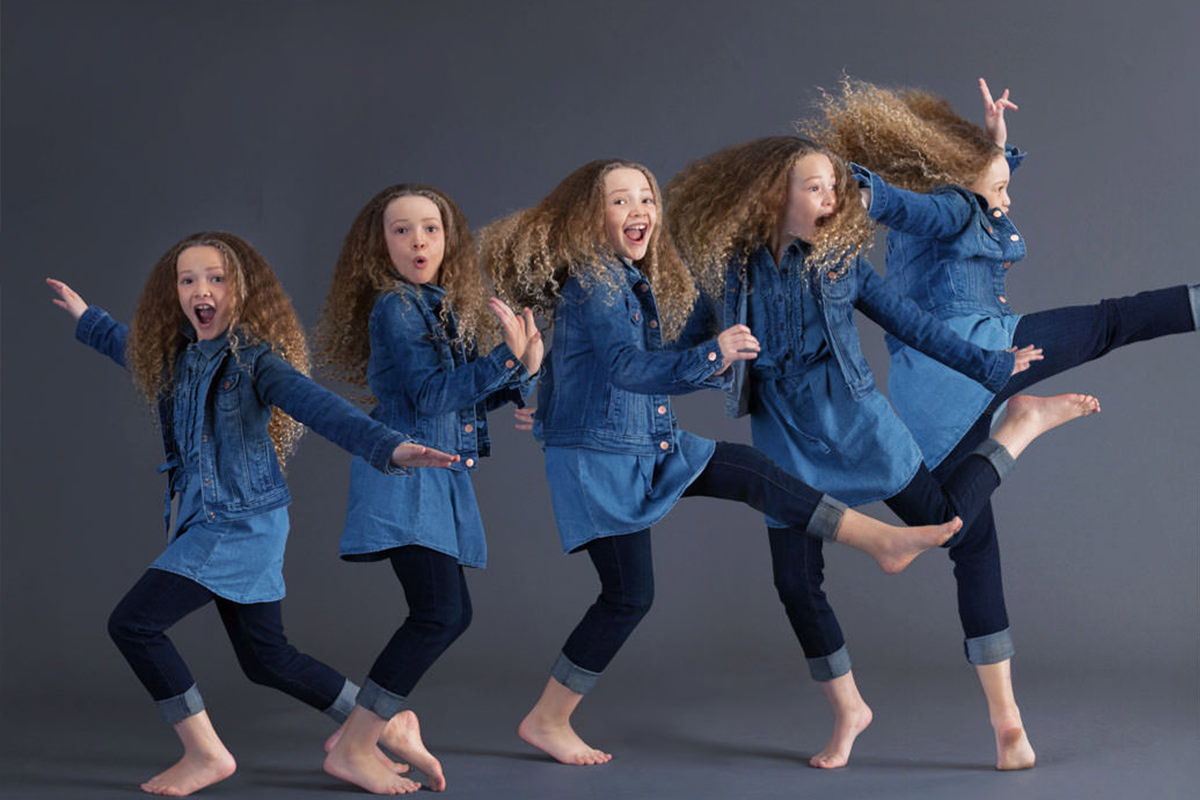
AFTER
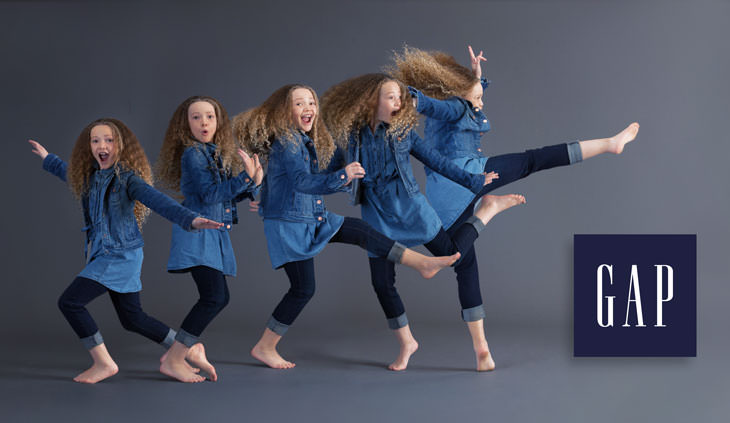
Commercial Retail Fashion – Post Processing
You saw the behind the scenes of our Gap inspired fashion shoot, now we take the images into Photoshop to start the Compositing and Retouching process. Make sure to check back for part 2 of the post production later this week.
Cutting Your Subject Out
When photographing your subject on a gray seamless it should be relatively easy to cut them out. In today’s episode we use the Magic Wand Tool to select out the Background. In this case it makes more sense to select the Background rather than the subject because the background is more uniform and easier to select.
After selecting the background we load the selection into a Layer Mask and Invert it to make just the subject visible. This same process is repeated for each of the layers, giving us the opportunity to place them together. After all of the subjects are cut out we Align them together to form the final movement.
Blending Exposures
Because the lighting we used on the photos was stronger on one side than the other we have to blend Exposures to make everything work together. In this case we used a Curves Adjustment Layer that is clipped to the layer with the subject to change the Exposure.
The trick here is to realize that you don’t have to have a perfect Layer Mask in order to blend well. As long as your Exposure matches from layer to layer, your image will come together seamlessly.