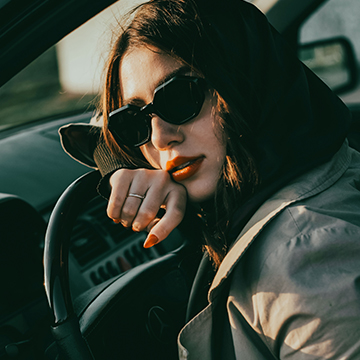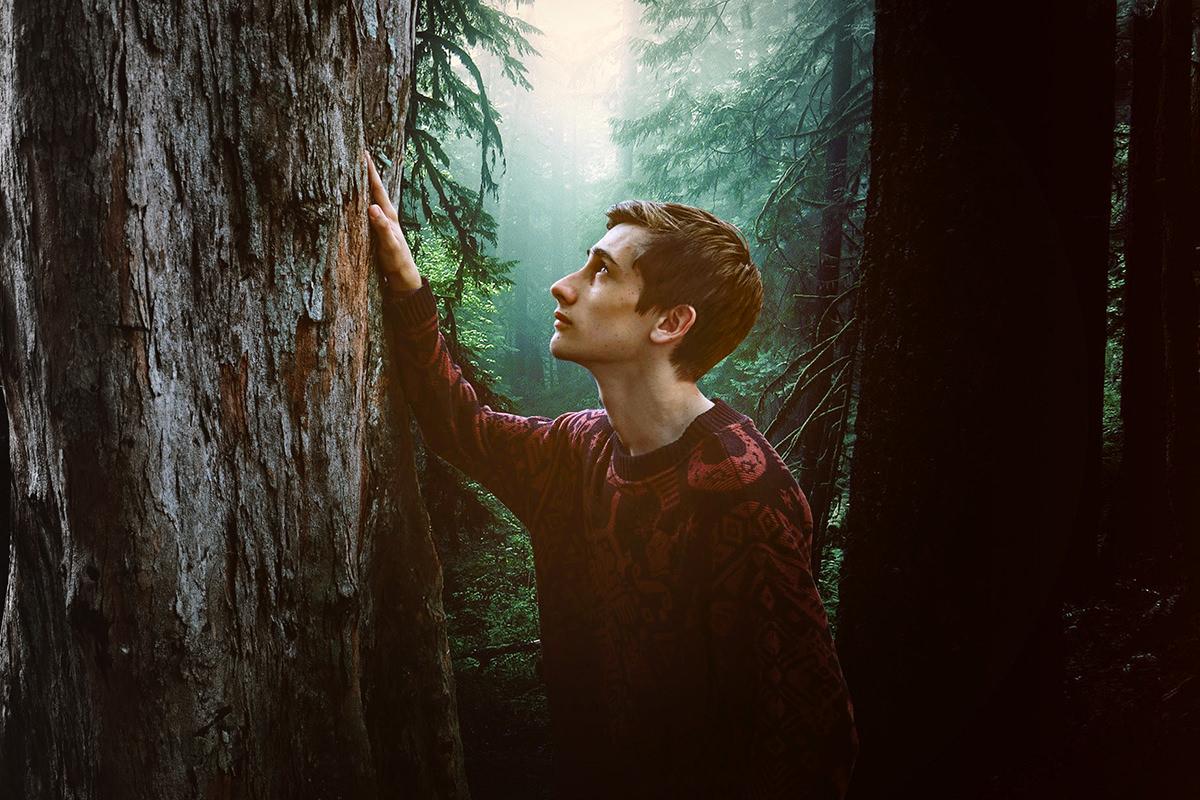

BEFORE
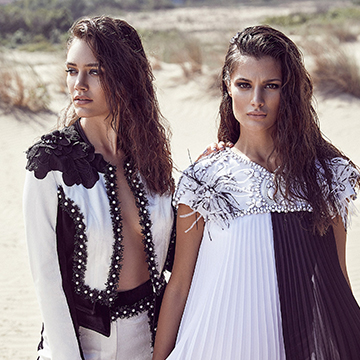
AFTER
Download Sample Images
Click the link below to download the sample images and follow along with this tutorial.
DownloadTutorial Description
When editing photos in Lightroom, sometimes you don’t need to change the entire image. Learn how to enhance specific areas of your photos in this free tutorial!
How to Use Graduated and Radial Filters in Lightroom
Lightroom is a great tool for organizing and editing your images. Basic controls like exposure and white balance make changes to your entire image.
What if you only want to make changes to part of your photo?
Graduated and Radial Filters to the rescue! Learn how to use both in this free tutorial.
How to Use Graduated Filters
To create a Graduated Filter, first, click on the Develop Module and click on the gray rectangle on the top of the right sidebar. This will bring up the controls for the Graduated Filter.
To apply a Graduated Filter on your image, click and drag across your photo. To move the Graduated Filter, click the center circle and drag it to the desired location.
Click and drag the outside lines to define the feathering of the Graduated filter, and rotate the center line to rotate the entire Graduated Filter.
Once creating the filter, adjust the settings in the right sidebar. The changes you make will only appear in the filter.
How to Use Radial Filters
The Radial Filter is located to the right of the Graduated Filter and looks like a circle. Create and alter the Radial Filter the same way as the Gradual Filter.
By default, the filter will affect everything outside of the Radial Area, click on ‘Invert Mask’ on the bottom of the Radial Filter dialog to effect the space inside the Radial Area.
Add or subtract from the mask by clicking on the ‘Brush’ option in the Masking section on the top of the filter. Paint areas to include them in the affected areas. To remove areas, hold ALT/OPTN and paint over parts of the photo.
Related Tutorials
-


The Ultimate Guide to Lightroom Classic Workflow
-

How to Export Photos for Clients & Web in Lightroom Classic (Plus Watermark)
-

Change the Color of Anything with the NEW Hue Adjustment in Lightroom
-

How to Save Time with Export Presets in Lightroom
-

How Lightroom Can Come To The Rescue When Your Images Go MIA.