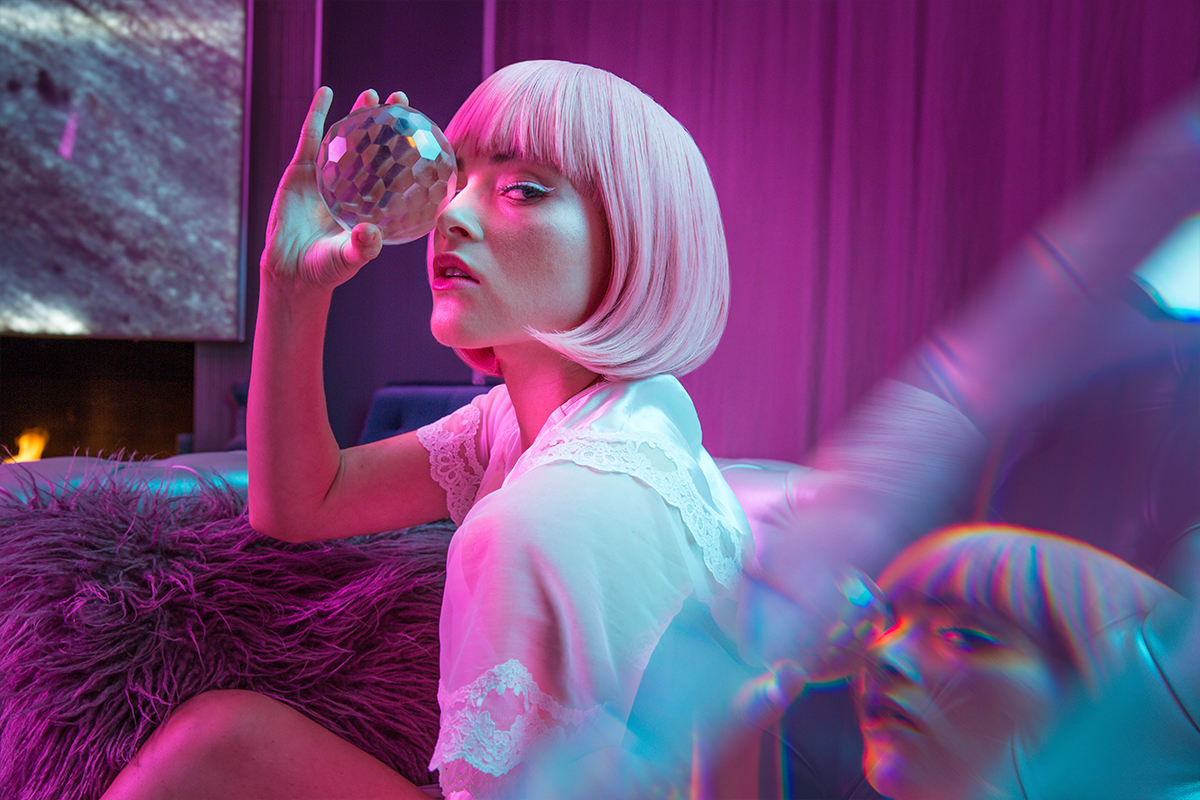


BEFORE HAIR RETOUCHING
AFTER HAIR RETOUCHING
Download Sample Images
Click the link below to download the sample images and follow along with this tutorial.
DownloadTutorial Description
Retouching hair can make a huge difference in a photo. Messy hair results in a messy image.
Learn three powerhouse techniques to retouch any type of hair. Don’t forget to download the sample image, and upload your version below!
How to Remove Stray Hair
The best tool to remove stray hair is the Content Aware Healing Brush Tool. Be sure to create a new layer and choose “Sample All Layers” from the top menu. This tool can be used to remove most stray hair and any hair that is moving in the wrong direction.
How to Clean Up Edges and Create a Hair Outline
The Spot Healing Brush Tool gets confused when working on more complicated areas like the edges of the hair.
To create a clean edge, we need to create a selection. Start by using the Pen Tool to trace an edge around the hair in your photo. Simply click and drag in the direction of the hair and create a loop. After making a Pen Path to define the edge, right-click on the path and choose “Make Selection”
For help with the Pen Tool, check out this episode.
After making a selection, create a new layer and choose the Clone Stamp Tool. Be sure to sample “Current and Below.” With the selection active, hold ALT/OPTN to sample outside of the hairline, then paint inside of the selection to remove stray hair and clean the edge of the hair.
If needed, inverse the selection and paint more hair inside of the hair line. Repeat these steps as necessary to clean up the complete hair line.
Add Additional Hair with the Brush Tool
To begin, choose the Brush Tool and make the brush size small enough to replicate the width of a hair. Sample the color from the existing hair by holding ALT/OPTN and clicking on the hair. Next, paint small lines at the edge of the hair to replicate stray hair.
Why would we add more stray hair? Hair will never have a 100% solid edge, after all, it is made up of thousands of individual strands. To make the hair more realistic, paint in a few “well placed” strays. The goal here is to make the hair look real, not to make it messy again.
How to Fill in Gaps in Hair
Some hair styles will have gaps where hair doesn’t fall correctly. In this case, the subject’s bangs have a few areas where the hair isn’t filled in.
Choose the Clone Stamp Tool and make the brush size small enough to replicate the width of a hair. Hold ALT/OPTN to sample the hair and paint it in strokes to fill in the gaps!