


Working With Color
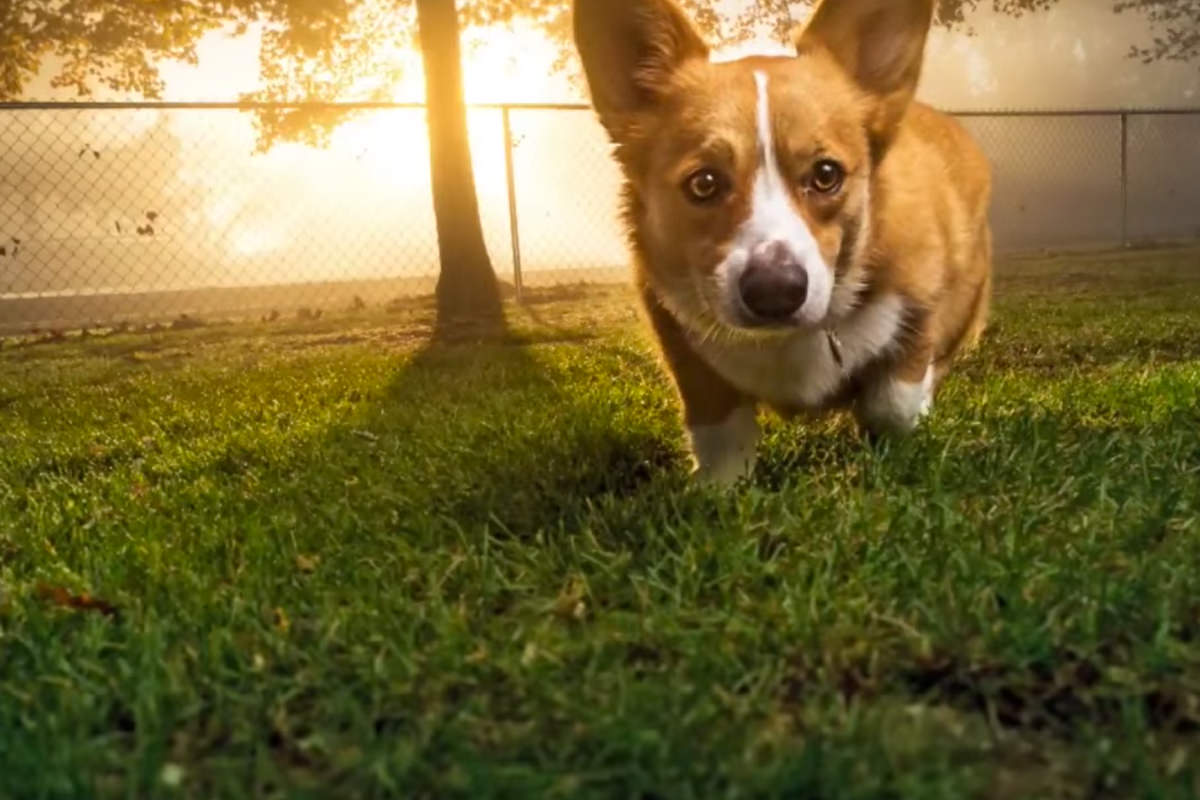
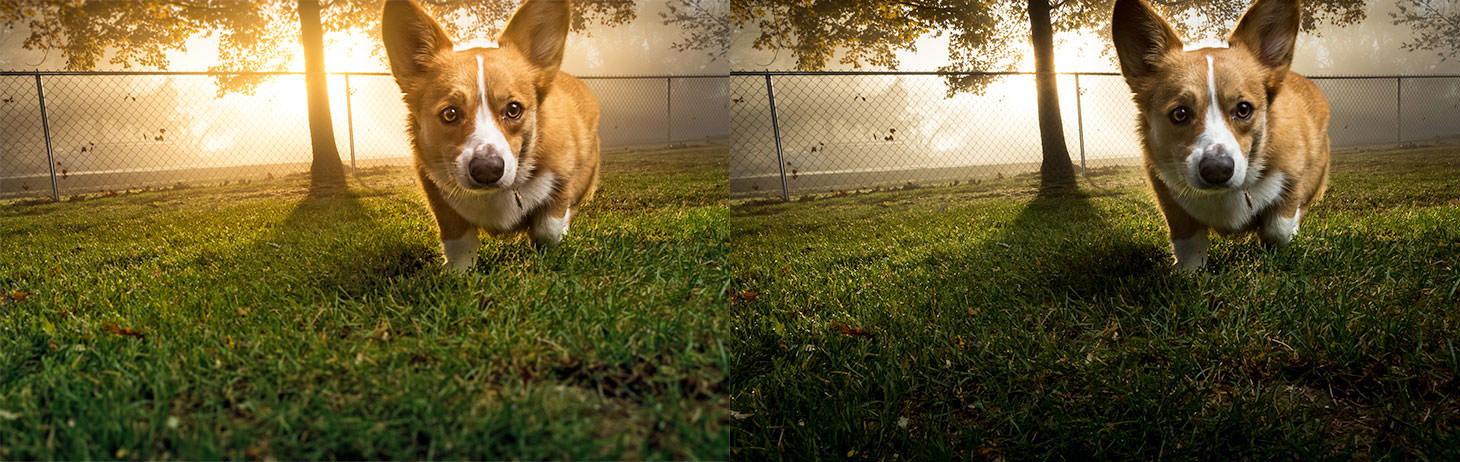
In most cases, using the Color Ranges that exist naturally in a photo will help to bring out the best in the image. In this image we focus on adding orange to the top of the image and green to the bottom. The orange supports the Light that is coming from the sun as well as bringing out more Color in our corgi.
Selecting a Mood
Before editing your photos, it is important to figure out what type of mood you would like to help them portray. Color is tied with emotion and choosing the right Color Range for your images will help you get across your message. For “happy” images, choose bright warm Colors like reds, oranges and yellows.
If your goal is to make a “sad” or “somber” image, try using desaturated blues and greens.
Brightening Shadows
Because we want this image to send a “happy” message, bringing up Brightness and Color from the Shadows is a good editing choice. The easiest way to Lighten Shadow detail is using the Shadow/Highlight function in Photoshop. This dialogue will give you the option of Amount, Tonal Width and Radius. We cover each one of these functions in this tutorial as well as give you a good baseline that you can apply to your images.
Drawing Attention to your Subject
In today’s episode we cover a few different methods that are effective in drawing the viewer’s eye towards the subject of your photo. These include Sharpening, blurring and using Curves to brighten the subject.
Final Image
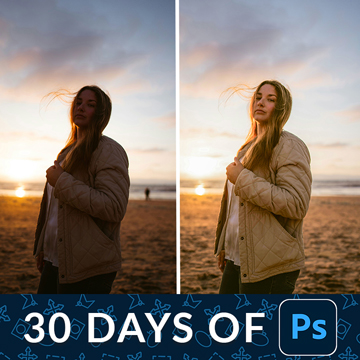
Hover over to view Before and After.








Enjoying This Free Tutorial? Go Further with PRO.
Unlock Full Sample Files, PSDs, and Hundreds of Masterclasses!

Download full project assets, original PSDs, and RAW images for every lesson
Unlimited access to our complete library of PRO Photoshop & Lightroom courses
Instant 4K Ultra HD streaming on all devices, anytime, anywhere
Full access to our entire library of Photoshop Actions, Presets, and LUTs
Flexible monthly and annual membership plans
Cancel anytime with zero hassle or commitments