
BEFORE
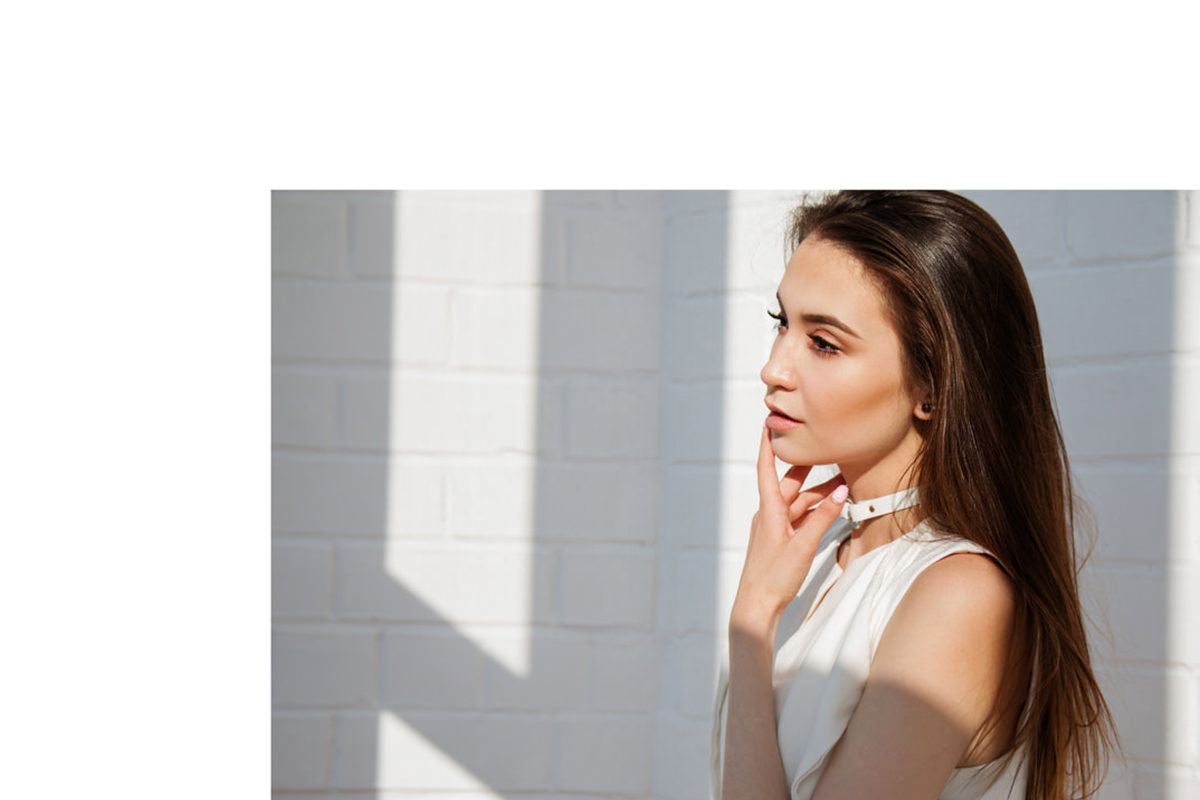
AFTER
Download Sample Images
Click the link below to download the sample images and follow along with this tutorial.
DownloadImages That Blend In Seamlessly for Print or Web
Whether your working with a website or with print, being able to cut out a person or product and place them on a plain colored background is an essential skill to have. In this tutorial, we’ll walk you through the process of cutting out a subject and placing them a on a pure white background.
Cut It Out
One of the most important techniques to master in Photoshop is the art of making accurate selections and cut-outs. Remember, your selections may not start out perfect. It’s okay to begin with a rough cut-out and then use a variety of tools to continually refine it.
Let’s start our selection with the Magic Wand Tool. This is an extremely fast method that will give us a good base to work off of. We recommend a relatively low Tolerance of 10. Hold down the SHIFT key as you select new areas to add to your selection. Once you have a reasonable selection of your subject, click on Select and Mask. Select and Mask provides a lot of options for changing and refining masks. Use the provided brush tools and setting adjustments to get a clean cut-out of the subject.
Once you’ve finished in the Select and Mask dialogue, it’s time to clean up any other portions of the original background that may still be lingering. Hold ALT or OPTN and click on the Layer Mask thumbnail on the subject’s layer. You should now see a black and white representation of the image – anything colored white is visible, and anything color black is invisible. Any white areas that are not part of your subject’s body need to be removed. Select the Lasso Tool and draw around any remaining white portions. Then go to Edit and Fill, then Fill that selection with black. You can then use the Brush Tool, painting with black or white, to clean up any areas of the mask.
Create the New Background
For most web and print applications, you’ll want a subject that’s on a solid colored background. The easiest way to do this, is go to Layer, New Fill Layer, and adjust the color to match the background of wherever the image is going. Once you have the Fill Layer positioned underneath your subject, you can crop and resize the background as you see fit.
If we expand the size of the background, we’ll notice that the hair of our subject is cut out of frame at the top of her head. Not only that, but on pure white, it’s easier to see the imperfections of our selection around the loose strands of her hair.
Let’s quickly create some more hair to replace the portion that was cut off and then make a finer selection around some of her hair.
Select Color Range
We’ll start by fixing our mask of the subject’s hair. Start by disabling the Layer Mask on the subject layer by holding SHIFT and clicking on the Layer Mask thumbnail. This will allow us to continue selecting portions out of the original background.
To get a more accurate selection of the hair, create a New Layer and then go to Select and Select Color Range. When the Select Color Range dialogue pops up, use the eyedropper to sample a color from the subject’s hair. It will show you a black and white representation of the image where whiter areas will be selected and black areas will not. Adjust the fuzziness and try sampling a few different areas of hair until you have a good amount of contrast between the hair (which should be almost completely white) and the background (almost completely black). Once you’re done you should have a nice selection of the subject’s hair. Now hide that layer and select the Layer Mask of your subject layer.
With the Color Range selection active, use the Brush Tool to paint with white and black around the hair on the layer mask to make more of the subject’s hair show through.
Add More Hair
To create realistic looking hair to fill in the missing part of the frame, we’re simply going to copy hair from another part of her head. Duplicate (CTRL or CMD + J) the subject layer, right-click on the Layer Mask thumbnail of the copy and click on Apply Layer Mask. This should give you a copy of the subject that is completely removed from the original background.
Using the Marquee Tool M, make a selection around the hair of the copy of the subject. Invert that selection by going to Select and to Inverse. That will select everything but her hair. Delete that selection. You should be left with a layer containing a copy of just the subject’s hair.
Lower the opacity of that layer a bit so you can accurately position it and hit CTRL or CMD + T. Move and transform that layer until you get a smooth curve that fills in the missing portion of hair on the original image. Once it’s positioned, bring the opacity back up to 100%, hit ALT or OPTN and select the layer mask of the new hair layer, and use the Brush Tool to paint with white to blend the replacement hair.
You’re left with an incredibly versatile image, ready to be perfectly placed on any website.