Creating a Selection
The first thing you will need to do when replacing a sky in Photoshop is to create a selection of the sky and use it to define a Layer Mask. This will basically “cut out” the sky and make it much easier to place another one. In this image we use the Magic Wand Tool and Refine Edge to cut out the sky, but you may use other methods depending on the image you choose.
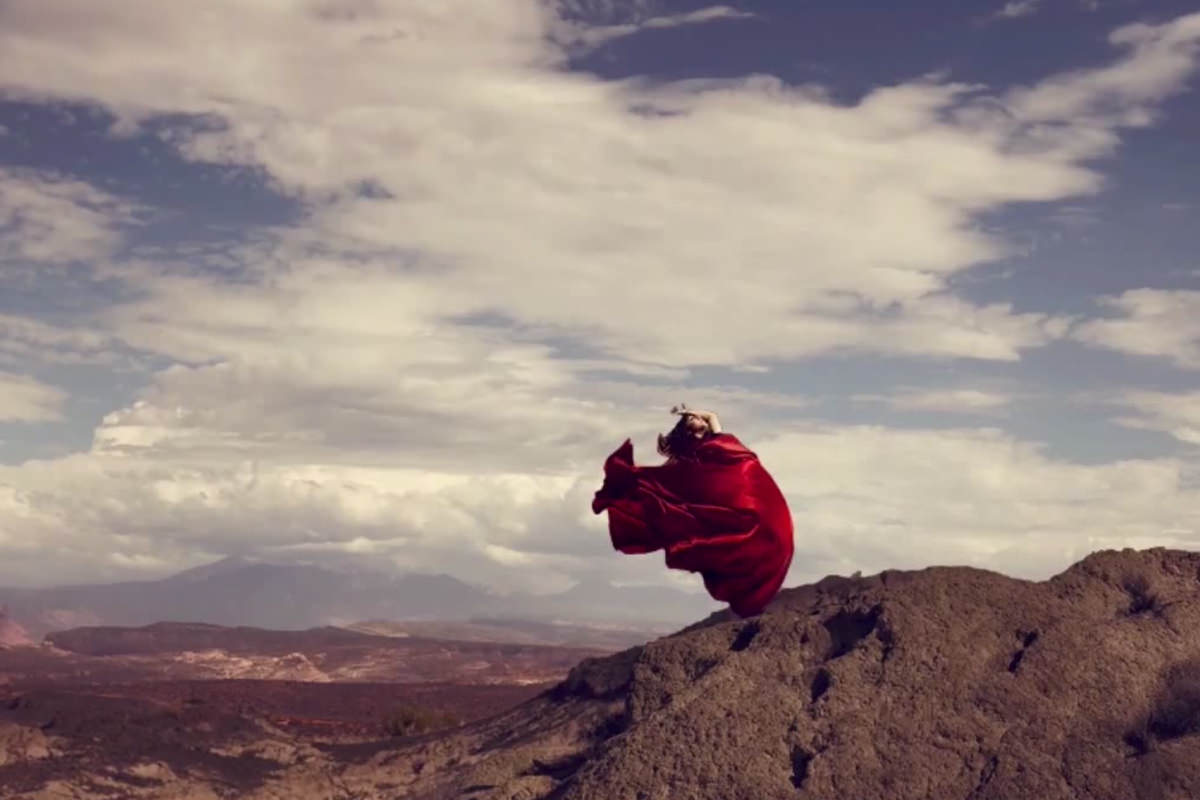
Once the sky is cut out, it is important to choose the right sky. You will want to be sure and match the direction of the Light as well as the atmosphere. In the original image the sun was to the right and above our subject, so we chose a sky that had a similar point of view.
Making the sky look real
After placing the new sky into your photo, it is time to Match Color and lighting. If you are lucky, they will just line up, but most of the time you will have to adjust Colors to make them fit. In this episode we teach you how to use Clipping Masks, which only effect the layer you choose. We then use a combination of Curves, Hue/Saturation, and Blend If to make everything blend together seamlessly. Working with Color can be tough, but don’t give up, it is worth the time to learn.
After matching the Coloring from the sky to the ground, we decided to Color the entire image. This will further help to bring the Composite together, and will add Style to the image at the same time!