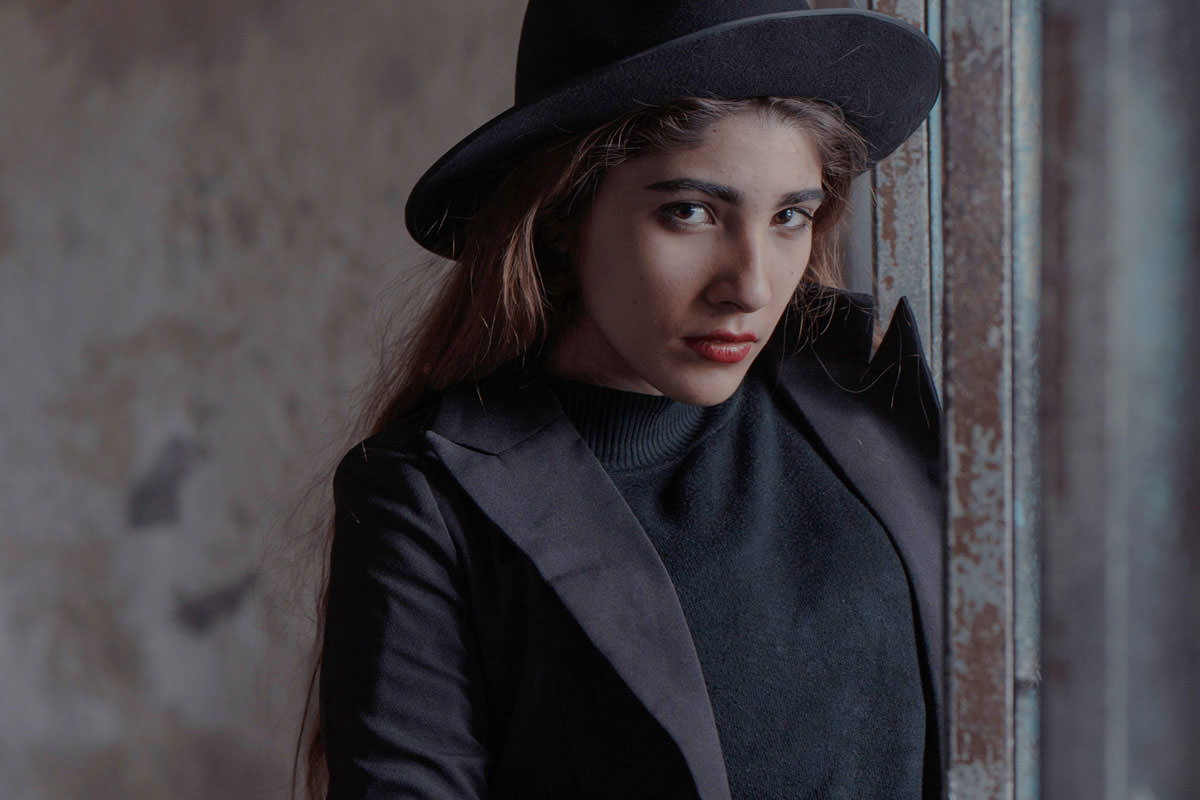

ORIGINAL
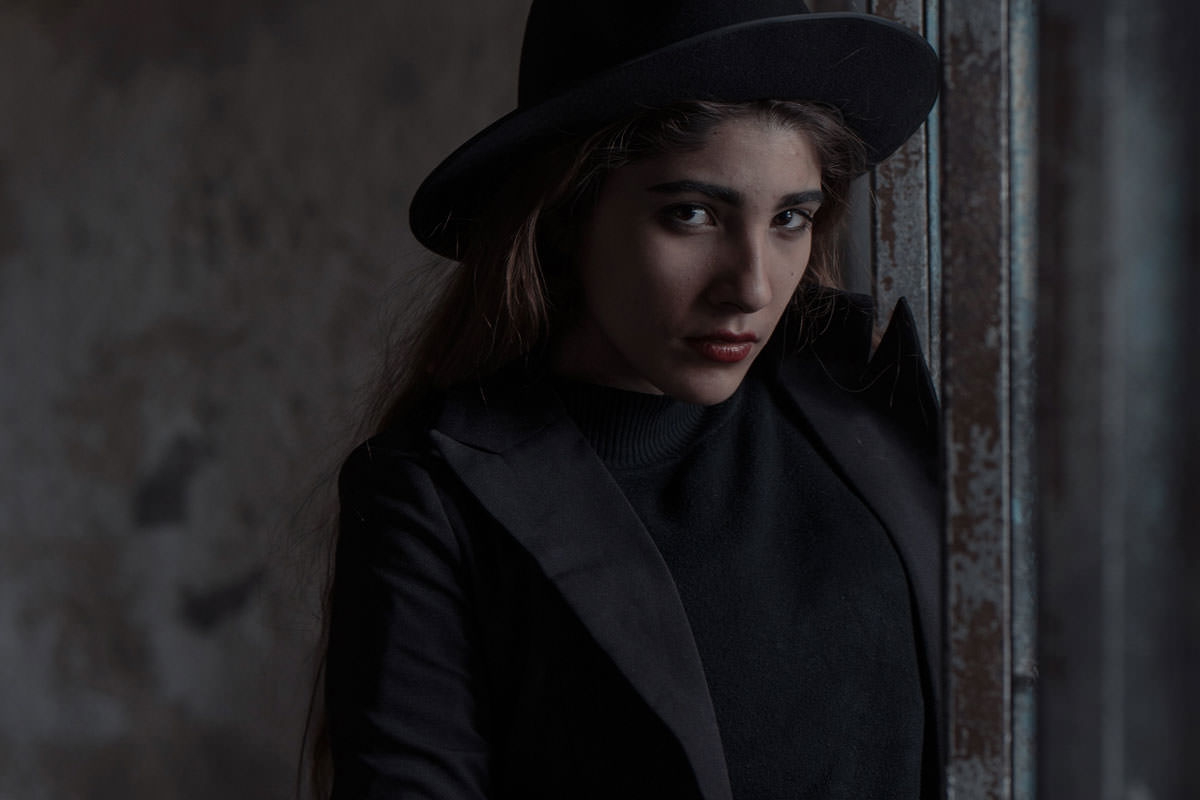
AFTER EXPOSURE ADJUSTMENT
Download Sample Images
Click the link below to download the sample images and follow along with this tutorial.
DownloadTutorial Description
One of the worst feelings as a photographer is having to send an image to the recycle bin because you missed on exposure. Before saying goodbye to an image, try bringing it back to life with the power of Photoshop. In this tutorial, we’ll show you how to brighten a dark photo, bring up shadows, restore lost details, and rescue the original color in an image. Follow along with the free sample image!
Fix an Underexposed Image in a Few Simple Steps
There are a couple key things to remember when you’re trying to repair an image that is underexposed. First, you generally don’t want to brighten the entire photo. When a picture is underexposed, the problem areas are generally in the shadows. We’ll show you how to target only the shadows in a photo with a Curves Adjustment Layer and Apply Image.
The second important tip is that underexposed areas will always be less saturated than the midtones and lighter areas. This means that if we’re bringing the shadows up in our picture, we want to be sure to raise the saturation to match. Using the same technique we used with out Curves Adjustment Layer, we’ll apply a Hue/Saturation Adjustment Layer to the same areas that we lightened to bring the color back to life.
Step-by-Step Tutorial
Download the Sample Images
DownloadOpen the Samples Images in Photoshop
First place the how_to_save_and_underexposed_photo.jpg into Photoshop by going to File and Open… or by dragging and dropping the files into the workspace.
Adding A Curves Adjustment Layer
Notice how the image appears a bit dark. To lighten the image, locate the bottom of the Layers window where there are a few different tabs to choose from. The half-filled in circle, which is located in the middle, represents the Adjustment Layer.
Select the small arrow below the Adjustment Layer and click on Curves….
The Curves window will appear which reveals the Histogram and a new layer called Curves 1 will appear at the top of the Layers Panel.
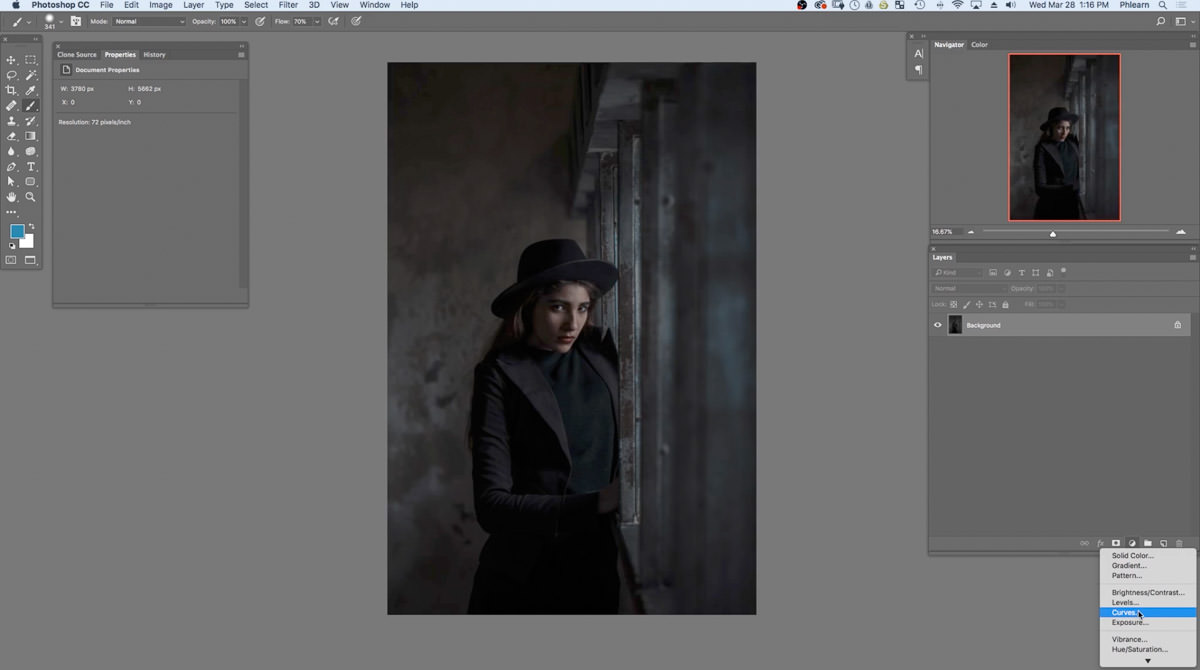
The Histogram displays if the image has more light or dark aspects in the image. The left side of the Histogram indicates the dark tones and the right side indicates the light tones. Notice how the graph shows more information on the left side of the Histogram.
Position the mouse in the central point of the Histogram and click and drag the mouse towards the top left corner of the Histogram. Notice how dark areas of the image gets brighter as the mouse is moved up.
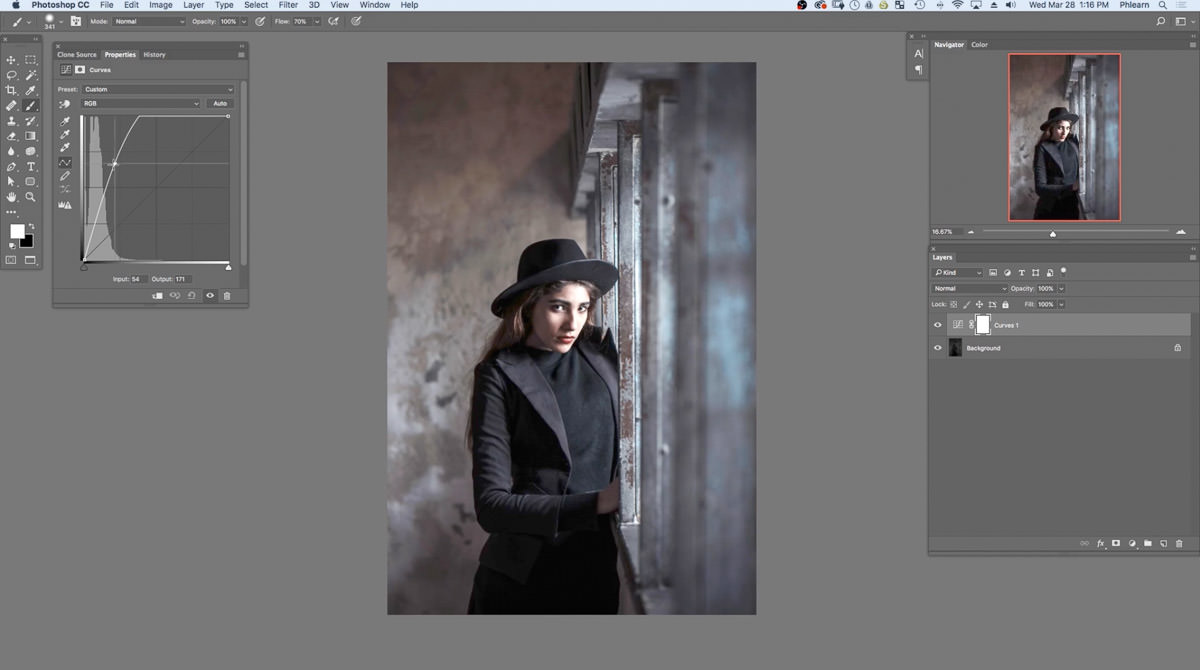
Once the Histogram is adjusted, the Input should read 54 and the Output 171.
Notice how the shadows in the image have been brightened but the highlights have as well. The brighter the highlights, the less detail there will be in the image.
Sample Edit: Using The Brush Tool
Using Apply Image will only apply the Curves setting to the shadows and retain the highlights.
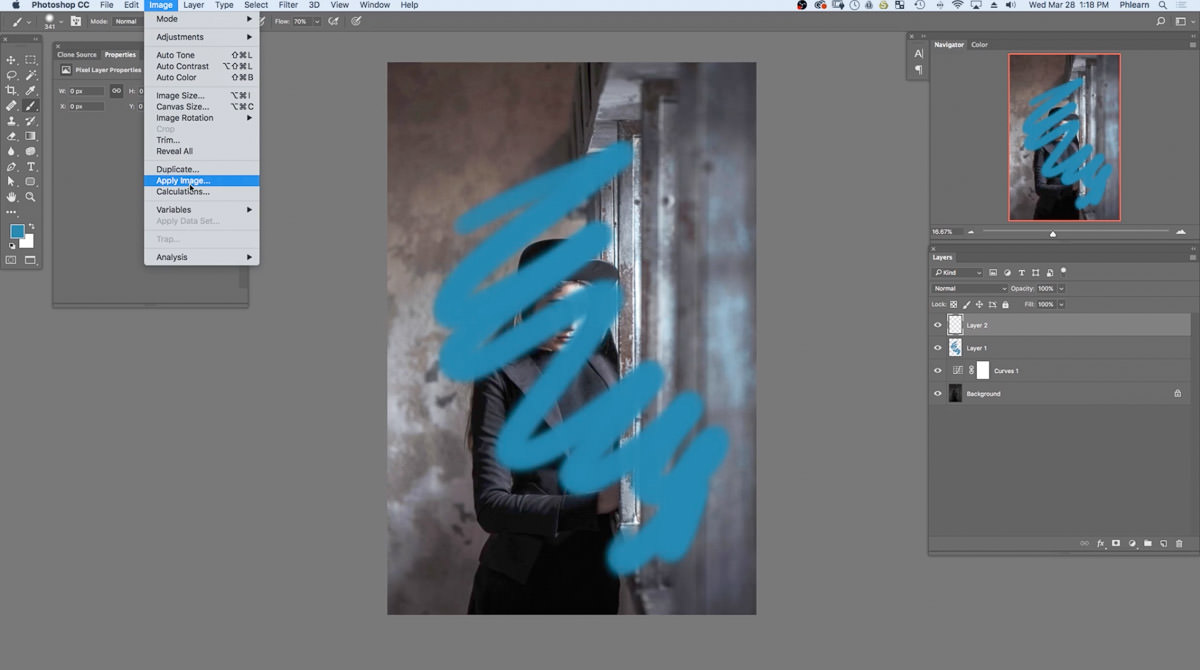
To apply this effect, create a New Layer, which is located at the bottom of the Layers Panel. The New Layer symbol is identifiable by the square with the folded corner, which is located right next the trash bin symbol.
Select the Brush Tool by hitting B on the keyboard or by selecting the brush symbol in the Tool Bar.
Click and move the mouse over the image to paint as desired.

Sample Edit: Using Apply Image…
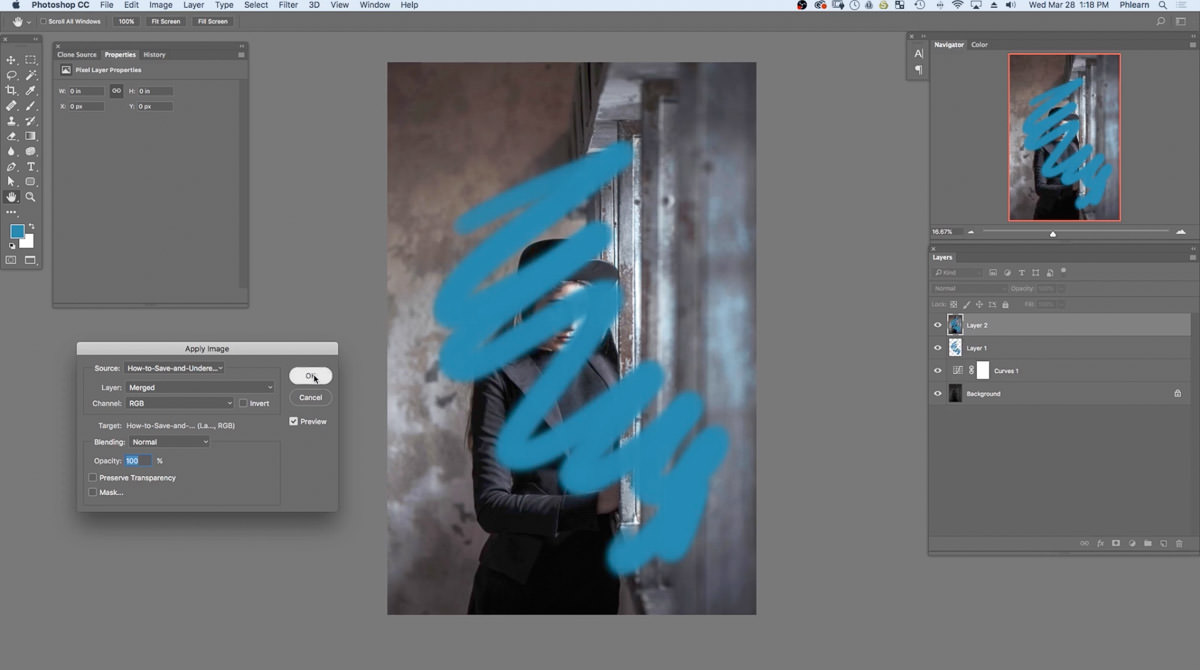
Now, make another New Layer.
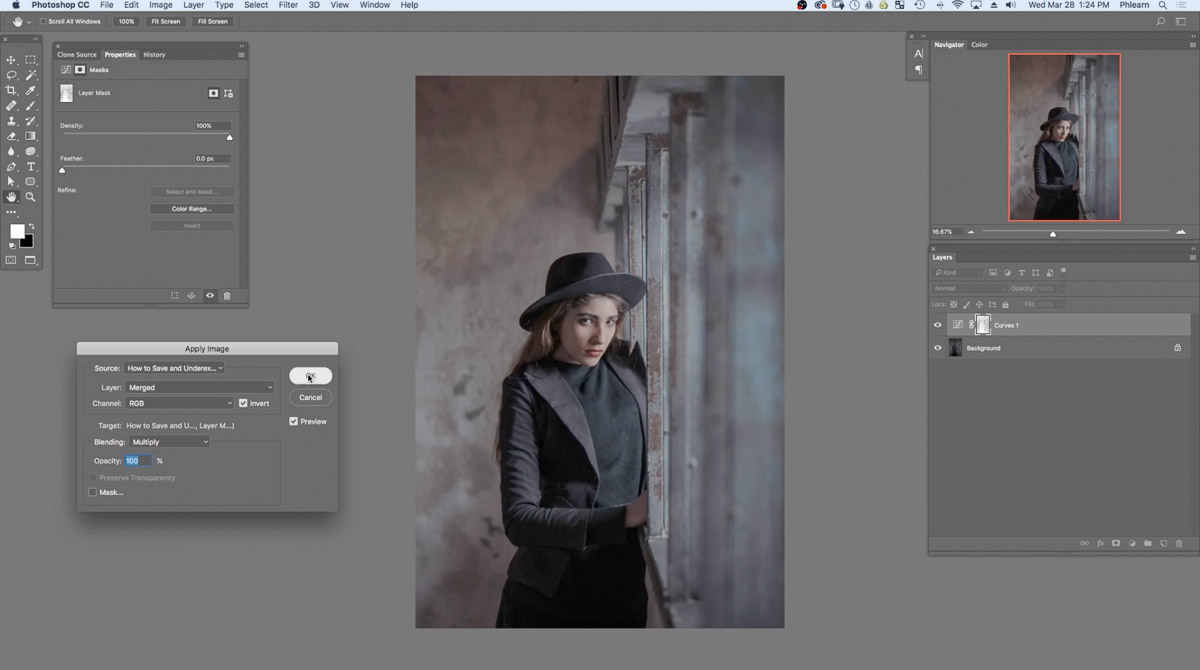
Locate the top of the workspace and click on Image and go down to Apply Image….
Once selected, Apply Image window should appear.
Next to Layer, select Merged.
By selecting this option, Photoshop will take all of the layers in the Layers Panel and merge them into one new layer.
The Channel should be set to RGB, Blending Mode to Normal, and Opacity to 100%.
Once these options are selected, hit OK.
Select the Move Tool by hitting V on the keyboard or by locating the Tool Bar, which is on the left side of the workspace. The Move Tool is the very first item in the Tool Bar and has four arrows pointing in different directions.
Hit CMD or CTRL + T on the keyboard to select the Transform Mode.
Position the mouse in the top corner and click and drag down.
Notice that the New Layer is now identical to the layers beneath it.

Notice how Photoshop merged all the visible layers into one layer.
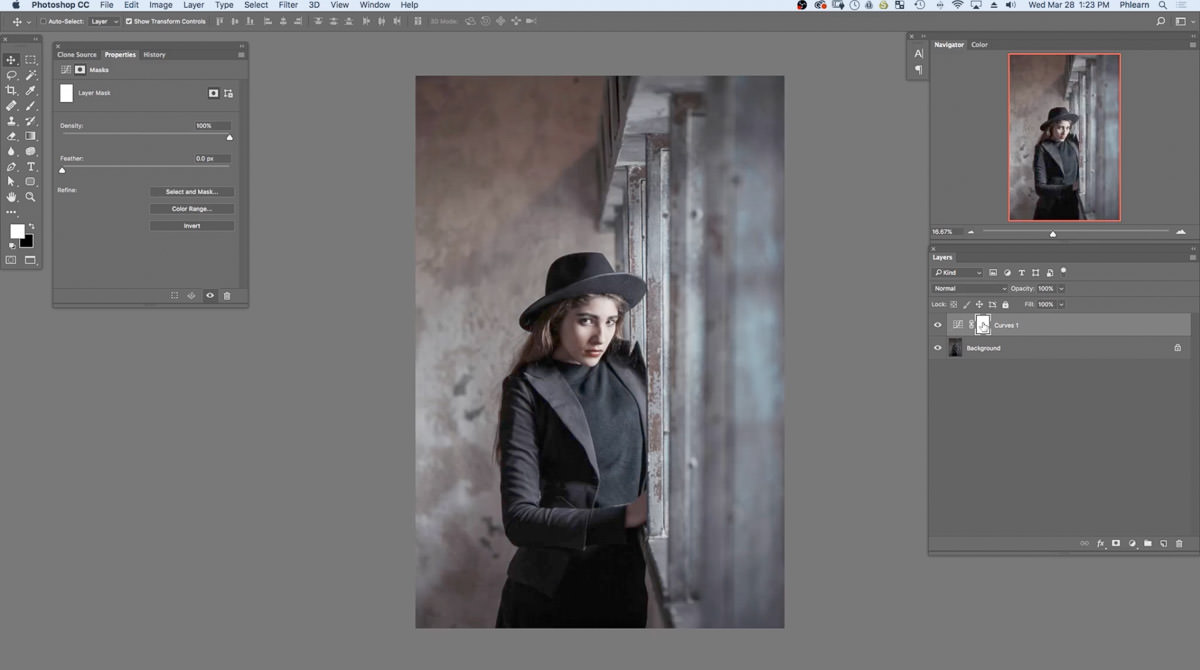
Now delete all of the sample layers in the Layers Panel except the Curves 1 layer and the Background layer.
Applying Apply Image… To A Layer Mask
Not only can Apply Image… be applied to layers but to layer masks as well.
Double click on the Curves 1 layer mask in the Layers Panel, which is indicated by the white box next to the layer name.
Locate the top of the workspace and click on Image and go down to Apply Image….
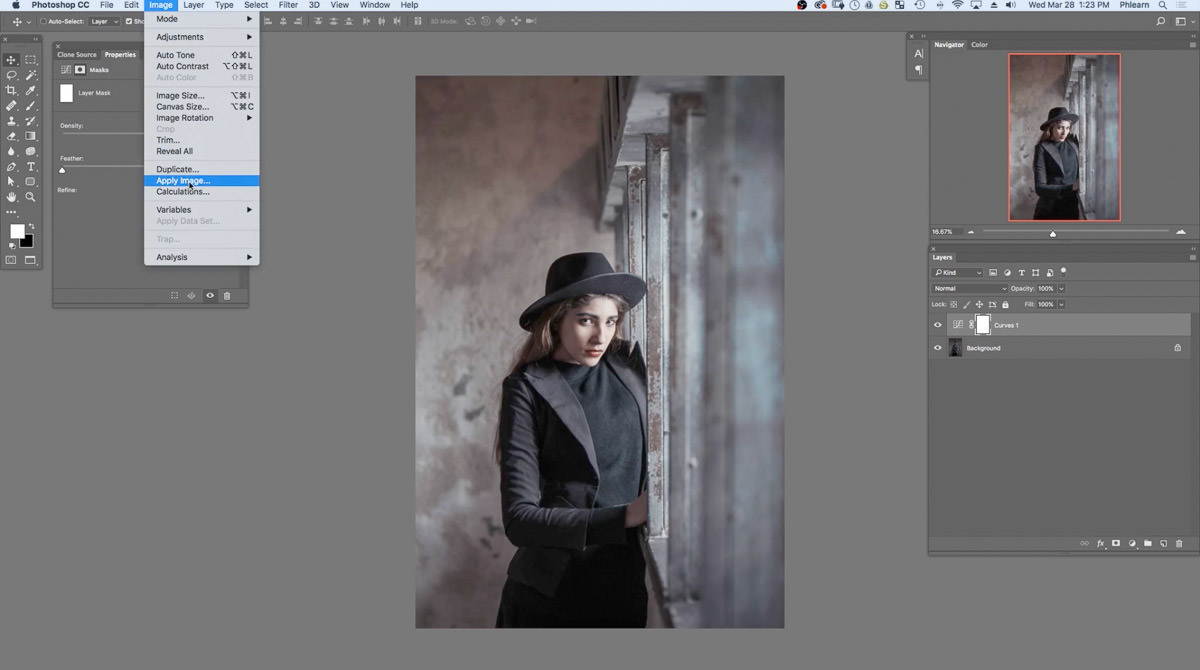
Once selected, Apply Image window should appear.
Notice how Photoshop has taken everything visible and has made a snapshot of the image in the Curves 1 layer mask.
In the Apply Image tab, select and deselect the Preview box to view the before and after.
If the Curves adjustment is hidden from the shadows in the image but visible in the highlights, simply check the Invert box, which is located next to Channel.
By selecting Invert, Photoshop will reverse this process so it is visible in the shadows and not in the highlights.
Set the Channel to RGB, Blending Mode to Multiply, and Opacity to 100%.
Once all of the options are selected, click OK.
Viewing The Light And Dark Areas
Hold ALT or OPTN on the keyboard and click on the Curves 1 layer mask in the Layers Panel.
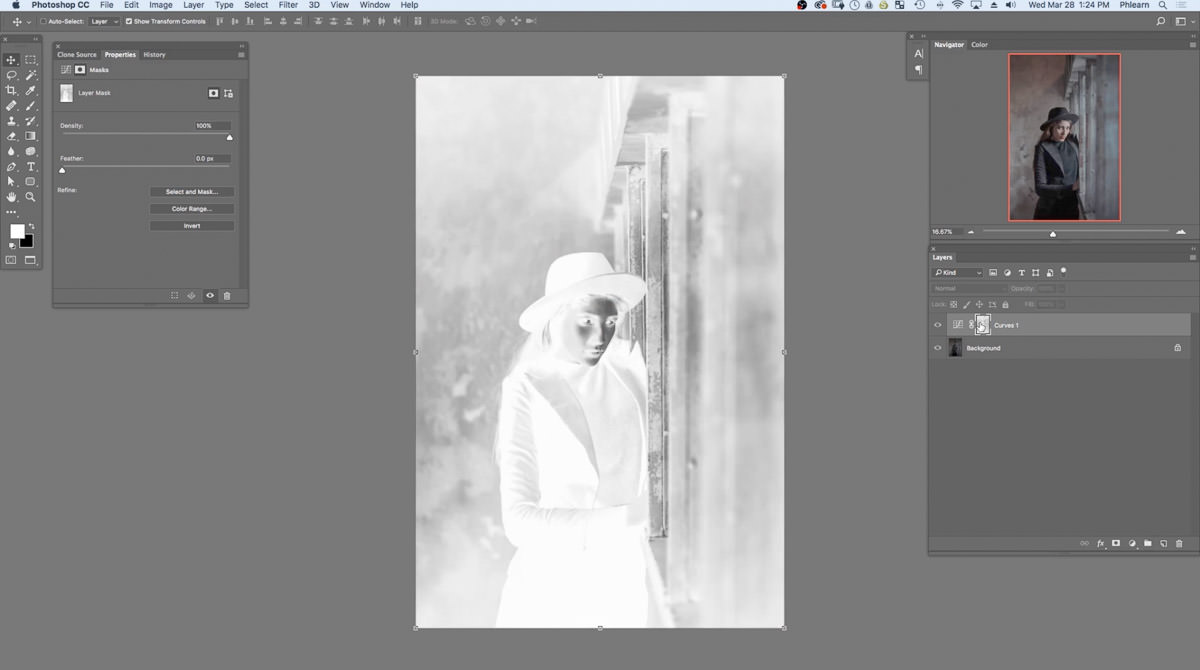
Now, an invert of the entire image will appear in the layer mask.
Notice how the image is converted into black and white. In a layer mask, the light areas of the image are visible and the dark areas are invisible. For this image the same rules apply. The Curves adjustment will be visible on the lighter areas, such as the face of the model, and invisible on the darker areas.
Select and deselect the eye next to the Curves 1 layer to view the changes.
To zoom closer to the image to view the preserved highlights, hit Z on the keyboard to select the Zoom Tool.
Simply click to zoom in and ALT or OPTN and click to zoom out.

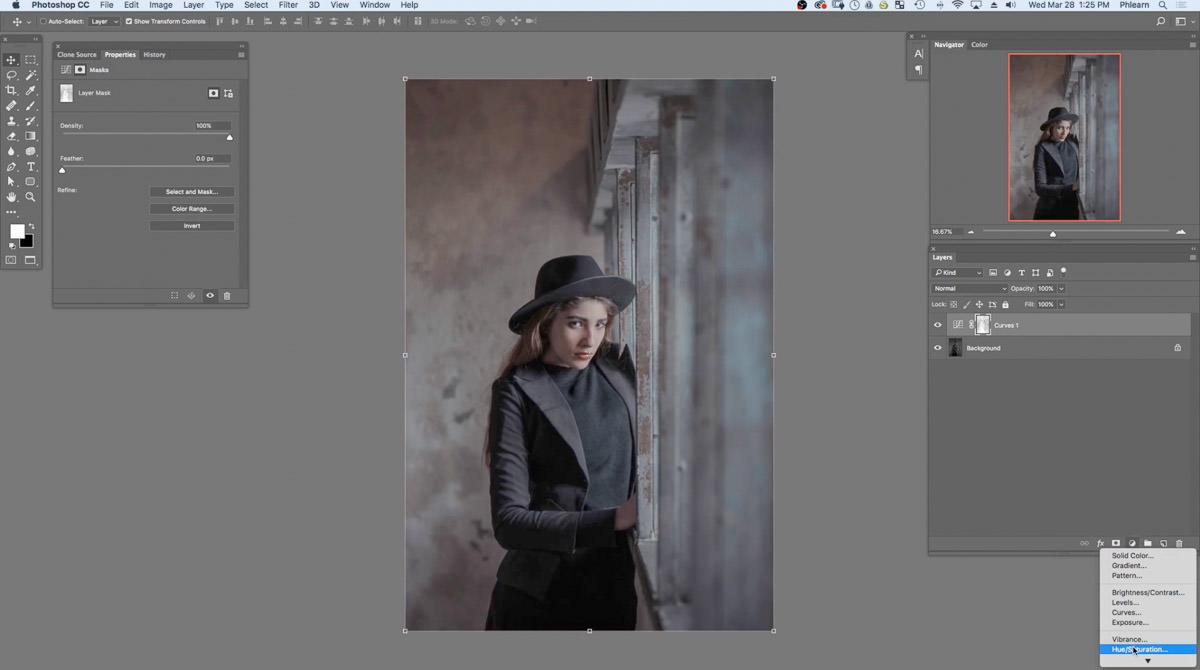
Adjusting Saturation To +15
Notice how the shadow levels are now closer to the midtones and the saturations tones don’t match in the image.
To match the saturation tones in the image, locate the bottom of the Layers Panel, click on the Adjustment Layer symbol, and select Hue/Saturation or hit ALT or OPTN + U on the keyboard.
The Hue/Saturation window should appear with an array of different options to apply color to the selected layer.
In this case, locate the centralized slider in Saturation.
Adjust the slider to the right until +15.

Applying Saturation To Curves
Notice how the Saturation was applied to the entire image. In this case, the saturation should only be applied to the source of adjusted light in the image, which is the Curves layer.
To only apply the Saturation to the Curves 1 layer, select the Curves 1 layer and hold ALT or OPTN and click and drag the Curves layer mask to the Hue/Saturation mask.
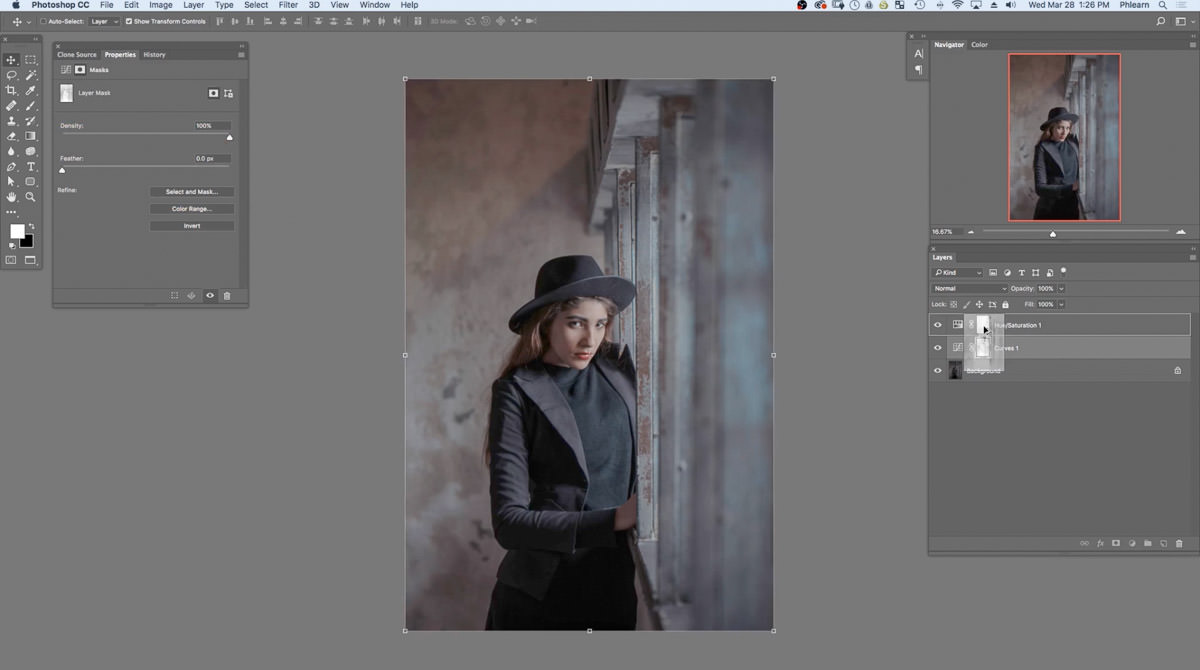
Now, notice how both the Curves 1 and Hue/Saturation masks are identical.
Deselect and select the eye next to the Hue/Saturation layer to view a subtle change.
Adjusting Saturation To +18
Add more saturation by double clicking on the Layer Thumbnail between the eye and layer mask on the Hue/Saturation layer.
Move the Saturation slider to +18.


