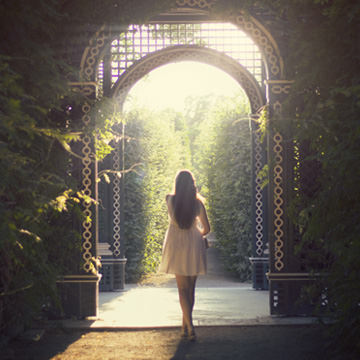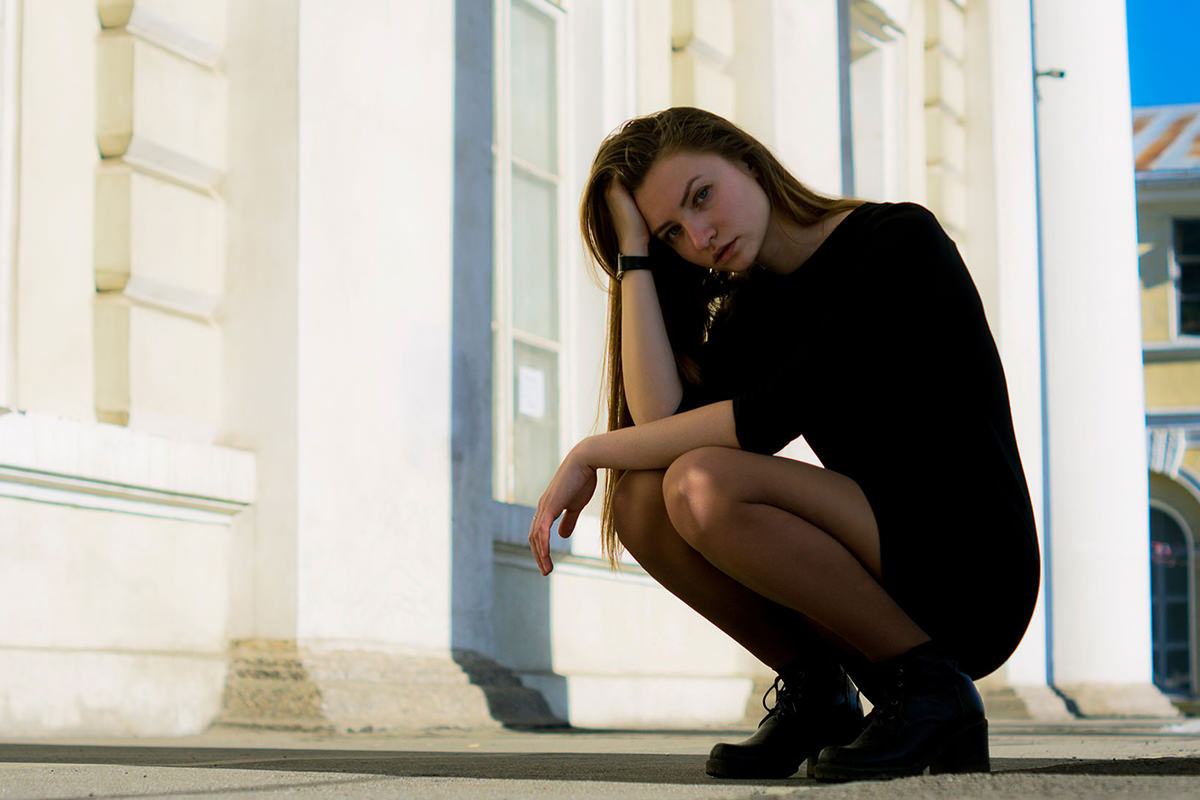
BEFORE
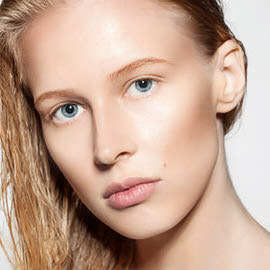
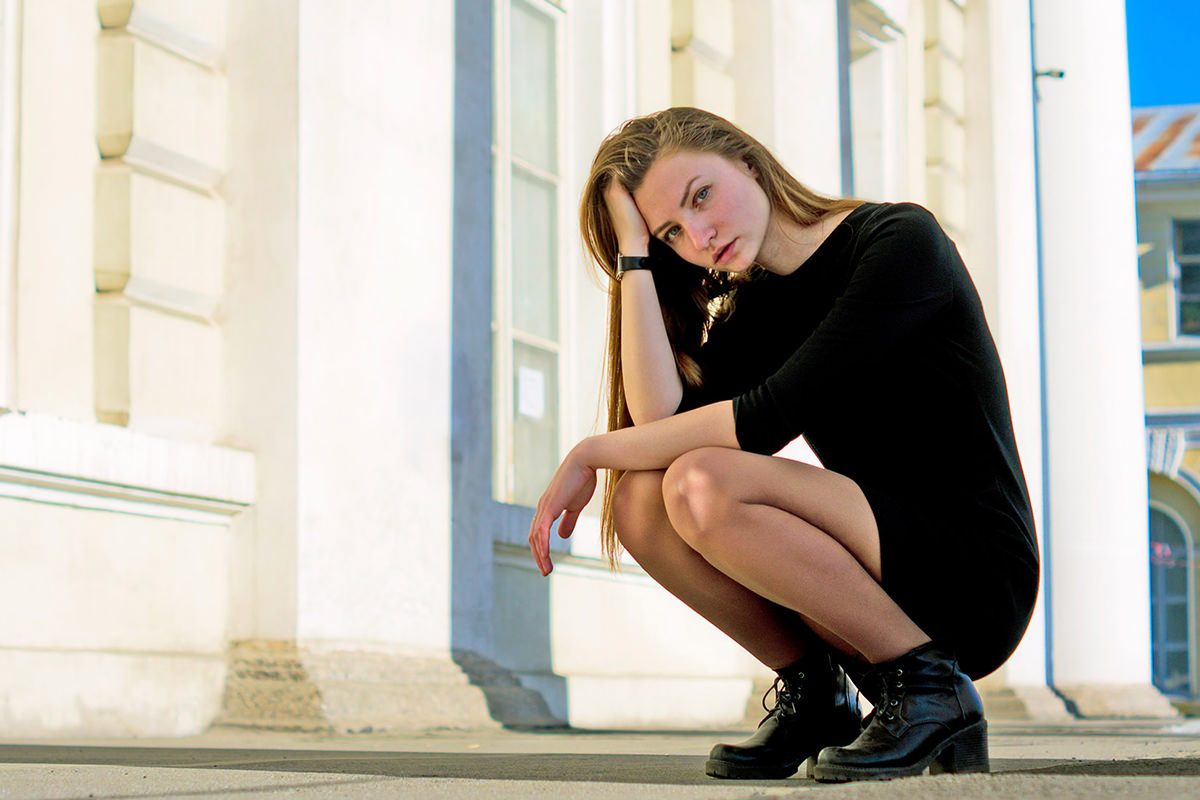
AFTER
Download Sample Images
Click the link below to download the sample images and follow along with this tutorial.
DownloadHow to Brighten Portraits in Only Two Minutes
It happens all the time – you take a great image, but it comes out as an underexposed photo. Fear not! Not only can you save that picture, but you can use some handy tools within Photoshop to fix it fast. In this tutorial, we’ll walk you through some techniques to brighten a portrait and, to show you how easy it can be, we’ll do it in only two minutes! Ready? Go!
Shadows and Highlights
Let’s start by shedding some light on the dark areas of the photo. First, duplicate your background layer by hitting CTRL or CMD + J. Next go to Image, then to Adjustments, and click on Shadows/Highlights. We’ll mostly be using this dialogue to adjust the shadows, as it’s the most useful and effective part of the tool.
Adjust the sliders for Amount, Tone, and Radius until you get an exposure that you think looks good. With our sample image, we found that having those three settings around 50% seemed to work best. Once you get the exposure set, you can go to the Adjustments box and raise the Color slider a bit to bring back some of the skin tones.
Adding Contrast
Now that we’ve rescued our exposure, let’s add some contrast to help reduce the subject from looking flat against the background. Go to Layer, New Adjustment Layer, and to Curves. In the Curves dialogue, drag the center of the line up a bit until you get some nice, punchy highlights without being blown out. Click on the Layer Mask for the Curves Adjustment Layer and hit CTRL or CMD + I to invert it. Grab your Brush Tool and, using a soft brush with a flow of about 60%, paint white over your subject to reveal the effects of the Curves Adjustment Layer.
We don’t want the Curves Adjustment Layer to affect our entire subject – only the highlights. Double-click on the Curves Adjustment Layer and go to the Blend If box under the Blending Options tab. Blend If allows you to change how a layer interacts with highlights, midtones, and shadows of another layer. So we can tell our Curves Adjustment Layer to only appear over the highlights of our subject. To do this, hold ALT or OPTN and click on the left slider under Underlying Layer. You’ll notice that the slider will split in half. Drag the right portion all the way to the right (255). Then move the left portion along until you get a look that you like. We left it at 81.
Our Last Stop: The Saturation Station
Underexposed photos are often desaturated. We’ll want to bring up the saturation of the photo a bit and then try to fine-tune the skin tones until they look natural. First, go to Layer, New Adjustment Layer, and Hue/Saturation. Bring the saturation up slightly (to about 7 or so). Then go to Layer, New Adjustment Layer, and Selective Color. This will allow us to target only her skin tone. We raised the Cyan and Magenta sliders while reducing the Yellow and Black. This will take any unnatural-looking yellow tones out of the skin.
Well done! You’ve rescued a photo and saved yourself a ton of time!