

Download Assets
This tutorial includes 2 sample images and 2 sample PSDs. Downloads are free with a PHLEARN account.
- Download the sample images and PSDs from every free tutorial on PHLEARN
- New free tutorials published every week
- One free account — sign up once, then download anything
description
Straighten and expand crop in Photoshop and a crooked frame becomes a deliberate composition: level the horizon, then let Generative Expand rebuild the corners the rotation cut away. This tutorial shows you how to use the straighten tool and leverage the power of generative fill to extend your canvas and add stunning details.
Note:
This tutorial uses a FREE asset from Adobe Stock. For copyright reasons, the download only includes previews. However, you can download the full asset directly from their website.
Enjoying This Free Tutorial?
We publish a new free tutorial every week, each one with sample images and PSDs you can download and follow along with. Sign up and they land straight in your inbox, along with early word on sales, events and subscriber-only offers.
Image Source
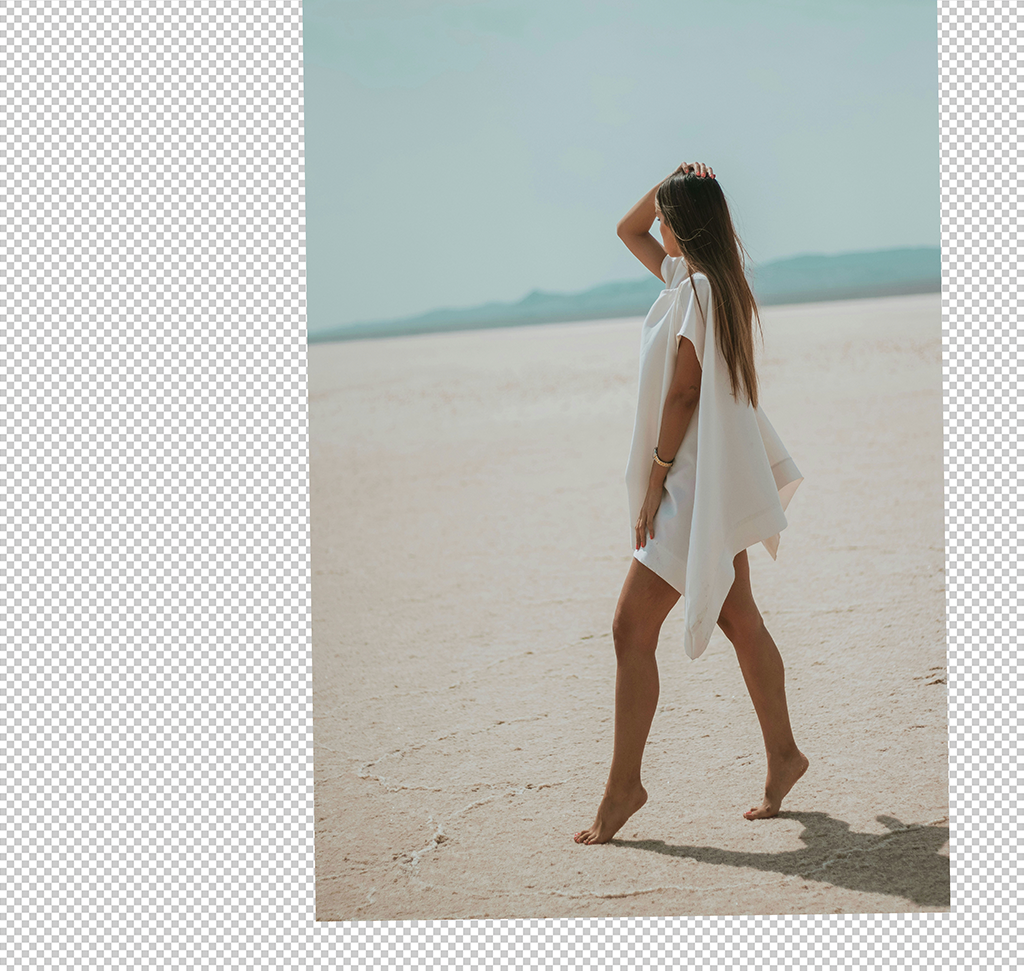

How to Straighten and Extend a Crop in Photoshop
A crooked horizon has always cost you pixels. You rotate the image to level it, the corners swing outside the canvas, and you crop inward to hide the empty wedges — losing part of the frame to fix a two-degree tilt.
Generative Expand ends that trade. You can now straighten the image, keep the full frame, and let Photoshop fill the empty corners with content that matches what was already there. Better still, it means you can crop outward — extending the canvas past the original edges to fix a composition that was cramped in camera.
This tutorial covers straightening two ways, filling the corners, and using the same technique to rebuild a composition around the rule of thirds.
Straighten by Rotating the Crop
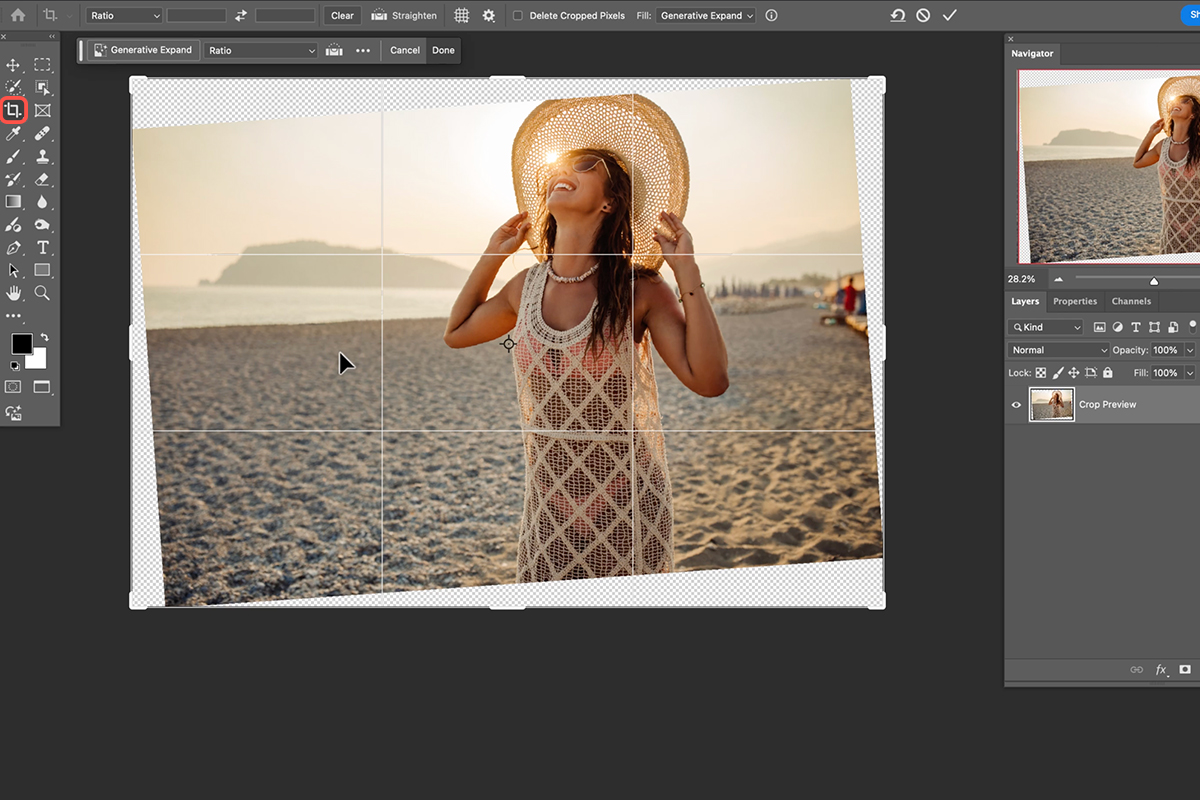
Press C for the Crop Tool, or select it from the toolbar. Zoom out slightly so there is empty space around the image.
Move your cursor just outside a corner or edge until it becomes a curved arrow, then click and drag. The image rotates, and Photoshop overlays a fine grid of horizontal and vertical guides while you drag — line the horizon up against one of them.
This works, but it is judgment by eye. You rotate until it looks right, and “looks right” is not always right. For a horizon that needs to be genuinely level, there is a better tool.
Straighten With the Straighten Tool
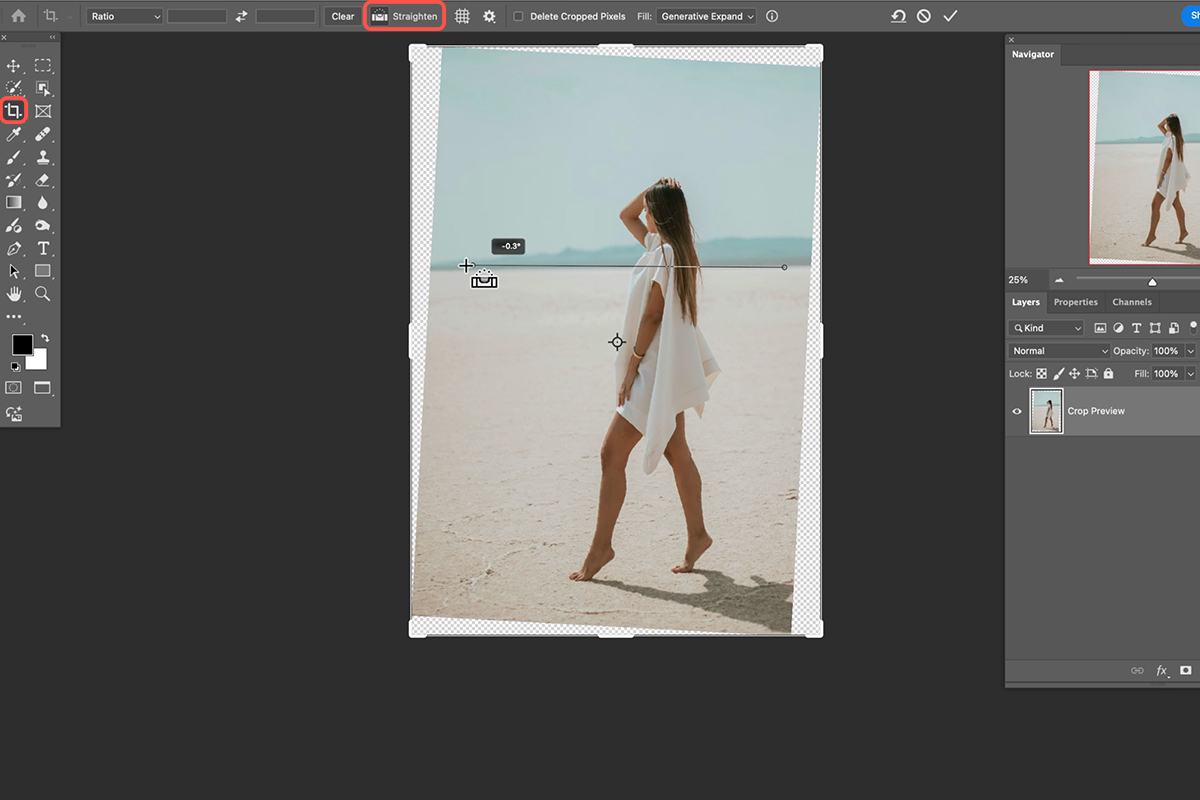
The Straighten Tool is built into the Crop Tool’s options bar, so press C first, then click the Straighten icon.
-
Click and hold at one end of your horizon
Pick a point on a line you know should be level — a horizon, a rooftop, a window sill, a tabletop.
-
Drag along that line to the other end
The longer the line you draw, the more accurate the correction. Drag the full width of the frame where you can.
-
Release
Photoshop calculates the angle of the line you drew and rotates the image so that line becomes horizontal.
This is measurement rather than estimation, and it takes about a second. Any straight reference works — a vertical line will square up an image just as well as a horizontal one.
Fill the Corners With Generative Expand
After the rotation, the crop box now includes areas outside the original photograph — the wedge-shaped gaps at each corner. Traditionally you would drag the box inward until those gaps disappeared, throwing away real image to do it.
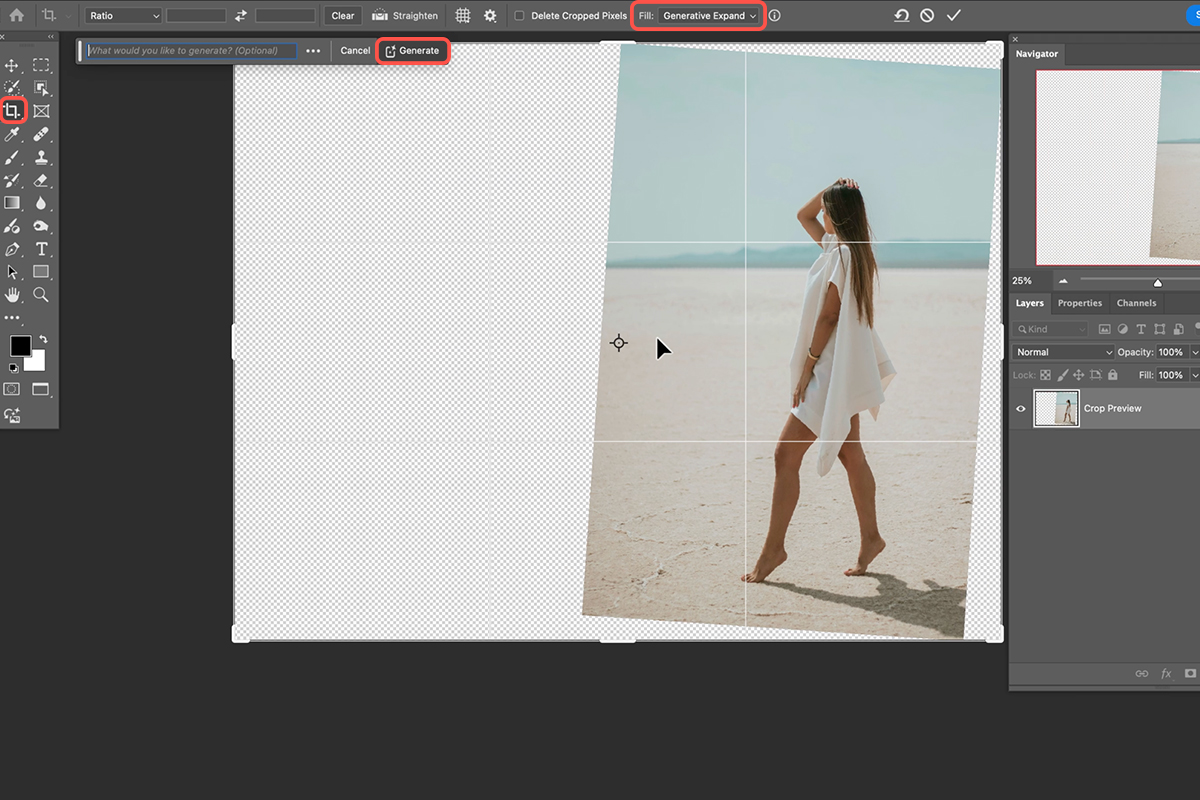
Instead, look at the Fill dropdown in the crop options bar and set it to Generative Expand. Then commit the crop — click the checkmark or press Enter.
Photoshop fills the empty corners with generated content built from the surrounding pixels. Sky continues as sky, sand continues as sand, and the result arrives as its own layer that you can toggle on and off to compare against the original.
Check the Filled Corners
Zoom in on each corner before moving on. The fill is usually excellent on continuous textures like sky, water, grass, and sand. It is less reliable where a strong line runs into the filled area — a shoreline, a fence, the edge of a building — because the continuation has to be invented rather than copied. If a corner is not convincing, select just that corner and run Generative Fill on it for a fresh set of options.
Clean Up With the Selection Brush
Straightening often draws attention to something you now want gone — clutter along the edge, a distraction in the background.
The Selection Brush Tool, grouped with the Lasso in the toolbar, is the quickest way to deal with it. You paint over the area you want rather than tracing its outline, and the painted region becomes a selection directly. No closing a path, no accuracy requirement.
Paint over the distraction, click Generative Fill, and click Generate without typing a prompt. Photoshop removes it and offers several variations to choose between.
Extend the Crop to Rebuild a Composition
This is where the technique becomes genuinely useful rather than merely convenient. Because Generative Expand can invent content beyond the original edges, the crop box is no longer limited by the photograph. You can drag it outward and build the composition you wish you had framed.
Use the Rule of Thirds Overlay
The Crop Tool has a guide options menu with Rule of Thirds enabled by default — a grid dividing the frame into thirds both ways. Two placements are worth aiming for.
Put the horizon on a third rather than through the middle. Ground occupying the lower two-thirds with sky in the upper third gives a grounded, weighted image; reverse it for an airy one. A horizon dead center gives you neither.
Put your subject on an intersection of the grid lines. Those four points are where the eye lands first, and a subject sitting on one holds attention better than a subject in the middle of the frame.
Give the Subject Room to Look Into
If your subject is looking or moving toward one side, extend the crop in that direction. Space in front of a subject reads as intentional; space behind them reads as a mistake. Dragging the crop box out to the left for a subject facing left costs nothing now, because the new area gets generated.
Recover Cut-Off Elements
Extending downward can rebuild a shadow that ran off the bottom edge, or a reflection clipped by the original frame. A complete shadow anchors a subject to the ground in a way a truncated one never does — and it is one of the details that quietly separates a finished image from a snapshot.
Putting It Together
The full sequence on a crooked, badly framed photograph runs: press C, use the Straighten Tool along the horizon, set Fill to Generative Expand, drag the crop box outward to place the horizon on a third and the subject on an intersection, and commit.
What you started with was a tilted frame with a clipped shadow and no breathing room. What you end with is level, correctly proportioned, and composed — with the previously empty regions filled convincingly enough that nobody would know the original ended where it did.
It is worth saying that this does not replace getting it right in camera. Generated content is invented content, and the more of the frame it accounts for, the less of the photograph is actually yours. Use it to rescue images and to recover a few degrees of tilt, not as a reason to stop paying attention to the horizon in the viewfinder.
Download the Practice Files
The practice files for this tutorial include 2 sample images and 2 sample PSDs, so you have the crooked originals to straighten and the finished documents to compare your crop and generative fill against. Downloads are free with a PHLEARN account.
More Free Photoshop Tutorials
If this was useful, these go further in the same direction:
- How to Retouch a Portrait in Photoshop — the full portrait workflow this sits inside.
- Advanced Skin Retouching in Photoshop — matching skin texture across an edit.
- Eliminate Dark Circles and Brighten Eyes — a targeted fix worth knowing.
- How to Remove Redness from Skin — correcting tone without touching texture.
- Generative Fill vs Clone Stamp vs Spot Healing Brush — which removal tool suits which job.
- How to Use the Clone Stamp Tool — the manual option when AI overreaches.
New Free Tutorials View All »












Enjoying This Free Tutorial? Go Further with PRO.
Unlock Full Sample Files, PSDs, and Hundreds of Masterclasses!

Download full project assets, original PSDs, and RAW images for every lesson
Unlimited access to our complete library of PRO Photoshop & Lightroom courses
Instant 4K Ultra HD streaming on all devices, anytime, anywhere
Full access to our entire library of Photoshop Actions, Presets, and LUTs
Flexible monthly and annual membership plans
Cancel anytime with zero hassle or commitments