
THIS COURSE INCLUDES
- 10 Lessonsin 2 sections
- 4h 3mof 4K video
- Advancedfor experienced editors
- 42 Sample Images+ 27 textures
- 16 Layered PSDs+ 2 Lightroom presets
- Captionsand chapters on every lesson
Part of a Learning Path
Join PHLEARN PRO for instant access to this course and every tutorial on PHLEARN.
- Stream in up to 4K on any device
- Closed captions and chapters on every course
- Download all sample images and PSDs
- New PRO tutorials every month
- Cancel anytime
Description
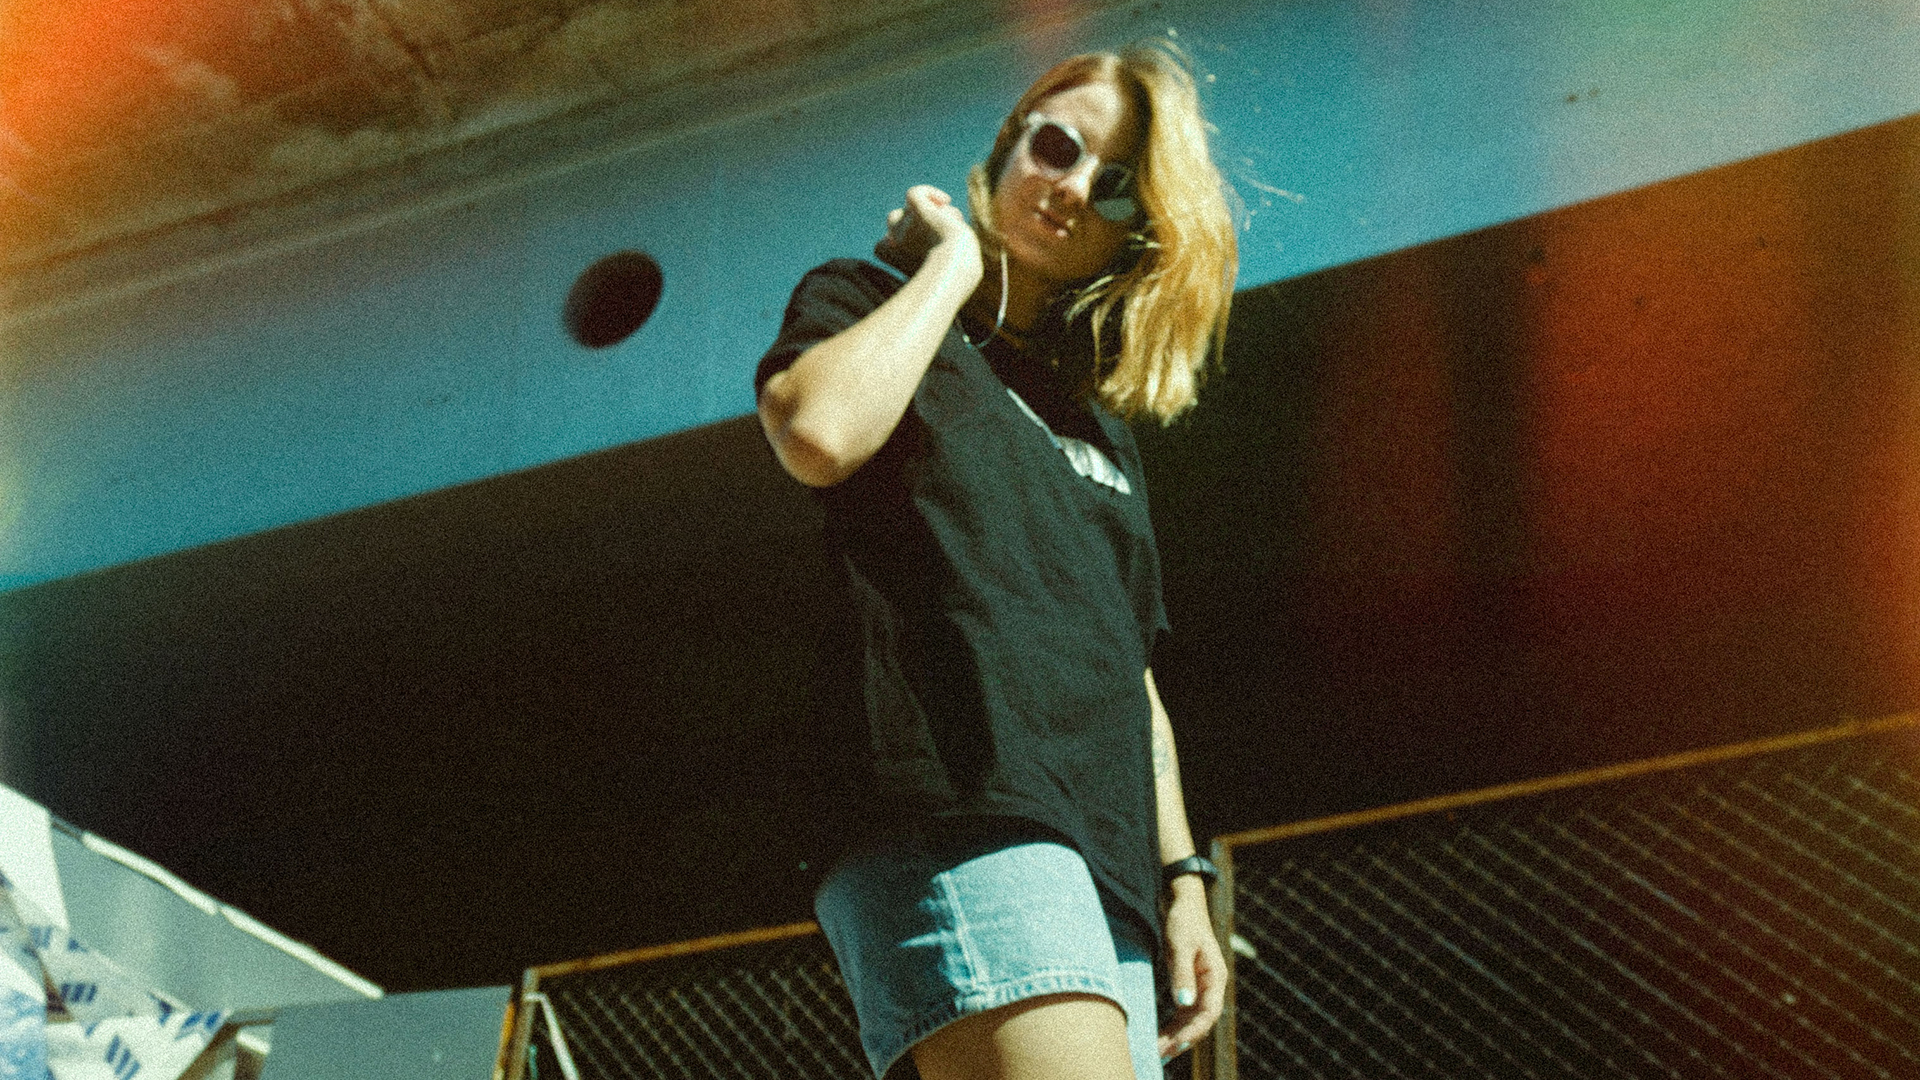
Master the art of cinematic and film effects in Photoshop and Lightroom. In this tutorial we’ll show you how to bring authentic film grain, light leaks, and imperfections to your digital photos using Photoshop, Lightroom, and Adobe Camera Raw. Across 10 lessons, you’ll first learn the core tools three ways: in Lightroom Classic, with Photoshop’s adjustment layers and in the Camera Raw Filter. Then you’ll combine them into finished looks.
You’ll learn advanced color grading with the tone curve, color grading and gradient maps, how to give a whole series the same look and save it as a preset in Lightroom Classic, and how to build a custom black and white. From there, you’ll add dust, scratches and light leaks so they look like part of the photo rather than a layer on top, create beautiful film borders and a Polaroid effect, turn a modern snapshot into a sepia-toned vintage photo, and make double exposures, including what to look for when choosing the two images. It all comes with included textures, presets, and sample images: more than 30 textures, from light leaks to scratches, plus film borders and Polaroid frames that are yours to use on your own photos.
What You’ll Learn
- Add authentic film grain and light leaks to any photo
- Master advanced color grading for a cinematic look
- Sync film effects across many photos in Lightroom
Table of Contents
-
01 - Lightroom Film Effects34:23m
-
02 - Using Manual Tools24:40m
-
03 - Adding Simple Textures22:22m
-
04 - Black & White15:23m
Authentic Film Effects
Cinematic and Film Effects in Photoshop
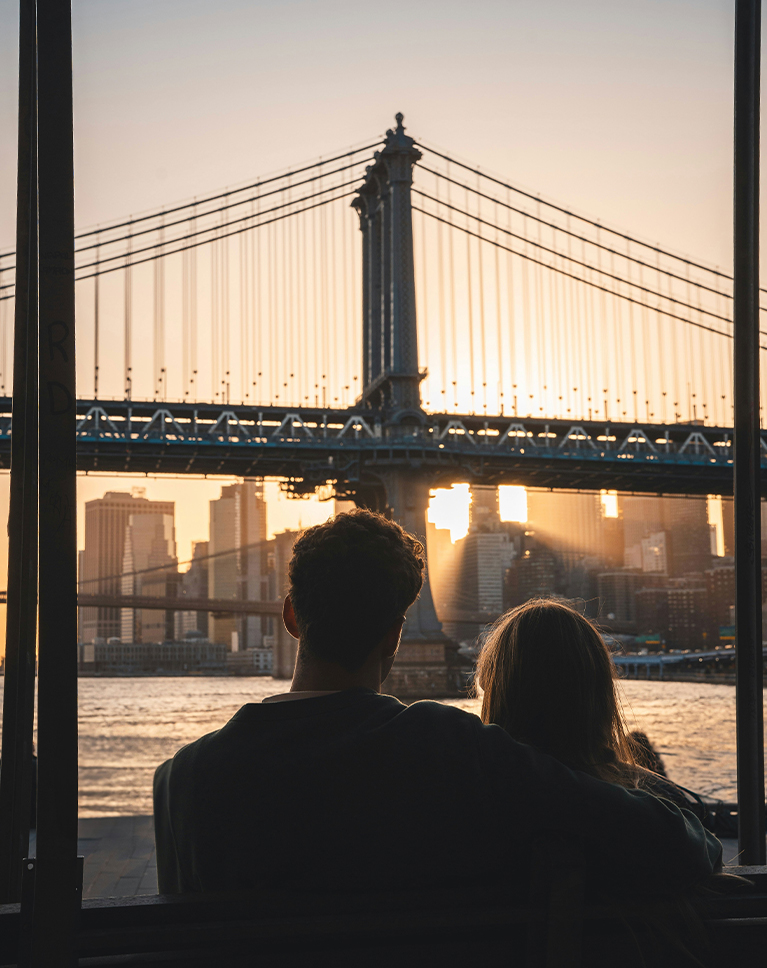
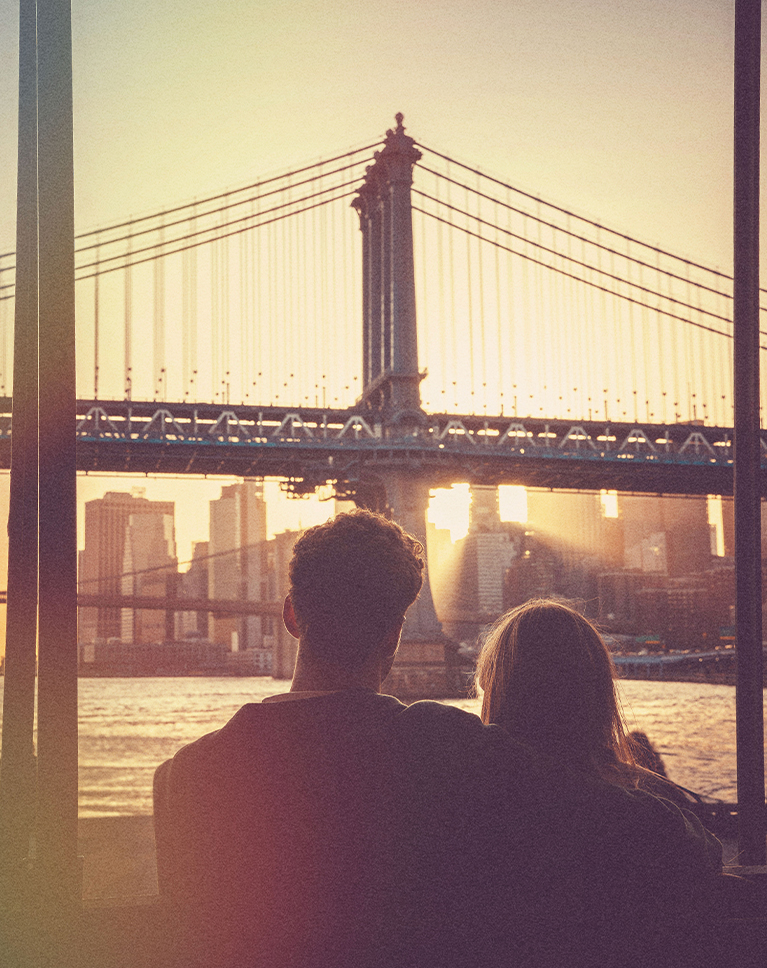
Cinematic and film effects in Photoshop can be a game-changer when it comes to enhancing your photos. It’s how you transform a simple digital image into a captivating work of art with the soul of classic film. In this tutorial, we’ll teach you how to add authentic grain, light leaks, and unique color tones to evoke emotion and create a truly unique visual style that will make your work stand out.
Beyond a Single App
Dive deep into a multi-app workflow designed for maximum creativity! We’ll use Lightroom Classic to effortlessly apply consistent effects to an entire series of photos, then switch to Photoshop for total control, letting you add unique textures and perform pixel-perfect color grading. This powerful combination gives you the versatility to bring any cinematic vision to life.
The Power of Lightroom
Explore the power of batch processing in Lightroom Classic. You’ll learn how to sync edits across a whole series of photos, mastering techniques like color grading with the Tone Curve, adding vignetting and grain, and using the Remove tool for a perfectly consistent, professional film look on every image.
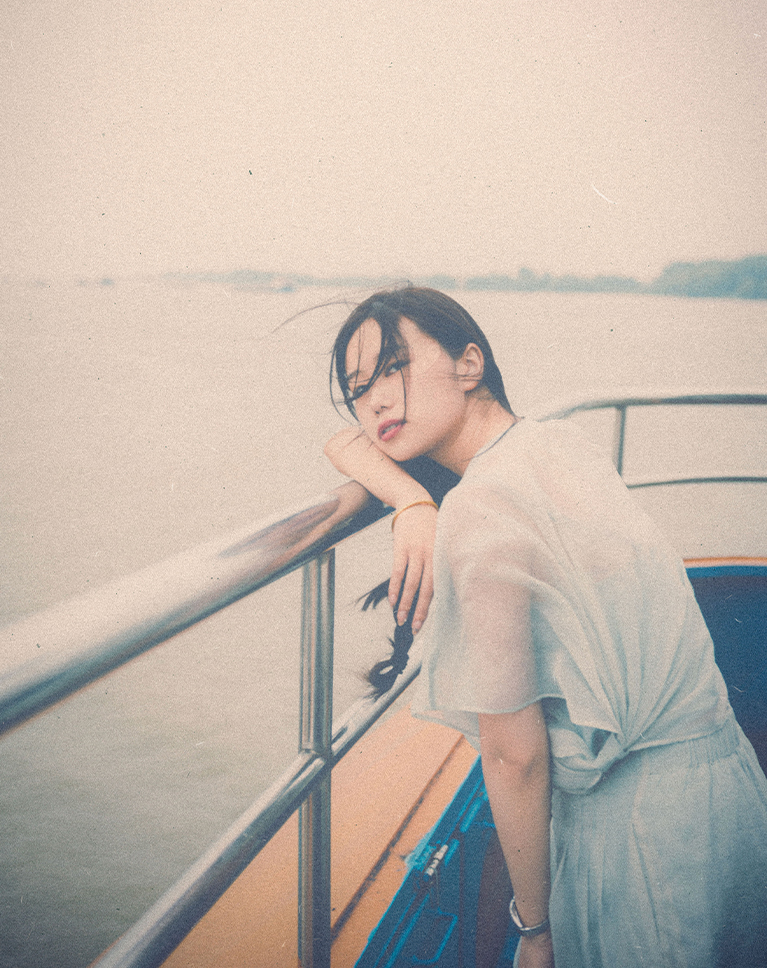
Adobe Camera RAW
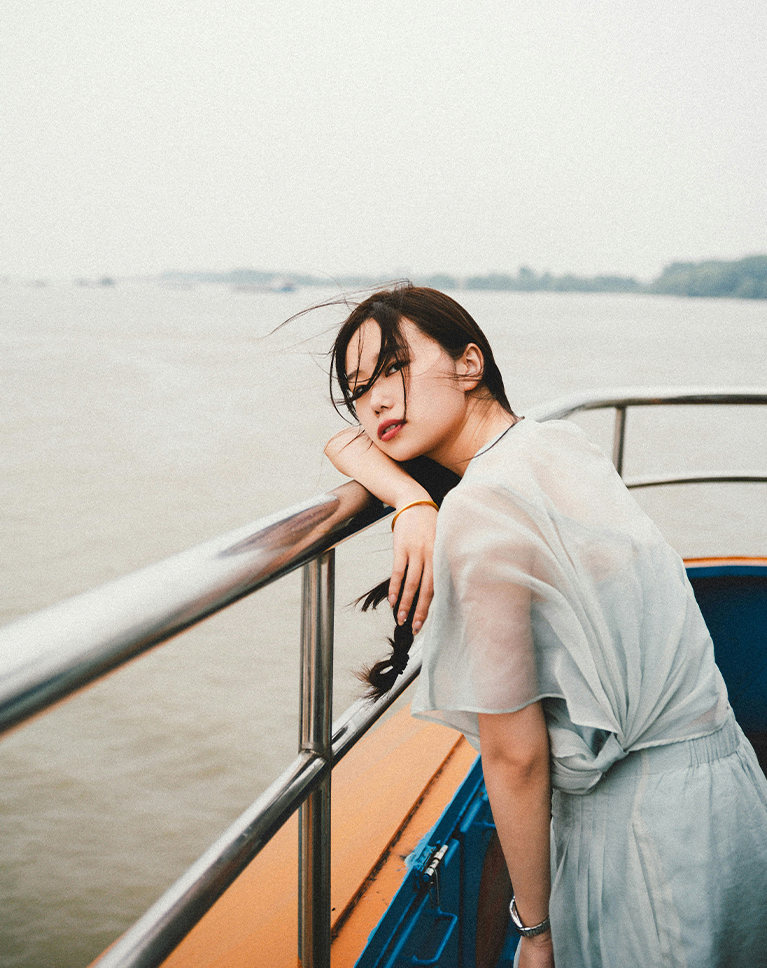
Discover how Adobe Camera Raw can help you create cinematic and film effects in Photoshop without leaving the app! We’ll show you how to use tools like the Tone Curve, vignetting, and lens blur. The tutorial also covers combining multiple textures with blending modes and color adjustments for a truly unique and professional look.
Classic Black & White
Black and white photography is an art form all its own. In this tutorial, you’ll learn to control the light levels of individual colors, add a sepia tint, and use tools like vignettes, levels, and grain to create a high-contrast or low-contrast look that evokes classic film.
Blending Textures
Adding textures is key to convincing film effects in Photoshop. This tutorial teaches you to seamlessly integrate the 27 included textures, including dust, scratches, and light leaks—using blending modes like Multiply and Soft Light. You’ll also learn to use Levels and Hue/Saturation to perfectly match the color and tone of the texture to your photograph.
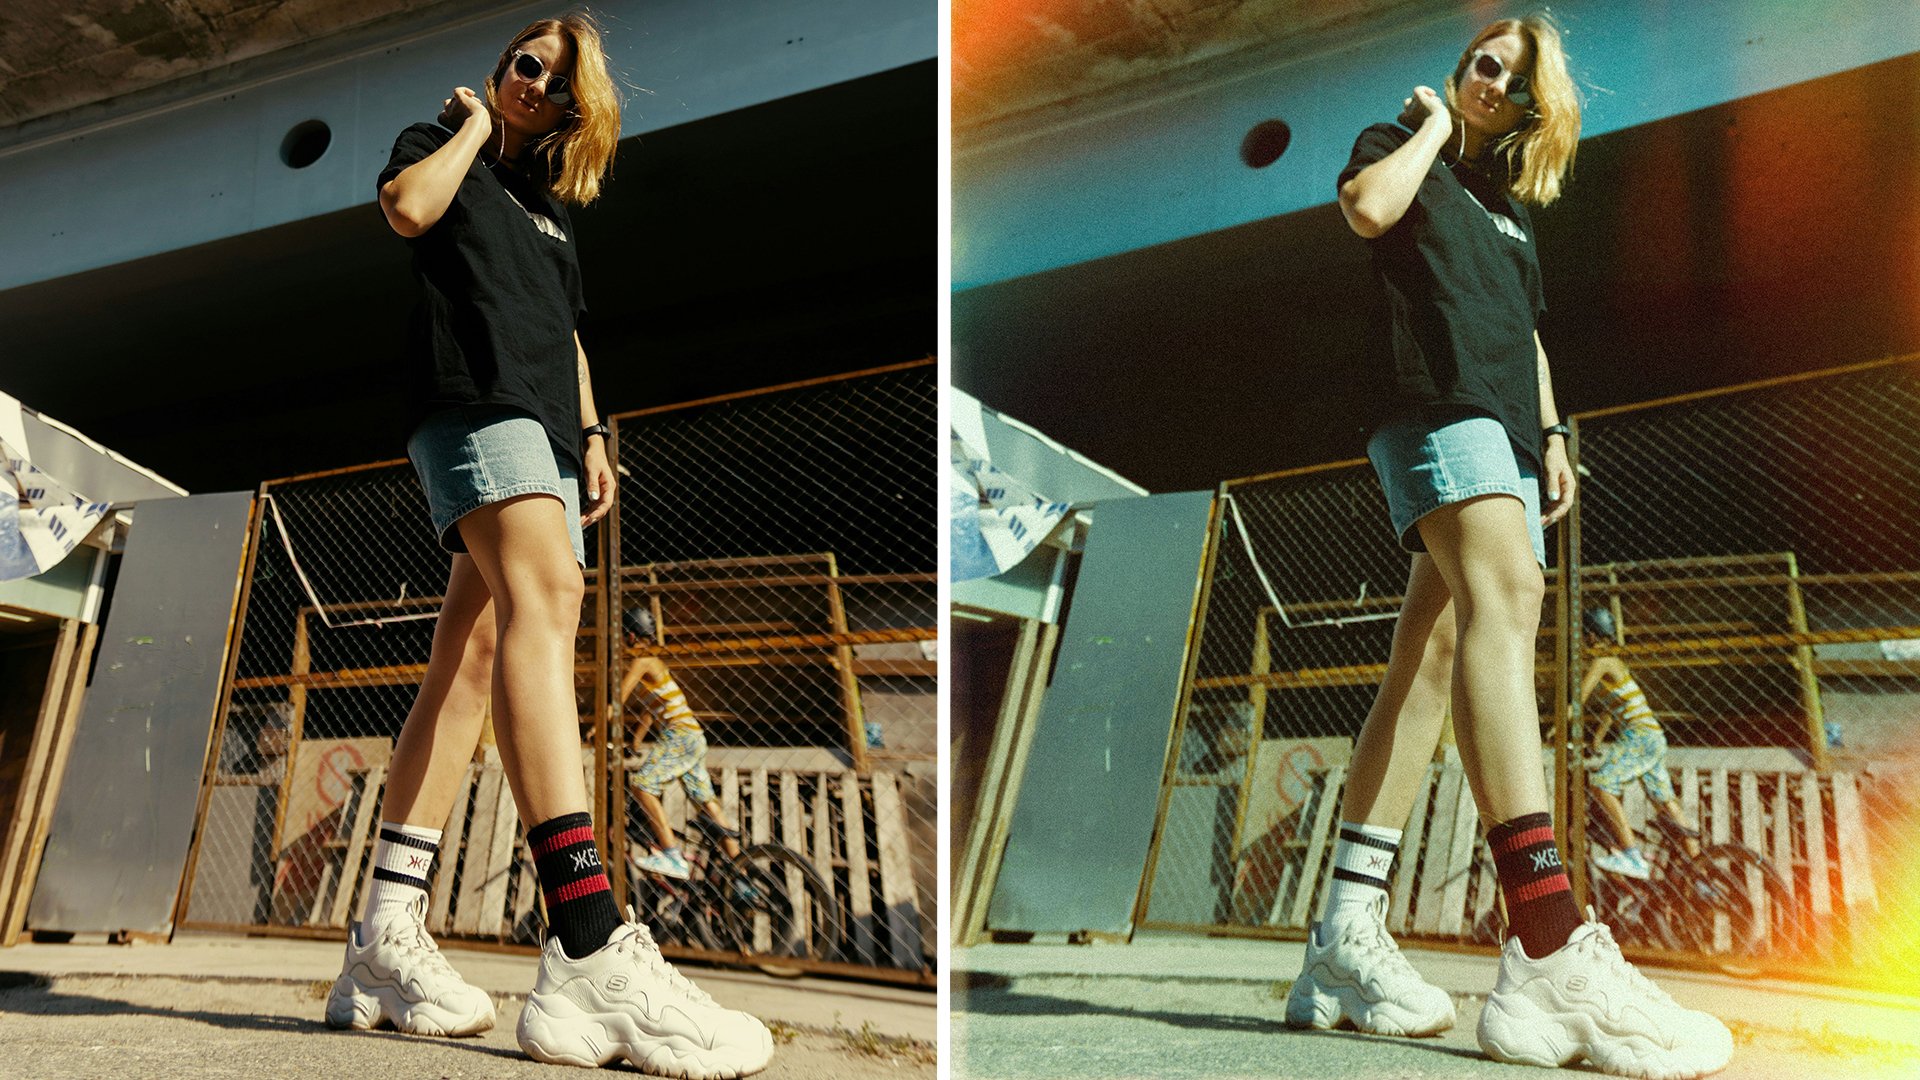
Capture The Light
Learn to add realistic light leaks using Screen blend modes, then use Camera Raw for final color grading, grain, and a custom vignette.
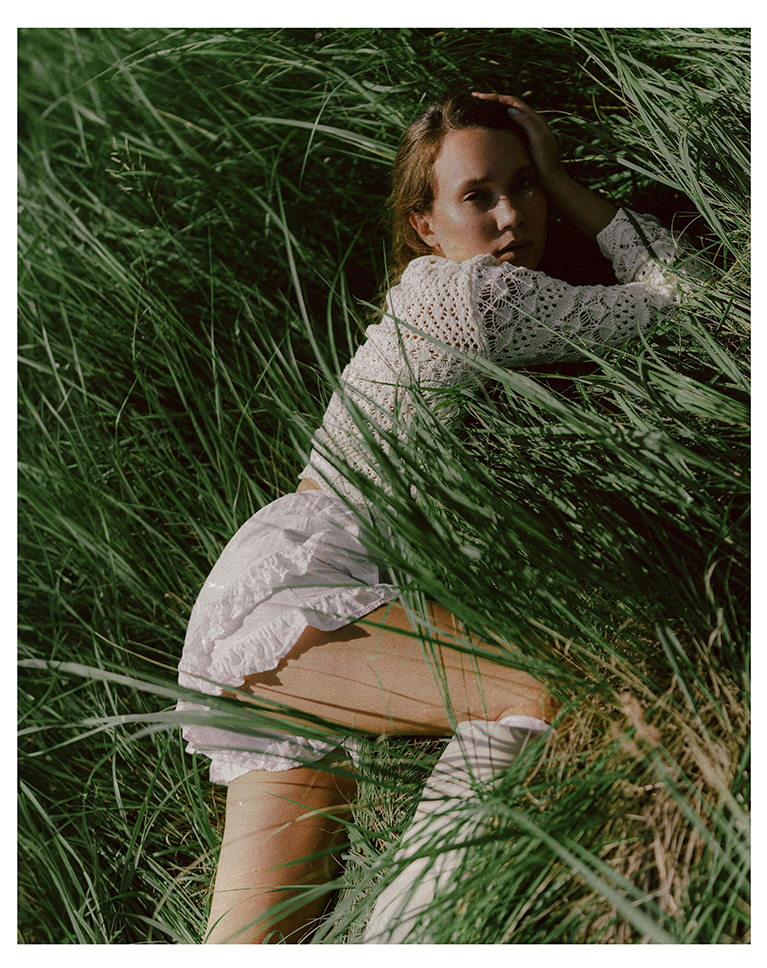
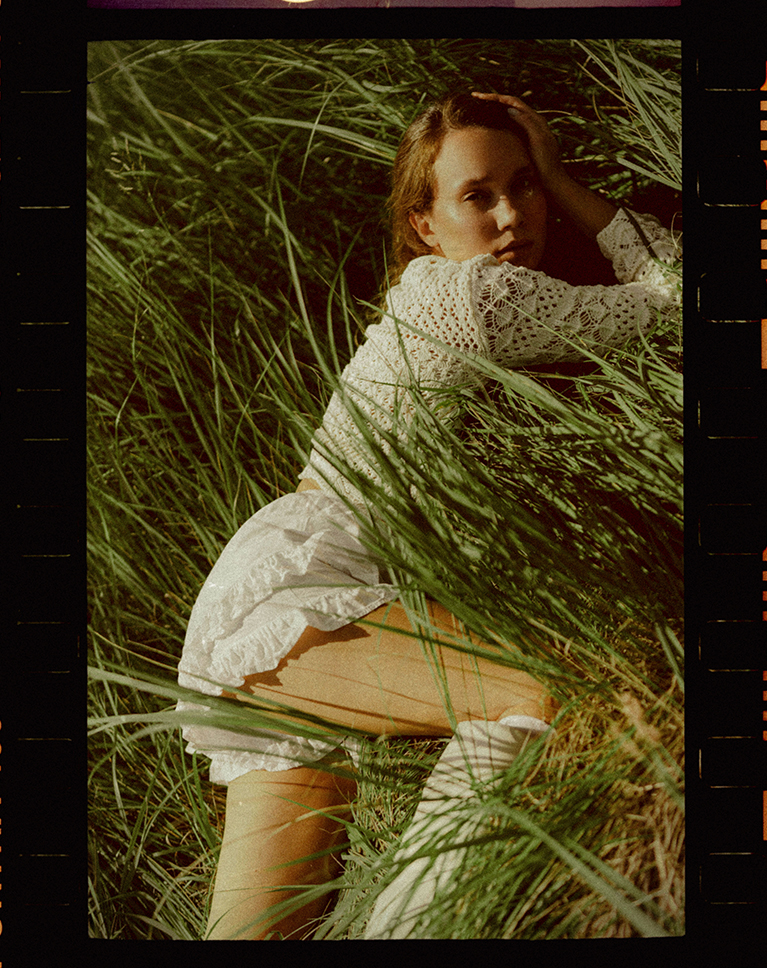
Adding Film Borders
Create stunning, authentic film effects in Photoshop by adding borders to your photos! You’ll begin with a film border template and use the Magic Wand tool to make a precise selection. Then, you’ll create a refined layer mask to perfectly place your image within the border, capturing the natural, imperfect edges of real film.
Match Light & Color
Learn to seamlessly match your photo’s light and color to any film border. Using a Levels adjustment layer, you’ll discover how to match the black and white tones and introduce a subtle color cast by fine-tuning the red, green, and blue channels. This process is essential for making your final images look like a single, authentic piece of film.
Using Smart Objects
Smart Objects can drastically improve the way you build film effects in Photoshop, providing a non-destructive way to transform layers and apply effects that can be changed or removed at any time. This tutorial will guide you in creating and effectively utilizing Smart Objects to make your edits easier than ever!

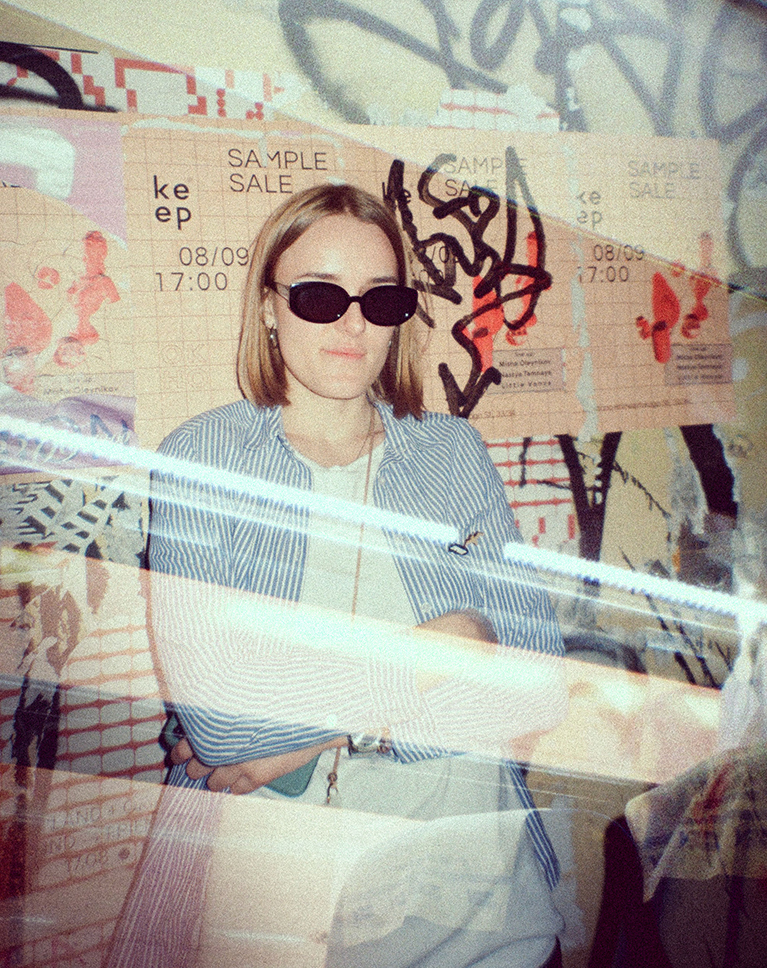
Create a Double Exposure
Learn to create stunning double exposures, one of the most cinematic film effects in Photoshop, by combining two images. You’ll discover how the Screen blend mode blends a subject with a second image, using high-contrast areas to reveal your portrait. This simple technique lets you produce artistic, transparent effects, mimicking a traditional film technique with digital precision.
Hands-On Learning
This film effects in Photoshop tutorial includes an incredible learning package! You’ll have over 40 sample images at your fingertips, giving you a huge variety of subjects to practice on. Plus, with 26 downloadable PSDs, you won’t just learn how to create these effects; you’ll get a behind-the-scenes look at exactly how they’re built, layer by layer. This hands-on resource is designed to help you master every technique, making your own photo editing journey faster and more effective.
Special Effects Learning Path
Explore more effects with our Special Effects Learning Path. Discover how to transform ordinary photos into extraordinary masterpieces. From watercolor paintings to pop art explosions, realistic sketches to glitchy wonders, we’ve got you covered.

Class Instructor
Aaron Nace
PHLEARN Founder & Lead Instructor
Aaron Nace is a photographer, digital artist, and the founder of PHLEARN. He has been teaching Photoshop, Lightroom, and photography since 2011, and has taught at Adobe MAX for more than eight years.
Aaron publishes a free tutorial every week and a new in-depth PRO course every month.
- 2M+YouTube subscribers
- 160M+video views
- 1,000+tutorials published
- 15years teaching Photoshop
Special thanks to Maeva Vigier, Ish Frndz, Willian Justen de Vasconcellos, Zhenyu Luo, Hiroshi Kimura, Sean Sinclair, Morefun Boy, Simon Humler, Karsten Winegeart, Chermiti Mohamed, Annie Spratt, Ashkan Forouzani, Detlef Hansmann, João Vítor Duarte, Kiwihug, Marjan Blan, Max Fuchs, Paul Lichtblau, Resource Boy, Sj Objio, Thomas Heintz, Valeria Reverdo, Wesley Tingey, Yan Ots, Zoshua Colah, Evie S, Lawrence Krowdeed, Mohammad Alizade, Nathan Kelly, Emilia Rahmatullina, Mohammad Amin, Brooke Balentine, Ian T, Kambria Trout, Iryna Marmeladse, and Dominik Mecko for the stock images used in this course, sourced from Unsplash.
Reviews
Master Photoshop, Lightroom and Photography
Join PHLEARN PRO for $12.99 a month or $99.99 a year. Cancel anytime, with a 100% money-back guarantee.






Re: “Adding Simple Textures”: 1) Method 2 of non-destructively combining the image and a Grad Map Adj. layers into a “Stamp” layer, I use a simpler procedure, simply (on a Mac) select all layers to be combined then click Shift + Opt + Cmd + “E” to produce the Stamp layer (this is commonly called by Adobe the “Crab click”.) 2) Confused by the Blur module in Adobe Camera Raw (ACR.) Why are there 2 “Blur Amount” sliders ? I get your procedure, a) Reduce the Focal Length, b) Raise the lower “Blur Amout” to a max, c) Lower the upper Blur Amount slider to adjust. This seems so complicated, is there a more compact procedure in ACR ?
Hey there! Depending on the complexity of your image, there are different ways to add textures to an image. If you send us an email to support with a screenshot of your image. Our team will give you some additional suggestions.
So many cool, fun, creative ideas and how to achieve them .. another gem from Aaron.