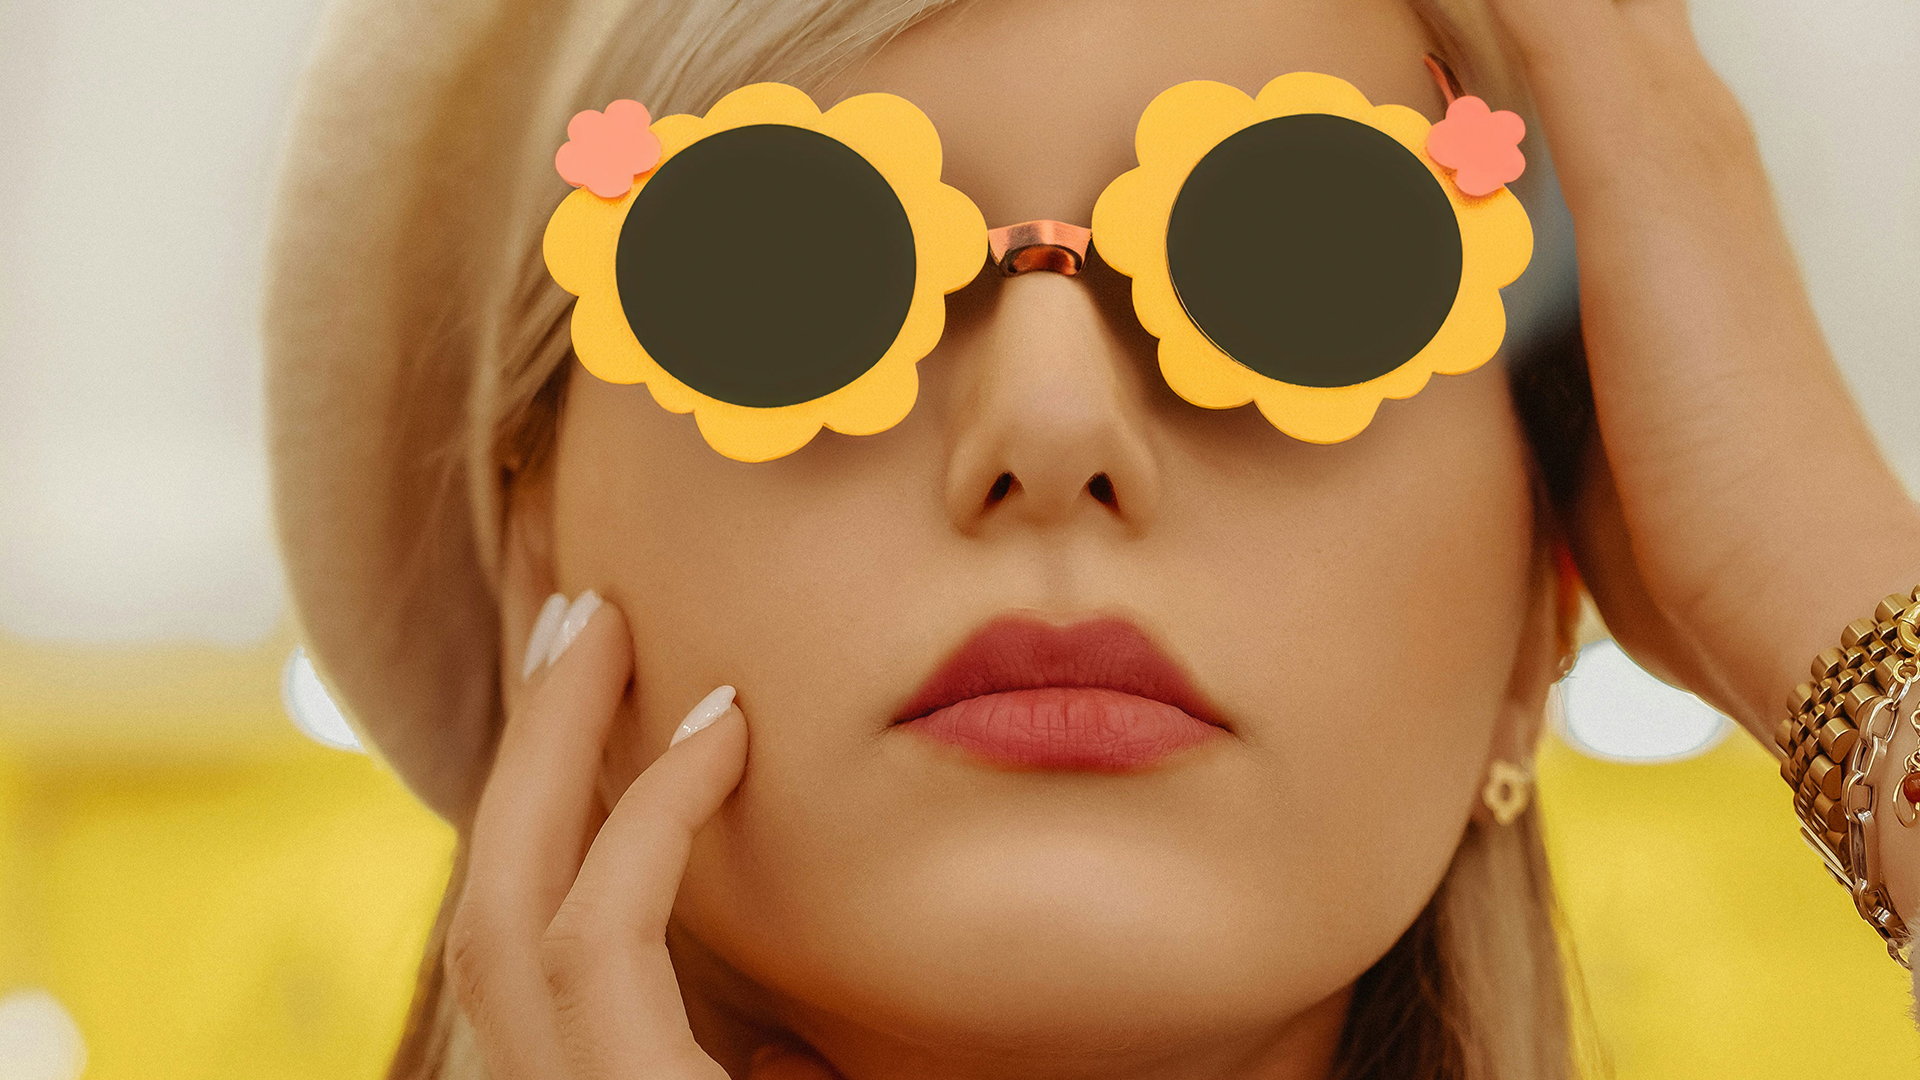

Download Assets
This tutorial includes 1 sample image, 1 sample PSD and 1 PDF guide. Downloads are free with a PHLEARN account.
- Download the sample images and PSDs from every free tutorial on PHLEARN
- New free tutorials published every week
- One free account — sign up once, then download anything
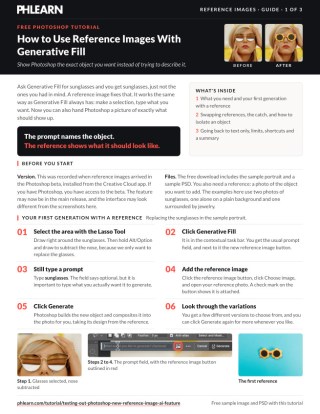
Free PDF Guide · 3 Pages
This Tutorial as a Step-by-Step PDF
The guide walks through selecting the sunglasses with the Lasso Tool, typing a prompt in Generative Fill, attaching a reference image, swapping it with Replace image, isolating one object with a layer mask and File > Save As PNG, and removing the reference to compare a text-only result. Keep it next to your keyboard.
description
Reference images with Generative Fill let you show Photoshop what you want instead of describing it. The prompt still matters, and the reference is read whole, which is the catch. Learn how to add precise details to your photos, from custom sunglasses to one-of-a-kind accessories, all guided by a simple reference picture.
Enjoying This Free Tutorial?
We publish a new free tutorial every week, each one with sample images and PSDs you can download and follow along with. Sign up and they land straight in your inbox, along with early word on sales, events and subscriber-only offers.
Artist Credit
- Omid Armin
Images sourced from Unsplash.
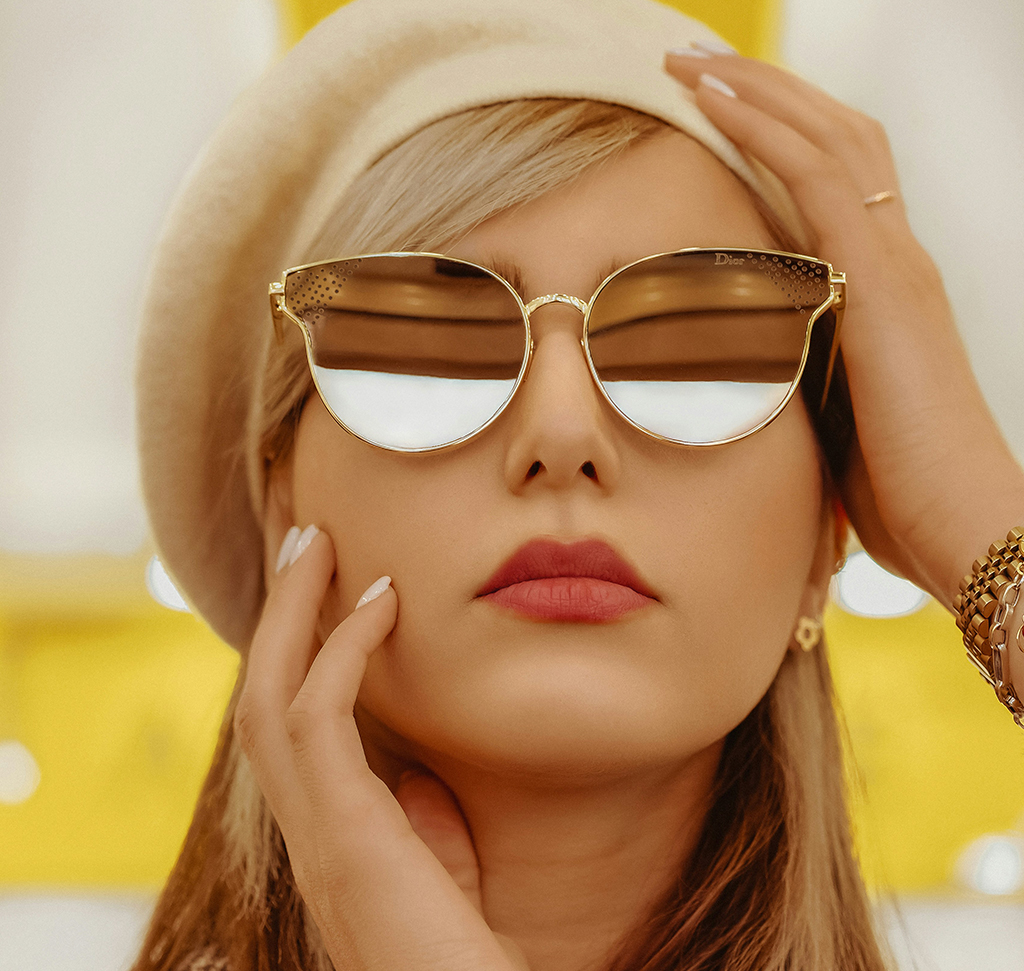

How to Use Reference Images with Generative Fill in Photoshop
Describing what you want in words only gets you so far. Ask Generative Fill for sunglasses and you will get sunglasses — just not the ones you had in mind, and the odds of arriving at a specific style through prompt wording alone are poor.
Reference images solve that. Instead of describing the thing, you show Photoshop a picture of it, and the generation takes its design cues from what you supplied. It is a substantial change in how much control you have, and it comes with one significant catch worth understanding before you start.
A note on versions: this was recorded when reference images arrived as a beta feature in the Photoshop beta build. It may now be in the main release, and the interface may differ from what is described here. The behavior and the workaround below still apply.
Reference Images With Generative Fill: the Workflow
-
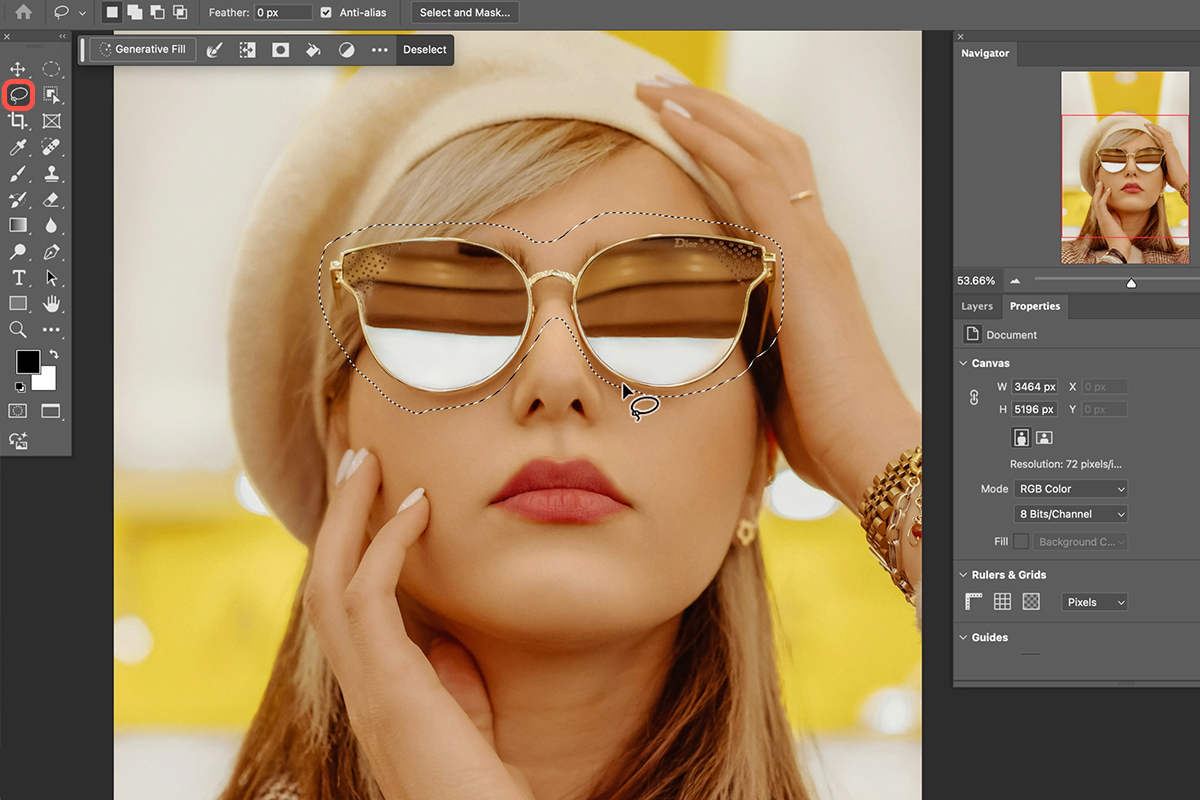
Make a selection with the Lasso Tool
Draw around the area where the new object should go. Hold Alt or Option to subtract anything you caught by mistake.
-
Click Generative Fill
From the contextual task bar.
-
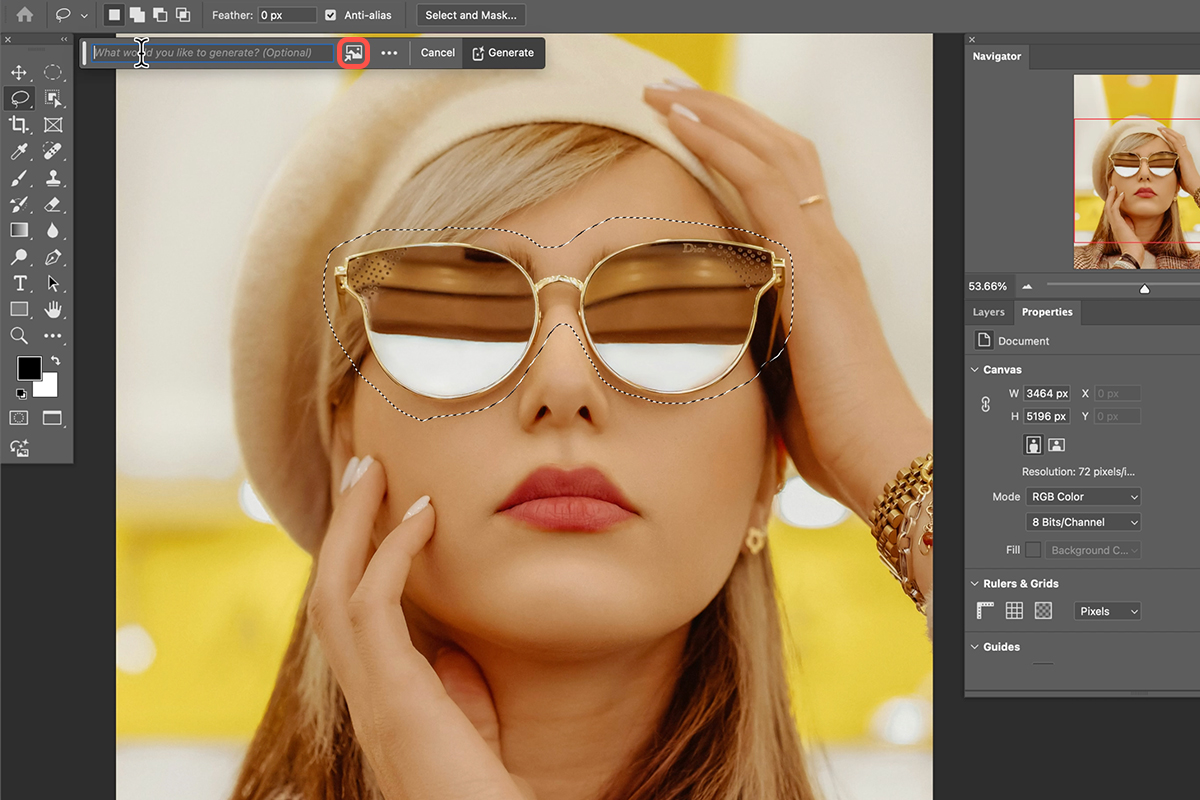
Type a text prompt describing what you want
Keep it short and concrete — “sunglasses”, “necklace”.
-
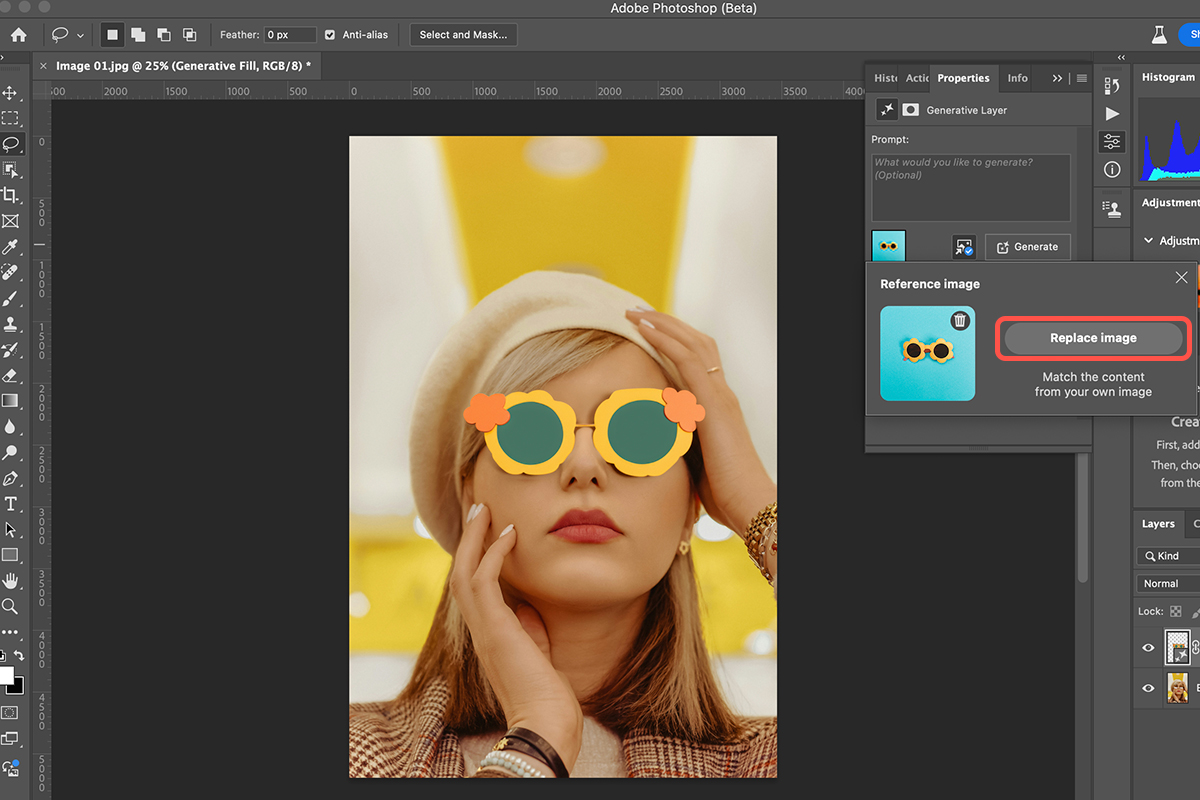
Click the reference image button and upload your reference
A thumbnail appears alongside the prompt field.
-
Click Generate
Variations come back, taking their design from the reference rather than from the model’s general idea of the object.
You Still Need the Text Prompt
The reference image supplements the prompt rather than replacing it. Uploading a photo of sunglasses without typing anything does not reliably produce sunglasses — the text tells Photoshop what kind of thing to generate, and the reference tells it what that thing should look like.
Think of the two as answering different questions. The prompt names the object; the reference supplies the style, shape and material. Both matter, and dropping either one costs you control.
The Catch: It Uses Everything It Can See
This is the thing to know before you waste a dozen generations working it out.
Photoshop reads the whole reference image, not just the object you were interested in. Upload a photo of a person wearing sunglasses and a necklace, and the generation will often pull design elements from both — you get sunglasses with jewelry-like detailing, or a hybrid of the two objects that is not what you asked for.
It has no way of knowing which part of your reference you meant. It takes the visual character of the image as a whole.
The fix: isolate the object first
Prepare the reference before you use it. Open your source photo, cut out just the object you want — sunglasses on their own, the necklace on its own — and save that as a separate file with everything else removed.
Feed Photoshop that isolated version and the results improve dramatically, because there is nothing else in the frame for it to borrow from. This one step of preparation is the difference between the feature being frustrating and being genuinely useful.
A clean cutout on a plain background is ideal. It does not need to be a perfect mask — the AI is reading design characteristics, not compositing your reference directly — but it does need to contain only the thing you want.
Building from more than one reference
The same behavior that causes the problem can be used deliberately. If you genuinely want to combine characteristics — the frame shape from one pair of glasses and the lens tint from another — a reference containing both will blend them.
That is a less predictable way to work, but for concepting it can produce ideas you would not have arrived at by describing them.
Swapping the Reference Without Starting Over
Once a generation exists, you can replace the reference image and generate again without redrawing the selection. There is also an option to remove the reference entirely and fall back to text alone.
This makes comparison quick. Keep the same selection and the same prompt, cycle through three or four different reference images, and you can see how each one influences the result — which is by far the fastest way to develop a feel for what the feature actually does with a reference.
Where This Is Genuinely Useful
Matching a specific product. If a client sells a particular frame, a particular watch, a particular garment, describing it in words is hopeless. A reference gets you close.
Consistency across a set. Using the same reference across several images keeps the generated element broadly consistent between them, which text prompts alone will not do.
Style direction. A reference conveys material, era and finish — brushed metal, worn leather, high-gloss plastic — far more efficiently than a prompt describing them.
Limitations Worth Knowing
It is influence, not insertion. Photoshop is not compositing your reference into the image. It generates something new that resembles it. Expect a family resemblance rather than an exact copy, which means this is not a way to place a real product accurately into a photo.
Resolution still applies. Generated content comes back at a capped resolution, so keep selections tight and check the result at 100% against the surrounding photograph.
It works best on distinct objects. References containing a clear, well-lit single object outperform busy scenes, subtle textures, or anything where the interesting part is small within the frame.
The Practical Habit
Build a small folder of isolated reference cutouts for the things you generate often. Ten minutes spent cutting out a handful of objects on plain backgrounds pays for itself the first time you need a specific style, and it turns a feature that is unpredictable out of the box into one you can direct.
That is the underlying point here. Generative tools reward preparation far more than they reward prompt wording — a clean reference will beat a cleverly phrased description every time.
Quick Reference: Keys, Menus and Settings
- Select the areaLasso Tool around the object; hold Alt/Option to subtract
- Prompt and referenceGenerative Fill in the Contextual Task Bar, type “sunglasses”, reference image button > Choose image, Generate
- Swap the referenceReference icon next to Generate > Replace image > Generate, on the same layer
- Isolate one objectSelect it in the reference photo, layer mask icon, File > Save As: PNG
- Text onlyReference icon > delete the reference, then Generate
- Compare resultsF for full screen, then click through the variations
Free Downloads
Follow Along on the Same Photo
Get the sunglasses portrait, the sample PSD and the 3-page PDF guide to try reference images with Generative Fill yourself. Free with a PHLEARN account.
Generative Fill Reference Images: Common Questions
How do I add a reference image to Generative Fill?
Make a selection, click Generative Fill in the Contextual Task Bar and type what you want. Click the reference image button next to the prompt, choose your image and click Generate. A check mark on the button shows it is attached.
Do I still need to type a prompt if I use a reference?
Yes. The field says optional, but typing what you want, like “sunglasses”, is important. The prompt names the object and the reference shows what it should look like.
How do I keep part of the face out of the selection?
With the Lasso Tool, hold Alt/Option and draw around the area to subtract it. In the video that removes the nose, so only the glasses are replaced.
How do I try a different reference without starting over?
Click the reference image icon next to Generate, in the Properties panel or the Contextual Task Bar. Click Replace image, open the new photo and click Generate. You keep the same layer, selection and prompt.
Why did my result mix in other things from the reference photo?
Photoshop reads the whole reference image, not just the object you meant. A photo of sunglasses next to jewelry produced sunglasses with the jewelry worked into them.
How do I make a reference of just one object?
Open the reference photo, make a quick selection around the object and click the layer mask icon. Go to File > Save As and save it as a PNG (a JPEG works too), then use Replace image to load that file.
How do I go back to generating from text only?
Click the reference icon, delete the reference and close the panel. Click Generate again and Photoshop picks whatever it thinks the object should look like.
Where do all the variations end up?
Every run, with each reference and without one, is a variation inside the same Generative Fill layer. Press F for full screen and click through them to compare.
Will it put my exact product into the photo?
Not exactly. Photoshop generates something new that resembles the reference, so expect a close family resemblance rather than a copy of the real product.
Are the sample files free?
Yes, with a free PHLEARN account. You get 1 sample image, 1 sample PSD and 1 PDF guide: the sunglasses portrait, a sample PSD and a 3-page step-by-step guide.
Master Photoshop, Lightroom and Photography
Join PHLEARN PRO for $12.99 a month or $99.99 a year. Cancel anytime, with a 100% money-back guarantee.





