Master Natural Light Portrait Editing in Photoshop
-

-
Add to
favorites
-
DifficultyMedium
-
Length2.5 hours
-
Videos8
-
Software
Description
Master natural light portrait editing in Photoshop! In this new PRO tutorial, we will show you how to perfectly edit portraits shot in natural light. We cover every challenge, including backlight, dark subjects, harsh shadows, and more. We are even including RAW files and a Photoshop action so you can follow along with every step.
THIS COURSE INCLUDES
- 8 Sample Images (RAW Files)
- 1 Sample Image (JPEG Files)
- 7 Sample TIFFs
- 1 Photoshop Action
Share
Table of Contents
Course Downloads
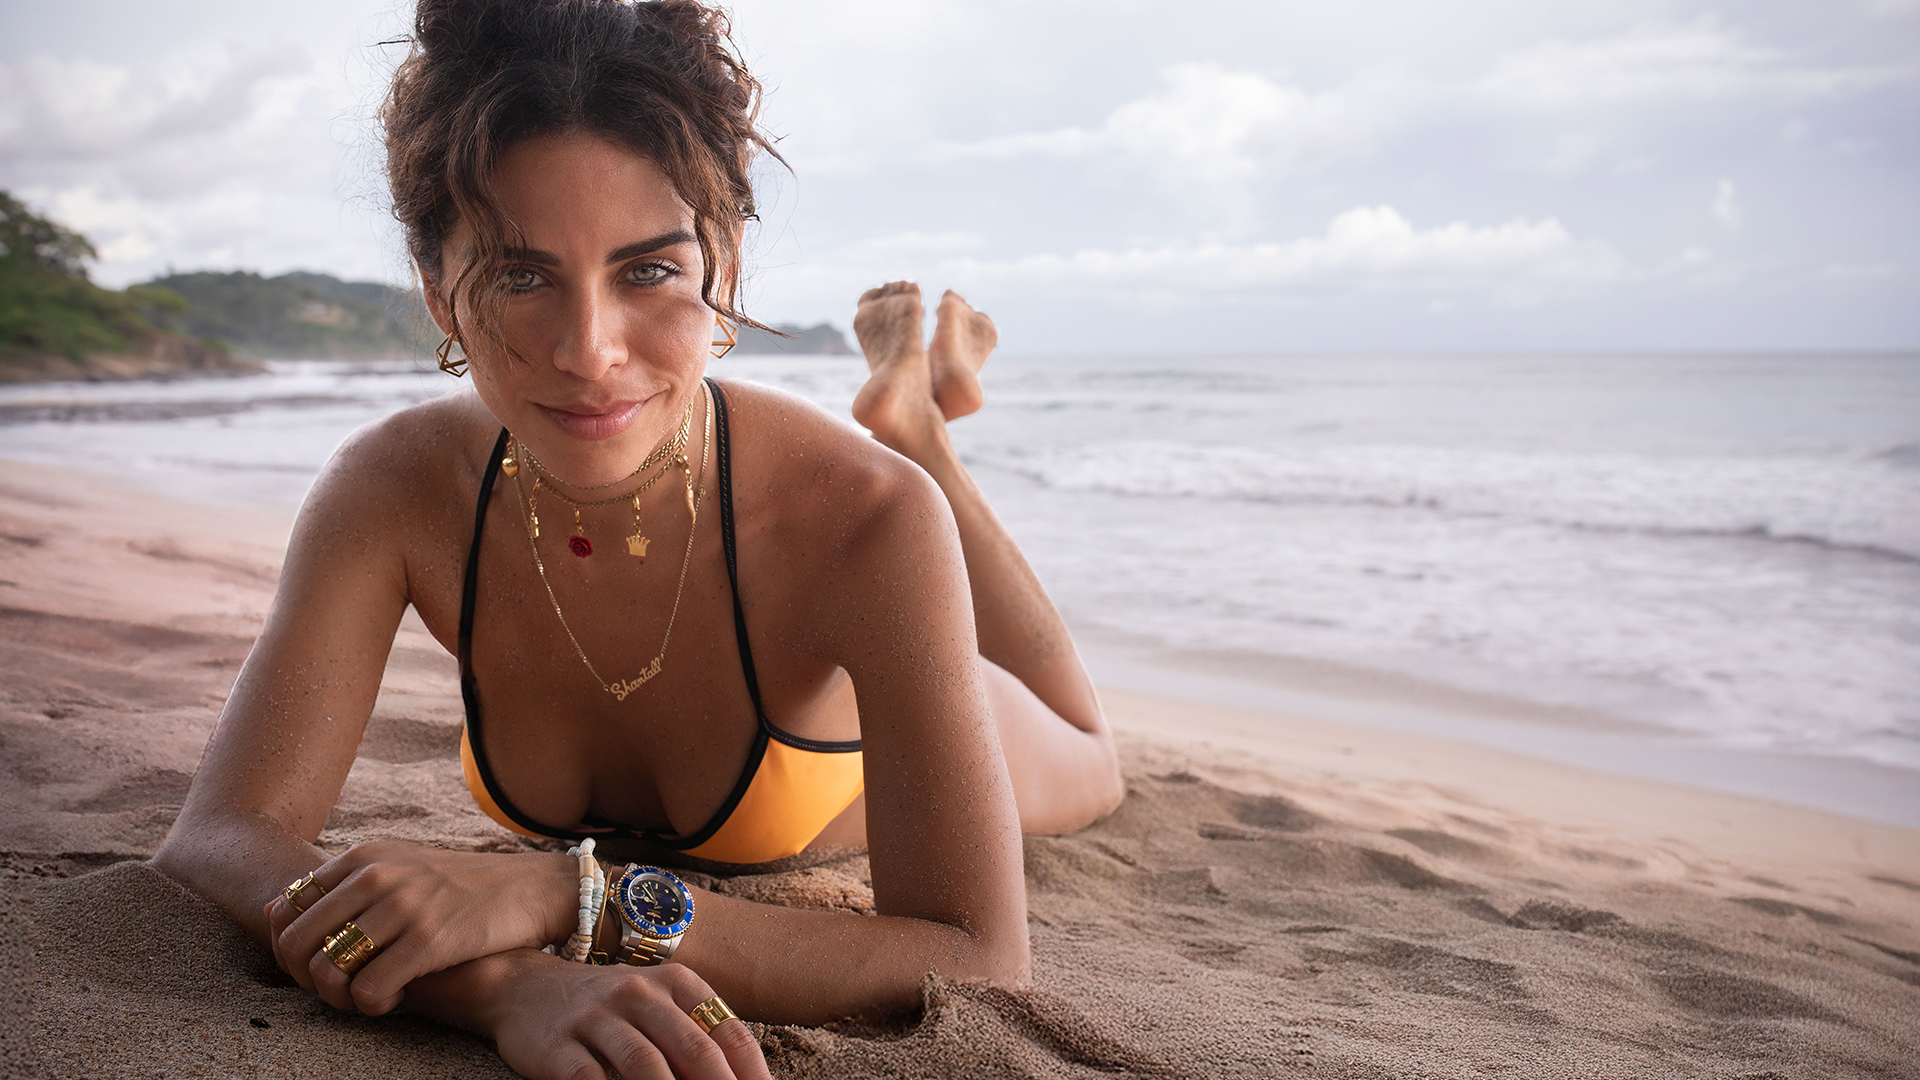
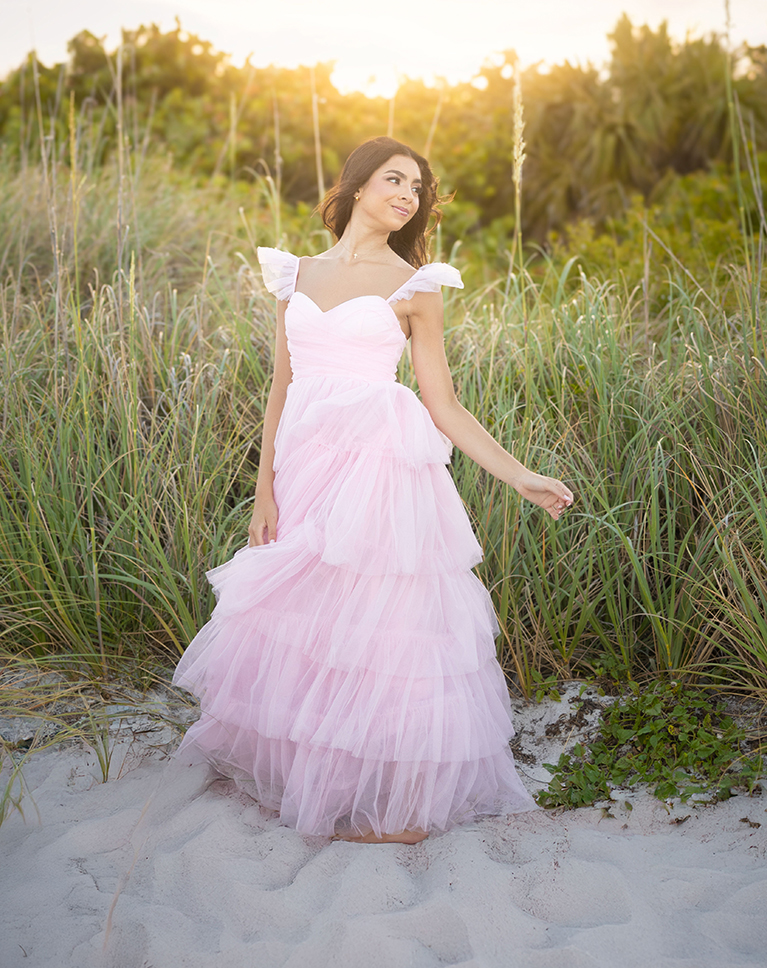
Get The Perfect Edit
AFTER
BEFORE
Natural Lighting Workflow
Editing natural light portraits presents unique challenges. You often face harsh shadows and blown-out highlights when light is direct. Backlit subjects can become dark, requiring careful recovery of shadow detail without introducing noise. In this tutorial, we’ll cover the most common scenarios and we’ll show you the workflow that will give you natural color balance and polished result.
Starting in ACR
Our editing process starts in Adobe Camera Raw. This tool lets you instantly fix your light and color before you even touch Photoshop! In this tutorial, you will learn the fundamental settings, like opening files as Smart Objects—and the workflow we use to lay the perfect foundation for every portrait edit.
Making Selections
One of the most important secrets to mastering natural light editing is making accurate adjustments. This tutorial shows you the simple way to make perfect selections of your subject, clothes, and skin. By learning our easy masking tricks, you can boost light or fix colors exactly where you need them. This makes your changes powerful, totally natural, and gives you incredible control over every portrait.
AFTER
BEFORE
Sky Replacement
In natural light settings, the sky is often the first element to lose detail. In this tutorial you’ll learn the best approach to fix your skies in no time. We’ll show you how to use advanced tools to accurately replace a blown-out sky, then use advanced blending and focus techniques to integrate the new sky flawlessly. The result is a realistic, detailed background that elevates your entire portrait.
Blending Elements
Discover blending techniques that ensure all elements, from a new sky to edited subjects, look natural together. You’ll learn to use Levels for matching brightness across layers and the Lens Blur Filter to harmonize focus and depth. This eliminates harsh edges and focus mismatches, delivering realistic results where all adjustments are perfectly integrated.
Removing Distractions
Our tutorial goes beyond fixing light; we’ll show you how to create the best possible image. You’ll learn the best techniques for removing every distraction, including flyaway hair, blemishes, and unwanted debris, using powerful generative tools. By mastering these final, critical cleanup steps, you ensure your subject remains the undeniable focus, delivering a polished, high-impact result every time.
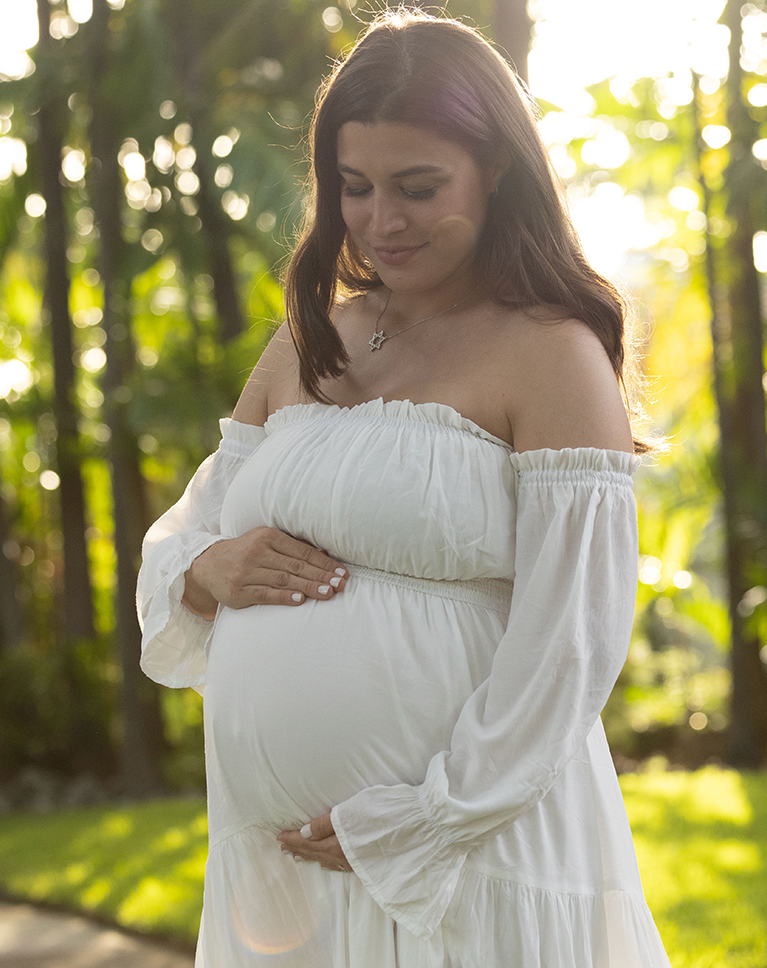
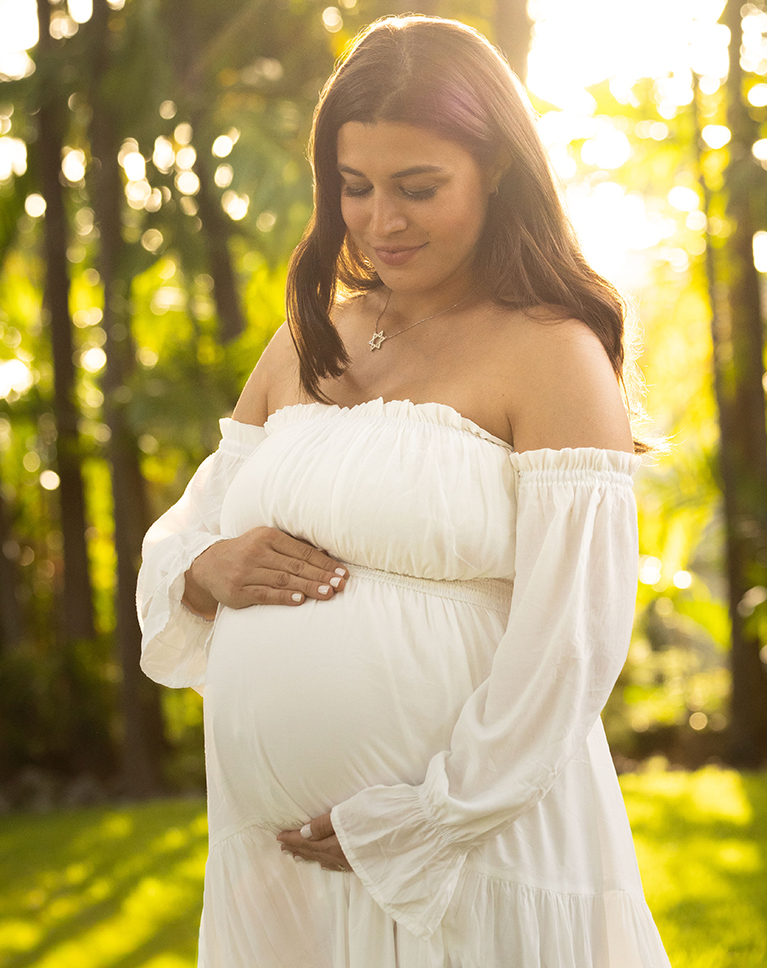
Control Every Detail

Highlight Your Subject
Learn how to isolate and lighten dark areas, restoring crucial details without sacrificing the balanced exposure of your entire image.

AFTER
BEFORE
Indoor & Outdoor Scenarios
We want you to conquer every lighting situation! That’s why we’ll cover both challenging outdoor natural light, from harsh sun to soft shade, and intricate indoor lighting scenarios. You’ll learn specific, proven techniques to correct exposure, sculpt highlights, and manage shadows, allowing you to take flawless care of any image, regardless of where the light falls.
Retouching Basics
At PHLEARN, our goal is to equip you with the complete workflow, covering every step from exposure correction to final polish, ensuring your images achieve maximum visual impact.In this tutorial, you’ll learn to use the Selection Brush Tool and Generative Fill for rapid, high-detail retouching, eliminating distracting blemishes and spots. This ensures your newly lit subject is polished and flawless, guaranteeing that attention remains exclusively on the beautiful details of your portrait.
Frequency Separation Action
Your time is valuable. The faster you can finish an edit, the faster you can get on to your next project or photoshoot. Our included Frequency Separation Photoshop action will automatically separate the high and low frequencies in any image, saving you time and getting you right into retouching.

AFTER
BEFORE
Non-Destructive Workflow
We’ll show you how to edit without fear, using powerful non-destructive techniques like Smart Filters and Masking. This ensures your original pixels are always safe, allowing you to refine, revert, and re-edit any adjustment instantly. This professional approach guarantees maximum flexibility and control, future-proofing your workflow for perfect results.
Hands-On Learning
We believe in learning by doing, which is why this tutorial includes 8 high-resolution RAW and 7 TIFF files. You get immediate access to the exact images used in every lesson, allowing for a fully hands-on experience. Follow along with every step, practice the techniques, and apply the professional adjustments directly to the same source files.
Photoshop Learning Path
Dive deep into the world of Photoshop with our Photoshop Learning Path. Across 11 courses and 53 hours of engaging content, you’ll learn Photoshop’s ins and outs, master pro-level tools, and tackle fun and challenging projects. From the fundamentals to advanced techniques, this comprehensive guide will help you make the most of this powerful software and bring your creative vision to life.

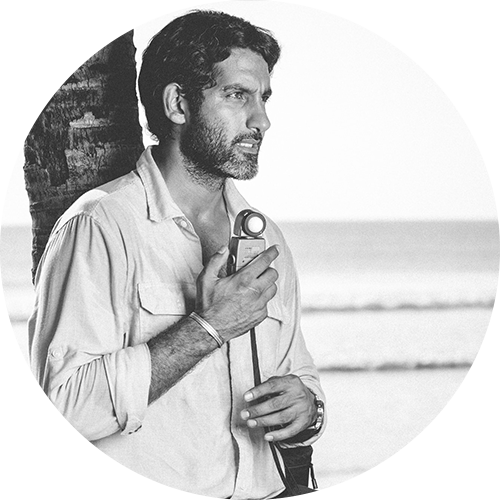
Aaron Nace
PHLEARN Founder – Class Instructor
Aaron Nace is a photographer, Photoshop artist and founder of PHLEARN. He is the #1 Photoshop instructor in the world with millions of YouTube subscribers.
Yorch Sans
Fashion Photographer
A big thanks to Yorch for providing us his RAW images to use in this tutorial! Born in Nicaragua, this world citizen now thrives in Miami’s sunshine. Inspired by photojournalism, fashion, and childhood magazines, his photographic journey began in Granada, Spain. Collaborations followed in Barcelona before a 2010 return to Nicaragua for weddings. Now, he leads SANS-STUDIOS, capturing love and cultures worldwide.
Rob Wilkinson
Fashion Photographer
A big thanks to Rob for providing us his RAW image to use in this tutorial! Rob is a UK, London based fashion and celebrity portrait photographer but has also shot interiors, food & drink + pretty much everything else over the last thirty years.He is regularly commissioned in the UK & abroad to shoot for advertising agencies, magazines, marketing and PR agencies. He is equally at home photographing on location or in the studio.
Reviews
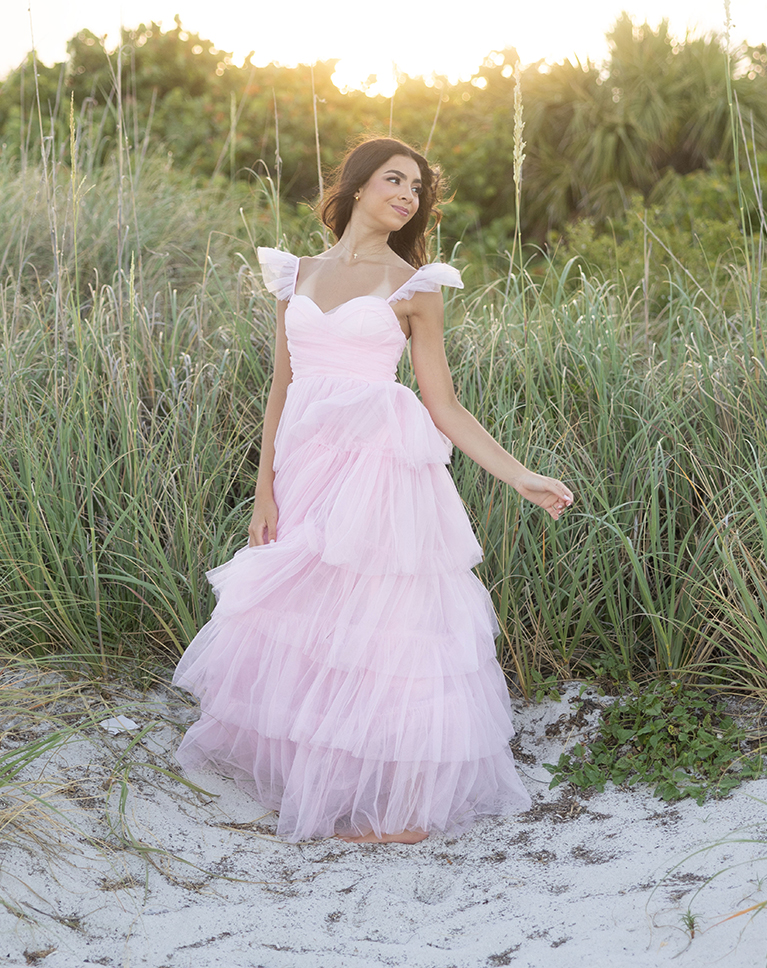
New & Popular Tutorials


Training Site in
the World
Tutorials!
Ratings
and Counting
Subscribers
Thank you
I loved how you all simplified the process, the subtract feature in masking was a major help!
Really solid tutorial. Clear, practical, and easy to follow without feeling dumbed down. It focuses on understanding natural light and making edits that look clean and realistic not overdone. The workflow is professional, non-destructive, and actually useful for real portrait work. Definitely worth watching if you want better natural light edits in Photoshop.
Great tutorial!!! Thanks a lot!!!
Another great tutorial, love your delivery style!
Great lesson! I would also love to see a course on Lightroom Photo Book creation. Thanks
Aaron, as always, amazes me. I can’y get over how many radial and linear masks one can use to enhance a photo. Always Phlearning lol
Thank you Aaron Nance. You do a great presentation. Your expertise and humor keep my interest! Thanks again!
Great Course (as always) In de last lesson the blur did not work out because you did not use the ‘KI Status Button’ (in my opinion)
Great stuff Arron, loved it.