
Download Assets
description
Learn how to rescue dark foregrounds and balance your exposure without touching the background. In this quick tutorial, we explore the incredible precision of the updated Camera Raw object masking tool, showing you a fast, clean way to easily isolate complex details like fine trees and people in Photoshop 2026.
Go PRO:
Take your compositing to the next level with our in-depth PRO tutorial How to Create an Epic Composite: A Dark Force (2026 Edition). Learn the manual compositing workflows needed to build a massive sci-fi panorama in Photoshop 2026..
Image Source
- Ilia Bronskiy
Images sourced from Unsplash.
Share

AFTER
BEFORE
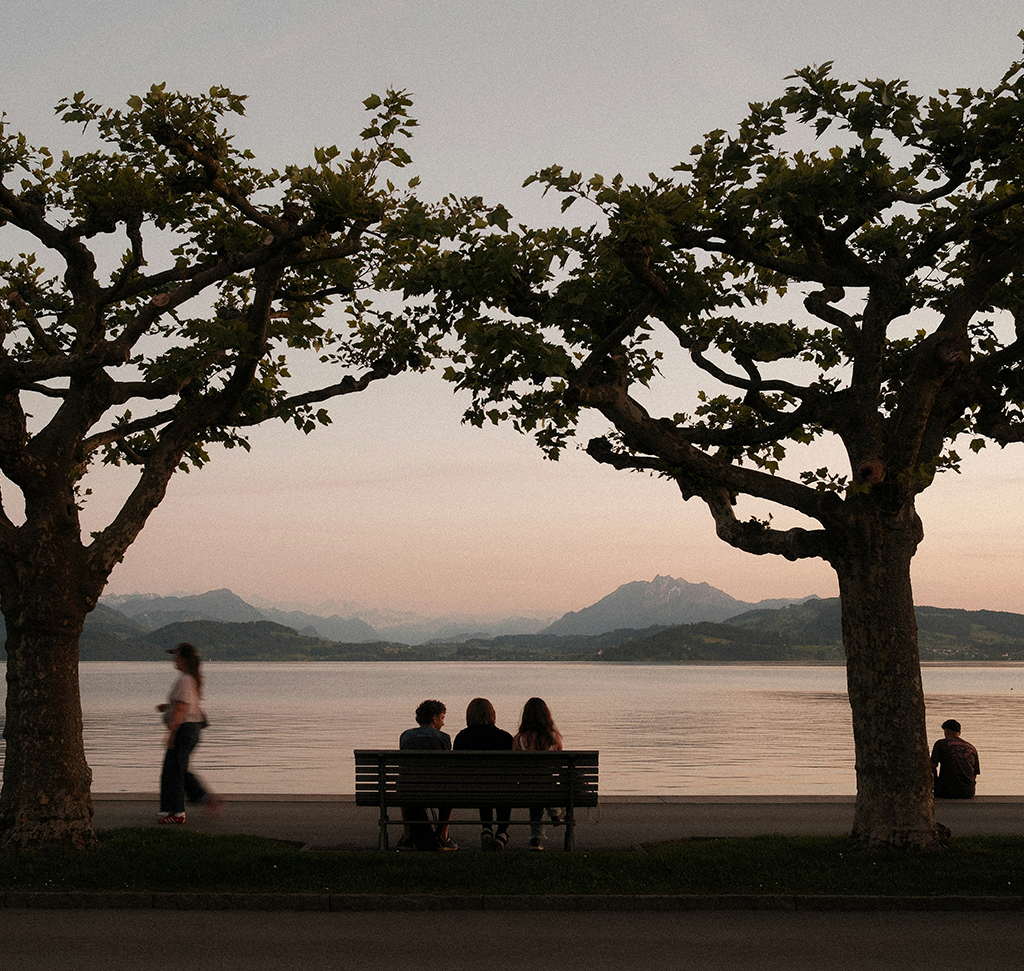
Smarter Selections Instantly
Selective masking is the absolute secret to professional exposure control. Instead of blowing out a perfect sky, targeting only the dark areas that actually need help lets you balance your image perfectly while keeping your creative control completely intact.
Getting Started
First, we need to make sure we can change our minds later.
1. Head over to your background layer, go to Filter, and select Convert for Smart Filters. This turns your layer into a Smart Object, keeping your edits completely non-destructive so you can jump back in and adjust them at any time.
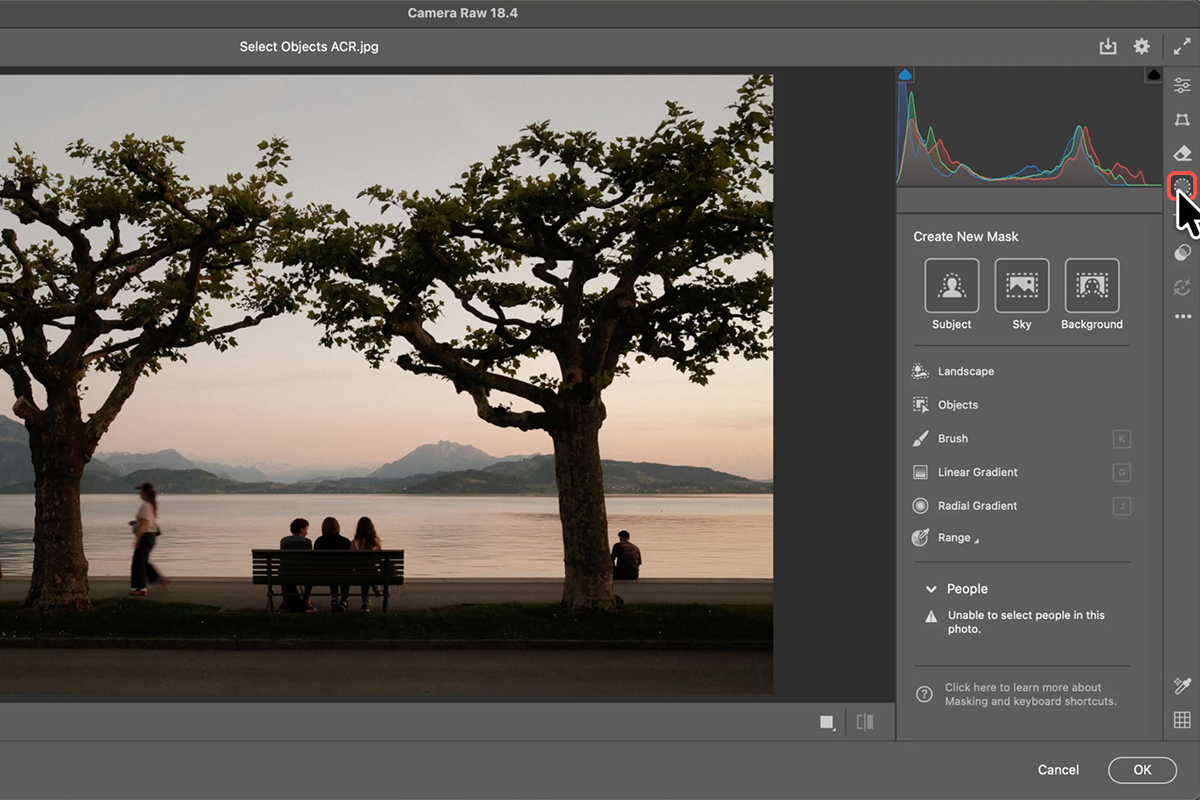
2. Next, jump into the magic zone by going to Filter and selecting Camera Raw Filter.
3. Open the Masking panel on the right-hand side and choose Objects.
4. Now, simply grab the brush and paint a rough, sloppy stroke over your trees or foreground subjects—the AI immediately takes over the tedious work to create a pixel-perfect selection of complex details.
Refine the Selection
5. To build on your selection, click Add and paint over other foreground elements like people or paths.
6. If you want to pull down the effect on the immediate foreground, use Subtract with a linear gradient.
7. To focus entirely on your image without distractions, simply press the keyboard shortcut V to quickly hide your pins and tools.

Balance the Light
8. With your precise mask active, turn off the overlay and adjust the exposure, highlights, and shadows to bring out gorgeous detail in the dark areas.
9. Tweak the temperature to warm things up, then click OK to return to Photoshop, where you can double-click your Smart Filter to change these settings whenever you want!