Download Assets
description
Discover Photoshop 2026’s new “Precision Flow” AI slider! In this tutorial, we test Adobe’s latest feature to see if it’s worth your credits. Learn how it works, how to fix its resolution issues, and a clever layering hack to keep your subject’s face looking flawless and completely natural.
Go PRO:
Dive deeper on non-destructive editing with our in-depth PRO tutorial The Ultimate Guide to Non-Destructive Editing in Photoshop . We’ll cover everything from mastering masks and smart objects to building an unbreakable raw pipeline, all while preserving your original image intact..
Image Source
- 1MilliKarat
Images sourced from Unsplash.
Share
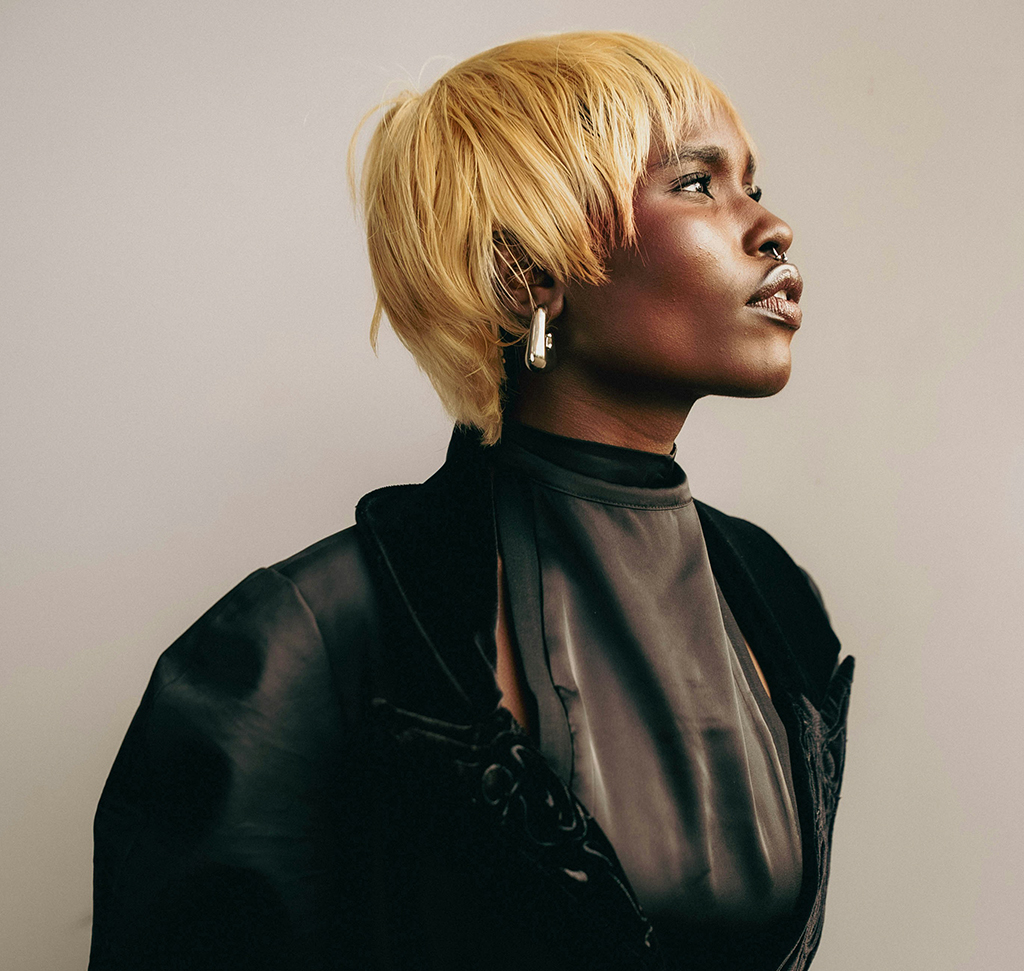

AFTER
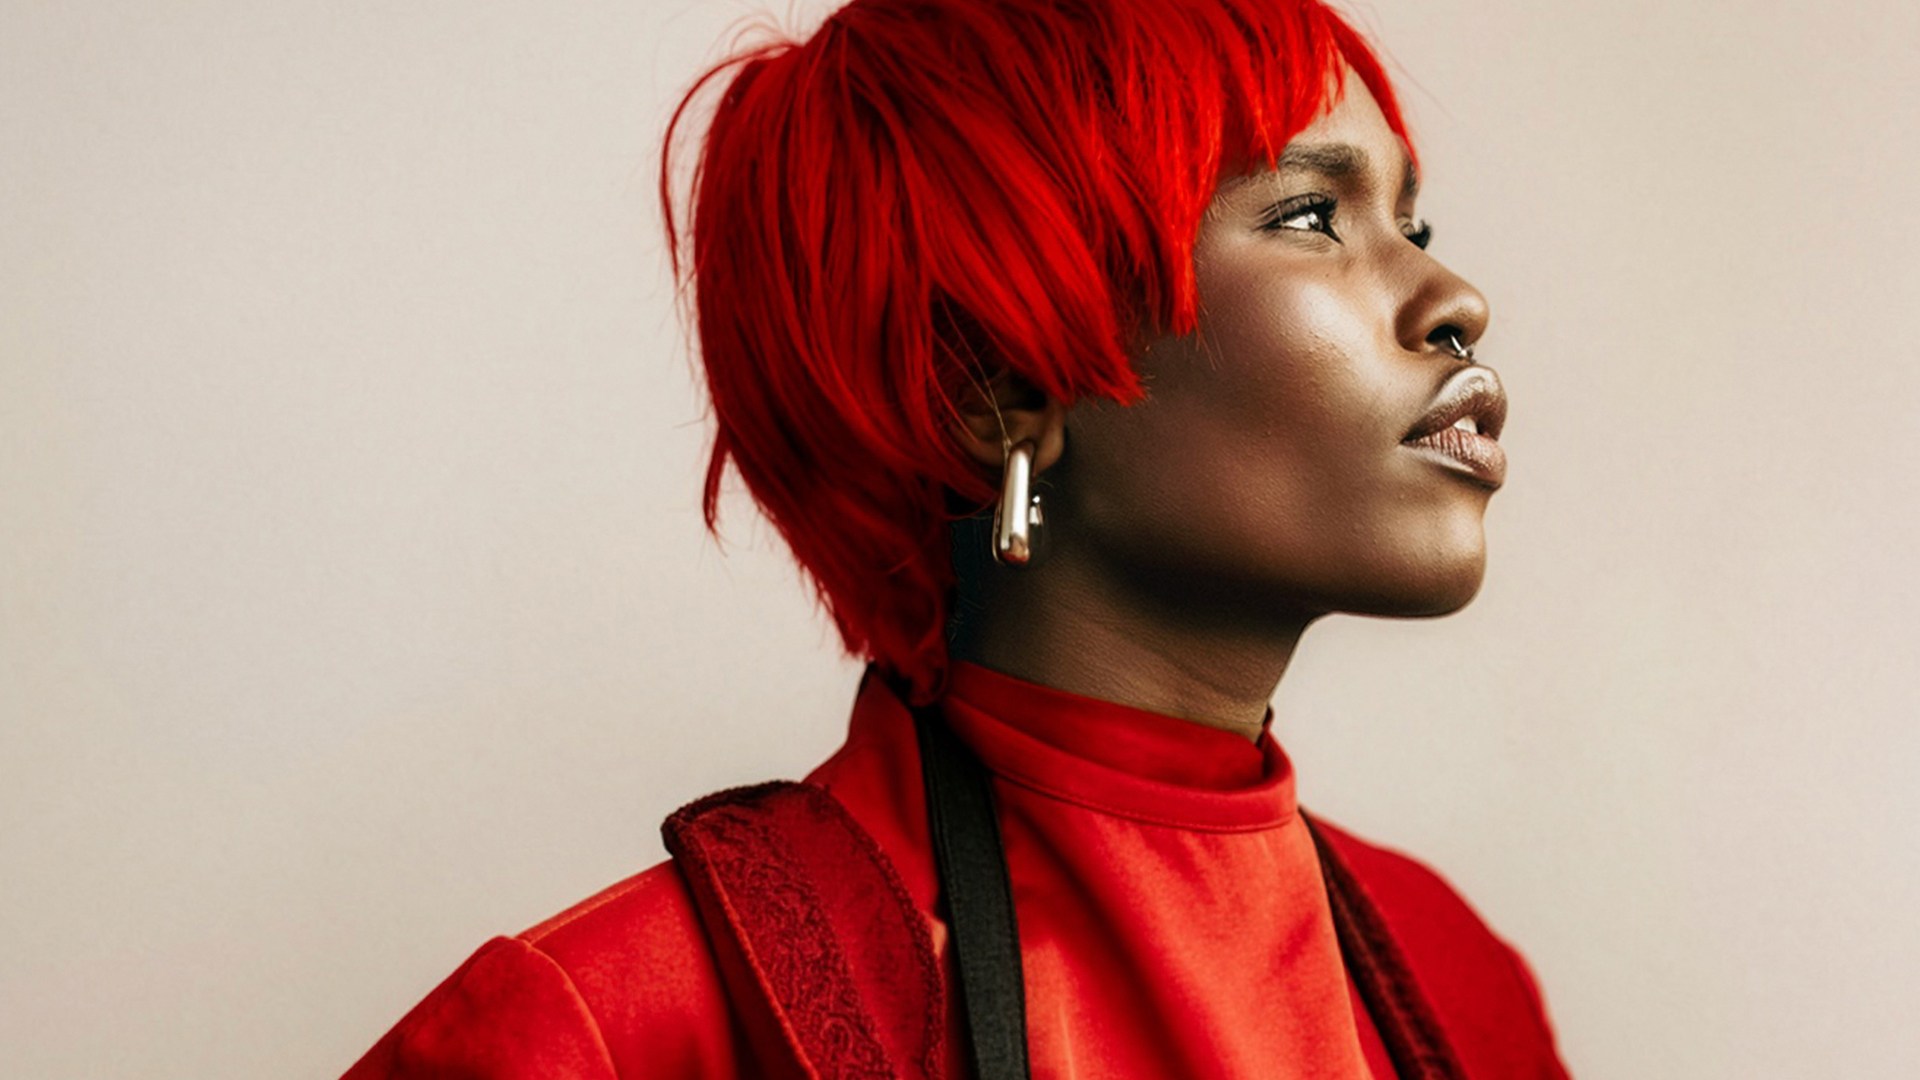
BEFORE
Smart Slider Secrets
Photoshop’s new “Precision Flow” tool offers a unique way to apply AI adjustments to your images using a simple strength slider. While it provides immense flexibility for modifying clothing, hair, or environments, the tool automatically downsamples your image, leading to a loss in facial detail and resolution. By combining this new feature with traditional compositing workflows, you can get the best of this tool while keeping your subject looking sharp and completely natural.
Access the Workspace
1. Open Photoshop 2026 and ensure your software is updated to the latest version.
2. From the home screen, navigate to the left-hand menu and click on the Firefly Workspace.
3. Choose Precision Flow (Beta) from the tool options and click Edit New to upload your image.
4. Once your photo loads, type your modification prompt into the text box at the bottom—like changing hair color or modifying clothing—and immediately lower the Edit Strength slider to 0.1 to keep the initial generation controlled before hitting generate.

Scale & Export
5. After the tool processes, use the slider to dial in the perfect amount of the effect.
6. Because the workspace automatically downscales your file to 1024 pixels, click Upscale on the right panel, select 2x, and click generate to restore resolution.
7. Once completed, click Open in Editor at the top right to bring the image back into the main Photoshop interface.
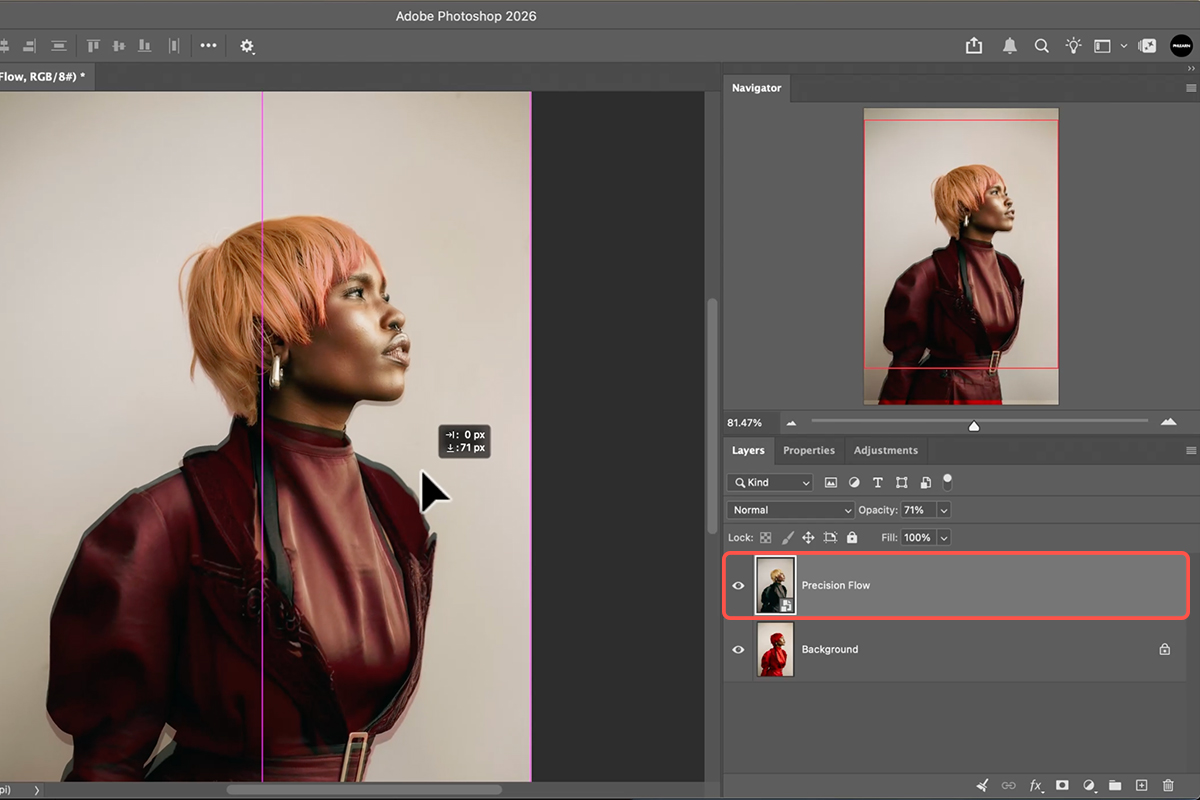
8. Open your original high-resolution photo in the same document, placing it on a layer right above the AI version.

Align the Images
9. To blend the original details back in, double-click the background layer to turn it into a regular layer.
10. Select both layers in your Layers panel by holding Shift and clicking them.
11. If the original image is a Smart Object, right-click it and choose Rasterize Layer.
12. Go to Edit > Auto-Align Layers, select Auto, and click OK. This ensures both shots are perfectly positioned on top of each other, correcting any slight shifting caused by the generation process.
Mask the Face
13. Select your top layer (the original photo) and choose the Object Selection Tool (Keyboard Shortcut “W”).
14. Draw a loose selection around your subject’s face or hands to capture the original skin texture.
15. With the selection active, click the Add Layer Mask icon at the bottom of the Layers panel. This creates a mask that reveals the crisp, original facial features while seamlessly blending in the AI-generated hair and wardrobe changes from the layer underneath.


