How to Create a Mermaid Effect in Photoshop
-
Add to
favorites
-
DifficultyAdvanced
-
Length4 hours
-
Videos9
-
Software
DESCRIPTION
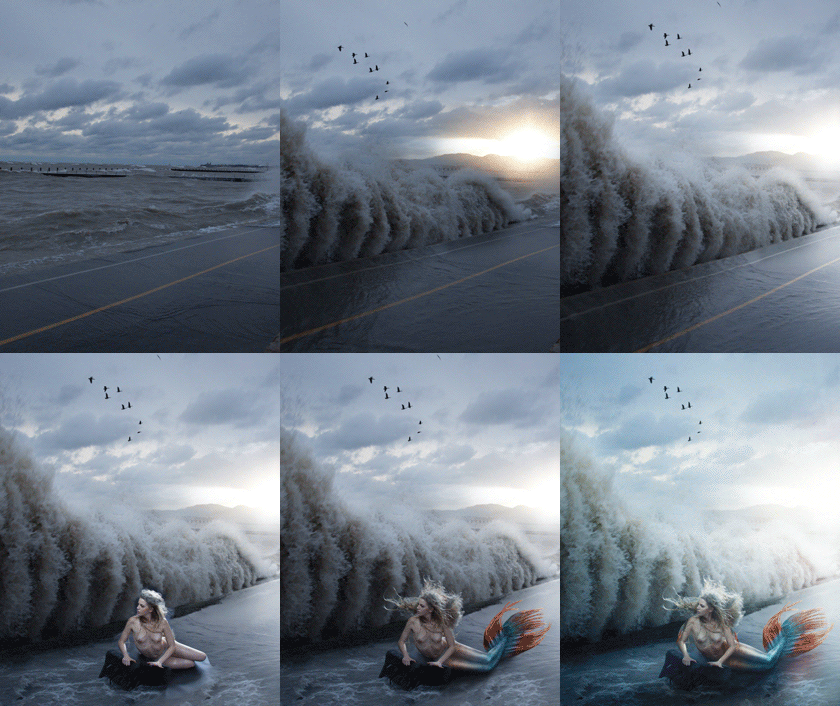
Learn some of the most advanced compositing techniques in Photoshop! Follow Aaron step-by-step as he creates a complex composite image. Learn how to construct a background from multiple elements, match light and color, and much more.
THIS COURSE INCLUDES
- 28 Sample Images
- 1 Photoshop Action
Share
Table of Contents
-
01 - How to Build a Composite Background18:44m
-
02 - Match Color and Lighting for a Composite28:53m
-
03 - How to Add Foreground Details21:29m
-
04 - Cut Out and Place Subject Into New Environment31:01m
-
05 - Composite & Paint a Mermaid Tail from Scratch38:54m
-
06 - Adding Scale Textures to Skin21:03m
-
07 - Composite Sea Elements & Textures to Skin27:59m
-
08 - Adding Shape & Definition to the Subject14:32m
-
09 - Light & Color Effects25:41m
Course Downloads
Create a Fantasy Composite.
Add Incredible Texture
Use additional source images to create and apply scales, fins, gills and even webbing to the body of your subject. Learn the best practices for adding these detailed effects in a subtle, elegant way without overpowering the image.
Create and Match Light
Add intense light for a more stunning composite and learn the best methods for seamlessly matching the light to your subject. Adding light with Photoshop is a great way to bring atmosphere and attention to your images.
Paint by Hand
Sometimes you will want to get rid of an object in your image but will not have enough information to use tools like the clone stamp or healing brush. In this tutorial you will learn how to paint by hand to completely re-create areas of your images from scratch.
Liquify Tool Best Practices
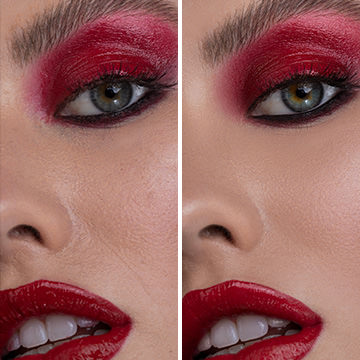
Make your subject look their best without looking unnatural using the liquify tool properly. Use what you learn to dramatically alter the shapes and tone a person bringing attention to the right places.
Perfect Color Match
Create the most believable composite image by matching the colors perfectly. Learn how to adjust the colors separately between shadows, midtones and highlights to create an accurate and realistic color match.
Create Reflections
Creating reflections in Photoshop varies depending on the surface that reflects your subject. Reflections might need to be smooth and clear, or other times blurry and distorted. Learn how to make reflections that apply to many different types of images.
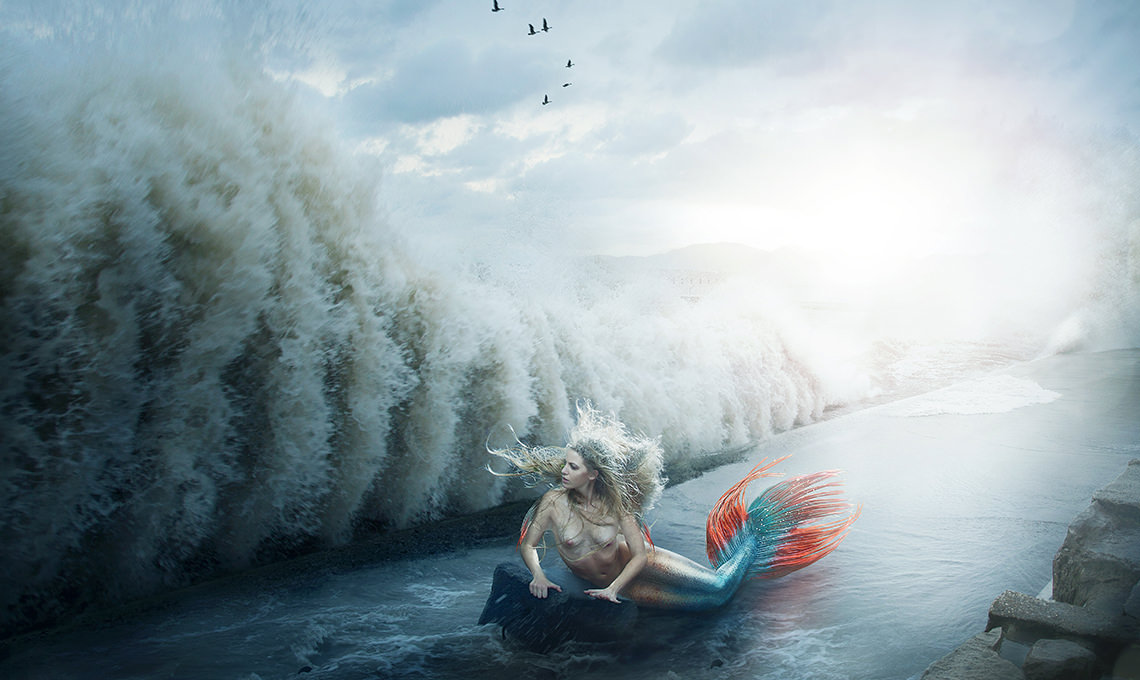
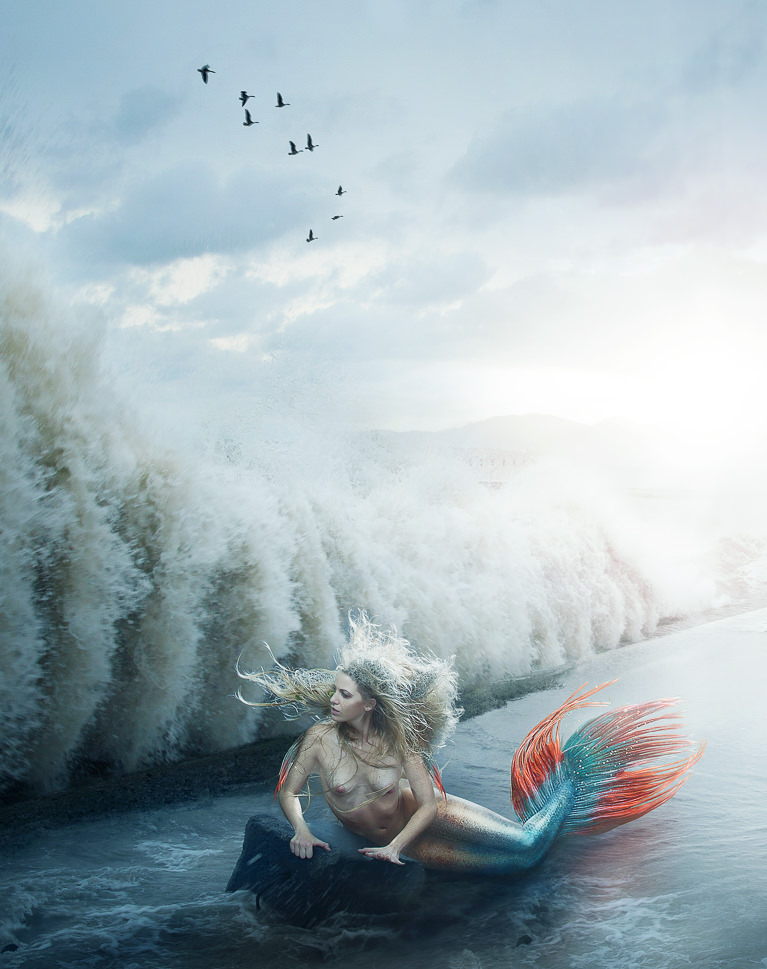
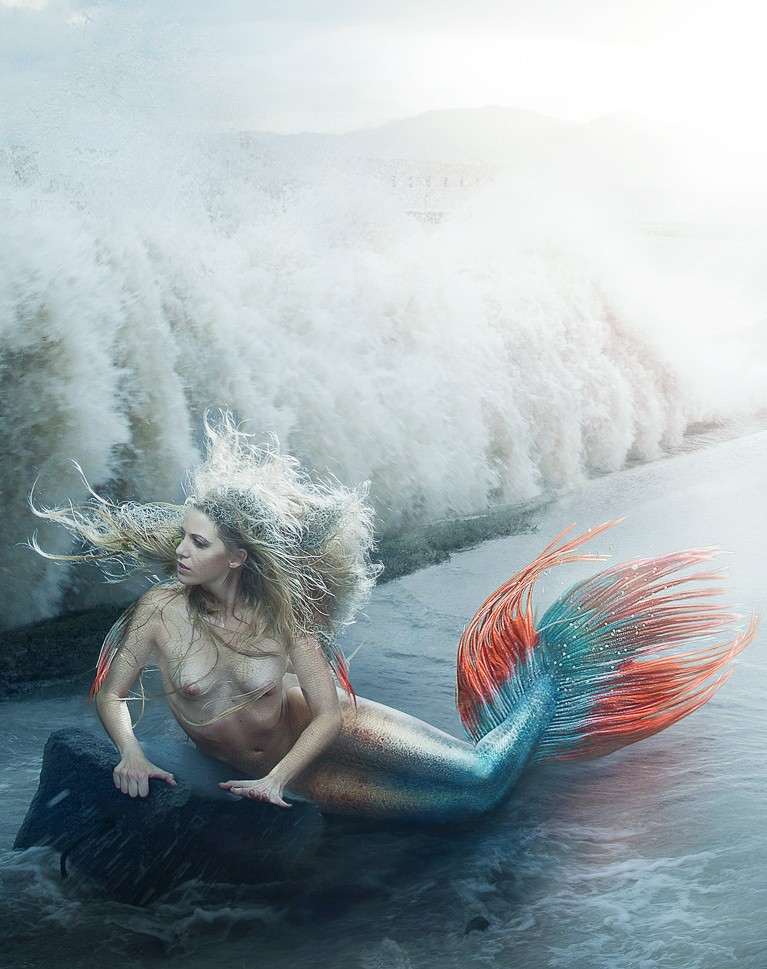
The Banished Mermaid
Follow along as we bring this fantasy scene to life! Learn advanced compositing in Photoshop and find some inspiration to create your own amazing images.
Composite a Background
Create your perfect scene using different background images to better tell your story. Give your subjects more opportunity for interaction by adding elements that did not originally exist. Learn the best methods for blending background images together for incredible composites.
Bring Subjects to Life
Create the mermaid’s tale using multiple images and tools. Go beyond just one technique and learn the skills necessary to achieve these effects in any situation.
Blend intricate texture and color.
Place your subject into the scene and add realistic special effects. Master all the tools necessary to bring each detail of your image into a cohesive and interesting look, no matter how complex or creative the composite.
Reviews
New & Popular Tutorials
Training Site in
the World
Tutorials!
Ratings
and Counting
Subscribers







I love this. There are so few mermaid tutorials online, so thank you! Also, the way you look at the photoshop glass as half full when something turns out unexpected reminds me of Bob Ross. That’s a huge compliment.
Very well put together tutorial; clear and precise. Thank you.
Hi Aaron, I learned a huge amount from this tutorial, thank you. Not sure you’ll love me for saying this, but I think the tail needs to be between the ‘legs’, whereas it’s under both (aargh, I feel so bad saying this, sorry!). The key thing for me isn’t just the excellent guidance, but the spirit of your presentations, I’m infinitely better at PS thanks to Phlearn.
So happy to know you liked this tutorial! It’s an oldie, but a goodie. That’s the beautiful part about making artistic composites, every one can have their own unique twist on how they want the final image to come together. Keep on PHLEARNing!
I think this has become my favorite Phlearn Pro tutorial! At first it is a bit hard, after all it is about advanced compositing. But the pace in which Aaron explained was good for me, so i could keep up and understand everything. I learned so many things which i will definitely use in my future composites. One of the hardest things to wrap my head around was the decrease of the light intensity, as it gets further away from the light source. There is also a mathematical formula for this, but i am really bad at Maths and prefer to practice through trial and error, and through observation, just like Aaron did in the tutorial. And before this tutorial, i used to think that hue, saturation and brightness matching of all elements in a composite was the hardest thing! But i am happy that i found a new concept, which i always overlooked until now, and which i realized is really important. Another quick remark: before this tutorial i never thought there was actually a use in Photoshop for the Dissolve blend mode, i was always wondering why it is even there! A very useful and fun tutorial, which i will surely want to re-watch.
This is one of the most rewarding tutorials done to date! Must admit if i hadn’t followed some of the other tutorials i think this may have been a little harder than it was but none the less fantastic.
As with most of Phleans tutorials its easily explained and easy enough to pause and follow through at your own pace, always fantastic to see how images are planned and executed and has given me some fantastic ideas for my own images!
If you really want to get your creative juices flowing this is a buy that needs to be made, the low price tag no way reflects the quality of the material provided just click purchase people!
Just got it today and so far so good….well what did expect, this is phlearn, so from the little I have seen, I have already gleaned a lot.
Only thing that would have made this perfect would have been a webbed fingers addition 😉 .
Absolutely loved this tutorial. I learned a lot, not to mention how to paint using the WACOM thanks to this project. The blending modes were insane and complex, but Aaron made it a breeze.
Great Tutorial! enjoyed it muchly! Here is how mine came out after watching it yesterday.