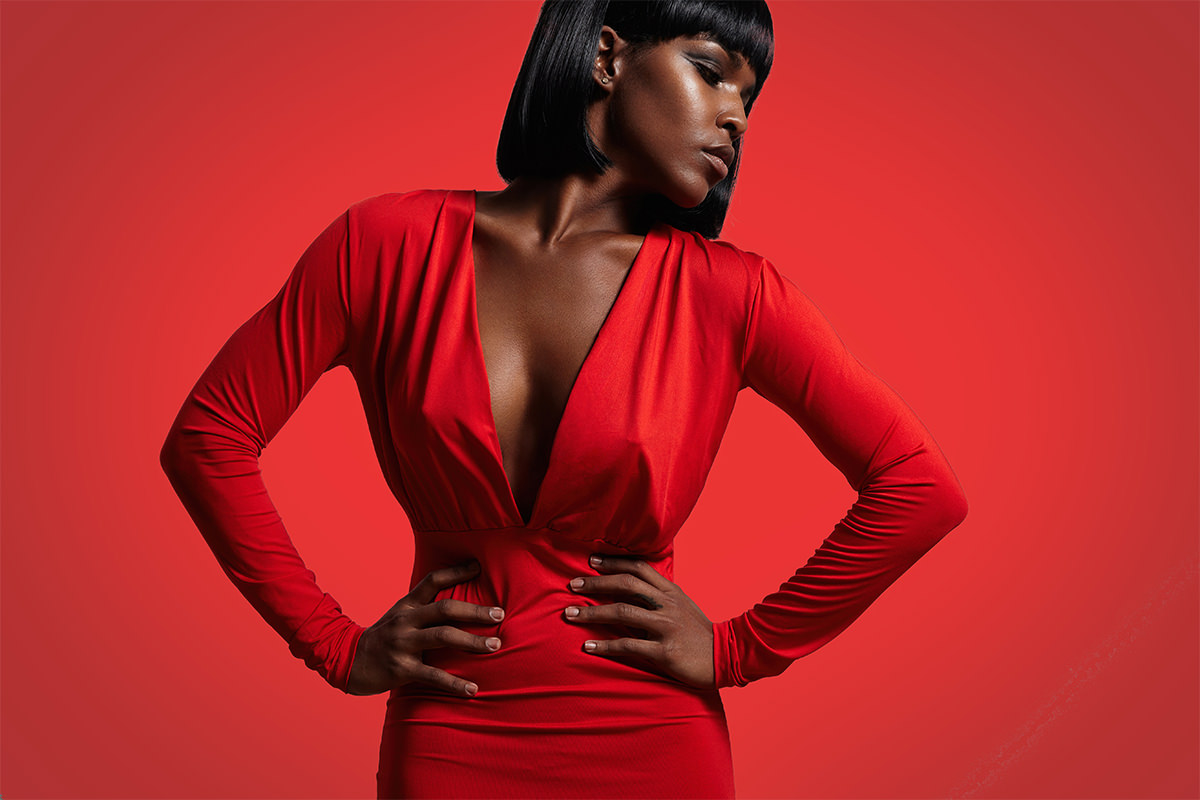

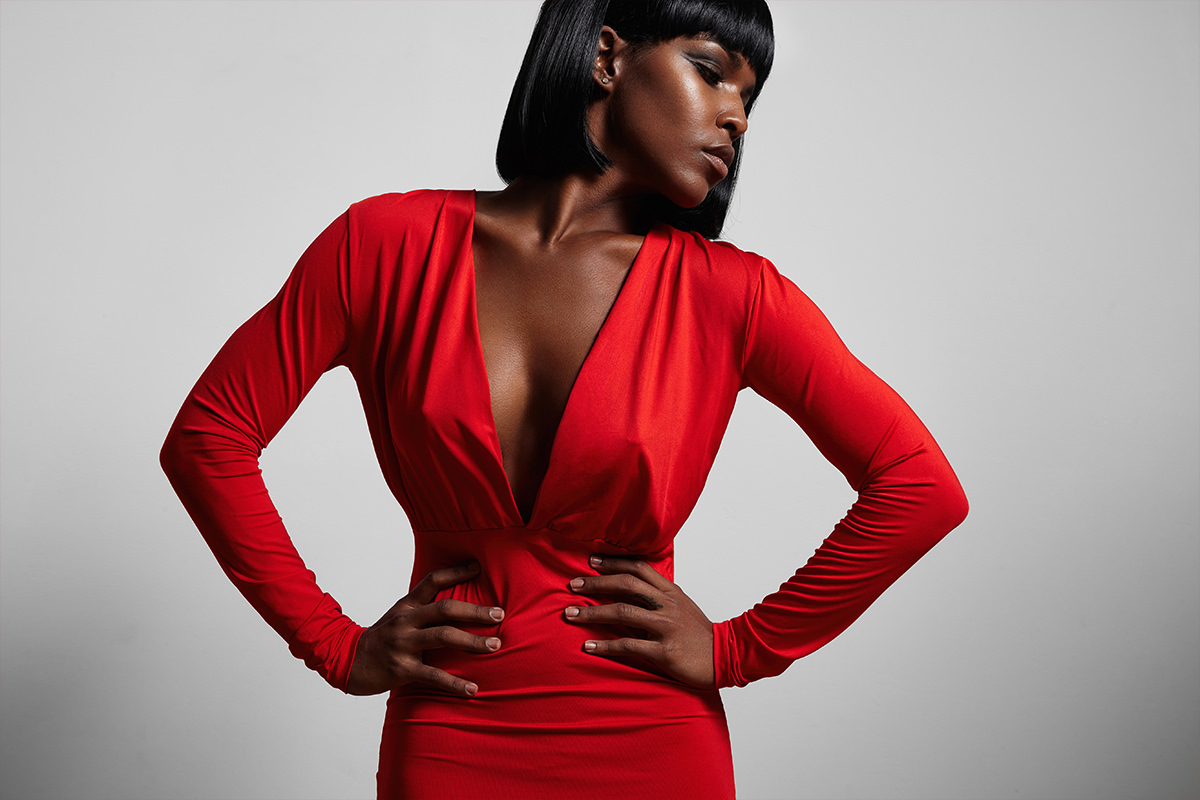
description
Cut the subject out, drop a Solid Color fill layer behind them, and the client can have the same portrait in as many background colors as they like. The part that sells it is the vignette: a Hue/Saturation layer with Lightness and Saturation pulled down, masked out of the center with an elliptical selection and then blurred heavily so the falloff reads as studio light rather than a hard ring.
Enjoying This Free Tutorial?
We publish a new free tutorial every week, each one with sample images and PSDs you can download and follow along with. Sign up and they land straight in your inbox, along with early word on sales, events and subscriber-only offers.
Add a Colored Background to a Photo [Complete Tutorial]
Swapping a portrait’s background for a clean, solid color is one of the fastest ways to give a client multiple versions of the same shoot: a red background for a holiday image, blue for something more neutral, all from a single edit. In this tutorial we’ll cut a subject out of a simple background, drop in a solid color fill, and add a subtle vignette so the new background reads as natural rather than obviously flat.
Cutting Out Your Subject with the Magic Wand Tool
If your subject sits on a fairly simple, even-toned background, the Magic Wand Tool makes the initial selection quick. Click on the background to select it, then hold Shift and click any remaining background areas the first click missed, small gaps near the arms or between strands of hair often need an extra click or two. Keep in mind that a higher Tolerance setting selects a wider range of similar tones, which can help or hurt depending on how much variation is in your background. If your subject is on a busier, more complex background, the Magic Wand alone won’t cut it cleanly; in that case, the Pen Tool is a better tool for a precise cutout.
Inverting the Selection
Once your background selection looks clean, go to Select > Inverse. This flips the active selection from the background to your subject, since it’s your subject you actually want to isolate and mask going forward.
Refining the Edge with Select and Mask
With your subject selected, click Select and Mask in the options bar (called Refine Edge or Refine Selection in older Photoshop versions, working in much the same way). Choose a view mode like Black to check your selection’s edge quality clearly against a solid background.
Removing Fringing with the Refine Edge Brush
Areas like hair often keep a thin white outline from the original background, known as fringing. Select the Refine Edge Brush Tool inside the Select and Mask dialog, click starting from inside your subject, and paint outward over any edge that still shows this white fringe. Run the brush around the shirt, shoulders, and hairline as needed; each pass noticeably cleans up the edge quality without you needing a perfect original selection.
Loading the Selection as a Layer Mask
Once your selection and edge quality look good, click OK to exit Select and Mask, this only confirms the selection itself, nothing is cut out yet. Click the layer mask icon at the bottom of the Layers panel to load that selection as a mask, cleanly separating your subject from its original background.
Adding a Solid Color Background
Go to Layer > New Fill Layer > Solid Color and choose whatever color you’d like behind your subject. Drag this new fill layer beneath your subject’s layer in the Layers panel so it appears behind them rather than covering them up.
Adding a Vignette for Realism
A perfectly flat, uniform background color can look artificial compared to real studio lighting, which typically falls off slightly toward the edges of the frame. Add a Hue/Saturation adjustment layer (Layer > New Adjustment Layer > Hue/Saturation) and lower both Lightness and Saturation somewhat, this darkens and mutes the color, simulating a vignette effect.
Masking the Vignette to Just the Edges
This darkening currently affects the whole background, so use the Elliptical Marquee Tool to draw a selection covering the majority of the central area you want to keep untouched. Click the adjustment layer’s mask and fill that selection with black (Edit > Fill > Black), which hides the darkening effect in the center while leaving it visible around the edges.
Softening the Vignette with Gaussian Blur
A hard-edged selection like this creates an obvious, unnatural boundary between the darkened edge and the untouched center. Go to Filter > Blur > Gaussian Blur and increase the radius until the transition looks smooth and gradual rather than sharply defined. This single step is what turns an artificial-looking mask edge into a realistic, gently falling-off vignette.
Changing the Background Color Later
One of the biggest advantages of this method is how easy it is to revisit the color choice after the fact. Double-click the solid color fill layer’s thumbnail at any time to open the color picker and choose something entirely different. You can also hover directly over your photo with the eyedropper active in that same color picker to sample a color straight from the image itself, letting the new background pull from tones already present in the photo for a more cohesive look. Since the vignette and mask are on separate layers built independently of the color choice, changing colors takes seconds and never requires redoing your cutout or your vignette work.
More Free Photoshop Tutorials
Why This Approach Works
This technique works because it separates three decisions that are easy to conflate into one messy step: cutting the subject out, choosing a background color, and making that background look believable. Using Select and Mask to clean up fringing before committing to a layer mask means your cutout edge quality doesn’t depend on getting the original selection perfect on the first try. Building the vignette on its own masked adjustment layer, rather than baking it into the solid color fill directly, is what lets you swap colors freely afterward without ever having to rebuild the realism-adding details from scratch.
Final Thoughts
Swapping in a colored background is a genuinely fast edit once your subject is cleanly cut out: a solid color fill layer, a subtle vignette built from a darkened, masked, and blurred adjustment layer, and you’re done. Because every part of this setup stays independently editable, you can hand a client multiple color variations of the same portrait in minutes rather than redoing the whole edit for each option.
New Free Tutorials View All »












Enjoying This Free Tutorial? Go Further with PRO.
Unlock Full Sample Files, PSDs, and Hundreds of Masterclasses!

Download full project assets, original PSDs, and RAW images for every lesson
Unlimited access to our complete library of PRO Photoshop & Lightroom courses
Instant 4K Ultra HD streaming on all devices, anytime, anywhere
Full access to our entire library of Photoshop Actions, Presets, and LUTs
Flexible monthly and annual membership plans
Cancel anytime with zero hassle or commitments