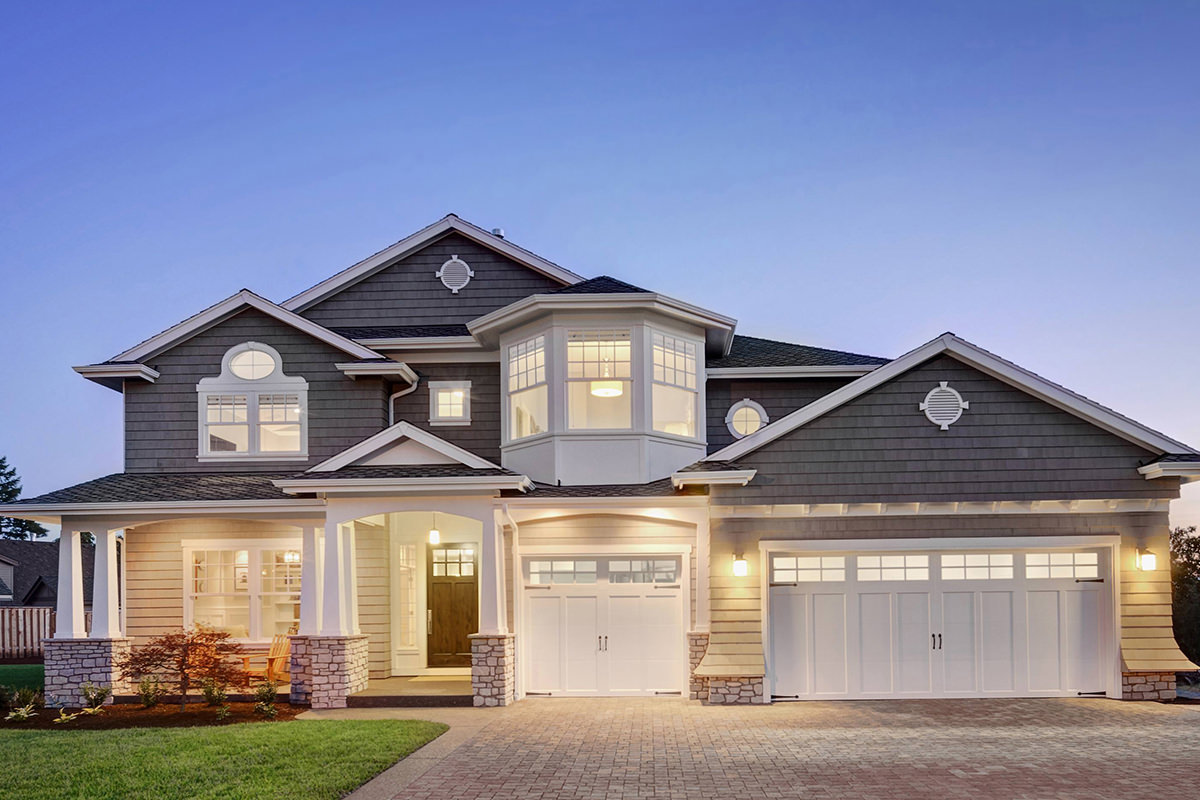
BEFORE
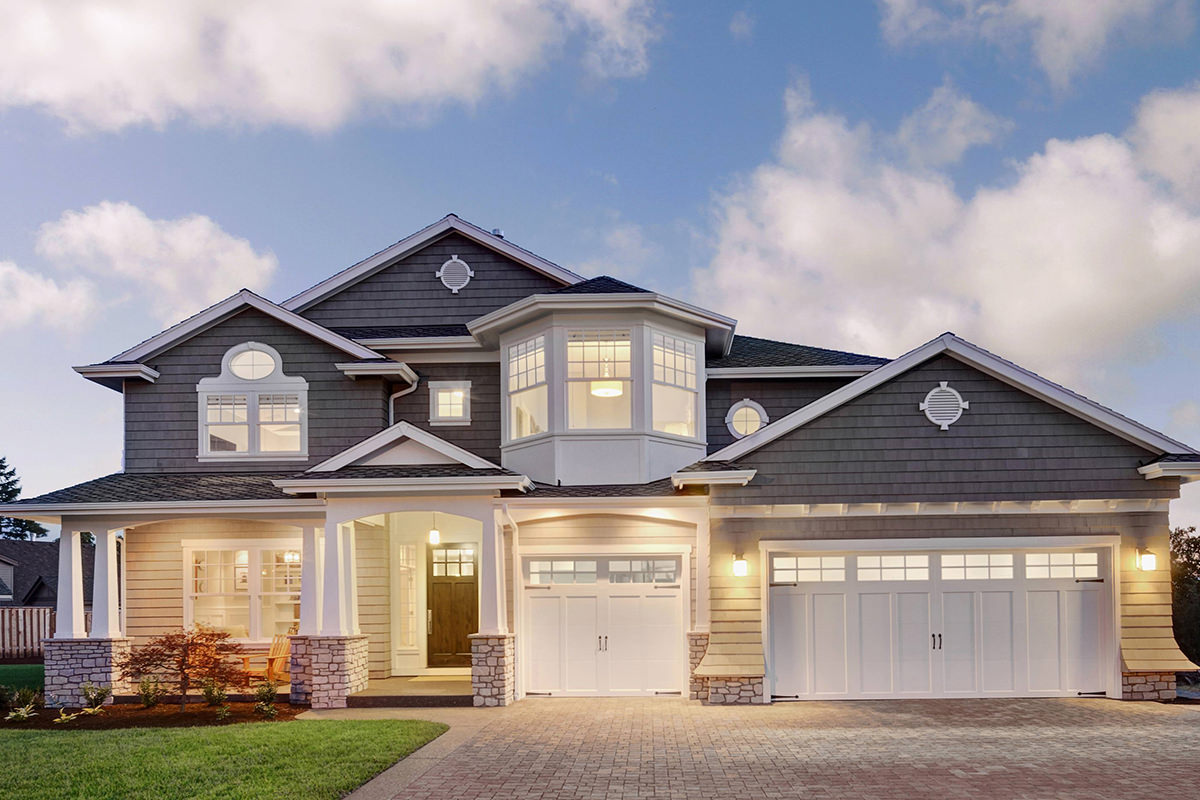
AFTER
Tutorial Description
The trickiest part of this whole process might be the very first step! If you are adding a different sky to an image, make sure it compliments the rest of that photo. The two images should match up really well in terms of Color, Contrast, and tone.
From Grey to Great
To begin, use the Move Tool (v) to drag and drop your new sky onto the image with the old sky. Turn that layer off for now. Then, select only the sky. You can use any Selection Tool you’d like and in this episode, we chose the Magic Wand Tool. When the selection is complete and refined, turn the top layer back on. If the selection stays active, you will be able to click the Layer Mask button and it will mask in just the sky. To position the new sky right where you want it, unlink the layer with its mask so that you can freely move the cloud layer freely.
Remember: The Colors of the original sky play into the Colors of the original photo. It’s important to adjust the Coloring of the new sky so that the image looks realistic! We use a Selective Color Adjustment Layer to fine-tune the Colors as well as the Highlights, midtowns, and Shadows. Clip this Selective Color layer to the clouds, so that it doesn’t effect other elements in the image. Feel free to play with other Adjustment Layers to match your new sky with your old image. We use a Curves layer to Darken the sky in this case.