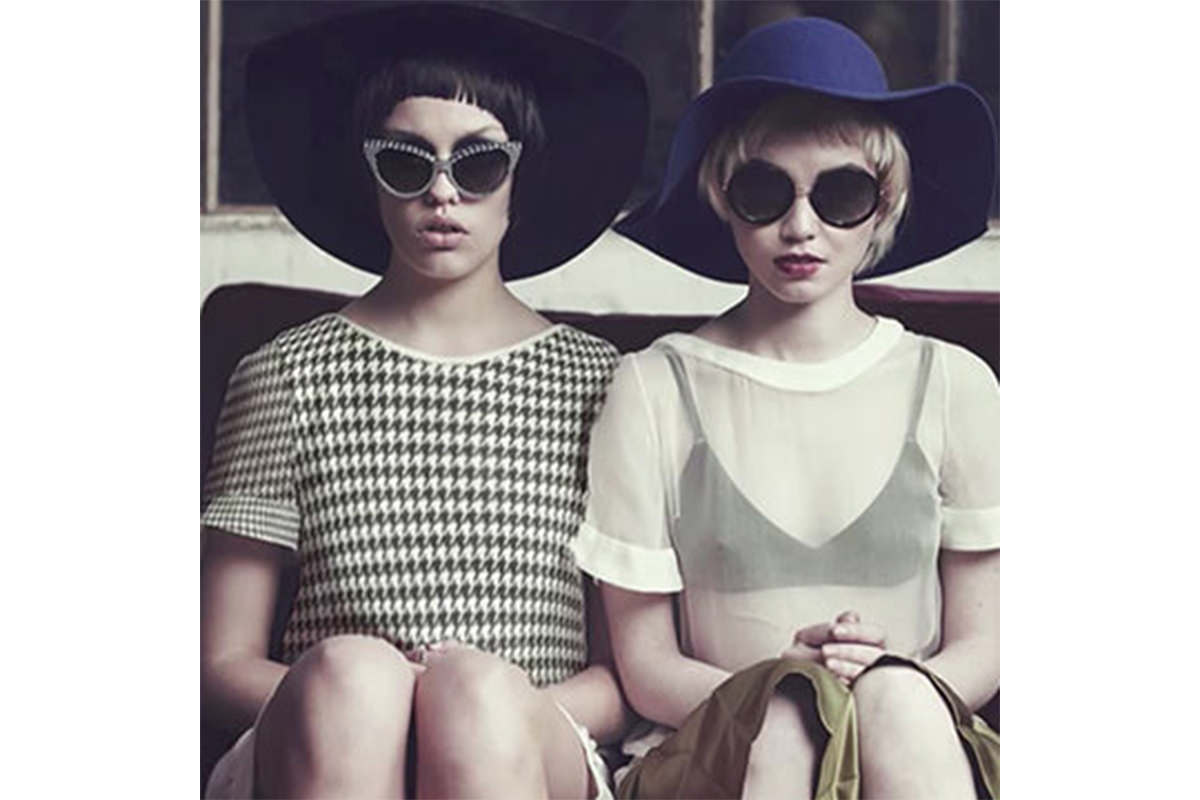

Pasting a houndstooth texture over a shirt never looks like fabric. This free Photoshop tutorial builds a genuinely repeating pattern from its smallest tile, masks a separate copy onto each section of the garment, then shapes it in two passes: Warp for the broad curve of a shoulder or sleeve and Liquify for individual wrinkles and seams, before painting the garment’s own highlights and shadows back over the top.
We publish a new free tutorial every week, each one with sample images and PSDs you can download and follow along with. Sign up and they land straight in your inbox, along with early word on sales, events and subscriber-only offers.
How to Create Patterns That Blend Perfectly Onto Clothing in Photoshop
Making a fabric pattern like houndstooth wrap convincingly around a piece of clothing takes more than just pasting a texture on top and hoping it looks right. This technique builds a genuinely repeating pattern from scratch, then uses the Warp tool and Liquify filter together with layer masking to make that pattern follow the actual folds, seams, and curves of a shirt, finishing with painted highlights and shadows that make it look woven into the fabric rather than laid over it.
Simplifying a Pattern Down to Its Repeating Unit
A houndstooth reference image that doesn’t already tile cleanly needs to be reduced to its smallest repeating unit before it can be turned into a usable Photoshop pattern.
-
Identify the Smallest Repeating Unit
Look at the pattern and find the smallest possible chunk that, repeated in a grid, recreates the whole design — for houndstooth, this can be as small as four basic shapes: one dark square, one light square, and the two connecting elements between them.
Simplifying down to the most basic repeating element, rather than including more of the pattern than necessary, consistently produces a cleaner result once it’s tiled.
Cropping and Sizing the Pattern Tile
Size the tile before Photoshop ever records it as a pattern, because resizing afterward does not do what you would expect.
-
Crop to the Repeating Unit
Use the Crop tool to select from the top-left corner of the dark square to the bottom-right corner of the light square, capturing exactly one repeating unit, then make sure Delete Cropped Pixels is checked and click the check mark to commit the crop. With it off, the hidden pixels outside the crop still come along when you drag the tile into another document.
-
Scale the Tile Down to a Usable Size
Go to Image > Image Size and reduce the tile’s width significantly — from an initial crop down to something as small as 30 to 40 pixels wide, checking the result against the target garment each time.
Why Size Before Defining the Pattern
A pattern tile that’s too large when defined will need to be scaled down afterward to fit realistically on a garment, and shrinking a defined pattern after the fact means it no longer tiles across as much area — it just repeats a smaller version of itself over a smaller region. Getting the tile close to its final usable size before defining it as a pattern avoids having to redo this step later.
Defining and Filling With the Custom Pattern
With the tile sized, Photoshop can turn it into a reusable pattern in two steps.
-
Define the Pattern
Go to Edit > Define Pattern, give it a memorable name, and click OK.
-
Fill a New Layer With the Pattern
On a new layer in your working document, press Shift + Delete (or Shift + Backspace), choose Pattern as the fill source, select your custom pattern from the list, and confirm Normal blend mode at 100% opacity.
The result is a layer completely covered edge to edge with the repeating pattern, which can then be scaled, moved, and adjusted as a single unit before being restricted to just the garment.
Isolating the Pattern to Just the Garment With a Layer Mask
Each major section of the garment gets its own copy of the pattern so it can be shaped independently later.
-
Set the Blend Mode to Multiply
Change the pattern layer’s blend mode from Normal to Multiply, which removes the white areas of the pattern and lets the garment’s existing shading show through the dark areas.
-
Duplicate and Mask for Each Section of the Garment
Press Cmd/Ctrl + J to duplicate the pattern layer once per major section of the garment (front panel, each sleeve). Hold Option/Alt and click the Add Layer Mask icon to add a black mask to each duplicate, then paint white to reveal the pattern only over its corresponding section.
Unlinking a layer from its mask (clicking the small chain icon between the two thumbnails) allows the pattern itself to be moved, scaled, or rotated independently while the mask stays fixed in place over the garment.
Warping the Pattern to Follow the Garment’s Shape
Warp handles the big shapes first: the curve of a shoulder, the taper of a sleeve.
-
Apply a General Warp
Select the pattern layer, press Cmd/Ctrl + T, right-click, and choose Warp. Push and pull the grid handles to bend the pattern’s edges inward or outward, matching the general curve of the garment’s silhouette rather than leaving it perfectly flat and rectangular.
Why Warp First, Then Liquify
Warp is built for reshaping a layer’s overall, large-scale shape, which makes it the right tool for the broad curve of a shoulder or the taper of a sleeve. Liquify, used next, works better for smaller, more localized adjustments — running Warp first establishes the overall shape, leaving Liquify to refine finer details without having to fight against a shape that’s still fundamentally flat.
Refining Smaller Areas With the Liquify Tool
Liquify takes over for the details Warp is too blunt to handle.
-
Open Liquify in Advanced Mode
Go to Filter > Liquify (or press Shift + Cmd/Ctrl + X), switch to Advanced Mode, and enable Show Backdrop to see the garment underneath while working.
-
Push the Pattern Inward Along Edges and Seams
Lower the brush’s Density and Pressure for finer control, then push the pattern inward along edges, seams, and areas where it should tuck in rather than cut off abruptly — working from the sides, top, and shoulder areas one region at a time rather than all at once.
-
Push In Small Wrinkles and Bunches
Use a smaller brush with higher Density to nudge the pattern along smaller wrinkles and folds, breaking up any area that looks unrealistically perfect and flat.
Repeating the Process for Sleeves and Separate Sections
Every separately cut piece of the garment gets the same treatment on its own layer.
-
Duplicate and Reposition for Each Additional Section
Duplicate the pattern layer again for each remaining section, such as a sleeve, scaling and warping it independently, then apply Liquify to that section the same way — pushing it inward along its own edges to create a matching wrap effect.
-
Rotate for Sections That Change Direction
For a section where the fabric’s grain would realistically run a different direction, such as a smaller cuff or panel, rotate the pattern layer with Free Transform, then redo the Liquify pass on it, since rotating after liquifying would leave the earlier pushes and pulls misaligned.
Why Patterns Don’t Need to Line Up Perfectly Between Sections
On a real garment, a patterned fabric’s repeat rarely lines up exactly across a seam between two separately cut pieces, like a sleeve meeting a shoulder. Because this is realistic rather than a flaw, small mismatches between sections don’t need to be corrected — in fact, forcing perfect alignment across every seam would look less authentic, not more.
Adding Highlights and Shadows Back Over the Pattern
With the pattern properly warped and masked into place, one more pass makes it look woven into the fabric rather than sitting on top of it.
-
Select the Original Highlights With Color Range
Reset your foreground and background colors to default (press D), then go to Select > Color Range and click on a bright highlight area of the original garment, adjusting Fuzziness to capture nearby similar tones.
-
Paint the Highlights Back on a New Layer
On a new layer, press X so white is the foreground color and paint it over the selected highlight areas, then lower the layer’s opacity until the highlight reads as coming through the pattern rather than sitting flatly over it.
-
Repeat for Shadow Areas With Multiply
Sample a darker shadow tone from the garment, use Color Range again to select similar dark areas, paint that same color back over those areas on another new layer, and set the layer’s blend mode to Multiply before lowering its opacity.
Why Sample the Garment’s Own Colors Instead of Painting Arbitrary Tones
Using Color Range to select the garment’s own existing highlight and shadow areas, then painting with colors sampled directly from those same areas, guarantees the added light and shadow match the garment’s real lighting rather than an arbitrary guess. That’s what finally sells the illusion that the fabric’s original shading is showing through the new pattern, rather than the pattern sitting as a flat layer on top of an unrelated photo.
Why This Approach Works
Getting a flat, repeating pattern to look like it belongs on a three-dimensional, wrinkled piece of clothing comes down to combining two different distortion tools for two different jobs, then finishing with light. Warp handles the large-scale shape of a garment — the curve of a shoulder, the general taper of a sleeve — while Liquify handles the smaller, more localized pushes needed for individual wrinkles, seams, and edges that a broad warp alone can’t capture. Layer masks keep each section of the pattern (front panel, each sleeve) independent, so warping and liquifying one section never disturbs another, and unlinking a mask from its pattern layer means the pattern’s position and scale can keep changing without redoing the mask. The final highlight-and-shadow pass, built entirely from colors sampled off the garment’s own existing lighting via Color Range, is what actually convinces a viewer the pattern is woven into the fabric: real light and shadow information from the photo, reapplied on top of the new pattern, rather than a flat graphic pasted over a photograph.
Final Thoughts
This same combination — simplify the pattern to its smallest repeating unit, mask it section by section, warp for overall shape, liquify for local detail, then reapply the garment’s own highlights and shadows — works for any repeating pattern on any piece of clothing, not just houndstooth on a shirt. It takes a fair number of individual steps, but each one is straightforward on its own, and the combination consistently produces a result that reads as genuinely photographed rather than digitally overlaid. For a deeper look at how blend modes like Multiply behave, Master Blending Modes in Photoshop: All 27 Explained covers the full range of options in detail.
Quick Reference: Keys, Menus and Settings
- Crop the tileC for the Crop tool, Delete Cropped Pixels checked
- Size and defineImage > Image Size, about 30 px wide; Edit > Define Pattern
- Fill a layerShift + Delete, Contents: Pattern, Normal 100%; then Multiply
- One layer per partCmd/Ctrl + J, Alt/Option-click the layer mask button, unlink the chain to move the pattern
- WarpCmd/Ctrl + T, right-click > Warp
- LiquifyShift + Cmd/Ctrl + X, Advanced Mode, Show Backdrop, adjust Density and Pressure
- Light and shadowD, X; Select > Color Range; Cmd/Ctrl + H hides the edges; white at about 50%, shadows on Multiply
Patterns on Clothing: Common Questions
How do I turn a pattern photo into a tile that repeats?
Find the smallest piece that recreates the whole design. For houndstooth that is four shapes, so crop from the top-left of a dark square to the bottom-right of the next light square.
Why does the whole image come along when I drag my cropped tile?
Delete Cropped Pixels was off, so the crop only hid the rest. Press C for the Crop tool, check Delete Cropped Pixels and press Enter.
How big should the pattern tile be?
Size it with Image > Image Size before you define it, checking it against the shirt each time; the video goes from 160 down to 30 pixels wide. A pattern scaled down after filling covers a smaller area instead of repeating.
How do I fill a layer with my pattern?
Choose Edit > Define Pattern and name it. On a new layer, press Shift + Delete (Shift + Backspace), choose Pattern, pick yours from Custom Pattern and keep Normal at 100%.
Why set the pattern layer to Multiply?
Multiply hides the white parts of the pattern so the shirt shows through. Lower the opacity too, since solid black would not look right.
Why use a separate pattern layer for each part of the shirt?
So the front, arm and sleeve can each be shaped on their own. Duplicate with Cmd/Ctrl + J, Alt/Option-click the layer mask button for a black mask and paint white over that part. Unlink the chain to move or resize the pattern without moving the mask.
How do I make the pattern wrap around the body?
Use Warp (Cmd/Ctrl + T, right-click, Warp) for the big shapes, then Filter > Liquify (Shift + Cmd/Ctrl + X) for edges and wrinkles. In Liquify, turn on Advanced Mode and Show Backdrop and push the pattern in from the edges one area at a time.
Does the pattern need to line up across seams?
No. On real clothing the pattern often doesn’t line up between pieces, so small mismatches look natural. If you rotate a section after liquifying it, redo the Liquify pass.
How do I make the pattern look like part of the fabric?
On a new layer, use Select > Color Range to pick the shirt’s highlights, paint white and lower it to about 50%. Do the same with a sampled shadow color on a Multiply layer.
Master Photoshop, Lightroom and Photography
Join PHLEARN PRO for $12.99 a month or $99.99 a year. Cancel anytime, with a 100% money-back guarantee.





