Tutorial Description
In today’s episode you will learn how to create a Background from scratch in Photoshop. We show you how to edit a sky photo to make it look more dramatic and how to add a city, altering the Light Levels to match it with the sky.
Creating a Background in Photoshop
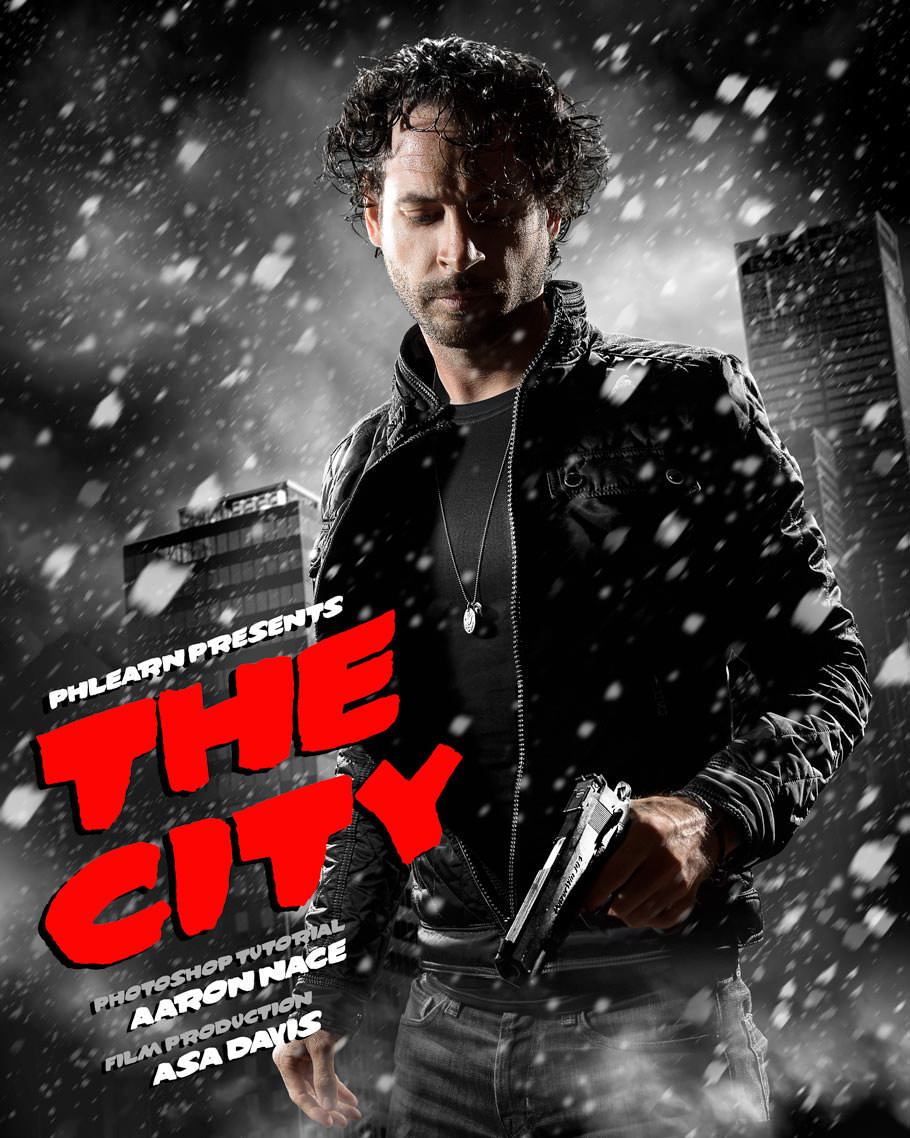
Creating a Background for a Composite image in Photoshop can be very fun, as you can choose every element that appears in your photo. In order to create a Sin City inspired image we need all of the pieces of the Puzzle to appear in the same Style, so choosing a sky, buildings, and snow for this image is necessary.
The first thing you will need to do is gather Background images, for this we recommend Fotolia. Once you have all of your photos together for creating a background it is time to Composite them together.
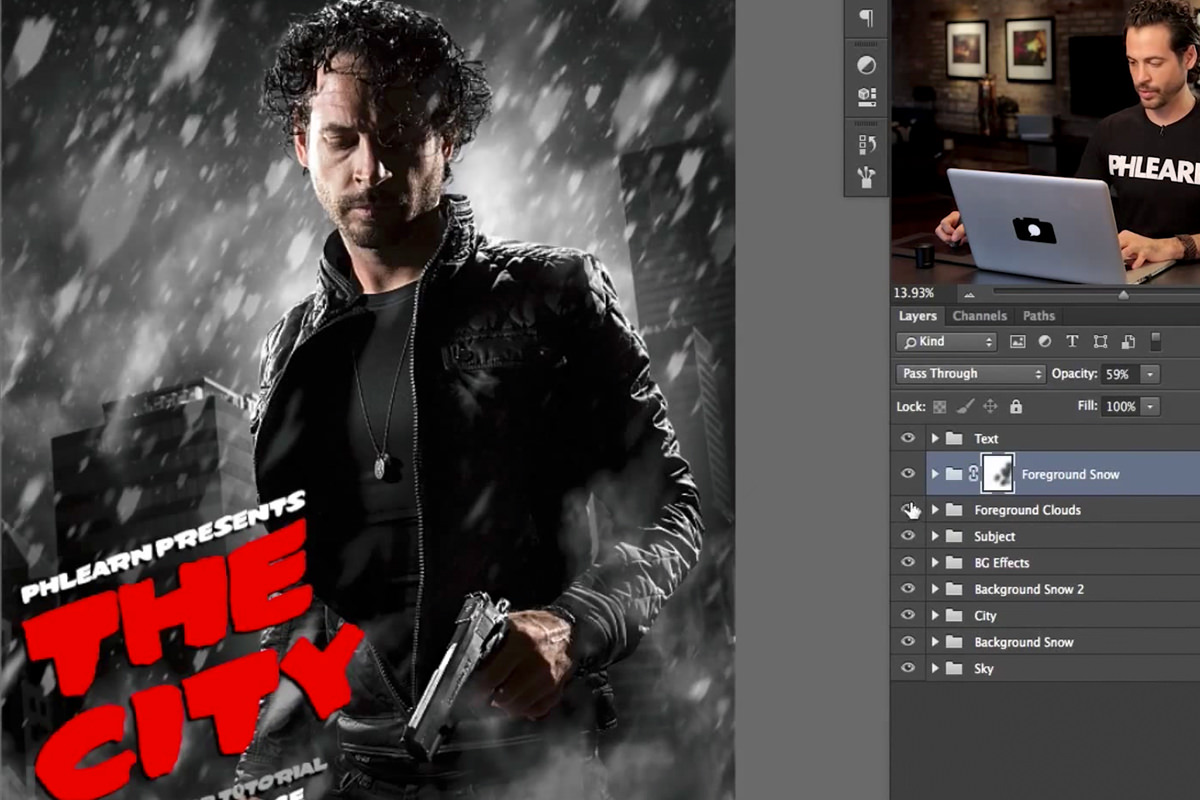
Start with objects that appear farthest from the camera and work your way forwards, in most cases the sky will be the bottom layer, as it is farthest from the camera.
In this episode we show you how to combine multiple versions of the sky together to create a bit more mood. We also show you how to cut the original sky out of the city image and place the buildings over our chosen sky.
The Magic of Clipping Masks
Clipping Masks are an essential part of Compositing images together. In this episode we introduce you to Clipping Masks and the best ways to use them in Photoshop.
We add buildings over the background sky but need to make the buildings darker. If you add a Curves Adjustment Layer over everything it will make the buildings and the sky darker. By clipping the Curves Adjustment Layer to the building layer, it will only effect the buildings. The best part about clipping masks is that you can clip many layers back to the original layer.
Creating a Custom Brush for Snow
If you have ever wanted to create snow or rain in an image, it is as easy as creating a custom Brush in Photoshop. In this episode we show you how to create random shapes on a new document and turn them into a Brush Preset. From there you will learn how to alter the settings of the Brush to add random Patterns, making it look more like snow.
Click Here to download the Snow Brush from this episode
Final Image